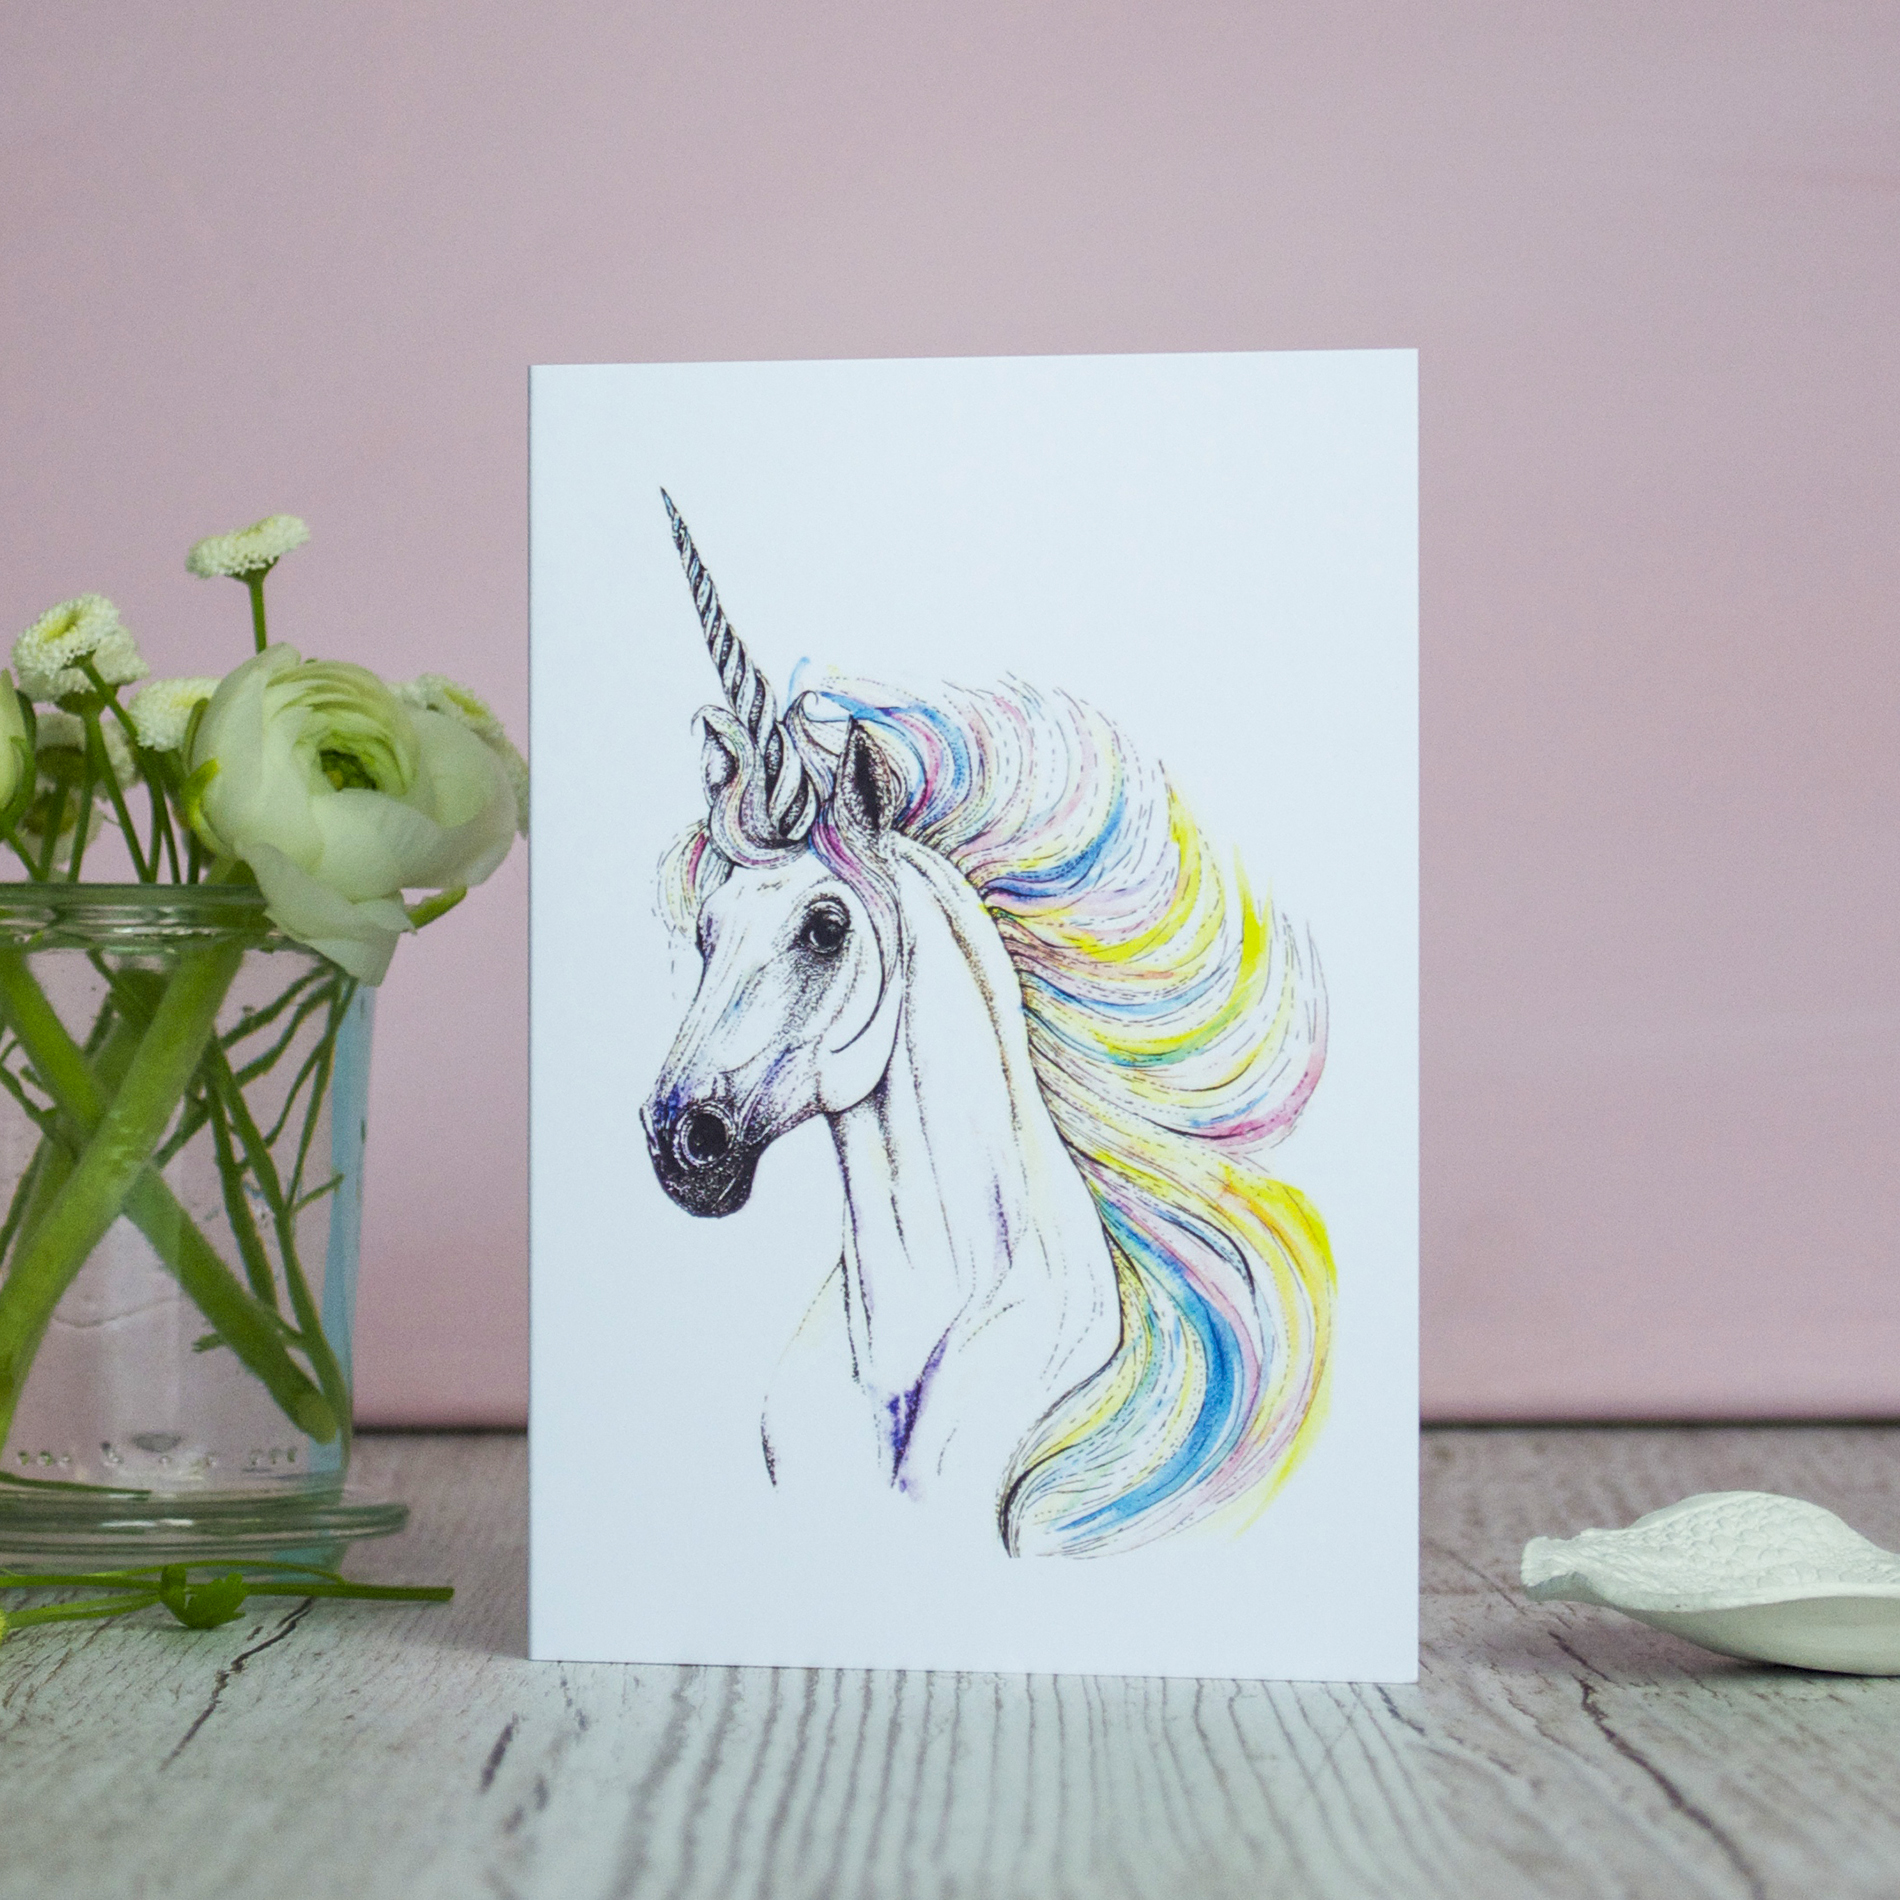
 I have new products on my Not On The High Street shop; a unicorn card, a hare greeting and a beautiful eucalyptus art print. All are taken from my original watercolour and ink drawings.
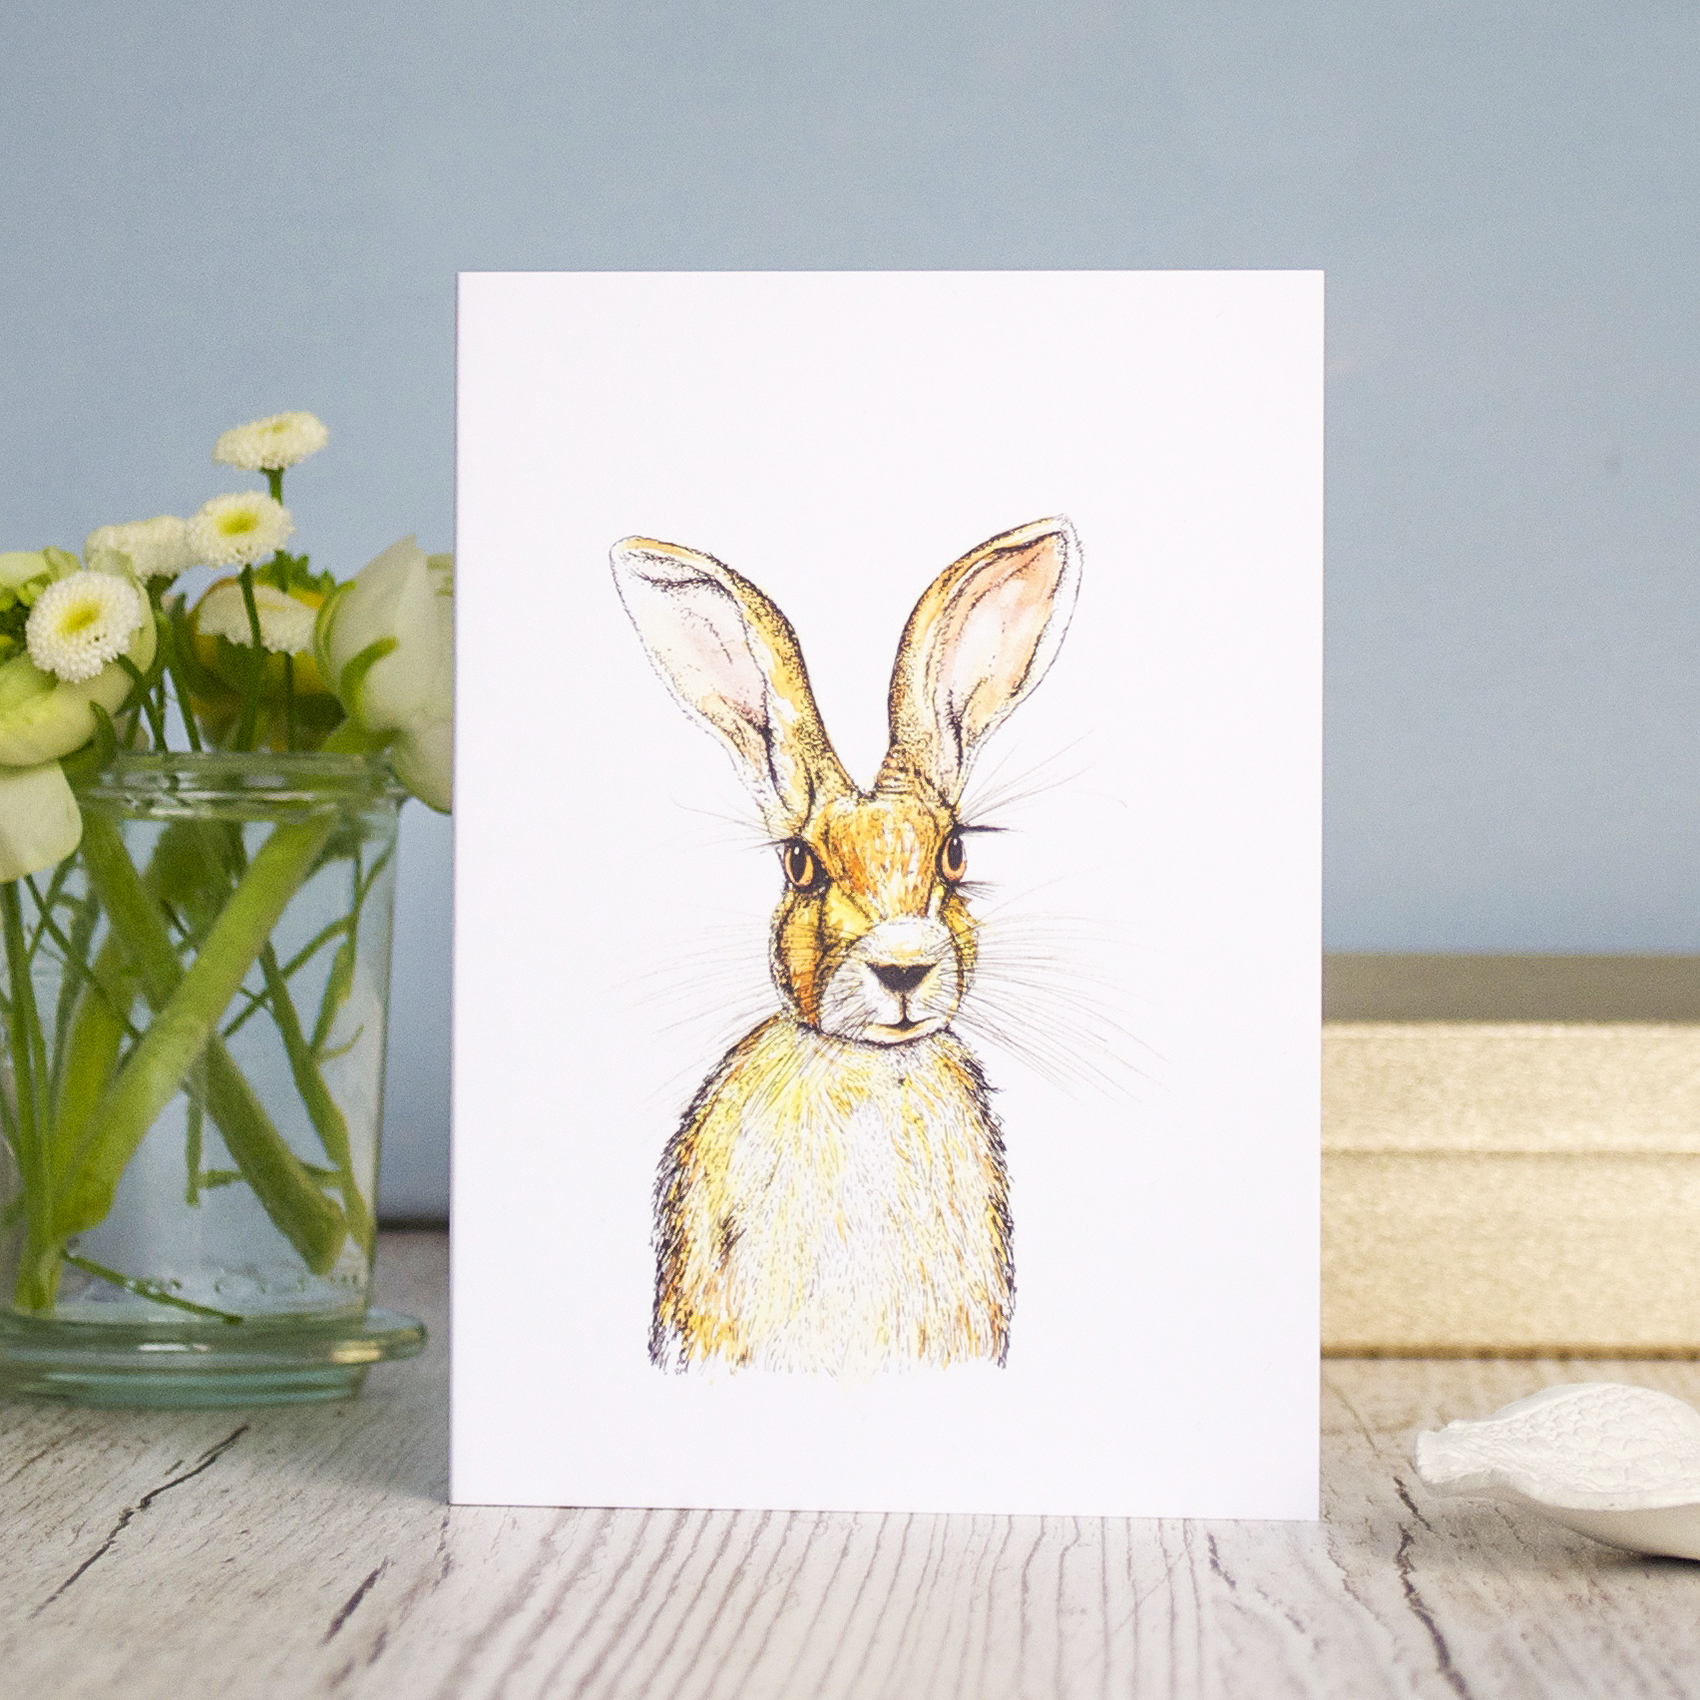 My hare and unicorn prints have been incredibly popular at various art fairs with many people asking if I was going to produce co-ordinated greetings – well nobody can say I don’t listen! The new Eucalyptus botanical print is a bit of an indulgence to be honest – I simply wanted one for myself.
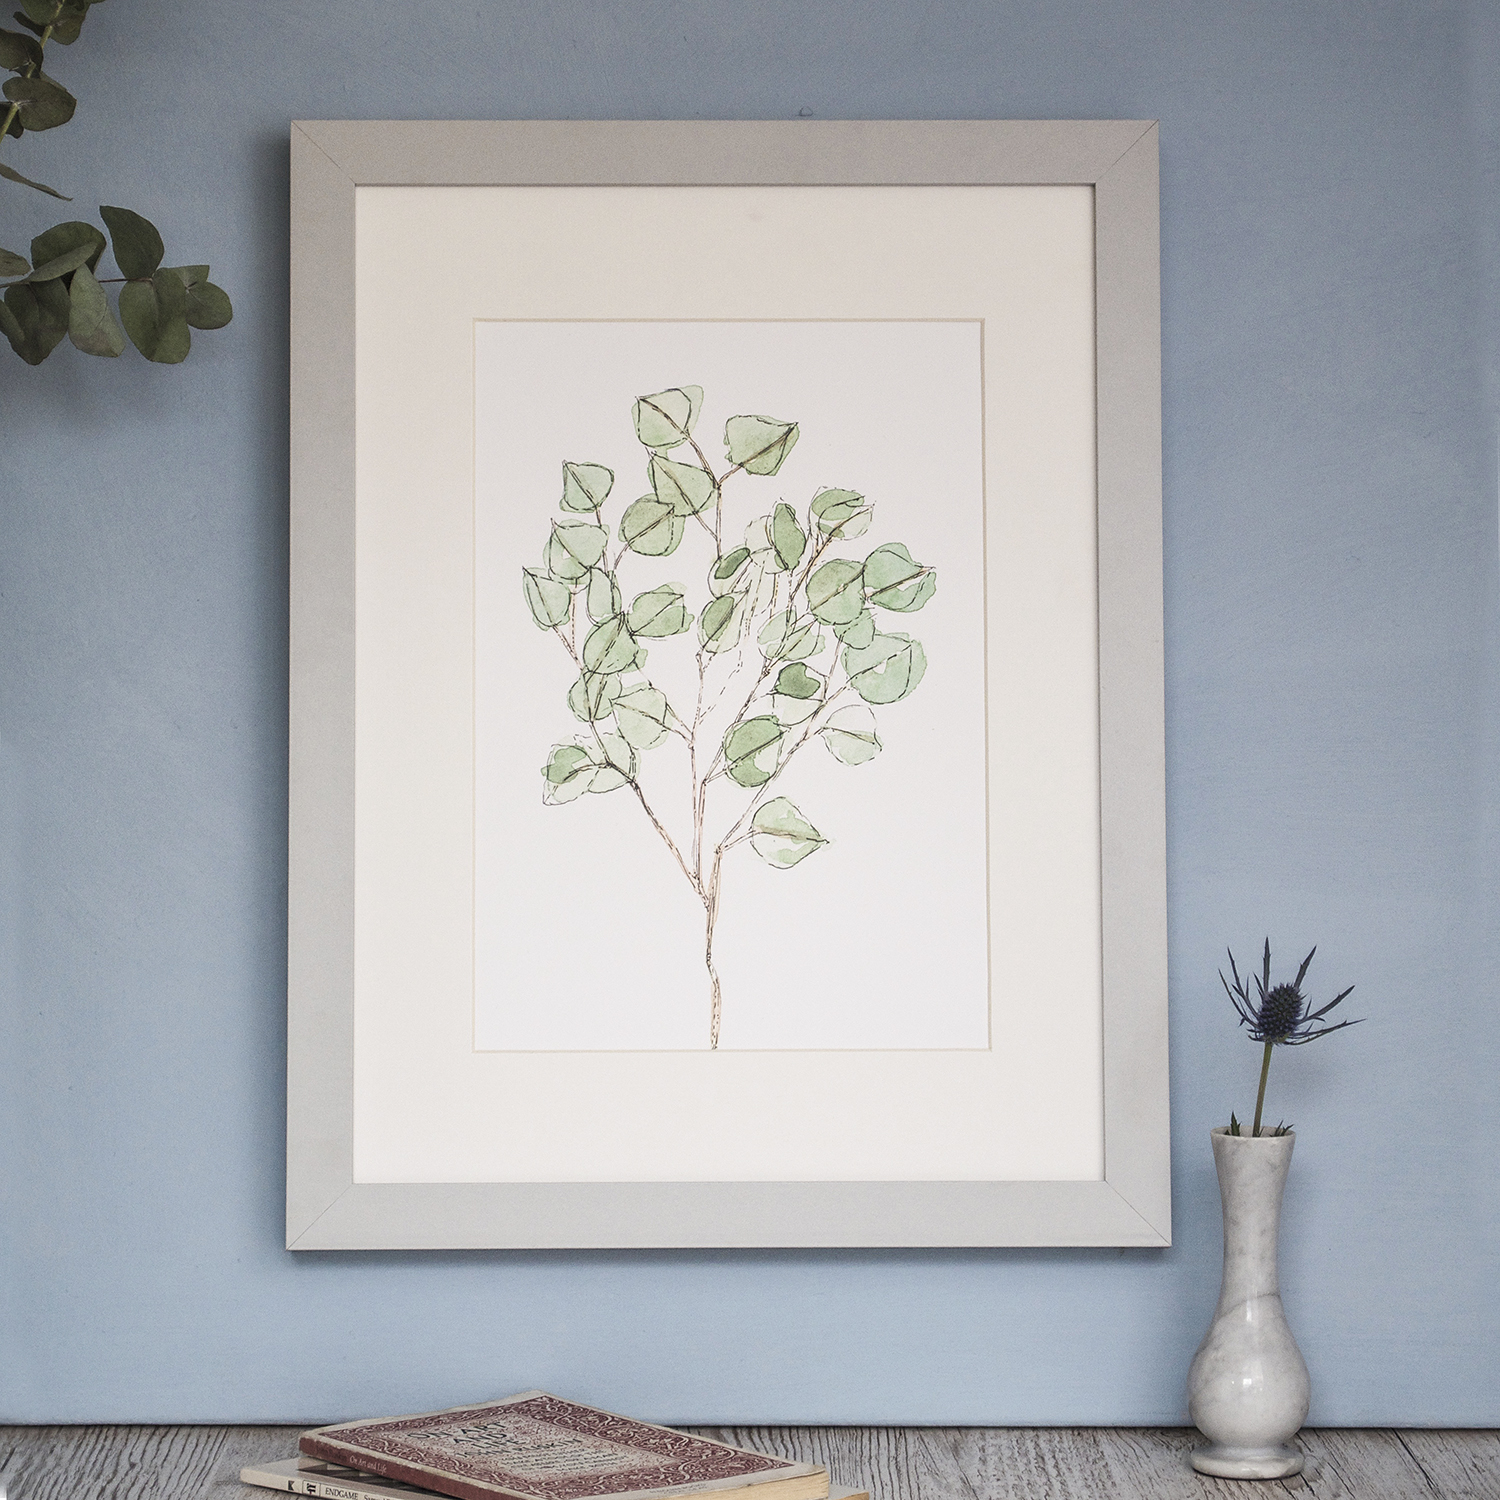
Category: Uncategorized
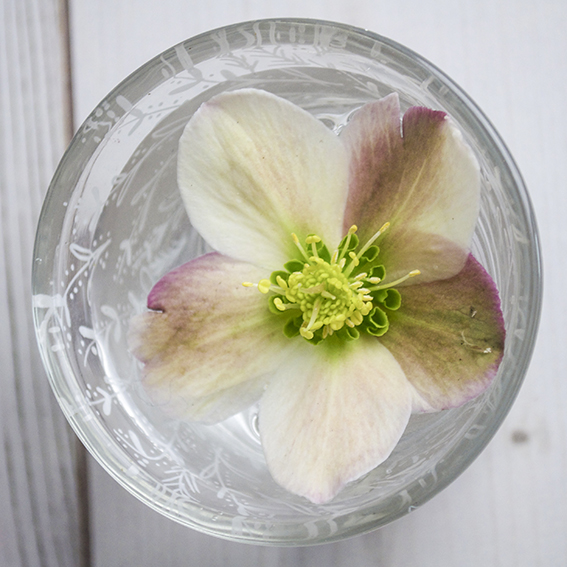
Oh for the love of hellebores
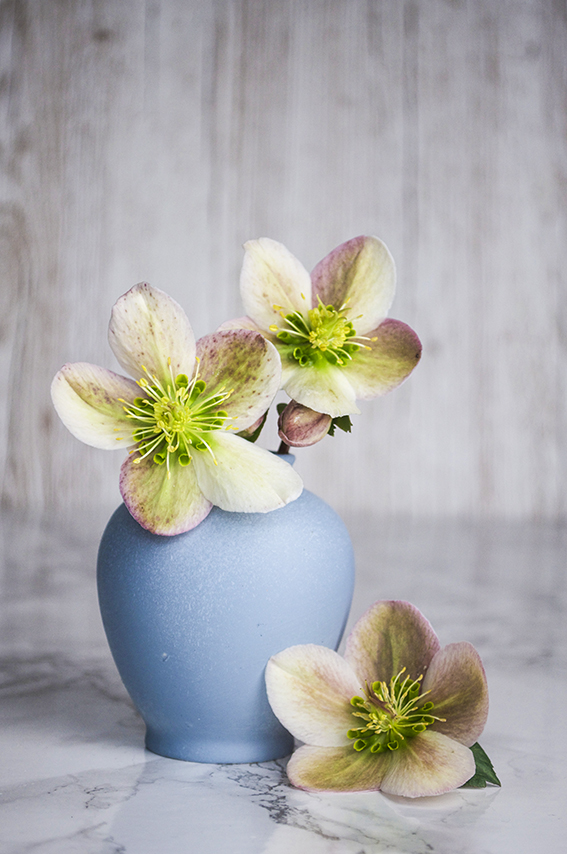 This time of year is just a gift for me as I celebrate my love for hellebores.
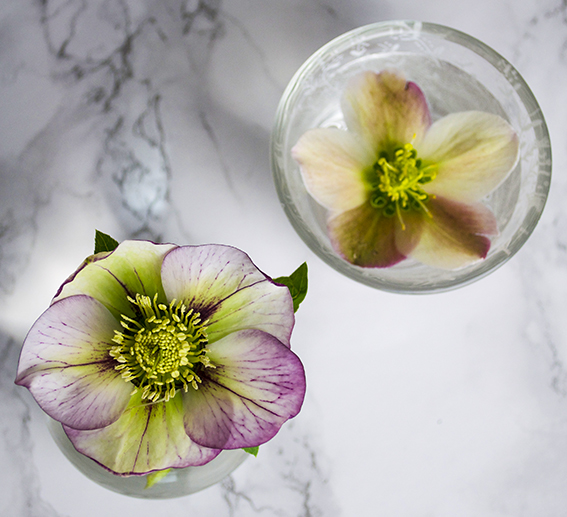 I have a confession to make though. Until we had our garden I had never heard of these blooms. Yes I know – I’m rubbish. I have Dr B to thank for this new love of mine.
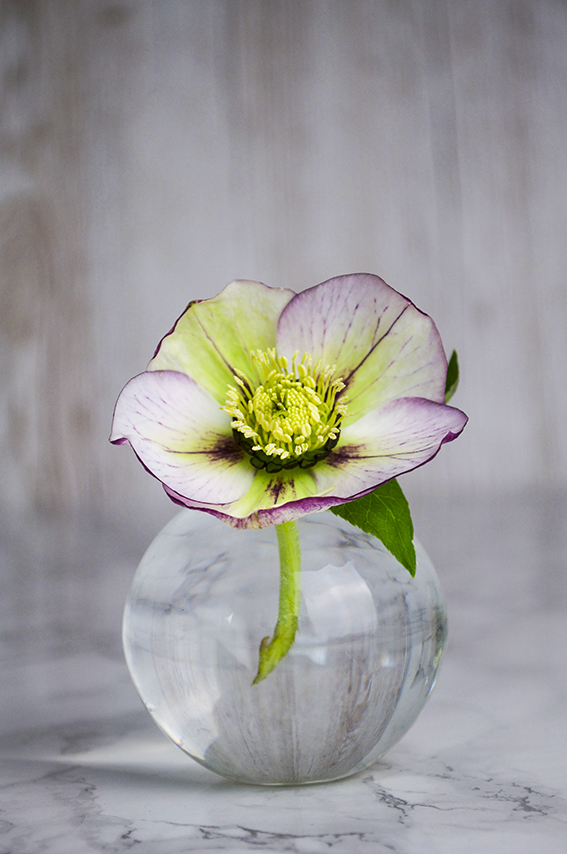 When we moved from our London flat to a house with a garden, Dr B unleashed his inner Monty Don (no bad thing) and began his plan for ‘all year planting’. Hellebores, he told me, were a classic winter flower that pop up in Feb and I was assured that every February I would see lovely blossoms that would delight. Dr B didn’t disappoint.
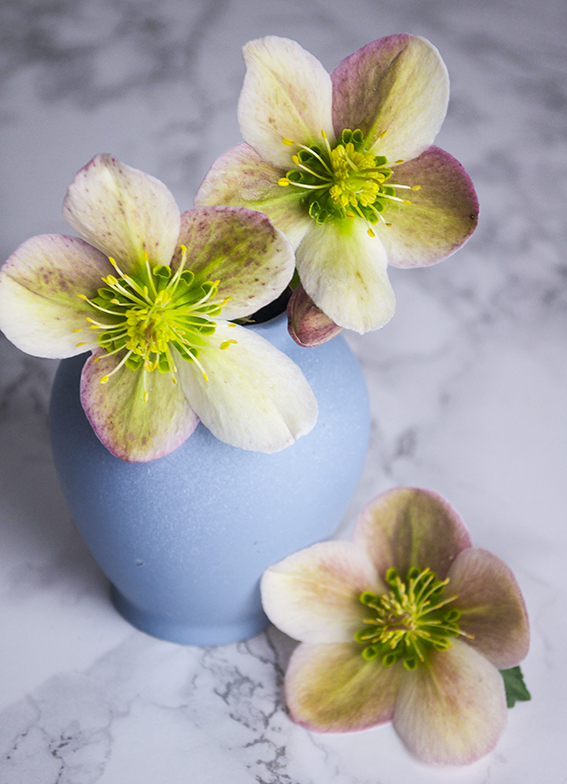 Now every year I look forward to the arrival of these beautiful flowers. I’m told they benefit from a little prune so I’m forever dipping into our garden to snip some flower heads to display indoors.
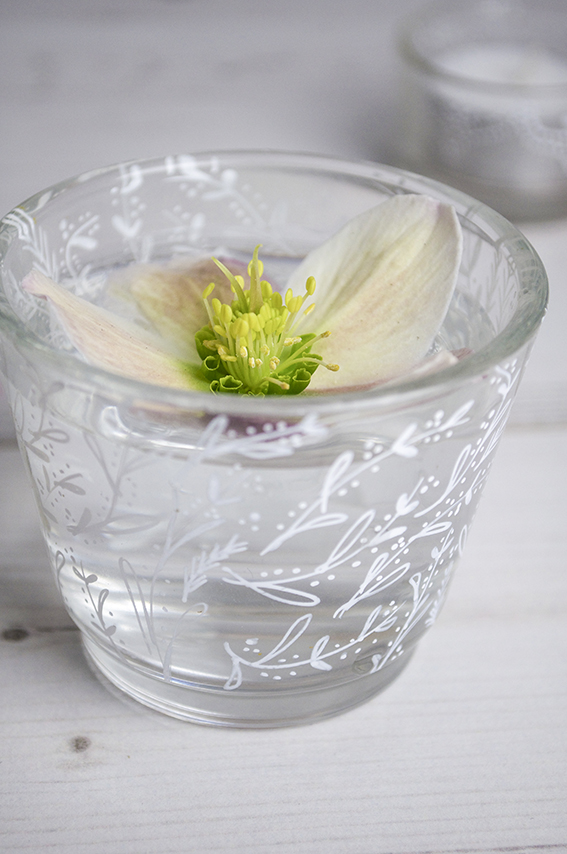
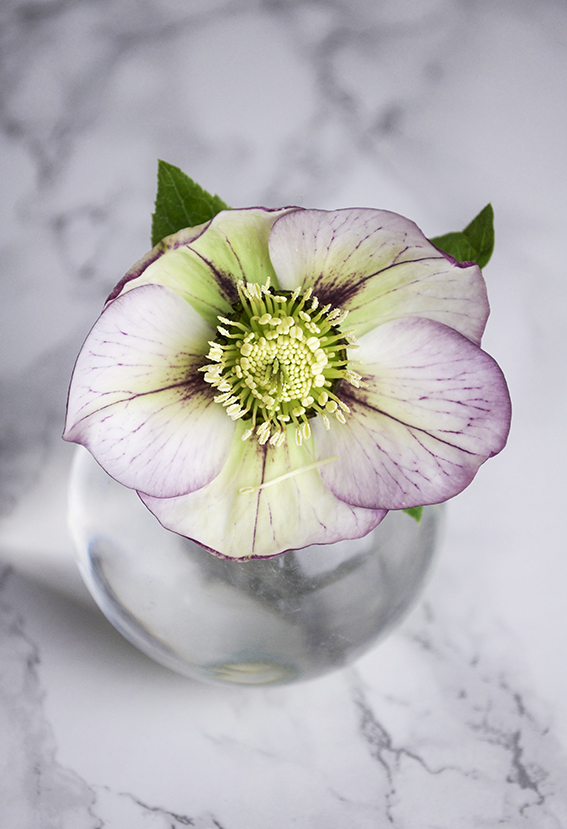 This also gives me a chance to use up my glass globe mini vase (a gift from my sister) and upcycle some charity shop finds. I’ve used my Posca pens to draw on some tealight holders for some floating water displays and spray painted a really rather ugly small vintage vase for a more traditional arrangement.
Monday Moodboard: Blue
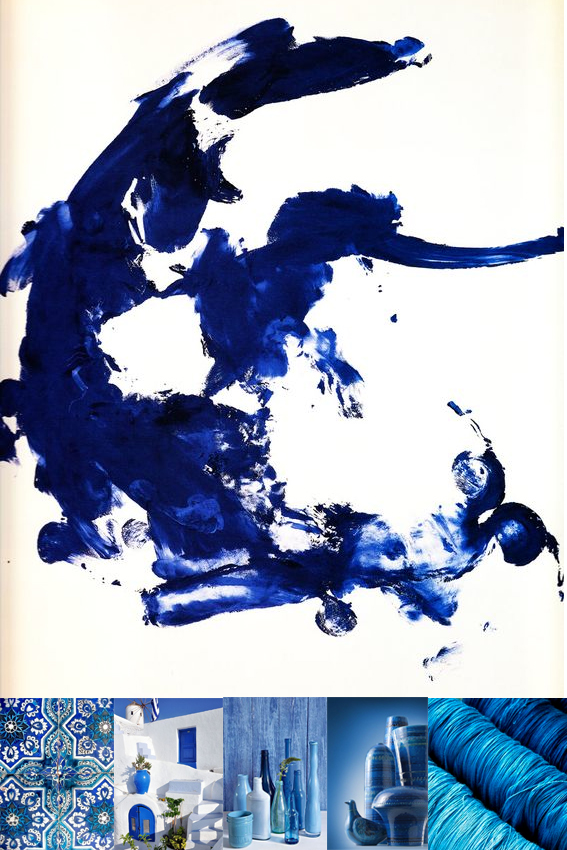
After a frustrating weekend (still trying to master videoing myself and tidying my ever messy photo studio) I needed something to give me joy so this week’s Monday Moodboard is all about BLUE! Yes, while my politics are anything but, blue makes me happy.
Of course, the colour is calming which is why I have it in our bedroom but that’s not the whole story. And far from finding it cold, which I’m told some do, I believe that if you find the right shade, blue can be intoxicatingly rich, and even cosy.
The image on top is from the artist Yves Klein’s Blue Epoch period. This exquisite ultramarine shade is known as International Klein Blue (IKB); a deep hue first mixed by the French artist. This blue is said to have its roots in art history using lapis lazuli as an influence. The finest and most expensive of pigments, lapis has been used since antiquity due to its intense colour; it was used in the funeral mask of Tutankhamun and by Renaissance and Baroque artists for the clothing of the central figures of their paintings, especially the Virgin Mary.
Drawing of the week: Flamingo Head
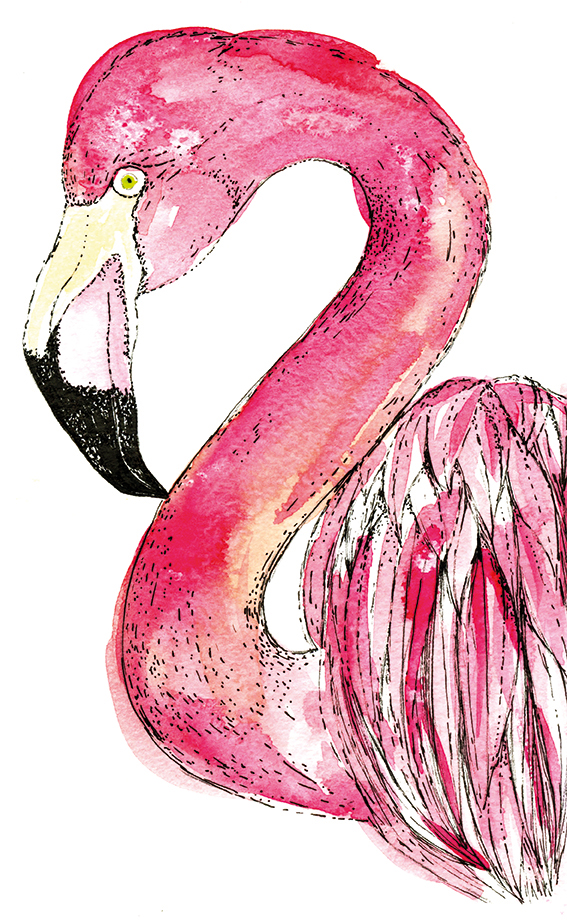
This week’s drawing of the week is of a bright pink flamingo head.
I must admit it has taken me a little while to warm to the flamingo bird, although really fun to paint and draw (you can really go to town with pink watercolour here), it was a bird that never really got under my skin like a puffin, lapwing or curlew. I suppose I was put off because they have been so popular as a motif in homewares and stationery design.
Perhaps I also thought they were show-offs of the avian world – to me they were just a bit too lairy with their pink plumage. Maybe I was jealous – no one could accuse me of being leggy and it’s rare that I splash out with colour in a sartorial sense (I leave that for my illustration).
Of course I was wrong. I mean these birds are magnificent creatures and when you find our about these birds they really are fascinating. Here are some fun flamingo facts…
Special bills
Flamingos beaks are specially adapted to separate mud and silt from the food they eat. The bills are uniquely used upside-down. Don’t know what I mean? Take a look here…
In the pink
Their distinctive pigment comes from carotenoids they eat in animal and plant plankton which are broken down into pigments by liver enzymes.
Flam Fam
Flamingos are very social birds. Their colonies can be thousands strong. This protects them from predators and enables them to nest more efficiently.
Flamingos are very social birds. Their colonies can be thousands strong. This protects them from predators and enables them to nest more efficiently.
What a pair
The birds perform synchronised ritual displays in colonies. The members of a group stand together and display to each other by stretching their necks upwards, making calls while head-flagging, then flapping their wings. Flamingos form strong partnerships although in larger colonies flamingos sometimes change mates (well we’re all allowed to change our minds). Both the male and the female play a part in building and defending the nest. Occasional same-sex pairs have been reported, which makes me happy.
Don’t you just love flamingos a bit more now?
Easy draw Valentine’s makes
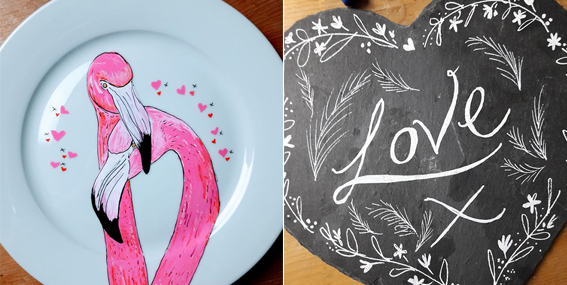
These easy-draw Valentine’s makes are perfect if you like your love tokens handmade. So why not give these illustrations a try in time for the big day on Tuesday?
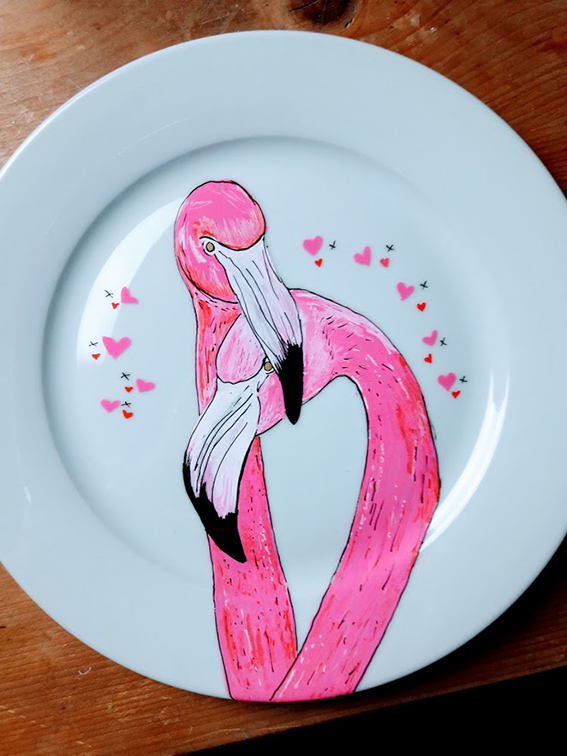
I’ve got lots of posca pens from my workshops last year so grabbed an old white plate and some slate heart-shaped table mats and decided to give them a love-themed drawing update. And with my templates and how-tos you can do them to…
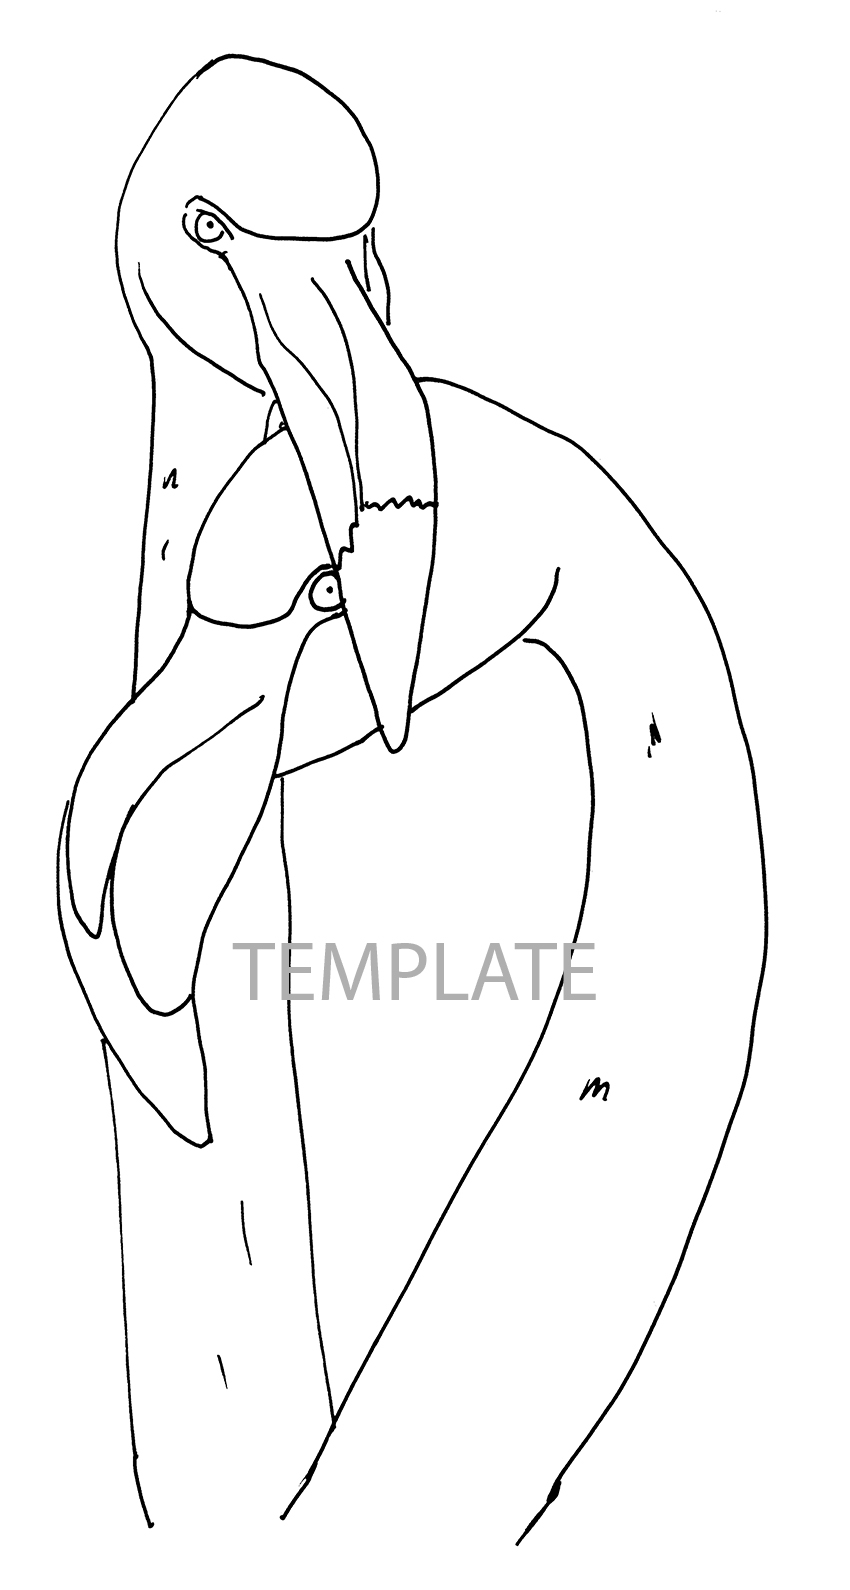
Download the Flamingo template below and take a look at what I did with my outline drawing on this video above.

Or if monotone line drawing is more your bag then follow this cute little demo movie. You don’t need slate, you could work this on any dark surface.
Easy craft: wipe-clean nesting trays
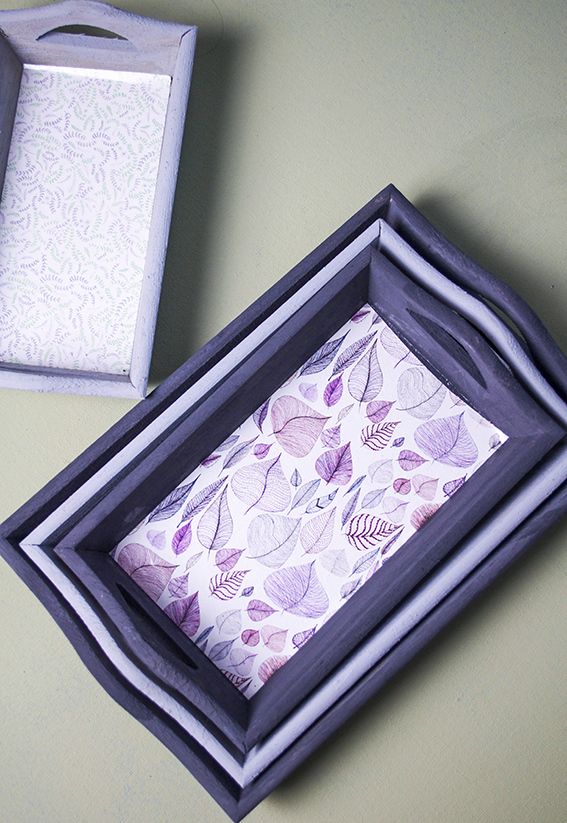 These wipe-clean nesting trays are just the thing for carrying little treats and drinks and they are easy to make too.
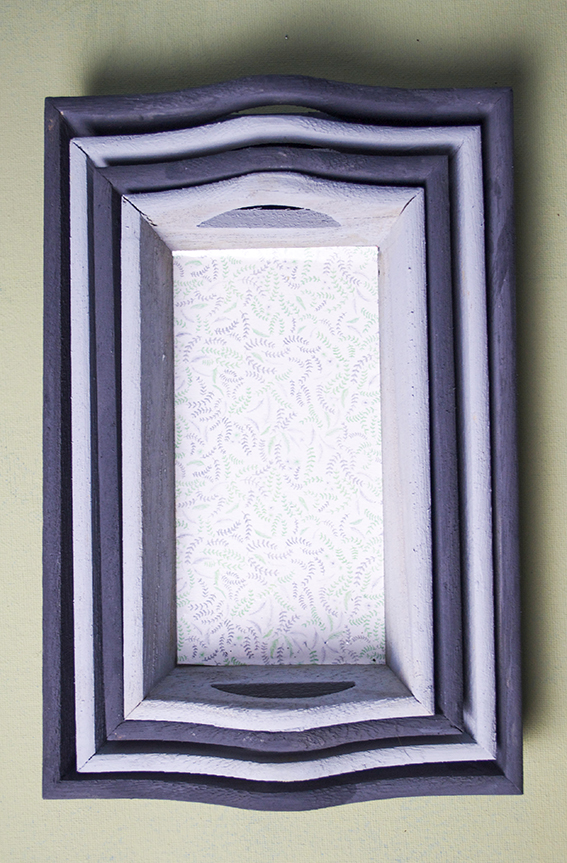
All I did was get a plain set of wooden nesting trays and gave them a lick of chalk paint (Deco Art Americana Decor Chalky finish paint to be exact) in two shades of grey.
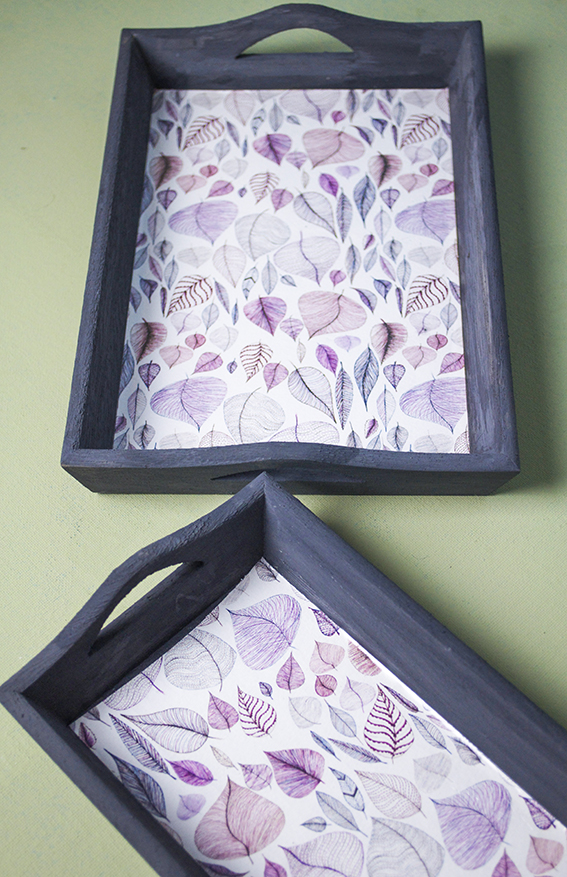 I then measured the inside of the trays and cut my laurel leaf and autumn leaves design paper to size. I covered the paper with sticky-back plastic to make it wipe-clean.
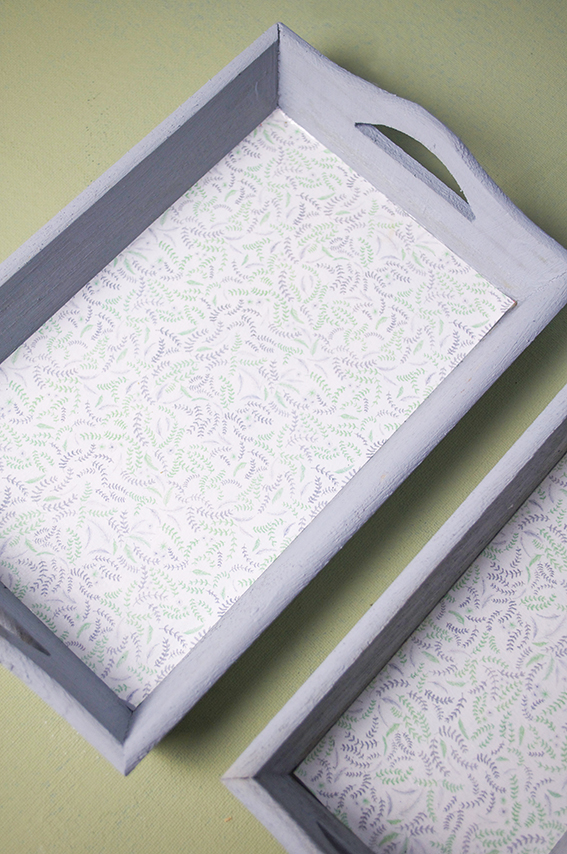 I brushed PVA glue on the inside and placed the shiny patterned paper in it to adhere to the bottom of the tray. See, an easy paper make.
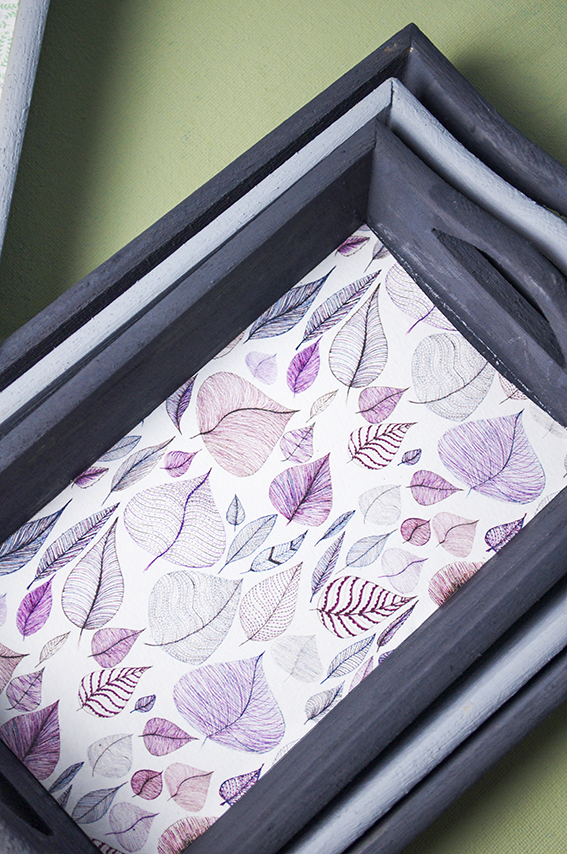 I’ve been using these trays for all sorts of things and they haven’t been damaged by ring marks and spillages. They’re so handy I may make a whole load of them as gifts.

Christmas gift wrap ideas part 4: Christmas tree tags
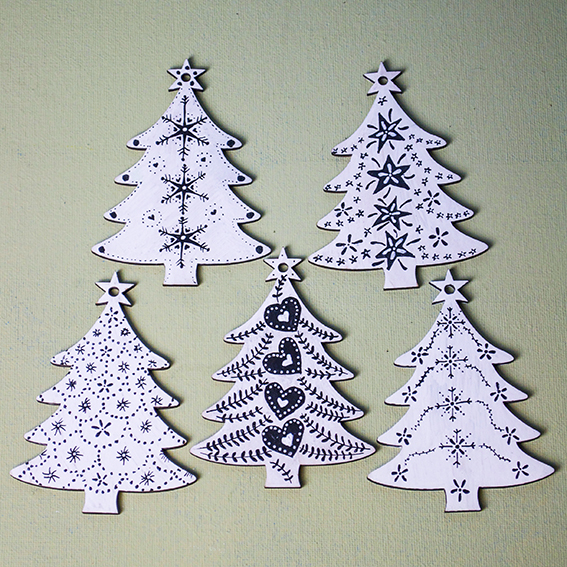 My final Christmas gifting idea can also double up as decorations! I just decorated these mdf Christmas trees with posca pens I had left over from my autumn shows.
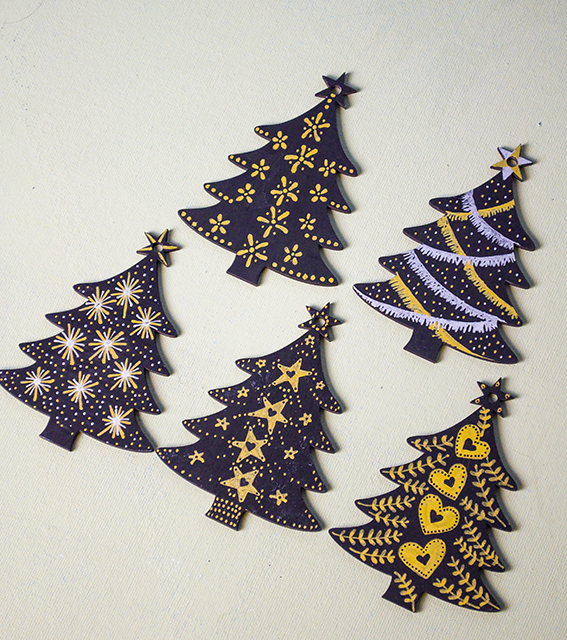
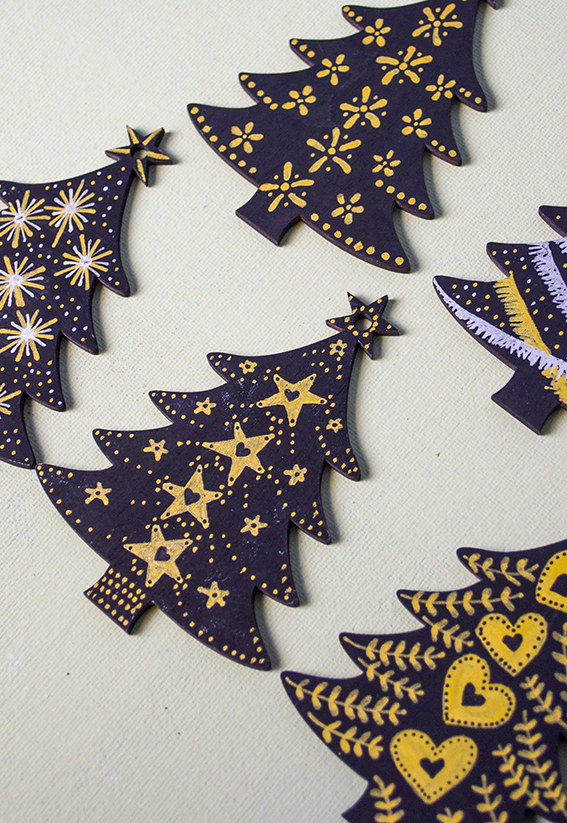
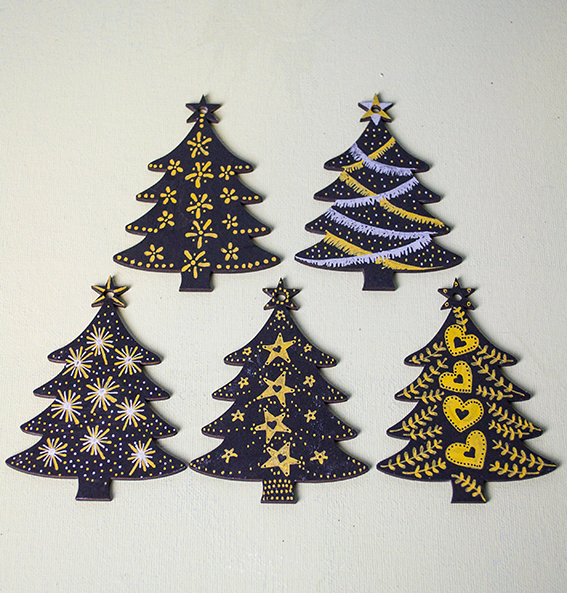 I’m very fond of sticking to a simple set of colours, so as well as using black and white designs I’ve also done some black, silver and gold trees. It’s about as bling as I get. Both of these would go with black wrap or metallic gold and silver papers.
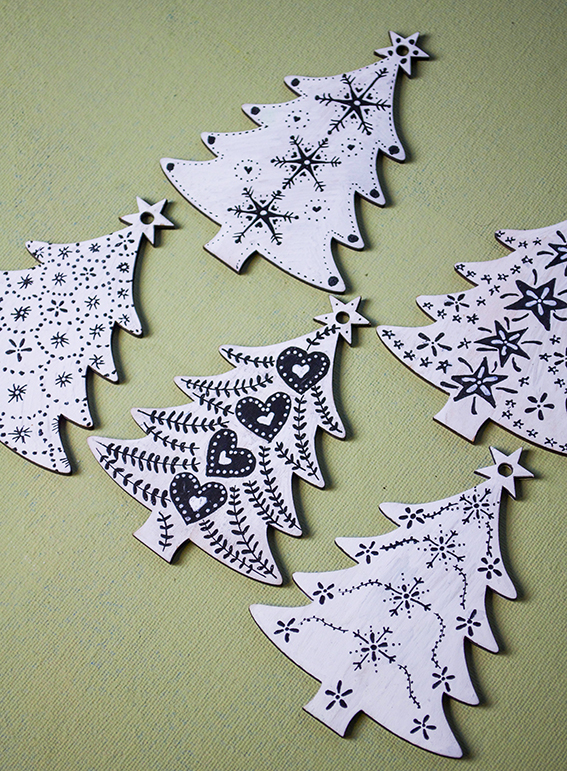 As you can see I’ve used my laurel stem design (how to here), and simple star, snowflake, heart and tinsel motifs.
 Another of my go-to motifs is my simple flower design. Like my other Scandi-style shapes it’s really easy to recreate as you’ll see by my how-to below.
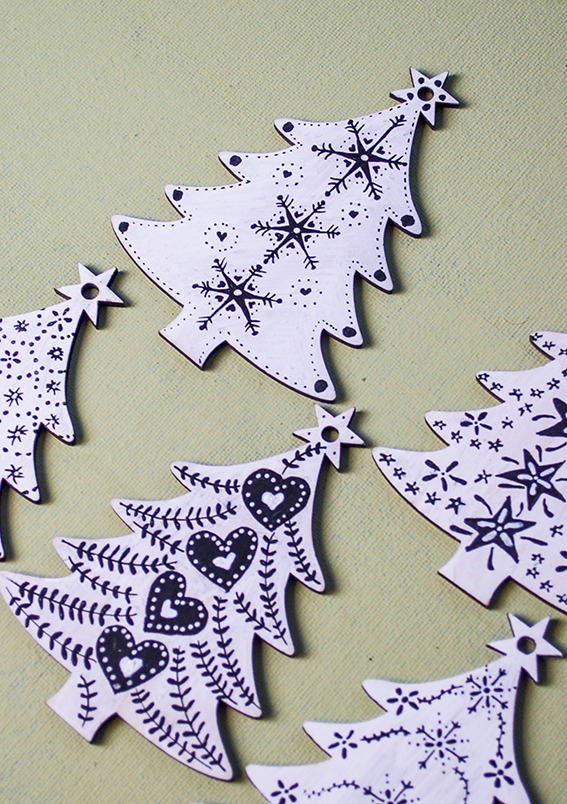
 Simple flower how to step 1: Make a three curved marks one at the top and two at the bottom.
 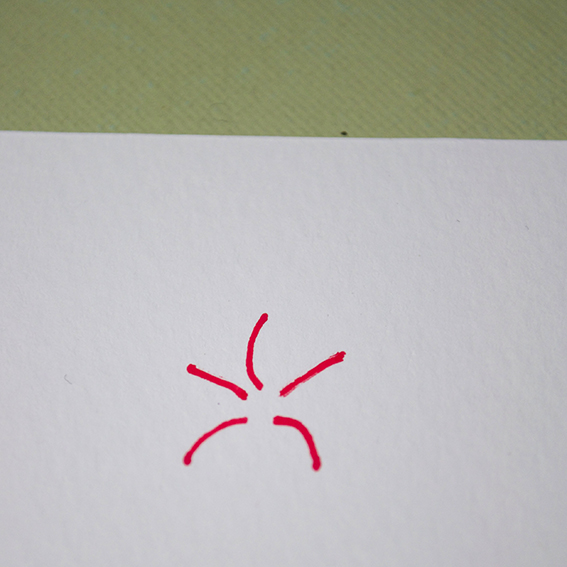 Simple flower how to step 2: Add two lines between the triangular shape so the shape resembles a dancing man.
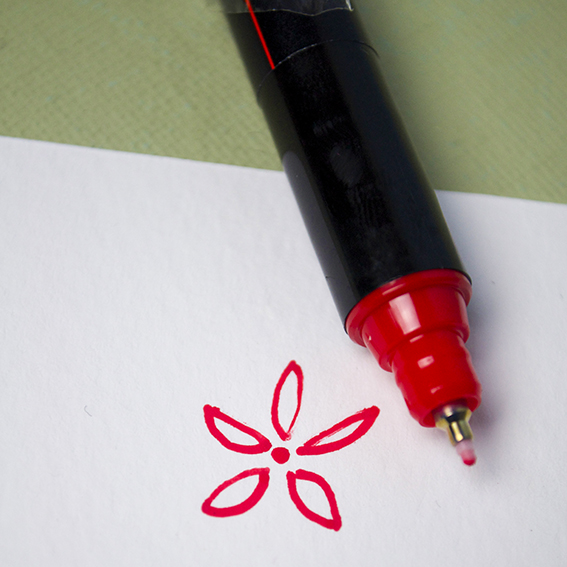 Simple flower how to step 3: Draw curves around the lines to make petals and add a dot in the middle.
  Simple flower how to step 4: Colour in the petals and make little dots around the shape.
Christmas wrap ideas part 3: Super simple black and white
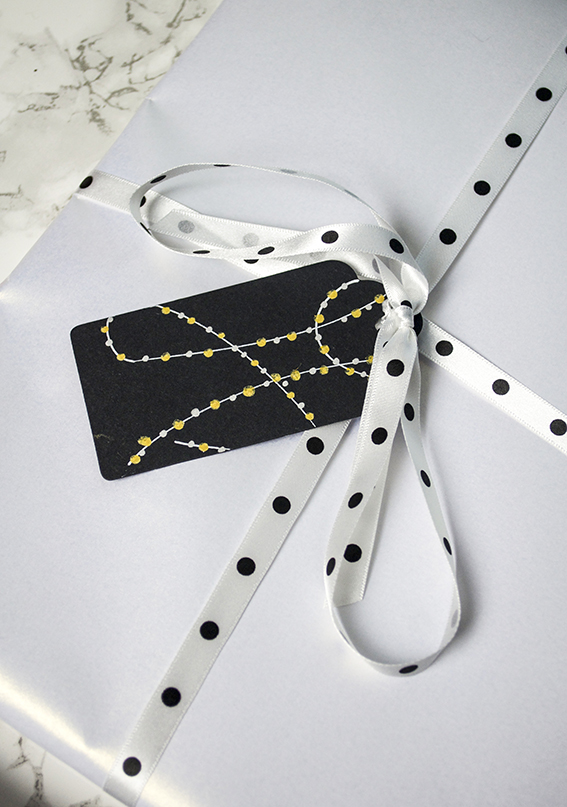
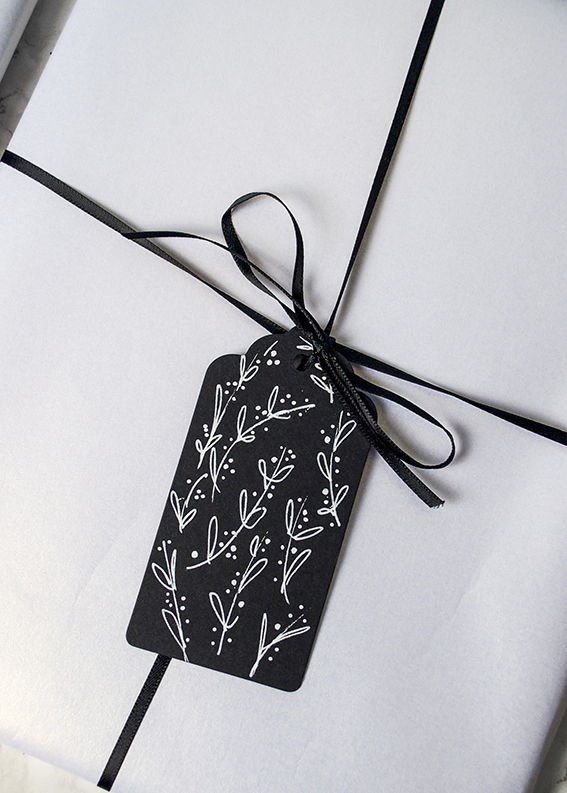 I’ve deliberately kept it simple for part three of my Christmas wrap ideas with these easy black and white designs.
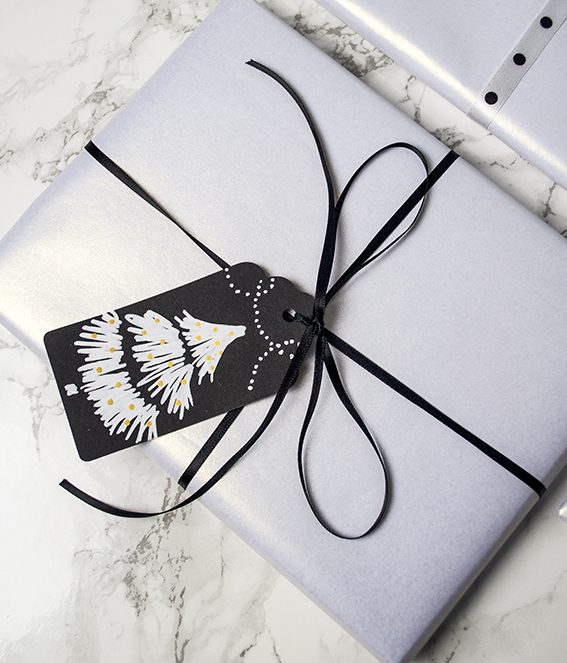 I’ve opted for a lovely iridescent white paper and teamed it with simple black tags and co-ordinating ribbon. The gestural stem designs are based on my laurel stem illustration, see the step by step here. The Christmas tree and garland are really simple; I used a white Posca pen to create tiered jagged shapes for the tree, waited for the paint to dry and overlaid it with gold dots. For the garland I drew some simple thin lines with a silver Posca pen then added white and gold dots.
Christmas gift wrap ideas part 2: Scandi-style black and white
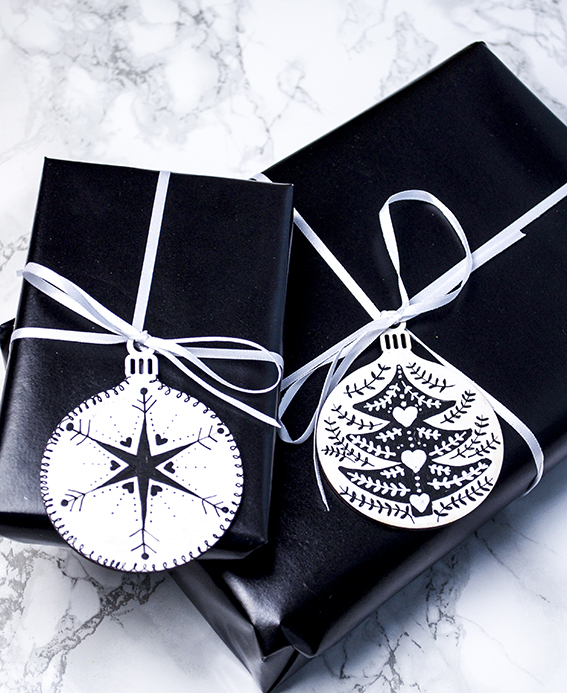
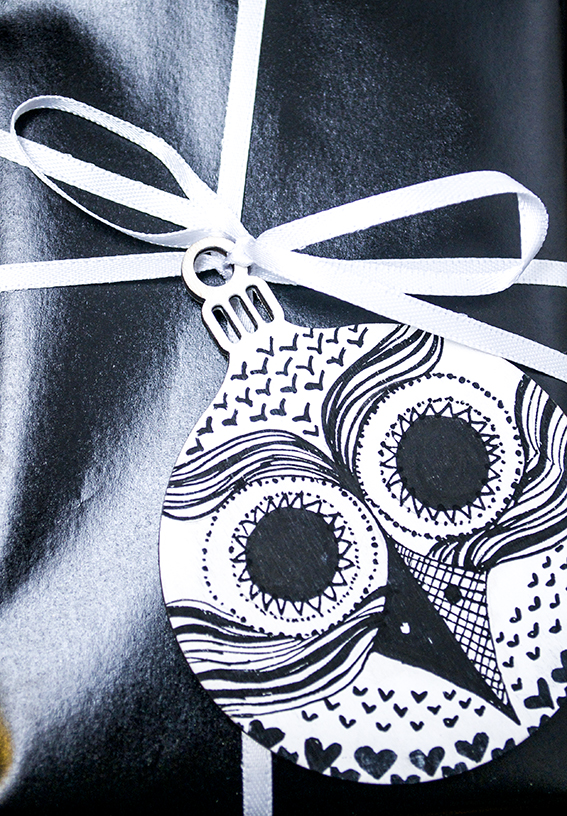
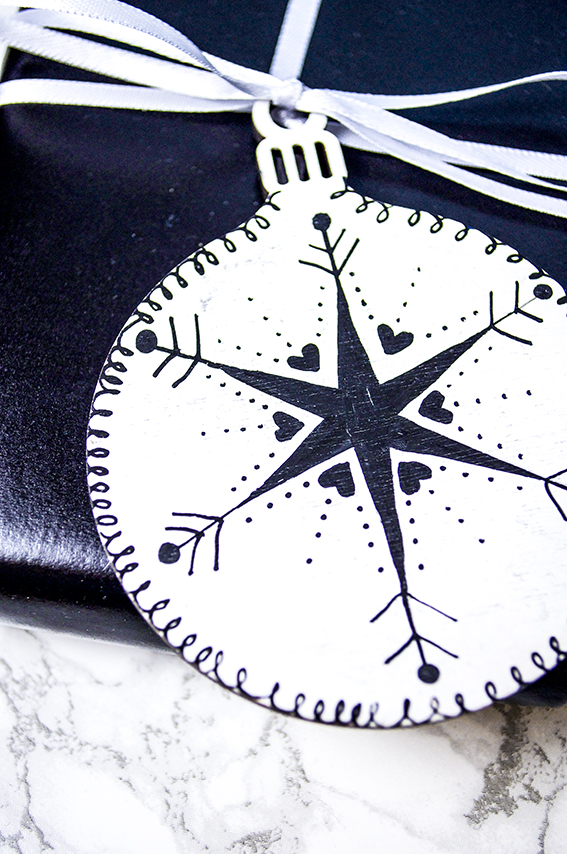 It’s day two of my week of Christmas wrap ideas. This time I’ve gone for a stylish, yet playful Scandi-style as seen in my Scandi Lodge trend ideas with illustrated mdf bauble shaped tags.
 Using my Scandi-style Christmas moodboard and my pinterest pins as inspiration I painted the shapes with white acrylic paint and used black Posca pens to apply the designs.
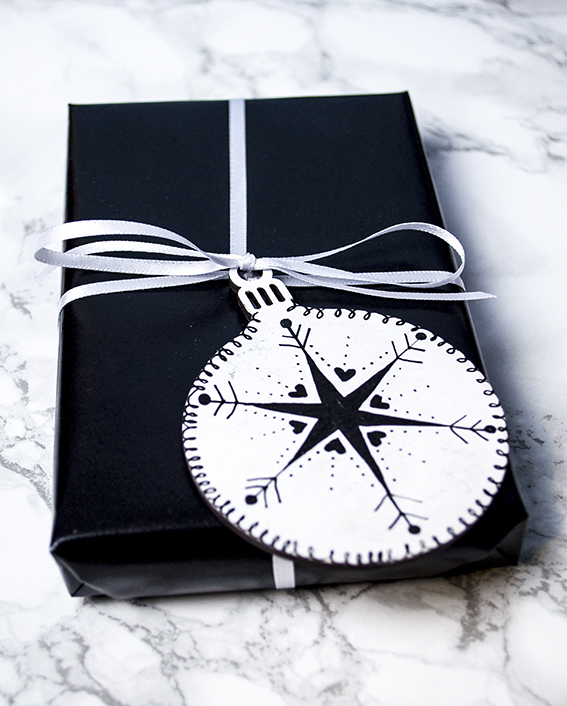 I kept the drawings fairly simple with basic star/snowflake shapes, squiggles, hearts, dots and scallops. Because the illustrated baubles create such an impact I kept the wrap itself very simple using shiny black paper with black or white 5mm and 10mm satin ribbon.
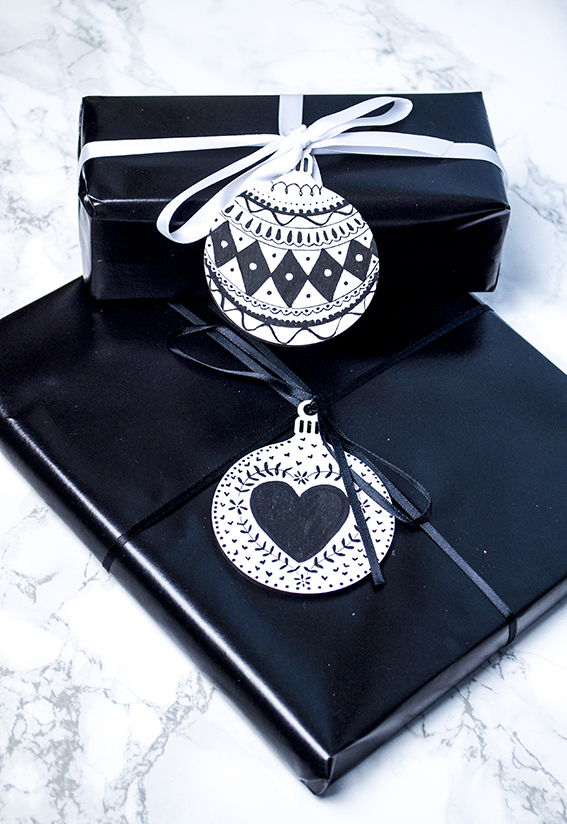 One of the easiest Scandi-style motifs I like to create is my simple laurel stem illustration that you can see above on the heart and the Christmas tree designs. It’s very, very easy to recreate as these step by steps show.
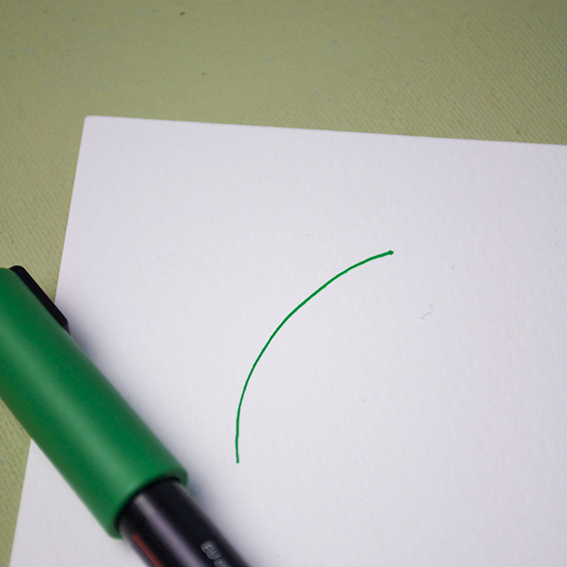 Step 1: Draw a simple line, it can be curved or straight, although I prefer mine to be a little jaunty.
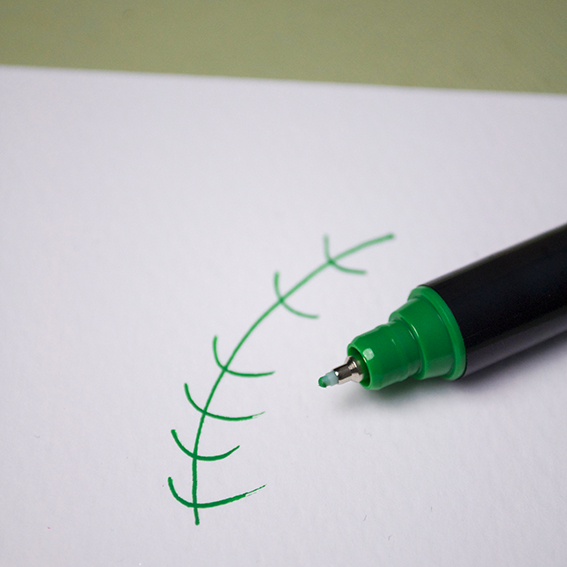 Step 2: Make little semi-circle shapes along the line as shown.
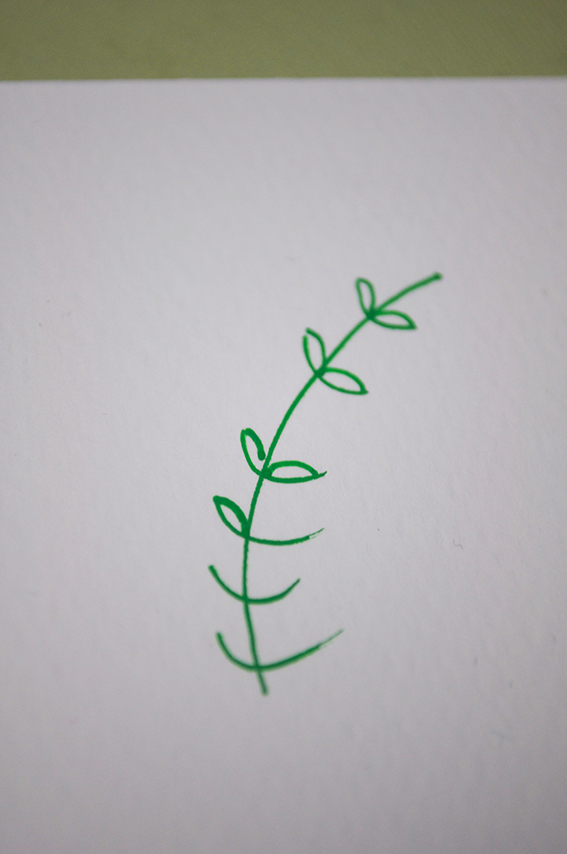 Step 3: Join the tops of the semi-circle to the central line to create leaves.
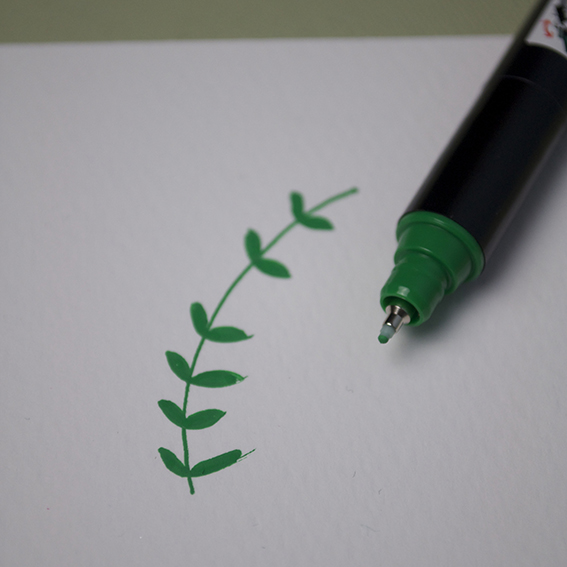 Step 4: Colour in the leaves.
Christmas wrap ideas part 1: Totes trad red and green
 Over the next four days I got some top easy gift wrap ideas for giving your Christmas pressies that extra pizzazz.
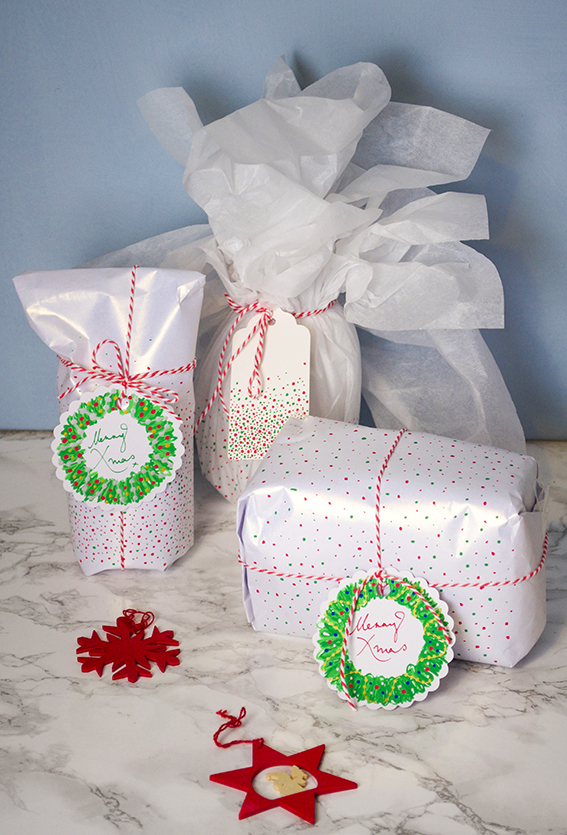 Idea number one is inspired by the totes trad red and white festive theme as outlined in this Christmas trends post. As I might of mentioned, this red, white and green colour scheme is one very much favoured by Dr B. So I always do something every year that’s a little concession to his yuletide preferences (although in fairness he’d have penguins and robins and Santas everywhere if it were up to him).
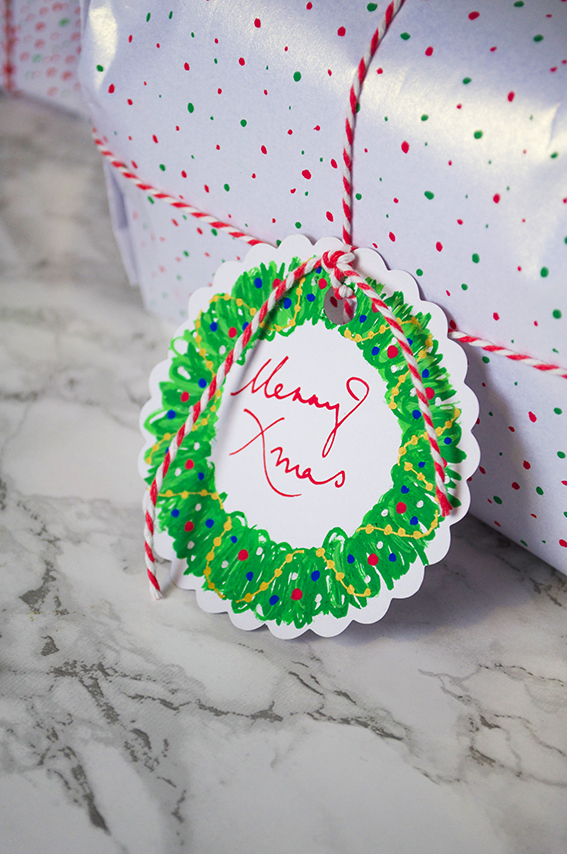
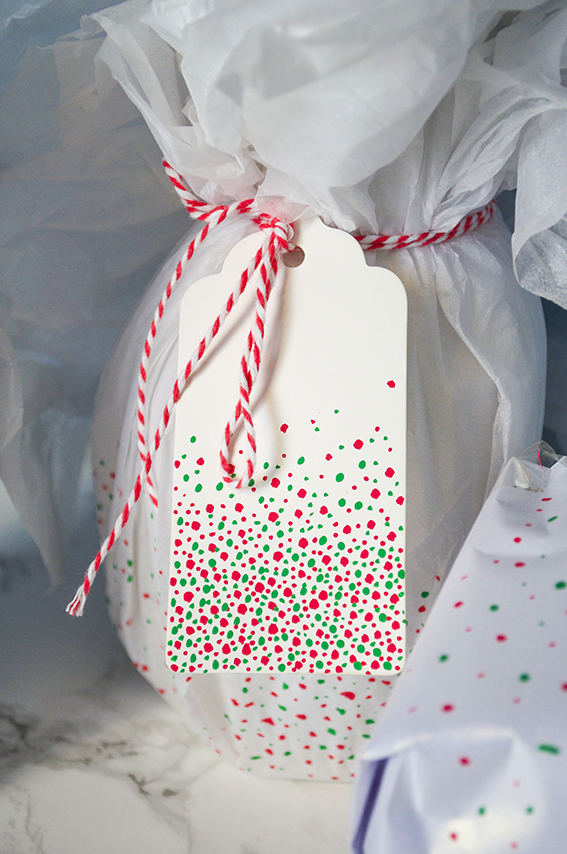 This is my concession to tradition. I have loads of gift tags and Posca pens left over from the craft shows I did this autumn so I thought I’d get busy with some quick and easy wrap revamps. I used two different nib sizes (5M and 1MR) to create different sized dots on the wrapping paper and some of the tags. I then finished it off with a trad twine bow. I also completed some of the gifts with a bespoke wreath tag. It’s dead easy to do, so much so I’ve got a little step by step for you below for you to try.
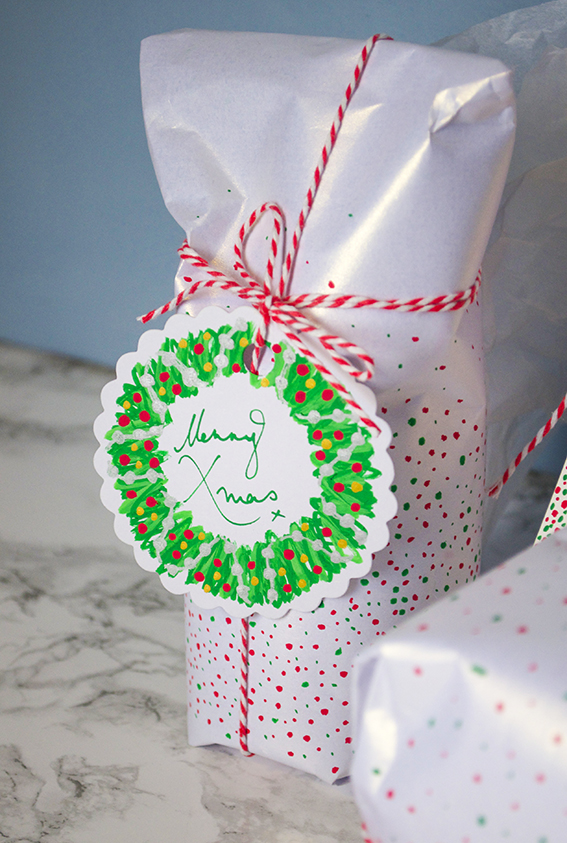 You don’t have to be a fantastic drawer to create this wreath, I’ve shown loads of people how to do it; if you can make a mark you can make this wreath. You’ll need a circular tag and Posca pens in dark and light green, gold (or silver), red and blue.
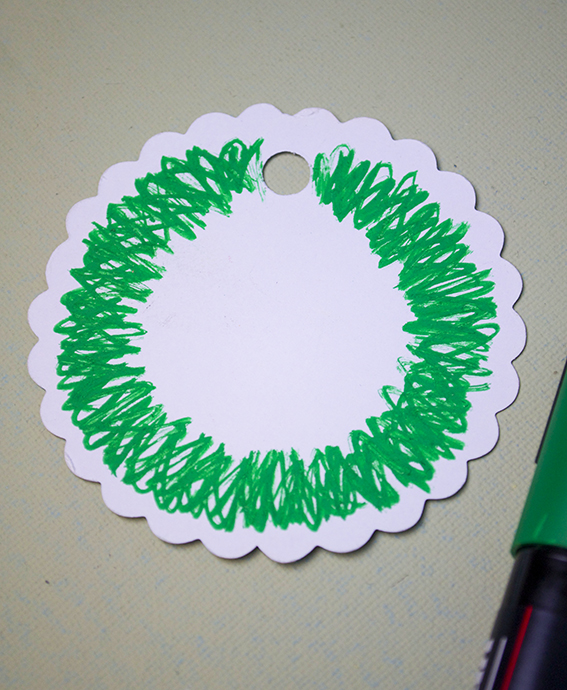 Step 1: Make a dark green circle using a rough layered zig-zags.
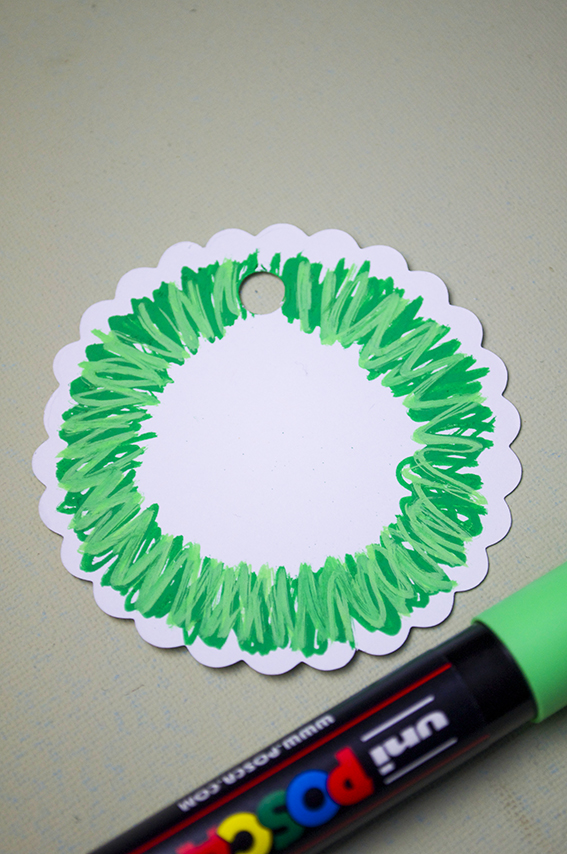 Step 2: Overlay the dark green with a lighter shade.
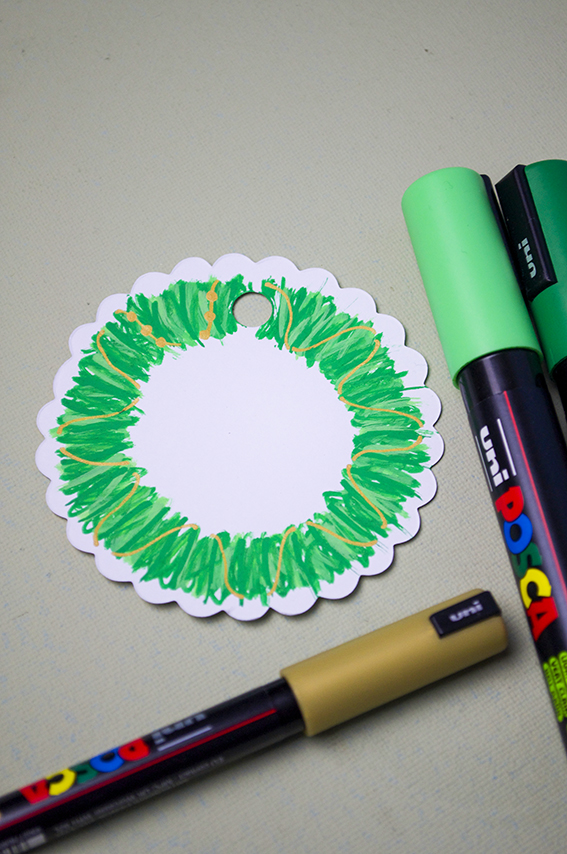 Step 3: Once your wreath is dry (the pens are paint based so you can use them as such) use the gold pen to draw lines around the ring as above, like it is wrapped around the wreath. Once you have covered the wreath with gold lines draw circles along the lines to make a string of beads.
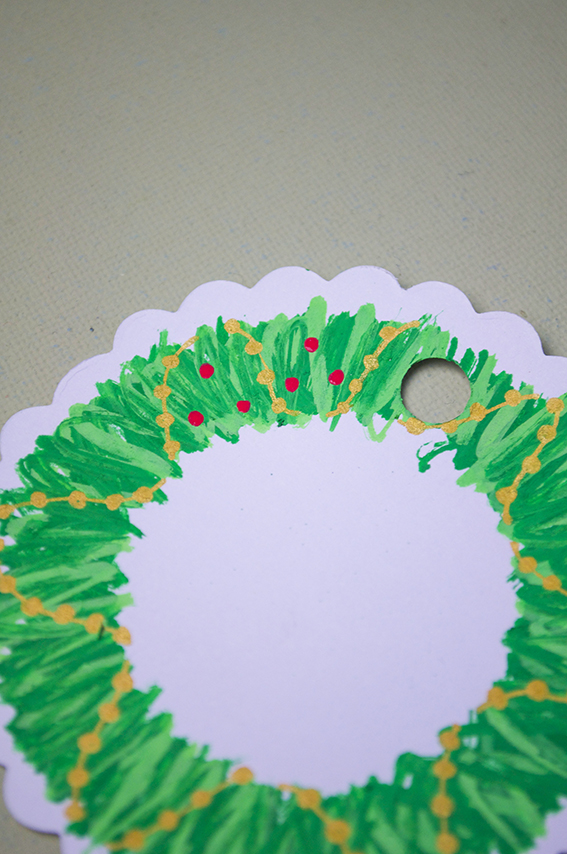 Step 4: Add coloured baubles in-between the gold bead garland.
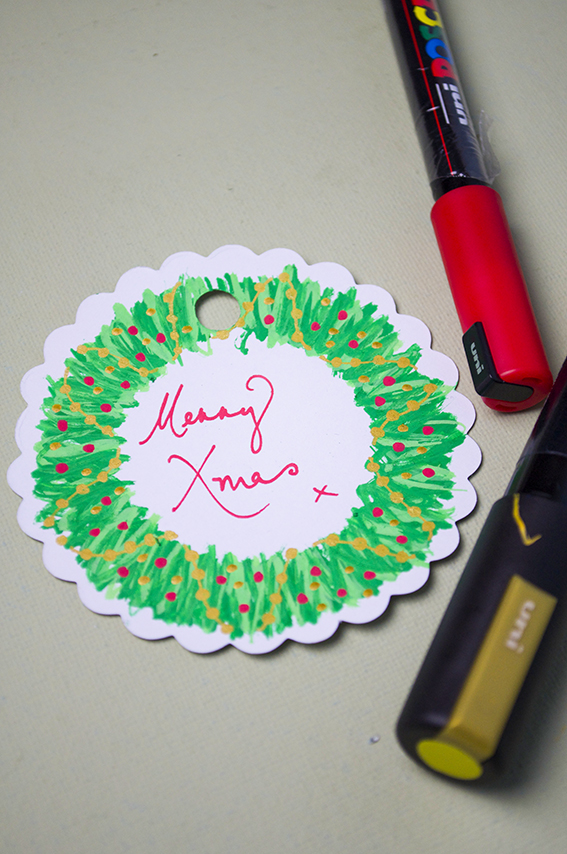
Step 5: Write a little festive phrase in the middle.