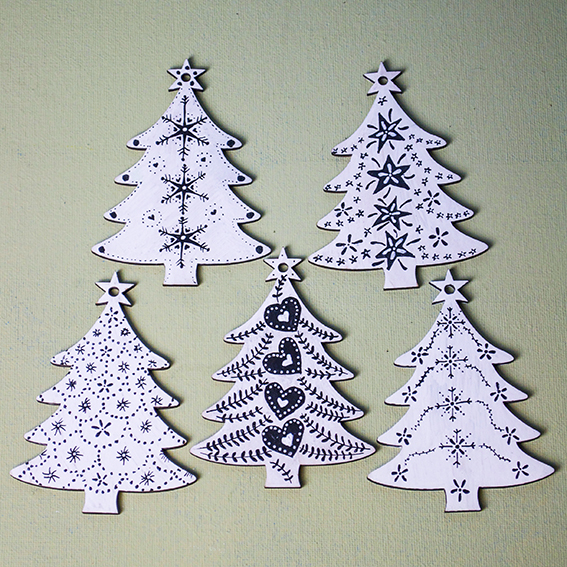
 My final Christmas gifting idea can also double up as decorations! I just decorated these mdf Christmas trees with posca pens I had left over from my autumn shows.
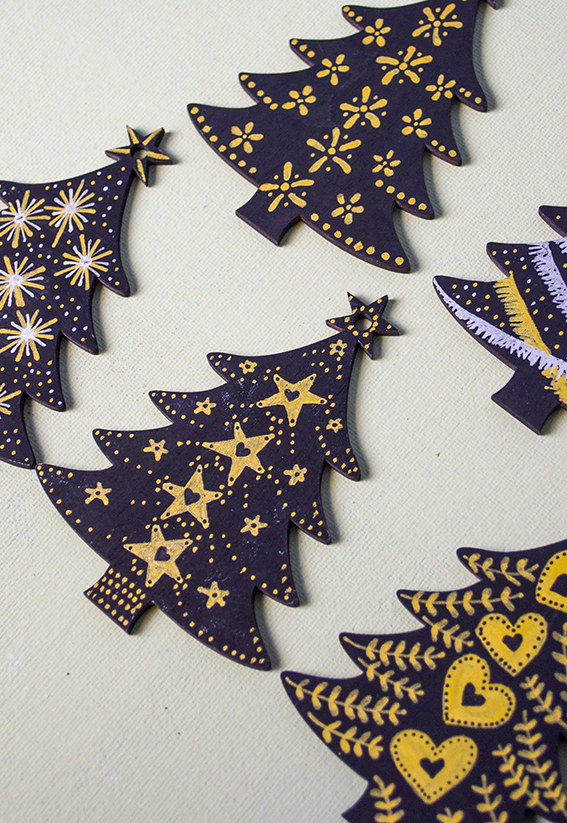
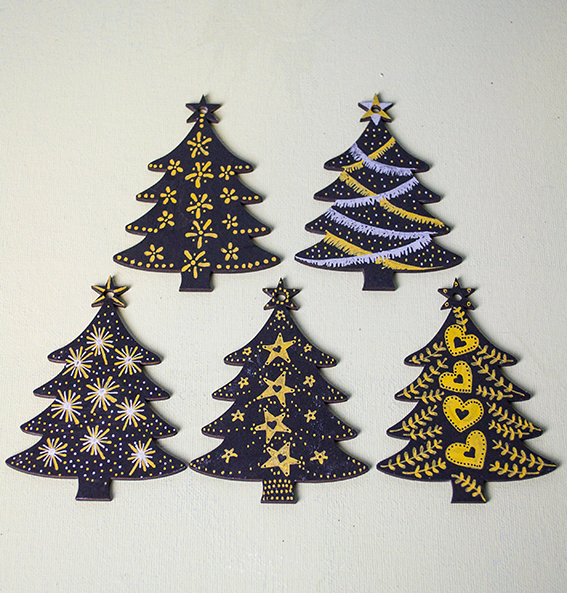 I’m very fond of sticking to a simple set of colours, so as well as using black and white designs I’ve also done some black, silver and gold trees. It’s about as bling as I get. Both of these would go with black wrap or metallic gold and silver papers.
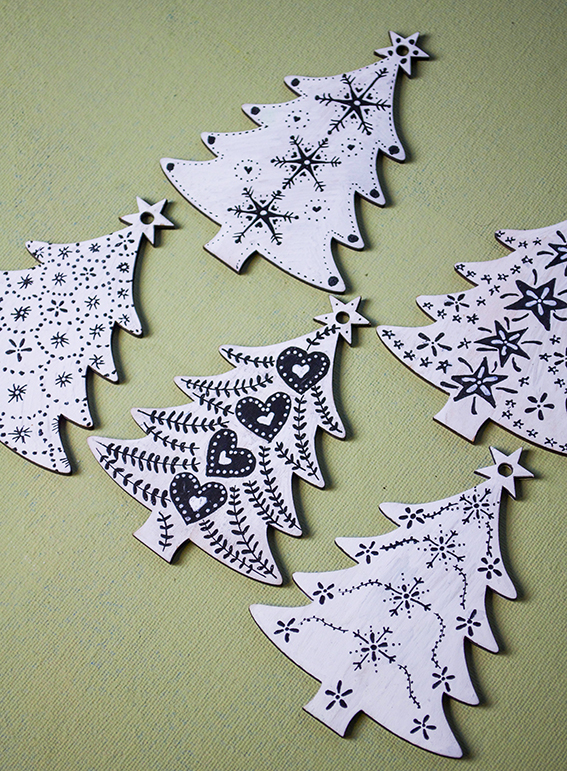 As you can see I’ve used my laurel stem design (how to here), and simple star, snowflake, heart and tinsel motifs.
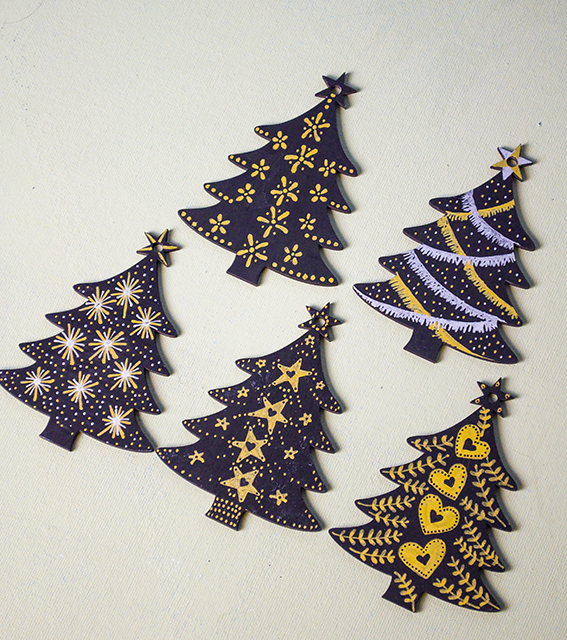 Another of my go-to motifs is my simple flower design. Like my other Scandi-style shapes it’s really easy to recreate as you’ll see by my how-to below.
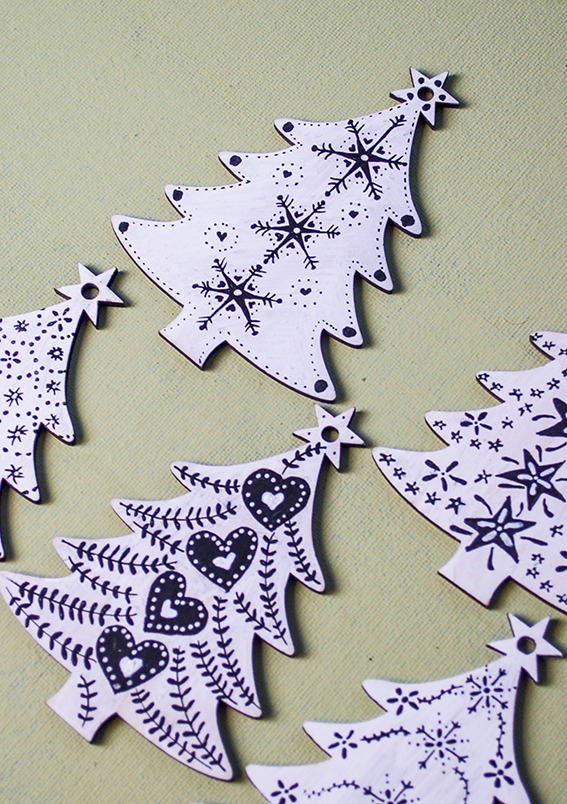
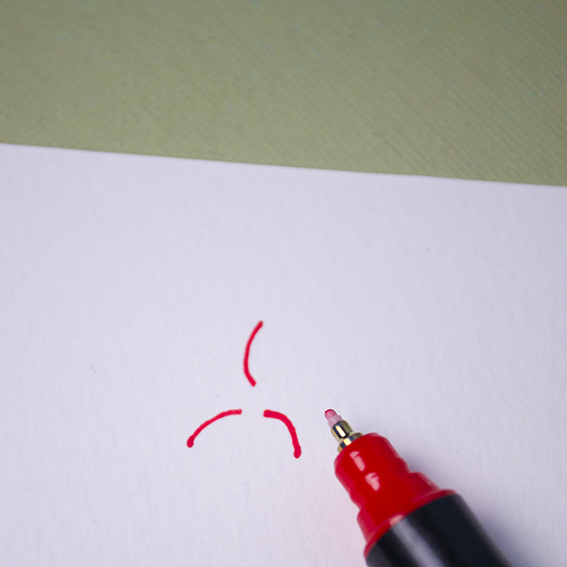 Simple flower how to step 1: Make a three curved marks one at the top and two at the bottom.
 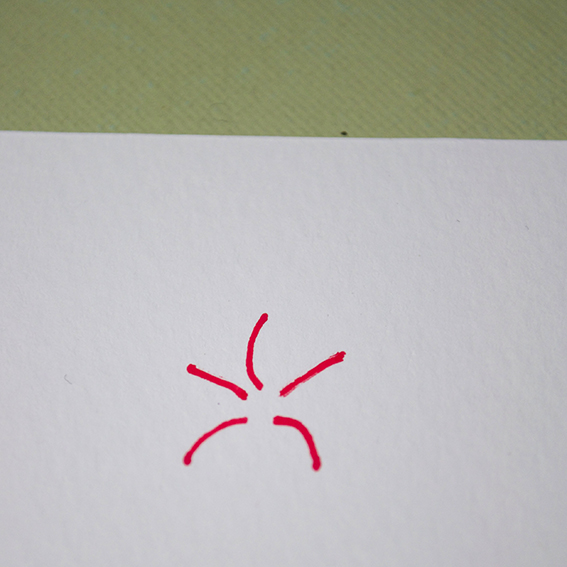 Simple flower how to step 2: Add two lines between the triangular shape so the shape resembles a dancing man.
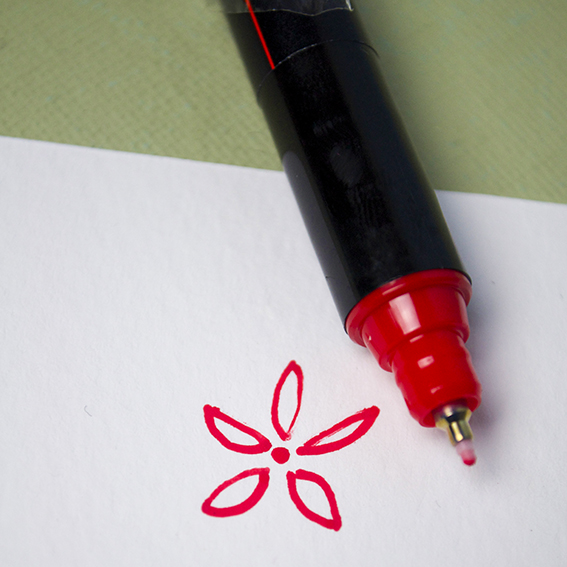 Simple flower how to step 3: Draw curves around the lines to make petals and add a dot in the middle.
  Simple flower how to step 4: Colour in the petals and make little dots around the shape.
Tag: easy
Christmas wrap ideas part 1: Totes trad red and green
 Over the next four days I got some top easy gift wrap ideas for giving your Christmas pressies that extra pizzazz.
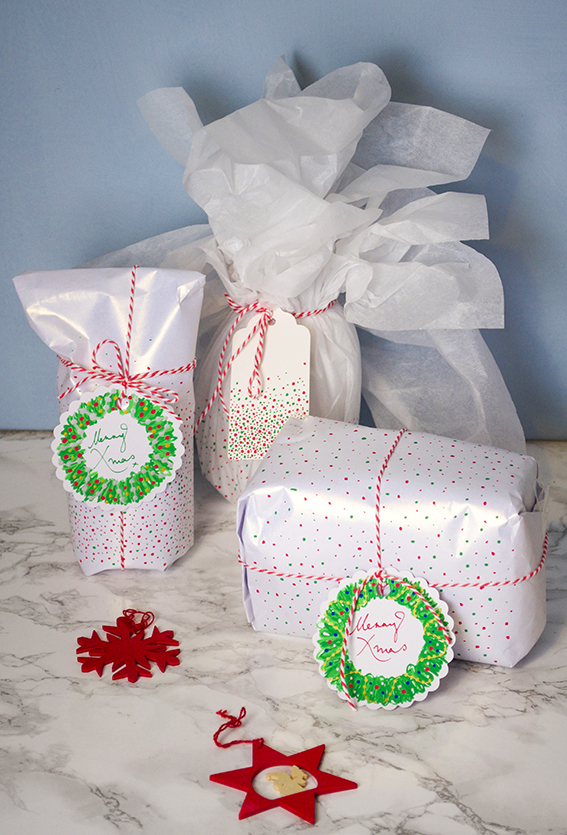 Idea number one is inspired by the totes trad red and white festive theme as outlined in this Christmas trends post. As I might of mentioned, this red, white and green colour scheme is one very much favoured by Dr B. So I always do something every year that’s a little concession to his yuletide preferences (although in fairness he’d have penguins and robins and Santas everywhere if it were up to him).
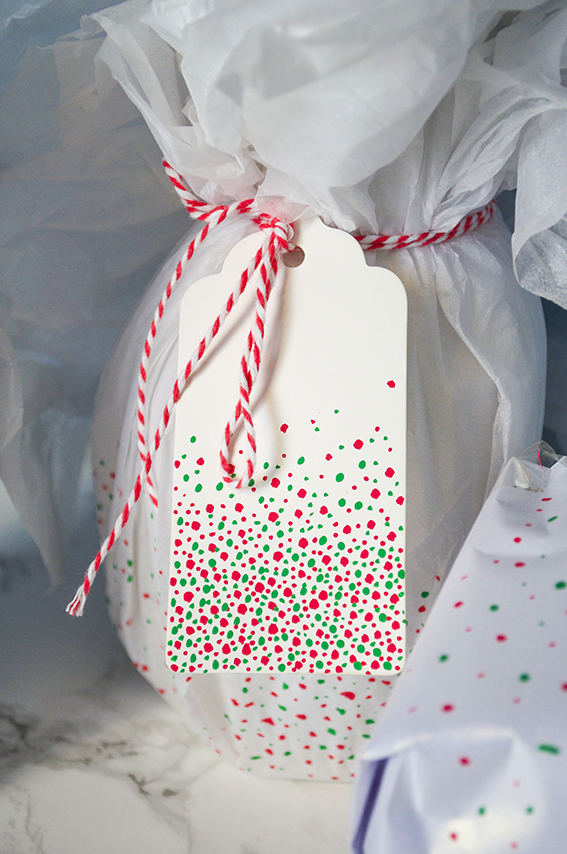 This is my concession to tradition. I have loads of gift tags and Posca pens left over from the craft shows I did this autumn so I thought I’d get busy with some quick and easy wrap revamps. I used two different nib sizes (5M and 1MR) to create different sized dots on the wrapping paper and some of the tags. I then finished it off with a trad twine bow. I also completed some of the gifts with a bespoke wreath tag. It’s dead easy to do, so much so I’ve got a little step by step for you below for you to try.
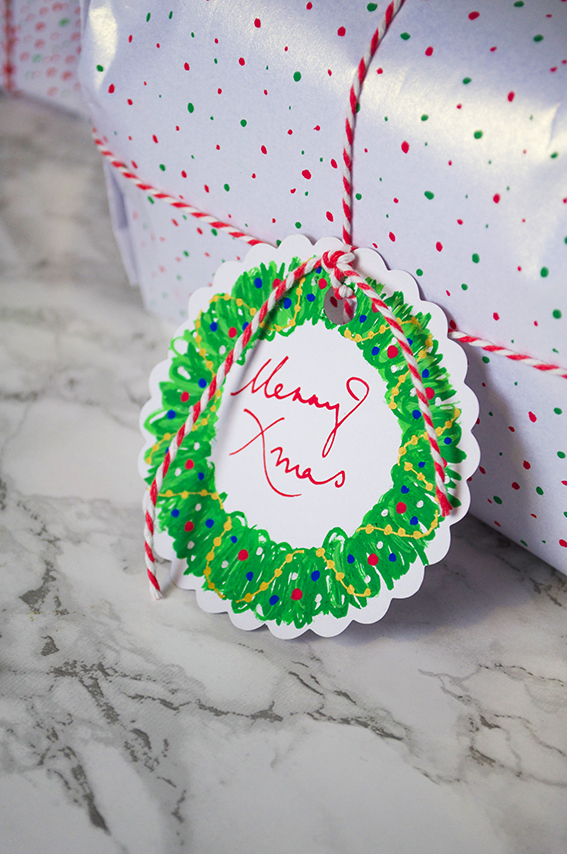
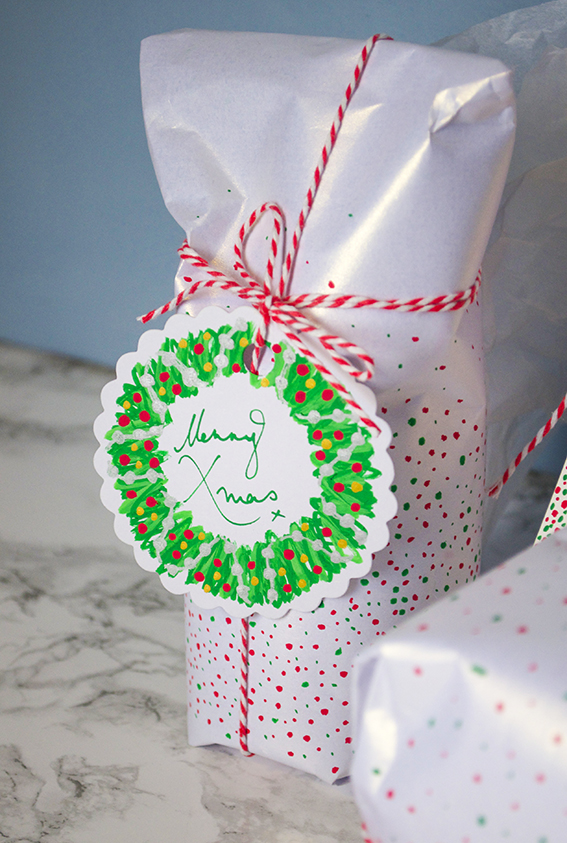 You don’t have to be a fantastic drawer to create this wreath, I’ve shown loads of people how to do it; if you can make a mark you can make this wreath. You’ll need a circular tag and Posca pens in dark and light green, gold (or silver), red and blue.
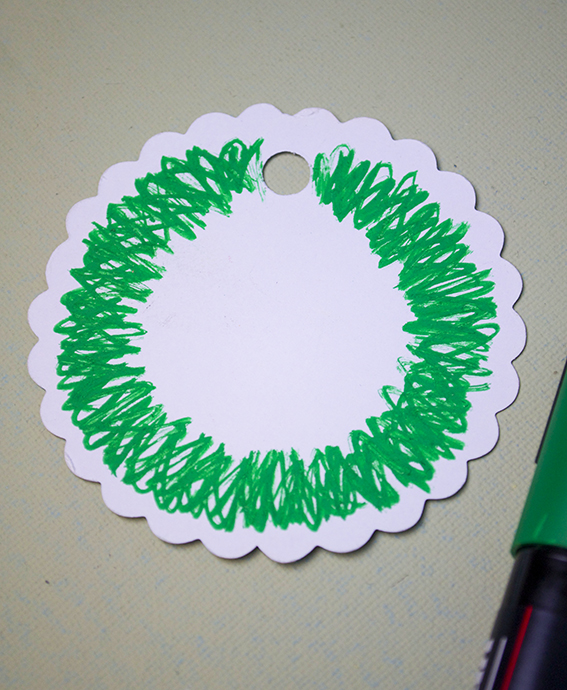 Step 1: Make a dark green circle using a rough layered zig-zags.
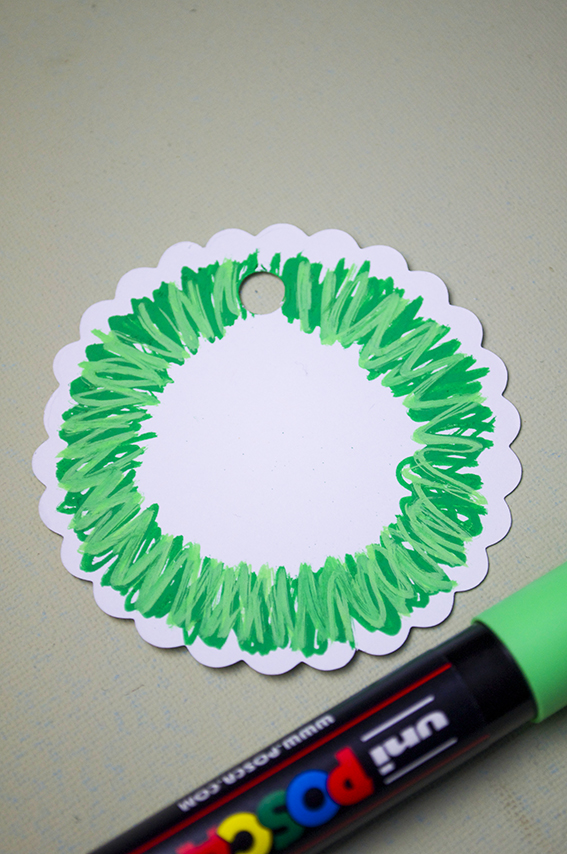 Step 2: Overlay the dark green with a lighter shade.
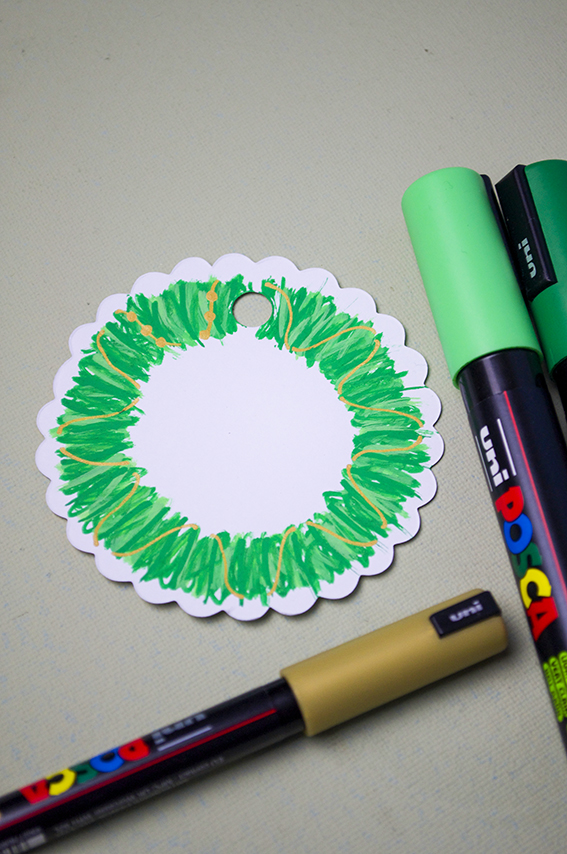 Step 3: Once your wreath is dry (the pens are paint based so you can use them as such) use the gold pen to draw lines around the ring as above, like it is wrapped around the wreath. Once you have covered the wreath with gold lines draw circles along the lines to make a string of beads.
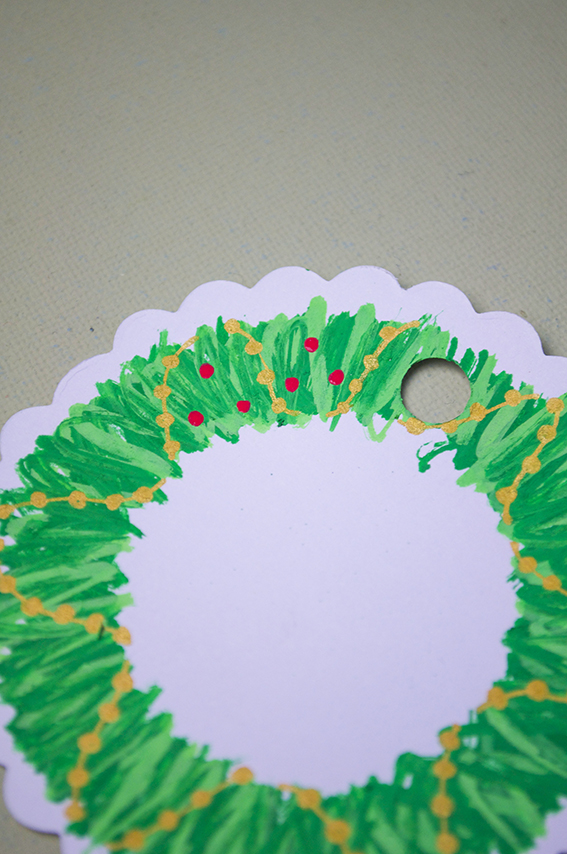 Step 4: Add coloured baubles in-between the gold bead garland.
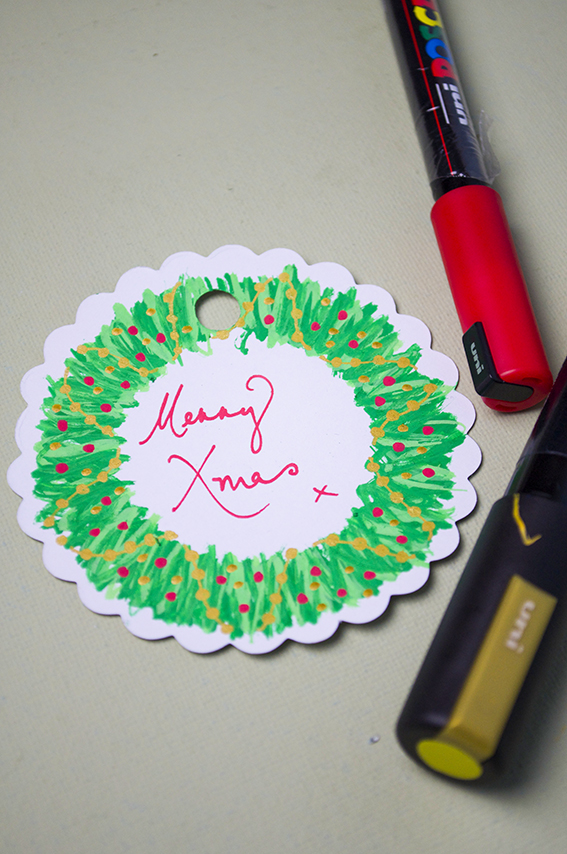
Step 5: Write a little festive phrase in the middle.
Easy, Cheap Display Ideas: Spoils from my Garden
 The garden is a great place to source bits and pieces for a quick, easy and cheap display. Ideal for weddings and parties or, for me, as last minute props when photographing my prints and stationery.
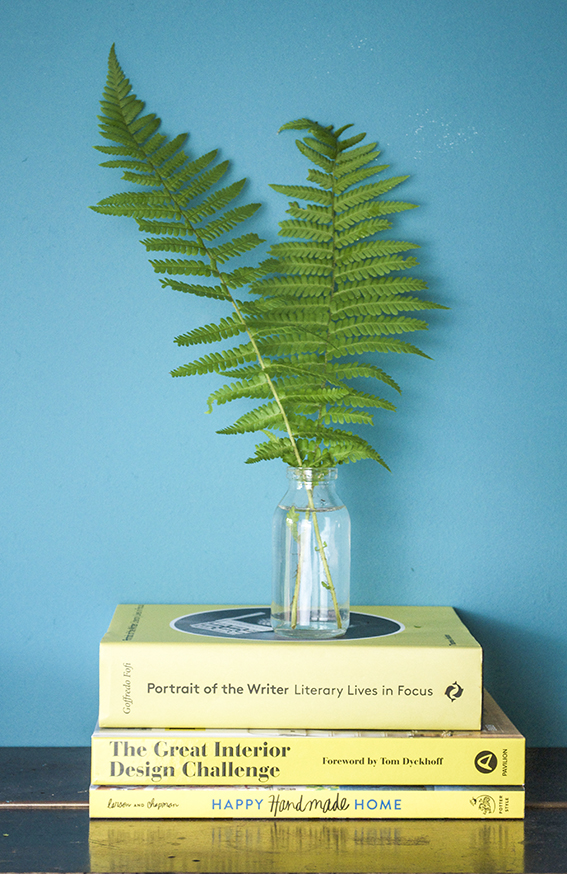
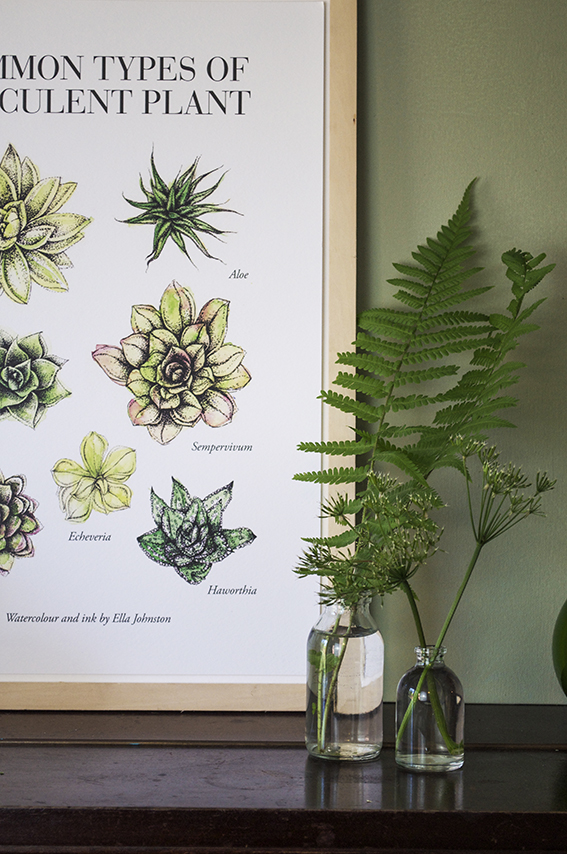 As our ferns are so lush and green at the mo, I’ve been snipping the odd leaf to place in clear containers for the ultimate elegant display. Teaming them with over-it cow parsley also looks very effective as a simple structural tableaux.
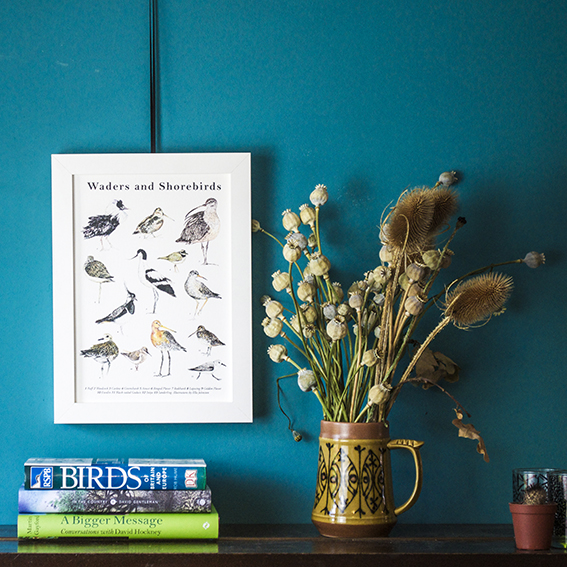
We had an abundance of poppies this year. Now they’re all done I’ve got loads of fab poppy heads to have as year-round loveliness. I’ve combined these with some dried out teasels that my mum gave me last year and placed them in a vintage jug I picked up from a charity for a loose organic feel.
Quick and Easy Update: Hang Fabric hoops
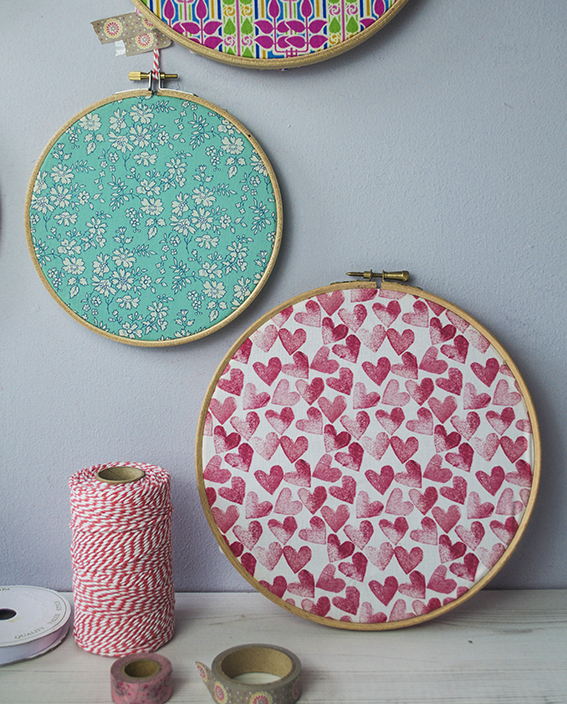
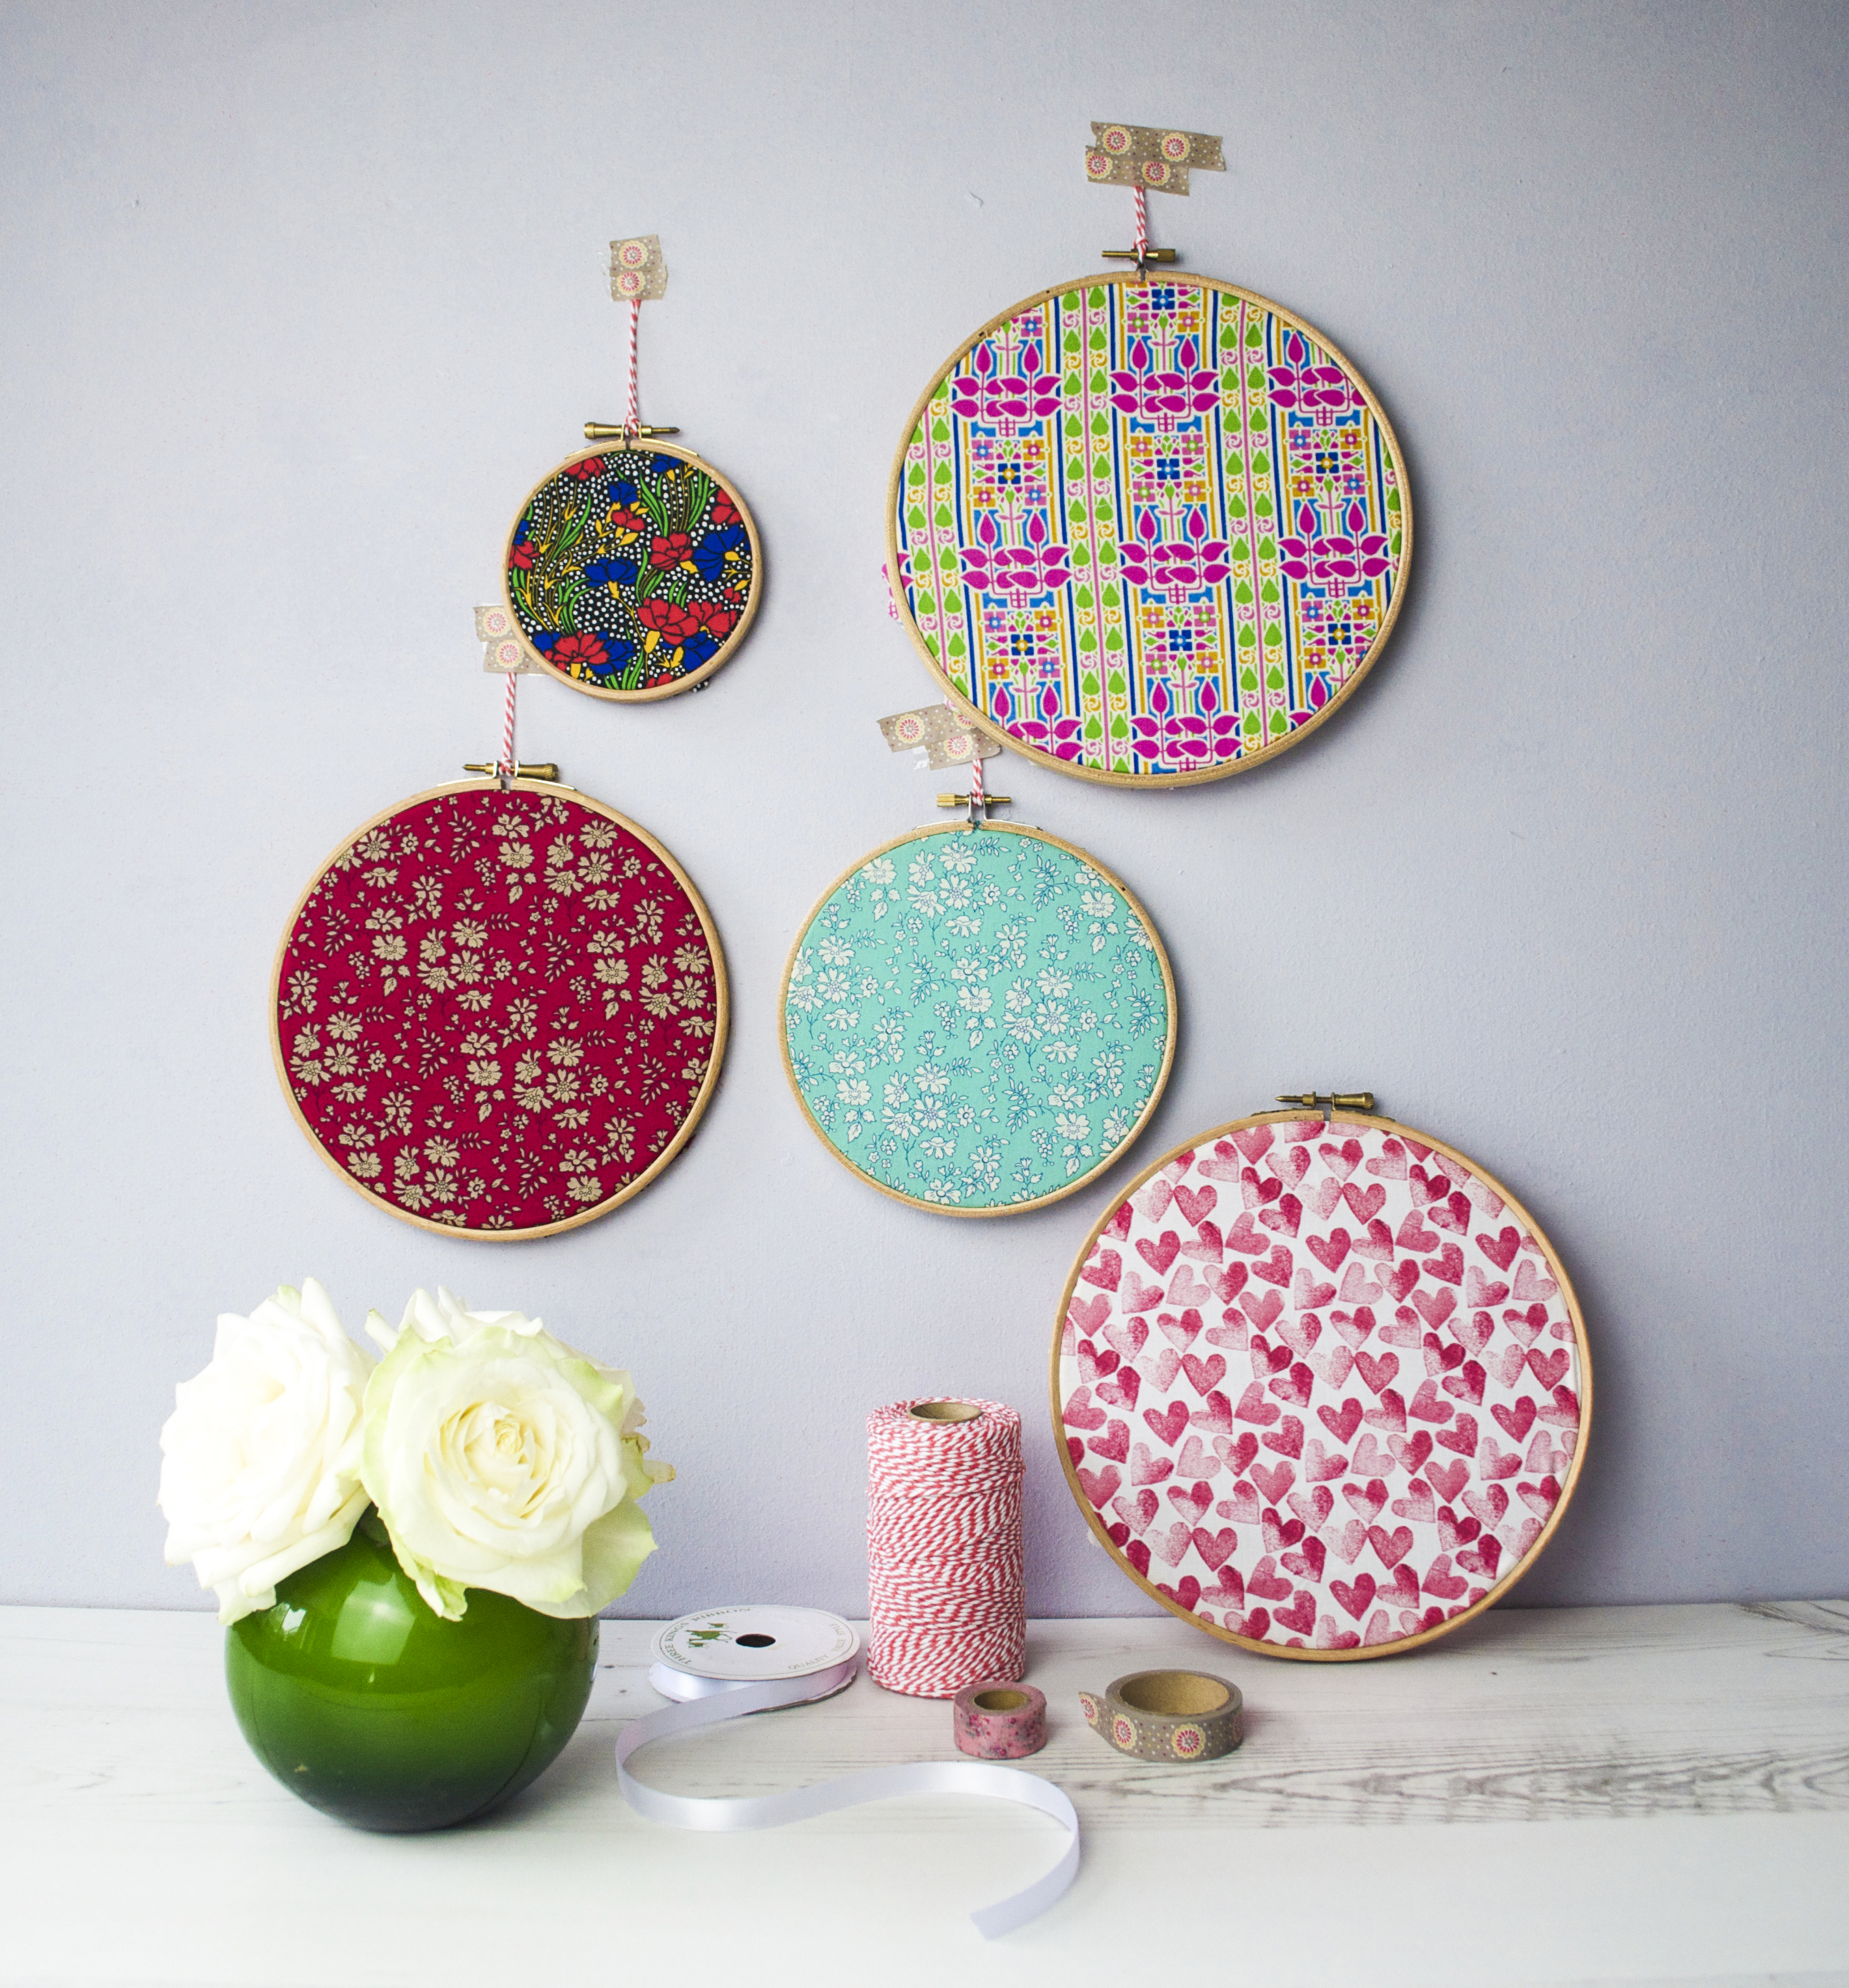 If you’re short of time or money here’s a super quick, easy way of giving your walls an update. Just buy a set of embroidery hoops, stretch some over some scrap fabric (it doesn’t have to be ‘proper’ haberdashery fabric you can use old shirts or dresses) and there you go!
 The great thing about this is you can change the display to suit the seasons. And if you’re so inclined, you can also add a little stitching over your fabric with slogans and patterns.
Cheap and Easy Decoration Tips: Colourful Amy Butler display
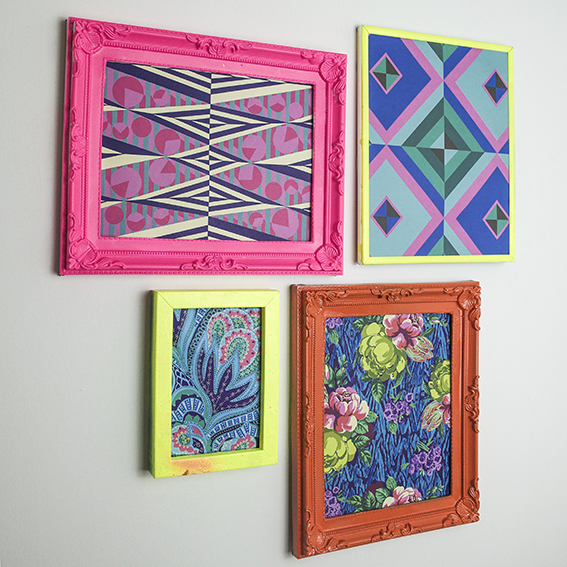
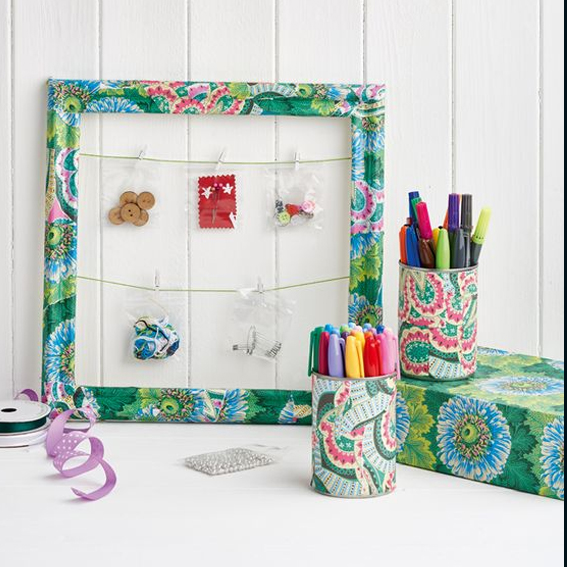
One of my favourite cheap and easy decoration tips is to create a colourful wall display. Here I’ve hung some Amy Butler prints in neon frames.
Bright and eclectic, Amy Butler’s designs are so joyous. Butler gets inspiration from a range of sources, using patterns and colour combinations inspired by her travels around the world.
I’ve got loads of her fabrics and I was very excited when she released a book of her designs on paper, Amy Butler Decoupage. I’ve used the papers on many of my projects (including this one above for Homemaker Magazine). The book only costs around £11 and you get 80 colourful sheets making it fantastic value. I had a few sheets left and I’ve always felt a bit guilty about ripping them up for decoupage and wanted to show them off properly as a wall display.
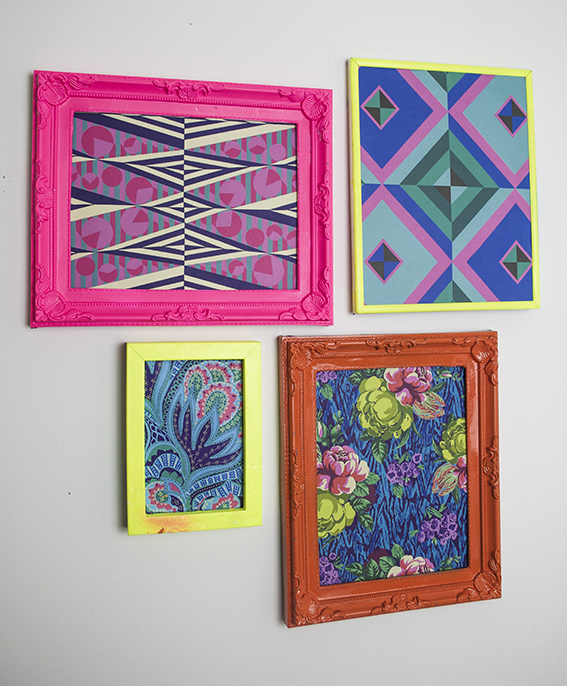 Luckily I have a collection of old frames gathered over the years and picked up at car boots (I think it’s another obsession of mine) and luckier still I’ve got a whole box full of spray paint in various colours (including some fab neons) to co-ordinate with the prints. They really brighten up a dark corner and would look really fun as a grid with matching frames to fill a wall.
Stash-busting How-to: Make Paper Banners
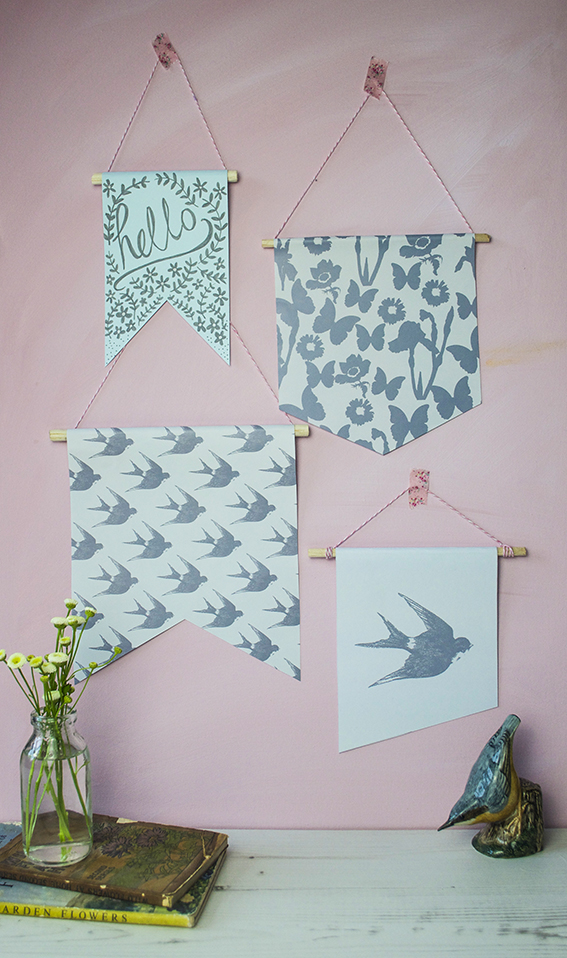 I don’t know about you but I’ve got a big stash of plain and patterned paper from previous projects and from when I’ve taken advantage of bulk offers in art shops. It seems like a waste to have them languishing in drawers and boxes so last week I took action and turned some of them into stash-busting banners to decorate our study with a simple wall display.
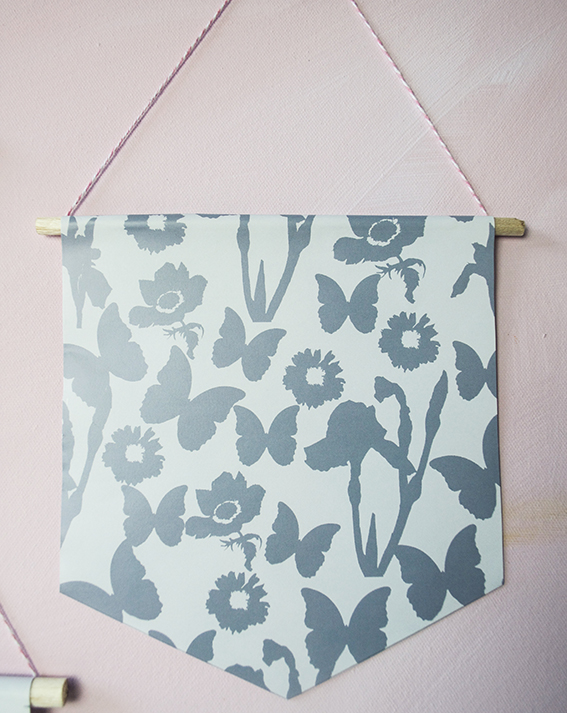
 I had some lovely light blue card that I’d been waiting for something to do with and some left-over summer swallow and butterfly designs that I had created to decorate a friends wedding. I thought the colours all worked really well together and I had some Posca pens in a lovely slate grey that would lift the blue card and unify the whole scheme once I’d added some simple text and design.
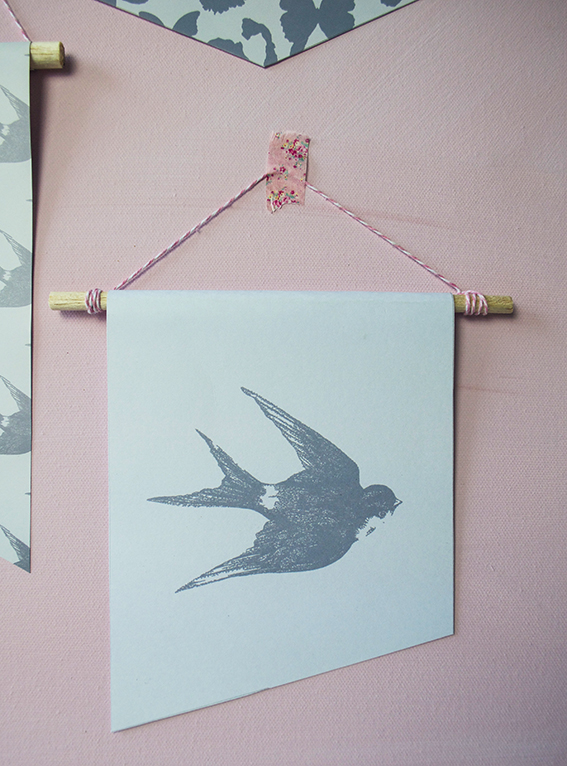
 Making these banners is a synch. It just requires a ruler, a length of doweling, a craft knife, twine, double-sided-tape and the paper(s) of your choice. I measured my doweling at various lengths and cut to size (I could easily snip mine with a craft knife but you may need something more ‘robust’).
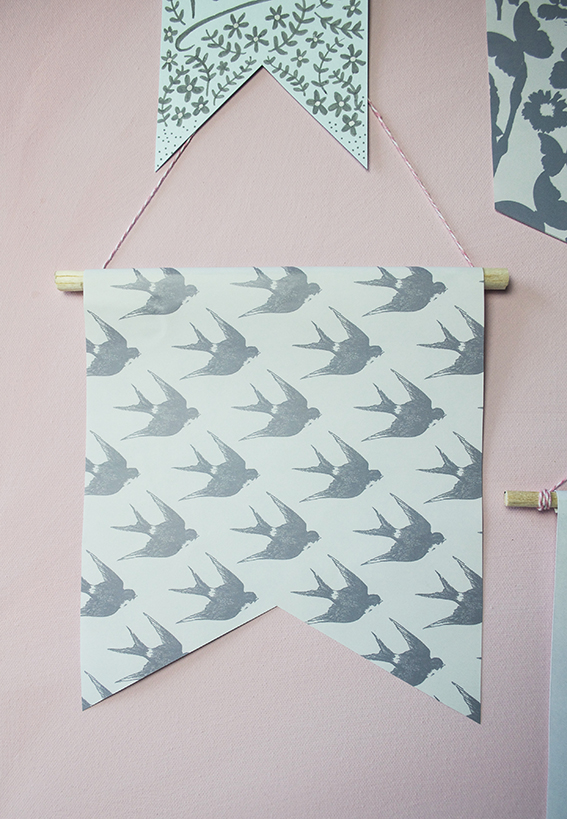 I then trimmed my papers into rectangles making sure I had about a 2cm allowance to wrap them over the doweling and leaving room at the bottom for cutting the bottom into a ‘v’ or inverted ‘v’ or at an angle while not compromising the main design.
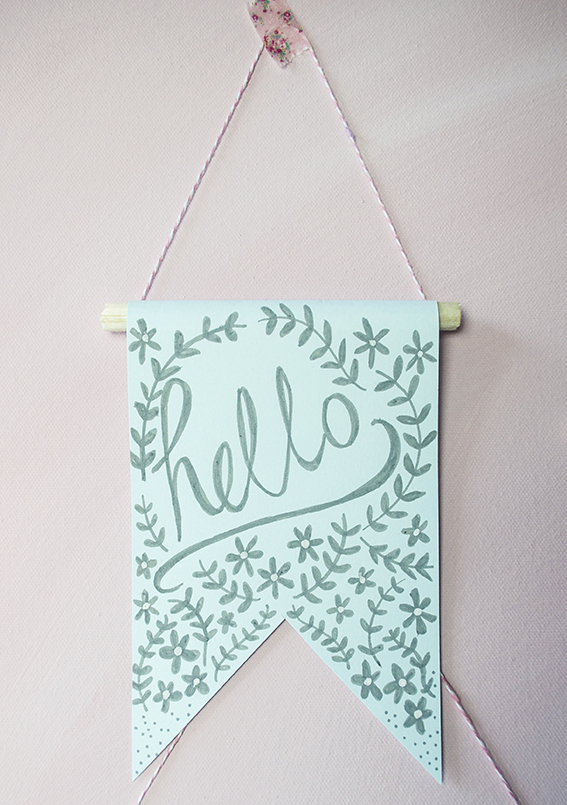 Once the blue card was cut, I could draw a bespoke illustration on it. I thought I’d keep it some with a hand-scripted ‘hello’ and some simple laurel leaf and flower motifs. Let me know if you’d like me to talk through hand scripting and drawing these leaves and flowers – they’re easy to master and you don’t have to be a great draftsman/woman, I promise .
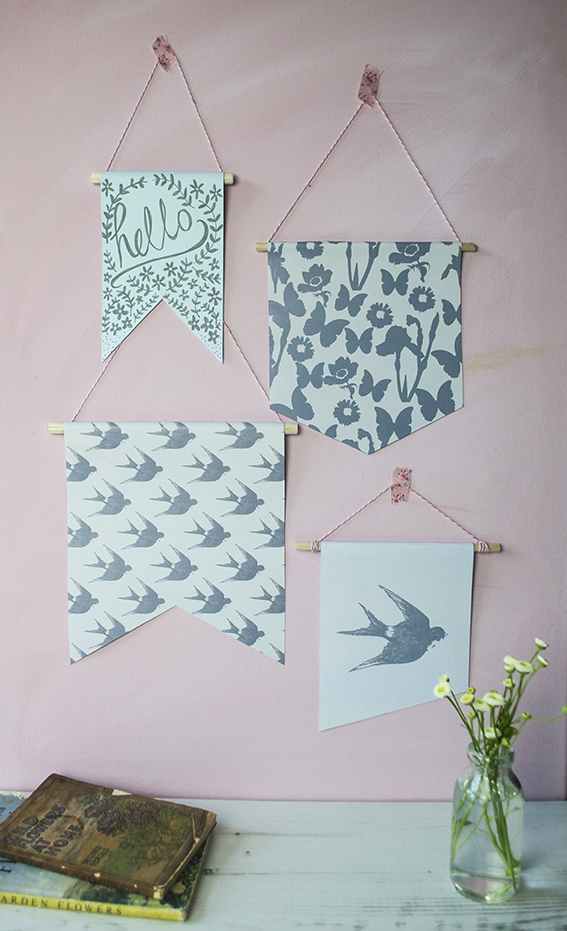 With everything cut to size I applied lengths of double-sided-tape to the doweling and, in the case three out of the four banners, I attached the ends of my twine before rolling the edges of the rectangles over the doweling to fix.
I’m pleased that I was able to give my old stash a new lease of life and I’m delighted to be able to add another bit of quirky handmade styles to a little corner of our study.
Hack: make your own storage buckets
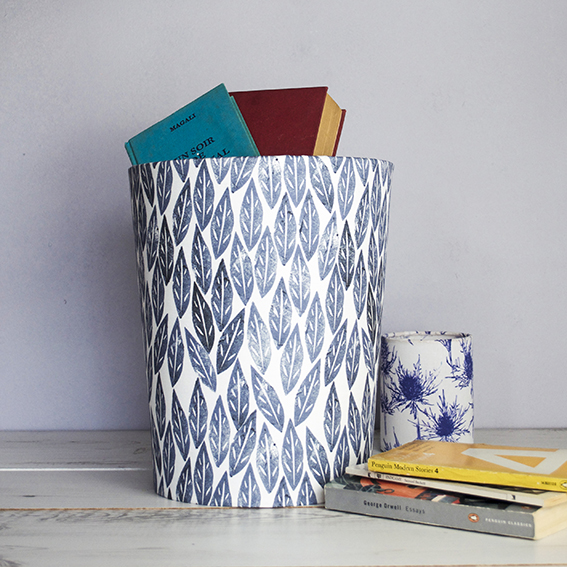
Okay I’ll come clean, I’m using these as storage buckets but they are actually waste paper bins.
I originally bought two Needcraft bin making kits for our upgraded study (pics coming soon) and our ‘continual work in progress’ bedroom. The kit is really easy to use with simple step by step pictorial instructions, I’m not a particularly neat sewer so I like a no-sew quick fix when I can.
The thing is when I made the bins and I didn’t have the heart to put rubbish in them.
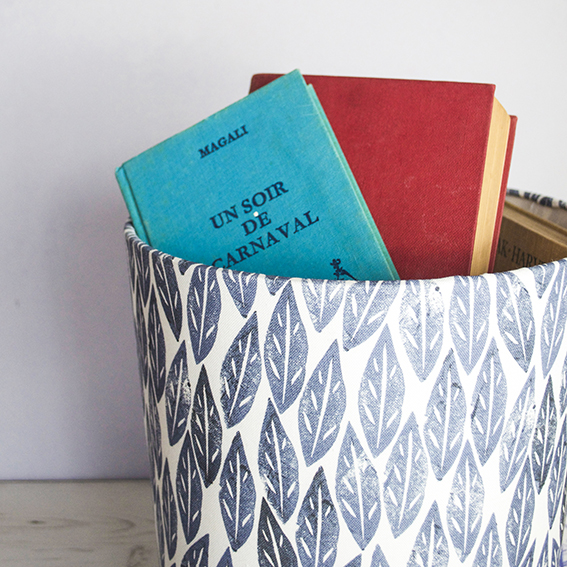
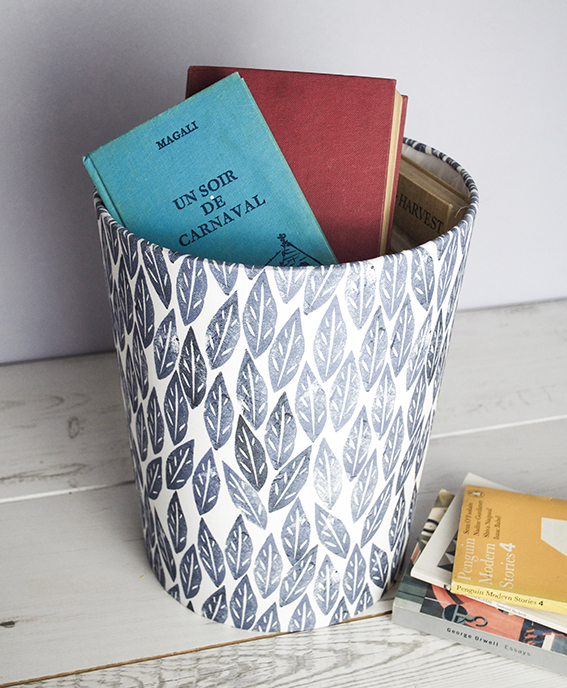
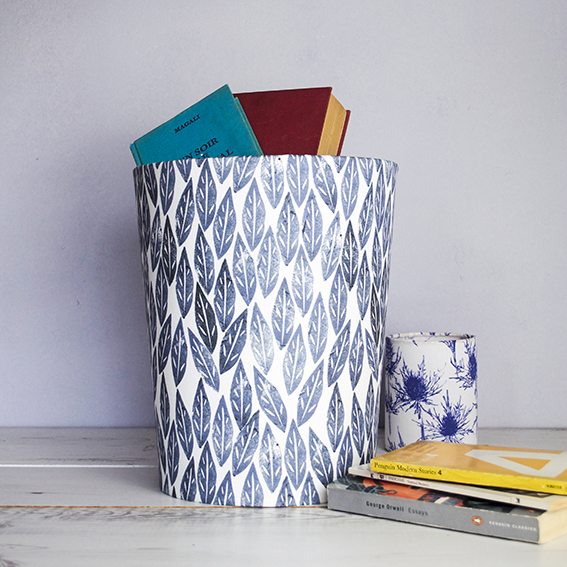
As I’m aiming for a relaxing cool blue vibe in my bedroom and I covered the first ‘bin’ in my storm-grey Scandi leaves fabric from my Spoonflower shop.
I was really happy with the end result, so much so that I really couldn’t face filling it with make-up removing cleansing wipes, laddered tights and other bedroom rubbish stuff. It looked too pretty!
So, inspired by a rather nifty idea from Black Parrots Studio’s Sarah Mitchenall on her first round of The Great Interior Design Challenge my bin turned into a book bucket, which has proved to be very handy, as the one thing our house has got is an abundance of books. So this now lives at the bottom of our bed for all our reading needs.
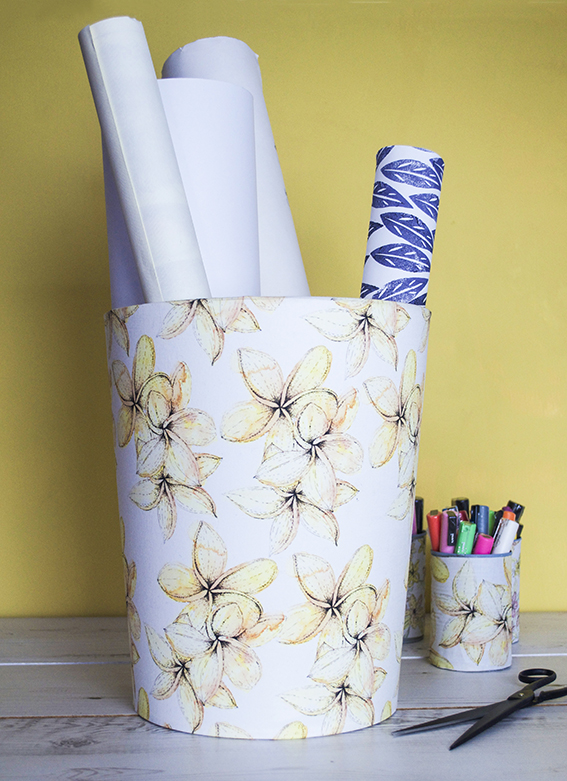
Now the study REALLY needed a bin so I set about making the next one in my tropical trio design, also available at my Spoonflower shop.
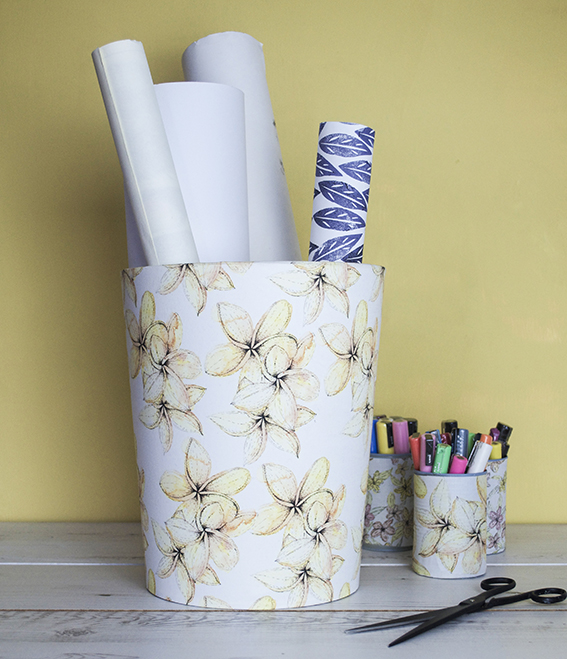
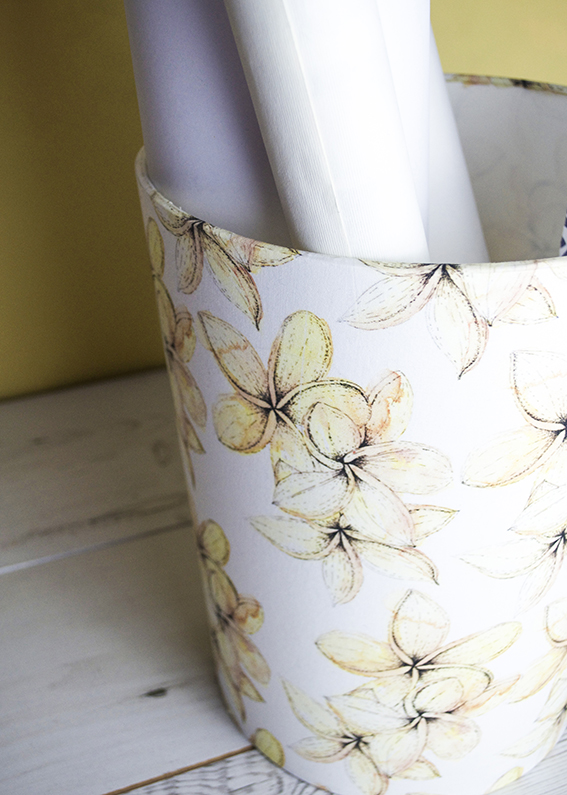
Because the instructions are so easy to follow you can make these bins in minutes with either fabric or paper. I’ve had this tropical design for a while and, although I loved it, I was at a loss as to what to do with it. However the fabric’s subtle hues and graphic design suits our workspace perfectly.
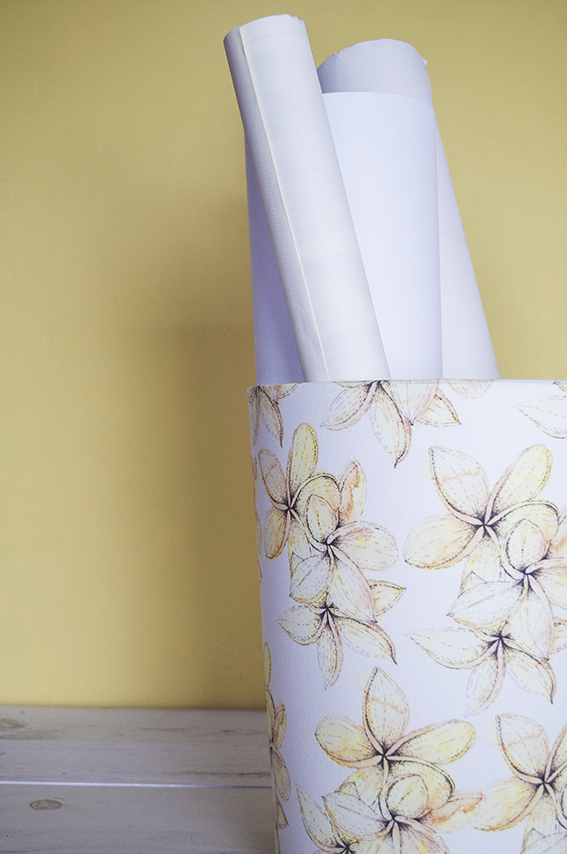
And you see that was the problem – too nice. Once I finished that one I could not face using it as a place to throw receipts and scrap paper for recycling. I do however have lots of gift wrap, large format paper, bookbinding cloth and posters I need to keep in one place so my tropical bloom bucket is being used for precisely that.
Easy garden furniture refurb with Americana Decor
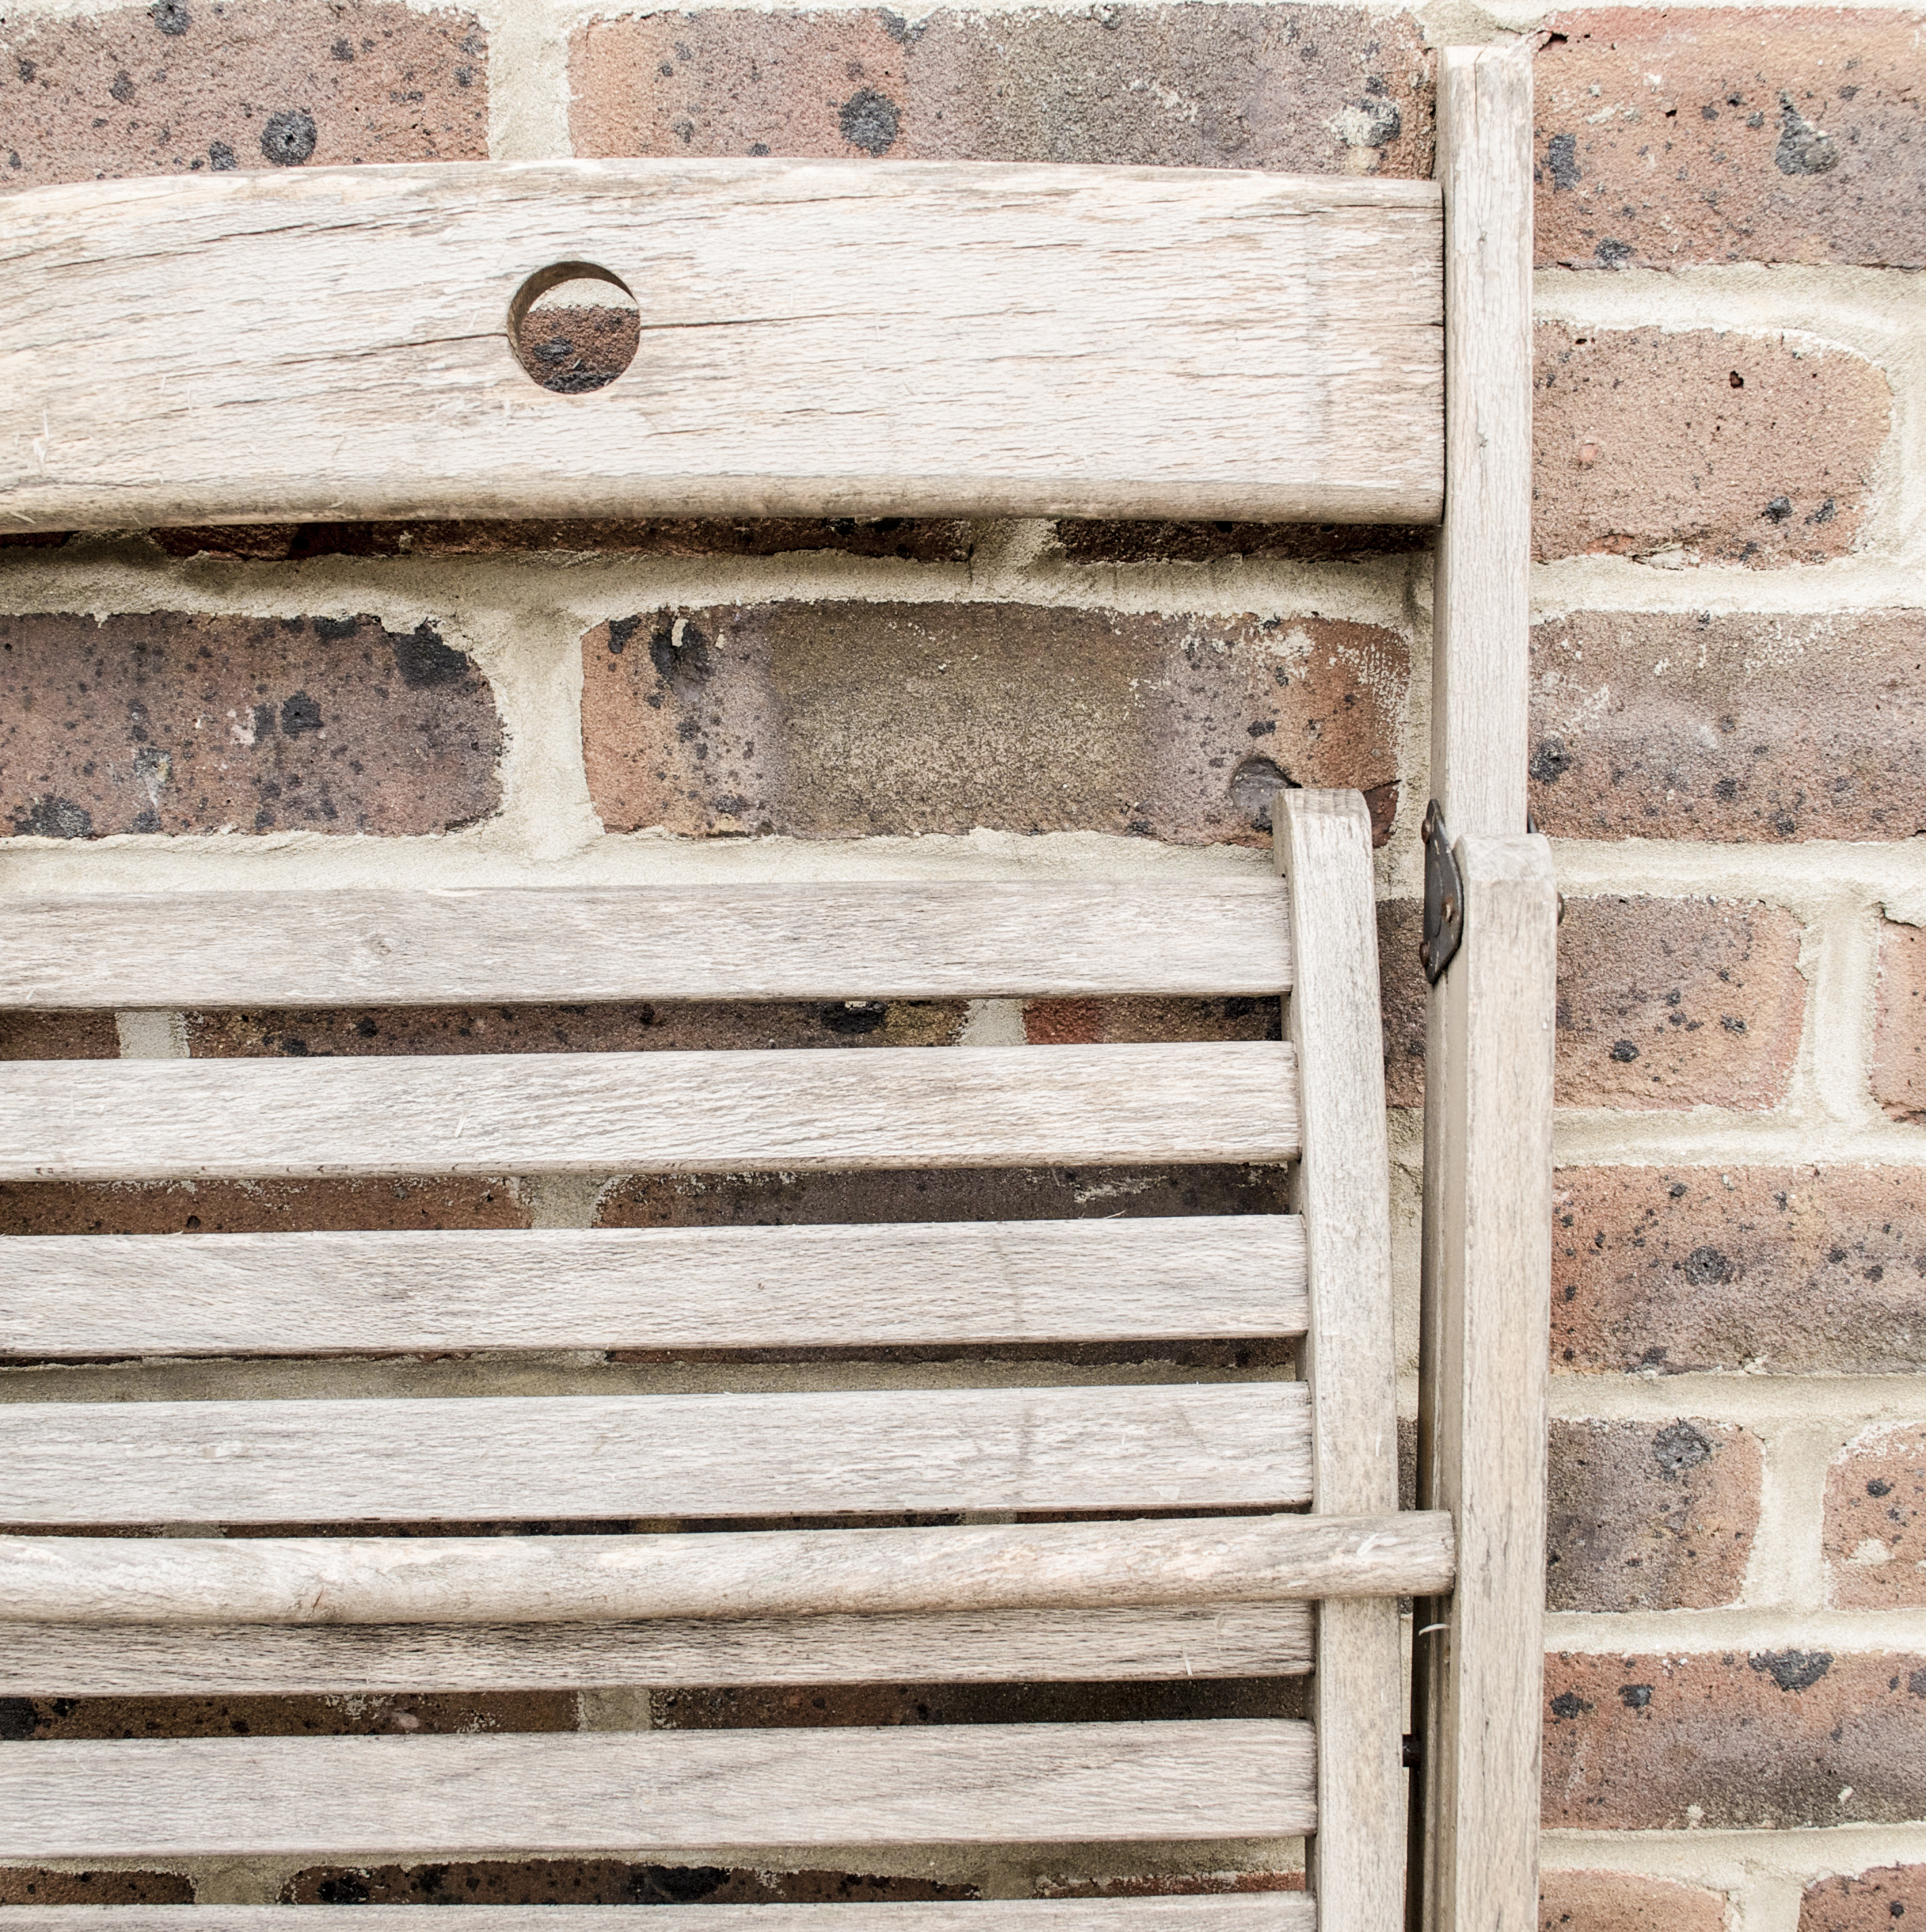
Last Sunday I got to spend time in our little garden while doing some quick garden furniture maintenance. As you can see above, the folding chairs we’ve had for well over a decade have taken the force of some dismal British winters – and summers, for that matter – first on our London balcony and then here in Wivenhoe. Of course we should have moved them indoors when it rained – but when it rained it was rainy, so we didn’t venture outside. In winter we’d forget about them. Surely we’re not the only ones!
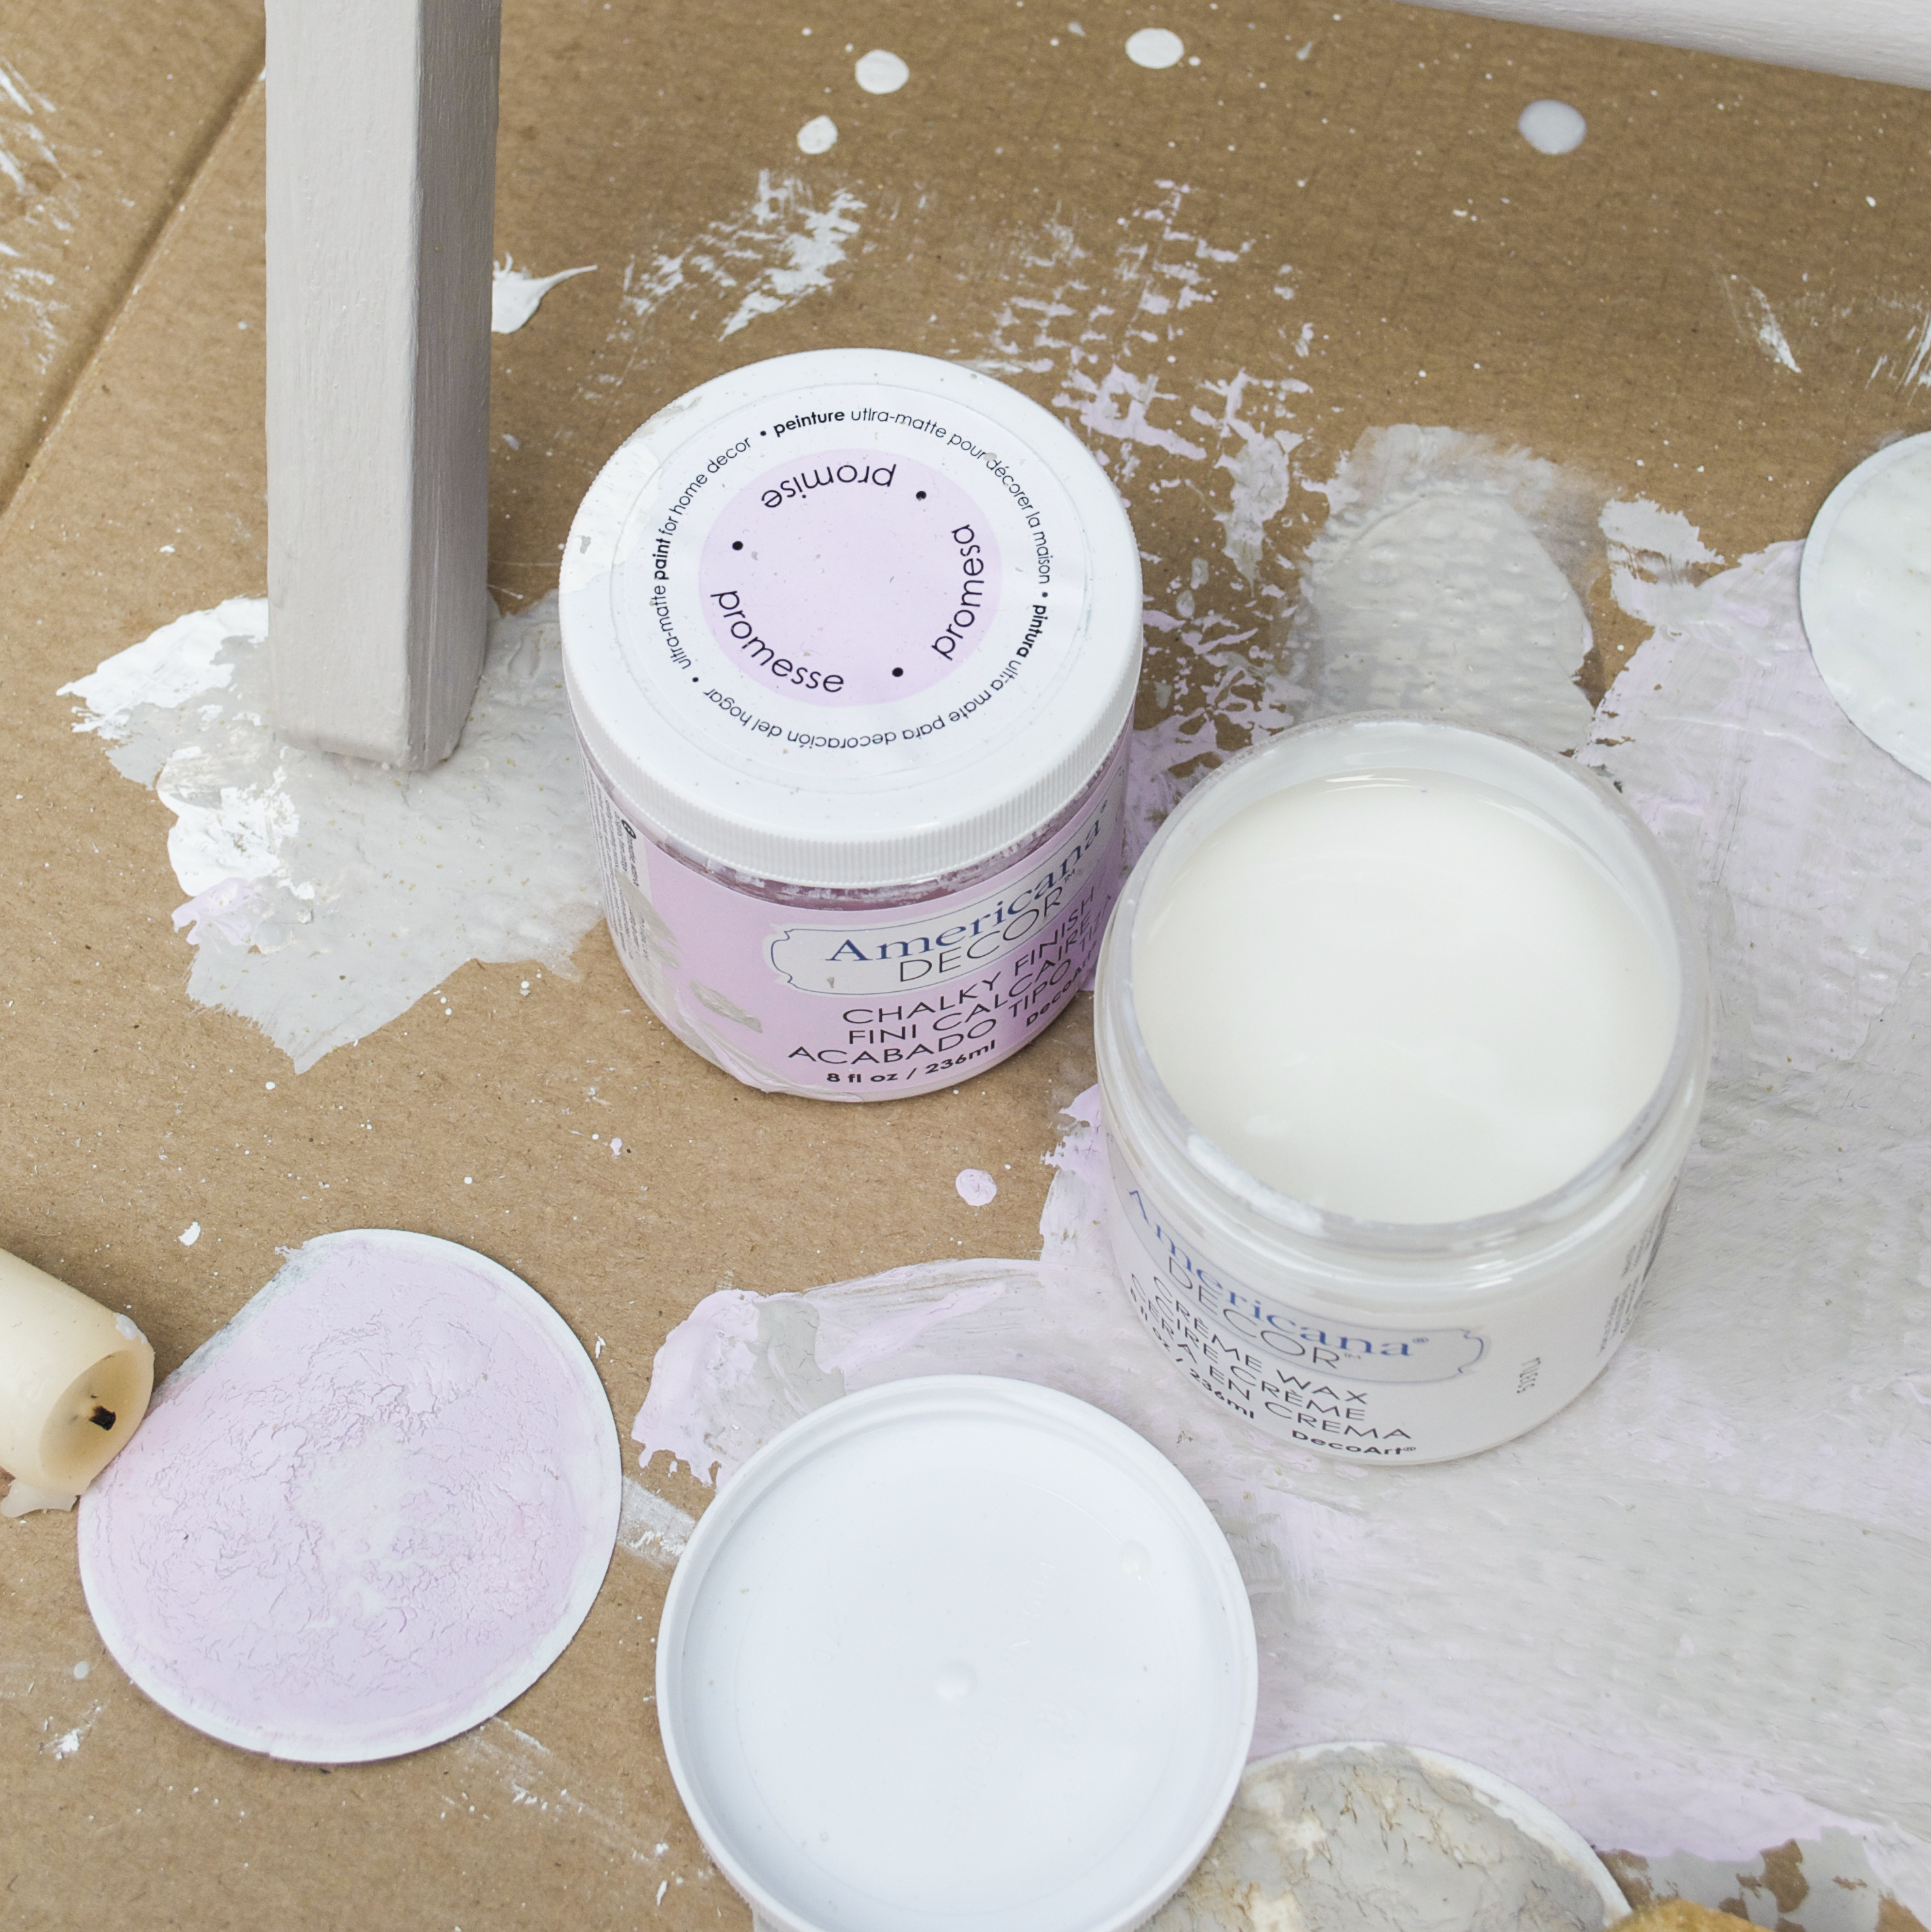
I recently got hold of some really rather lovely Chalky Finish paint from Americana Decor. It’s a matte chalk paint that doesn’t need priming or wood to be sanded down before using – perfect to upgrade an old piece of furniture when you’re short on time (or perhaps just a little lazy). To protect the surface the quick-drying paint is finished with a choice of waxes and varnishes. It really was so simple to apply.
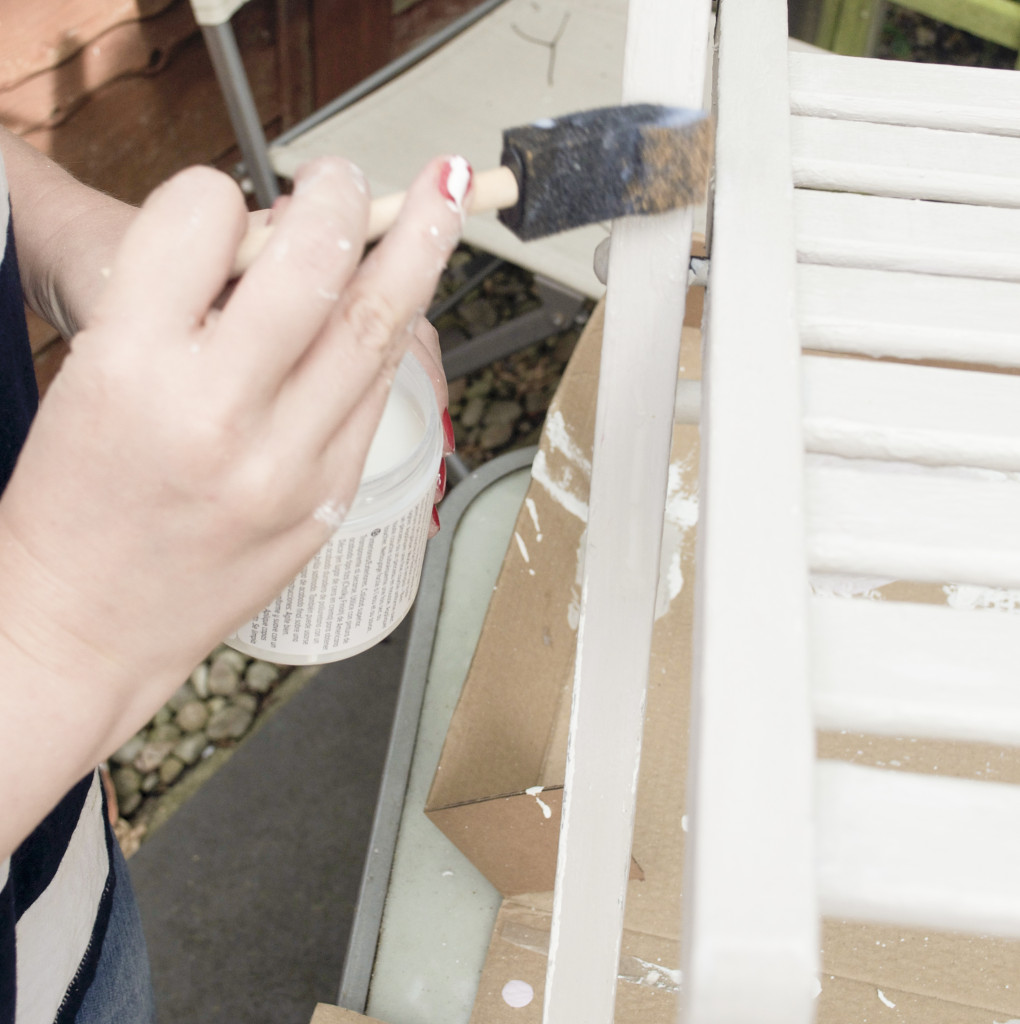


 The chair was finished in less than a couple of hours– which left me free to enjoy the late-afternoon sunshine.