A look inside my artist studio

Ella Johnston Artist Studio

Ella Johnston Artist Studio

As I said last time that I’d put my personal vanity aside to give you a look inside my artist studio. So here I am, looking a bit tired, in the studio!

Ella Johnston, artist. Photography Nathan Jones
Photography Nathan Jones

I love having a large dedicated space where I can really make a mess, explore mark-making and create both large and small-scale works.

I’ve had the keys to the studio for a whole year today! So it’s apt I’m posting this now.

Ella Johnston Artist photography Nathan Jones
Photography Nathan Jones

I have certainly filled the space and made it my own. I’m always amazed whenever I get a new space that my work rate goes up and my desire to experiment and entertain new ideas increases dramatically.

Ella Johnston artist, photography Nathan Jones
Photography Nathan Jones

It really can’t be understated what a luxury, yet necessity for me (not one I can always afford), it is to create an environment that is totally focused on creativity. A space where I can see my tools and materials and be inspired by their presence. The colour, texture, mark and intensity possibilities of each instrument and surface. The space to play, to reflect, to research, read and generally be in space where your art practice is central.

Ella Johnston studio, artist. Photography Nathan Jones
Photography Nathan Jones

I’m lucky to have creative job that adds to both my artist life and my employment life. But sometimes those lines can get too blurred. Gaining that physical distance from the everyday work to concentrate purely on my artistic project is a gift indeed. And one I don’t take for granted.

Ella Johnston, artist materials. Photography Nathan Jones
Photography Nathan Jones

What do I do in my studio? Well, some days I’ll go in switch on the radio or some music and simply play with my art equipment. I’ll experiment, make mistakes and even have the occasional breakthrough. Other times I’m deeply immersed in a project or series, deep into creating my work. There are some times where I’ll sketch and work out ideas. And there are days where I’ll read, make notes and look out the window.

Ella Johnston, artist materials. Photography Nathan Jones

The space used to be a butchers, which is hilarious because I’m a vegetarian! From the get-go the studio has always had an incredible energy to it. This was very important to me as I felt immediately comfortable in the space – even before I filled it with the furniture, equipment books and little things that inspire me and make me feel safe.

Ella Johnston Artist Studio photography Nathan Jones
Photography Nathan Jones

I was so pleased to recently invite the photographer Nathan Jones into the studio to take some photos of me working. It was lovely to welcome him into the space and get a quality record of what is a very special and rewarding period of my creative life.

Ella Johnston, artist. Photography Nathan Jones
Photography Nathan Jones

New work: Bird prints

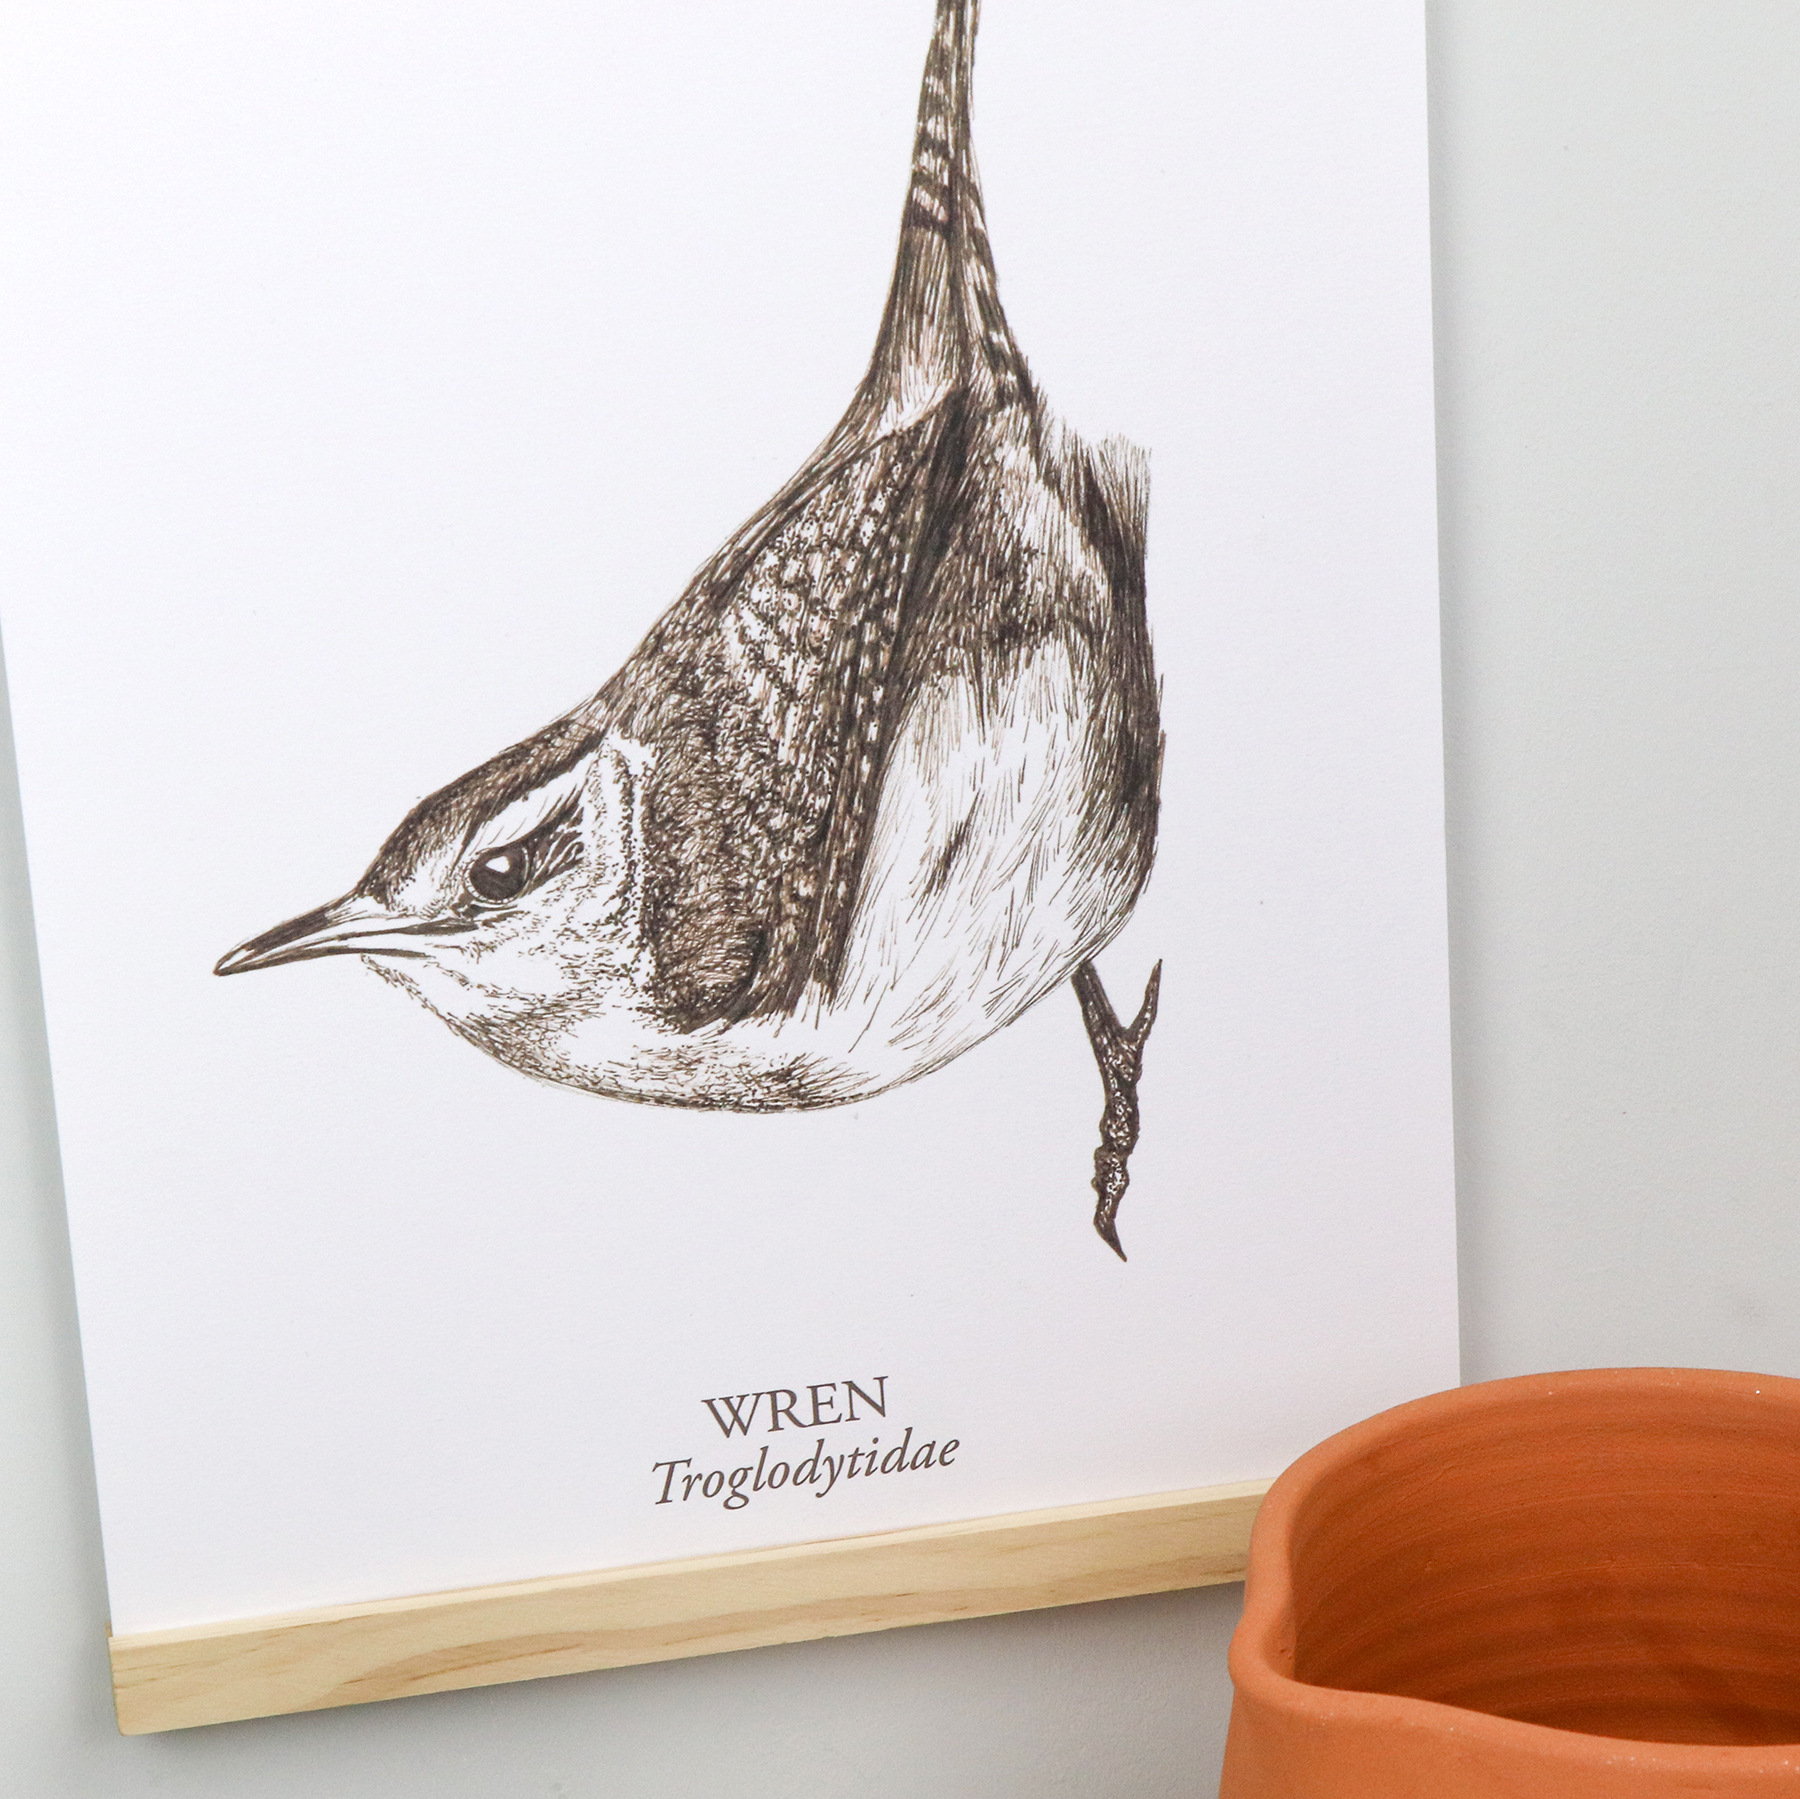
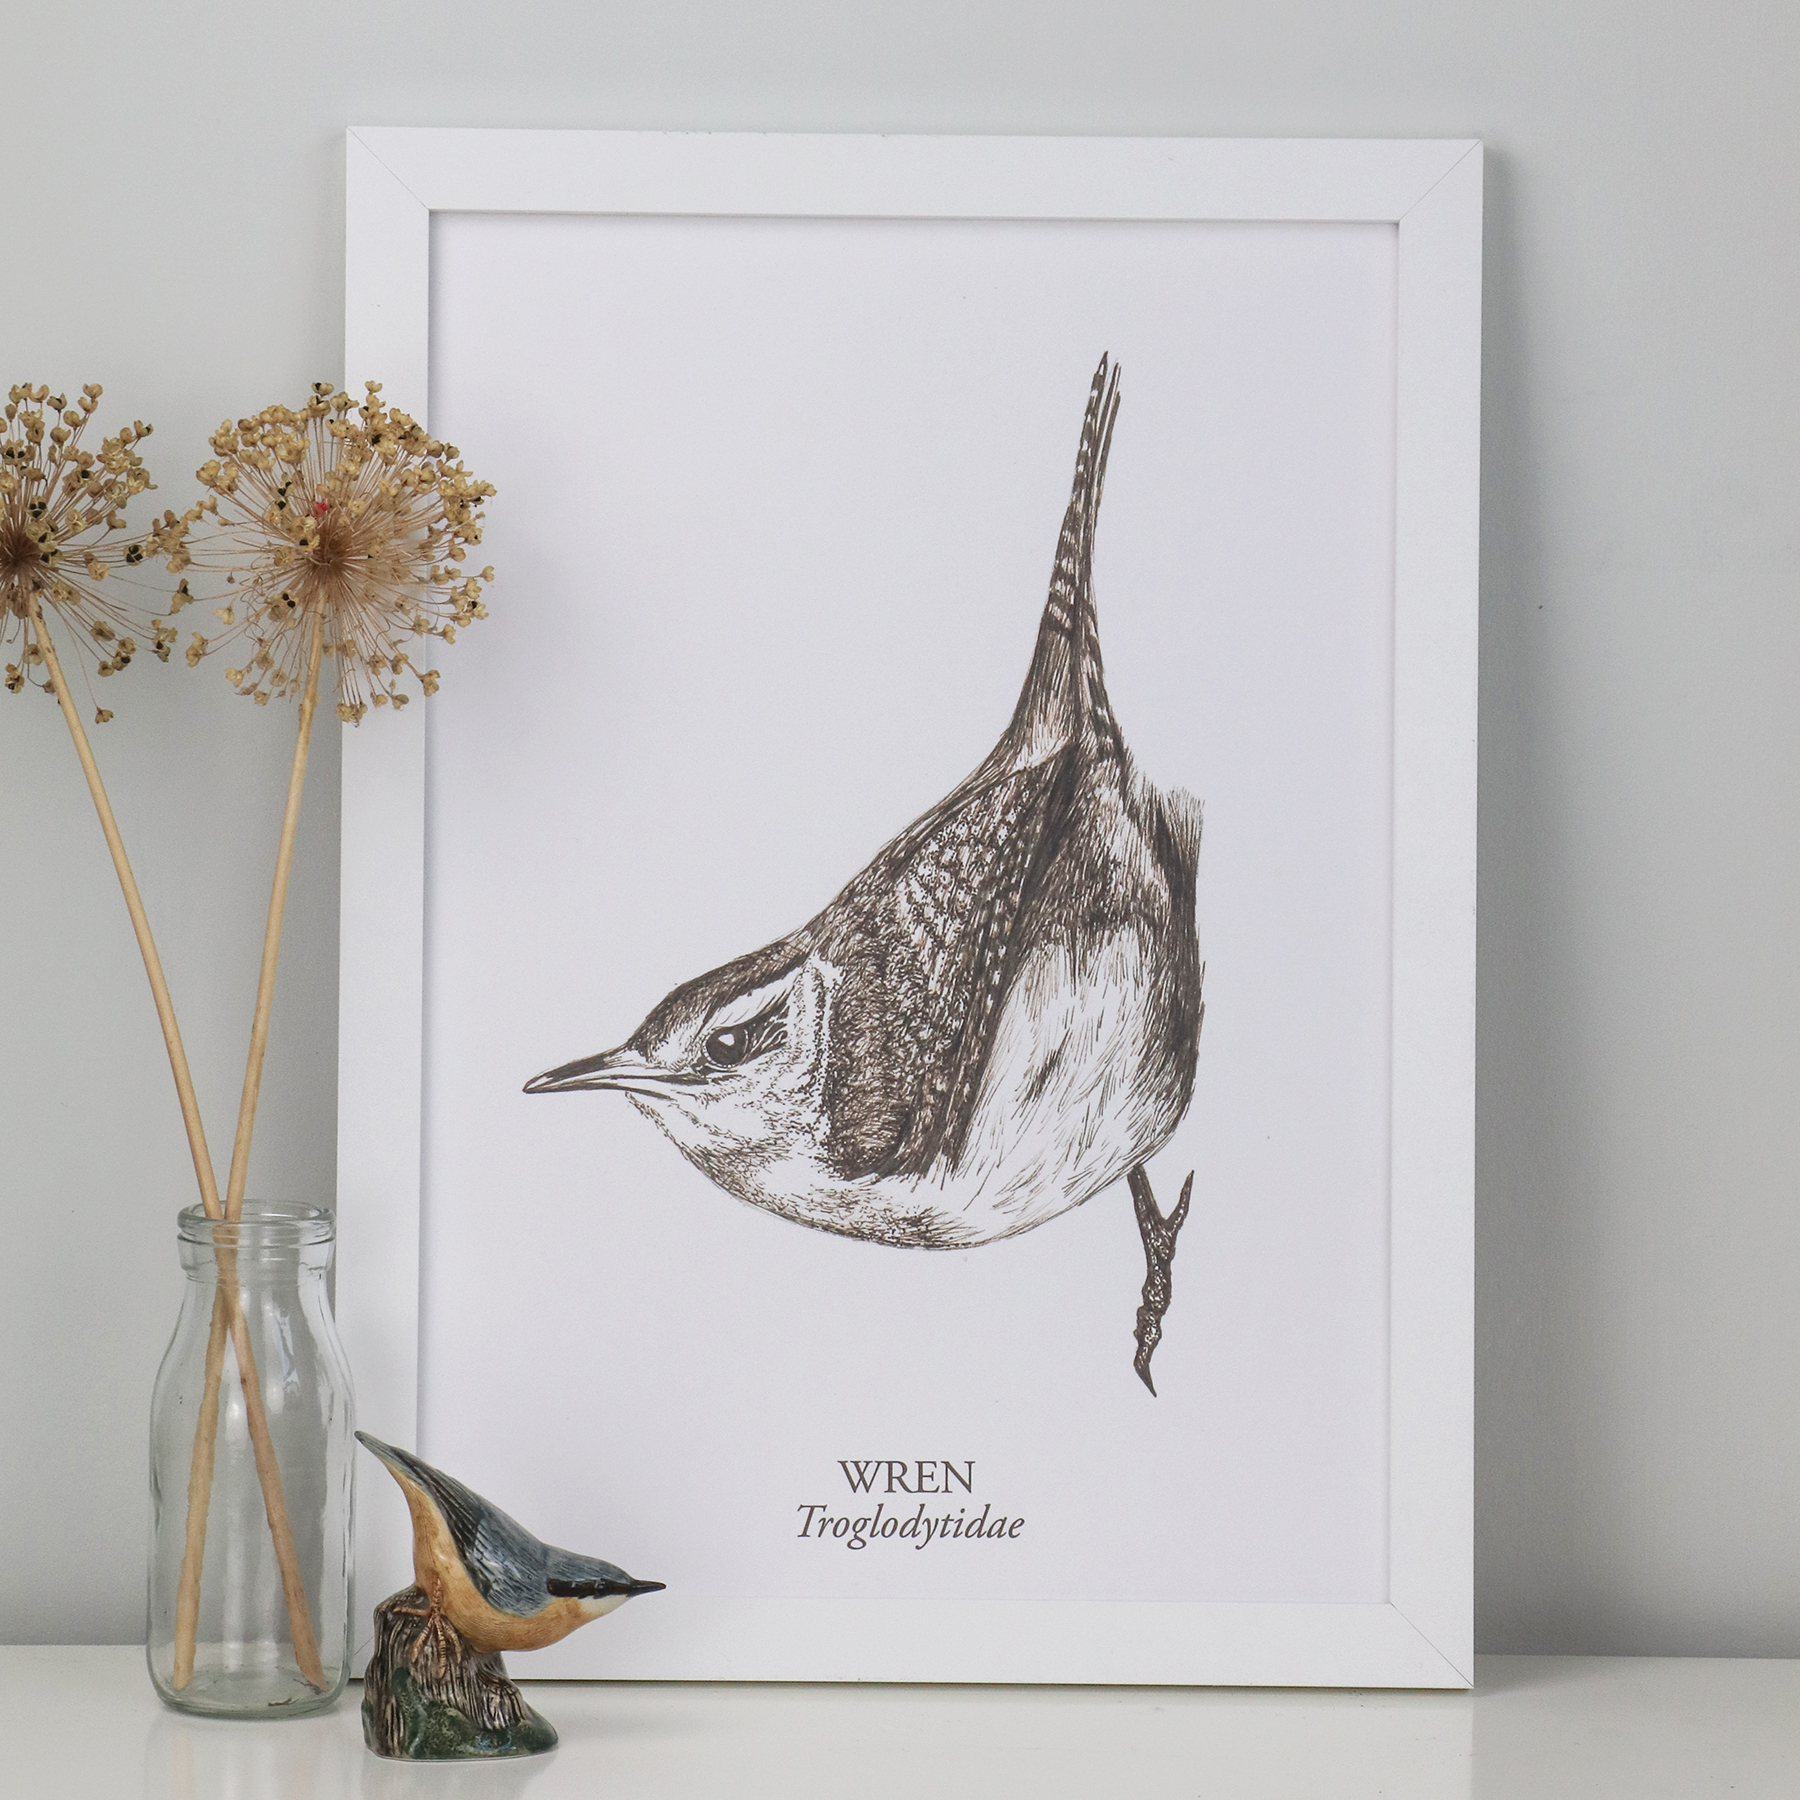
A3 Limited Edition Wren Giclee Print (c) Ella Johnston

I’ve recently launched a whole new collection of illustrated bird prints now available on my Etsy and Folksy shops.

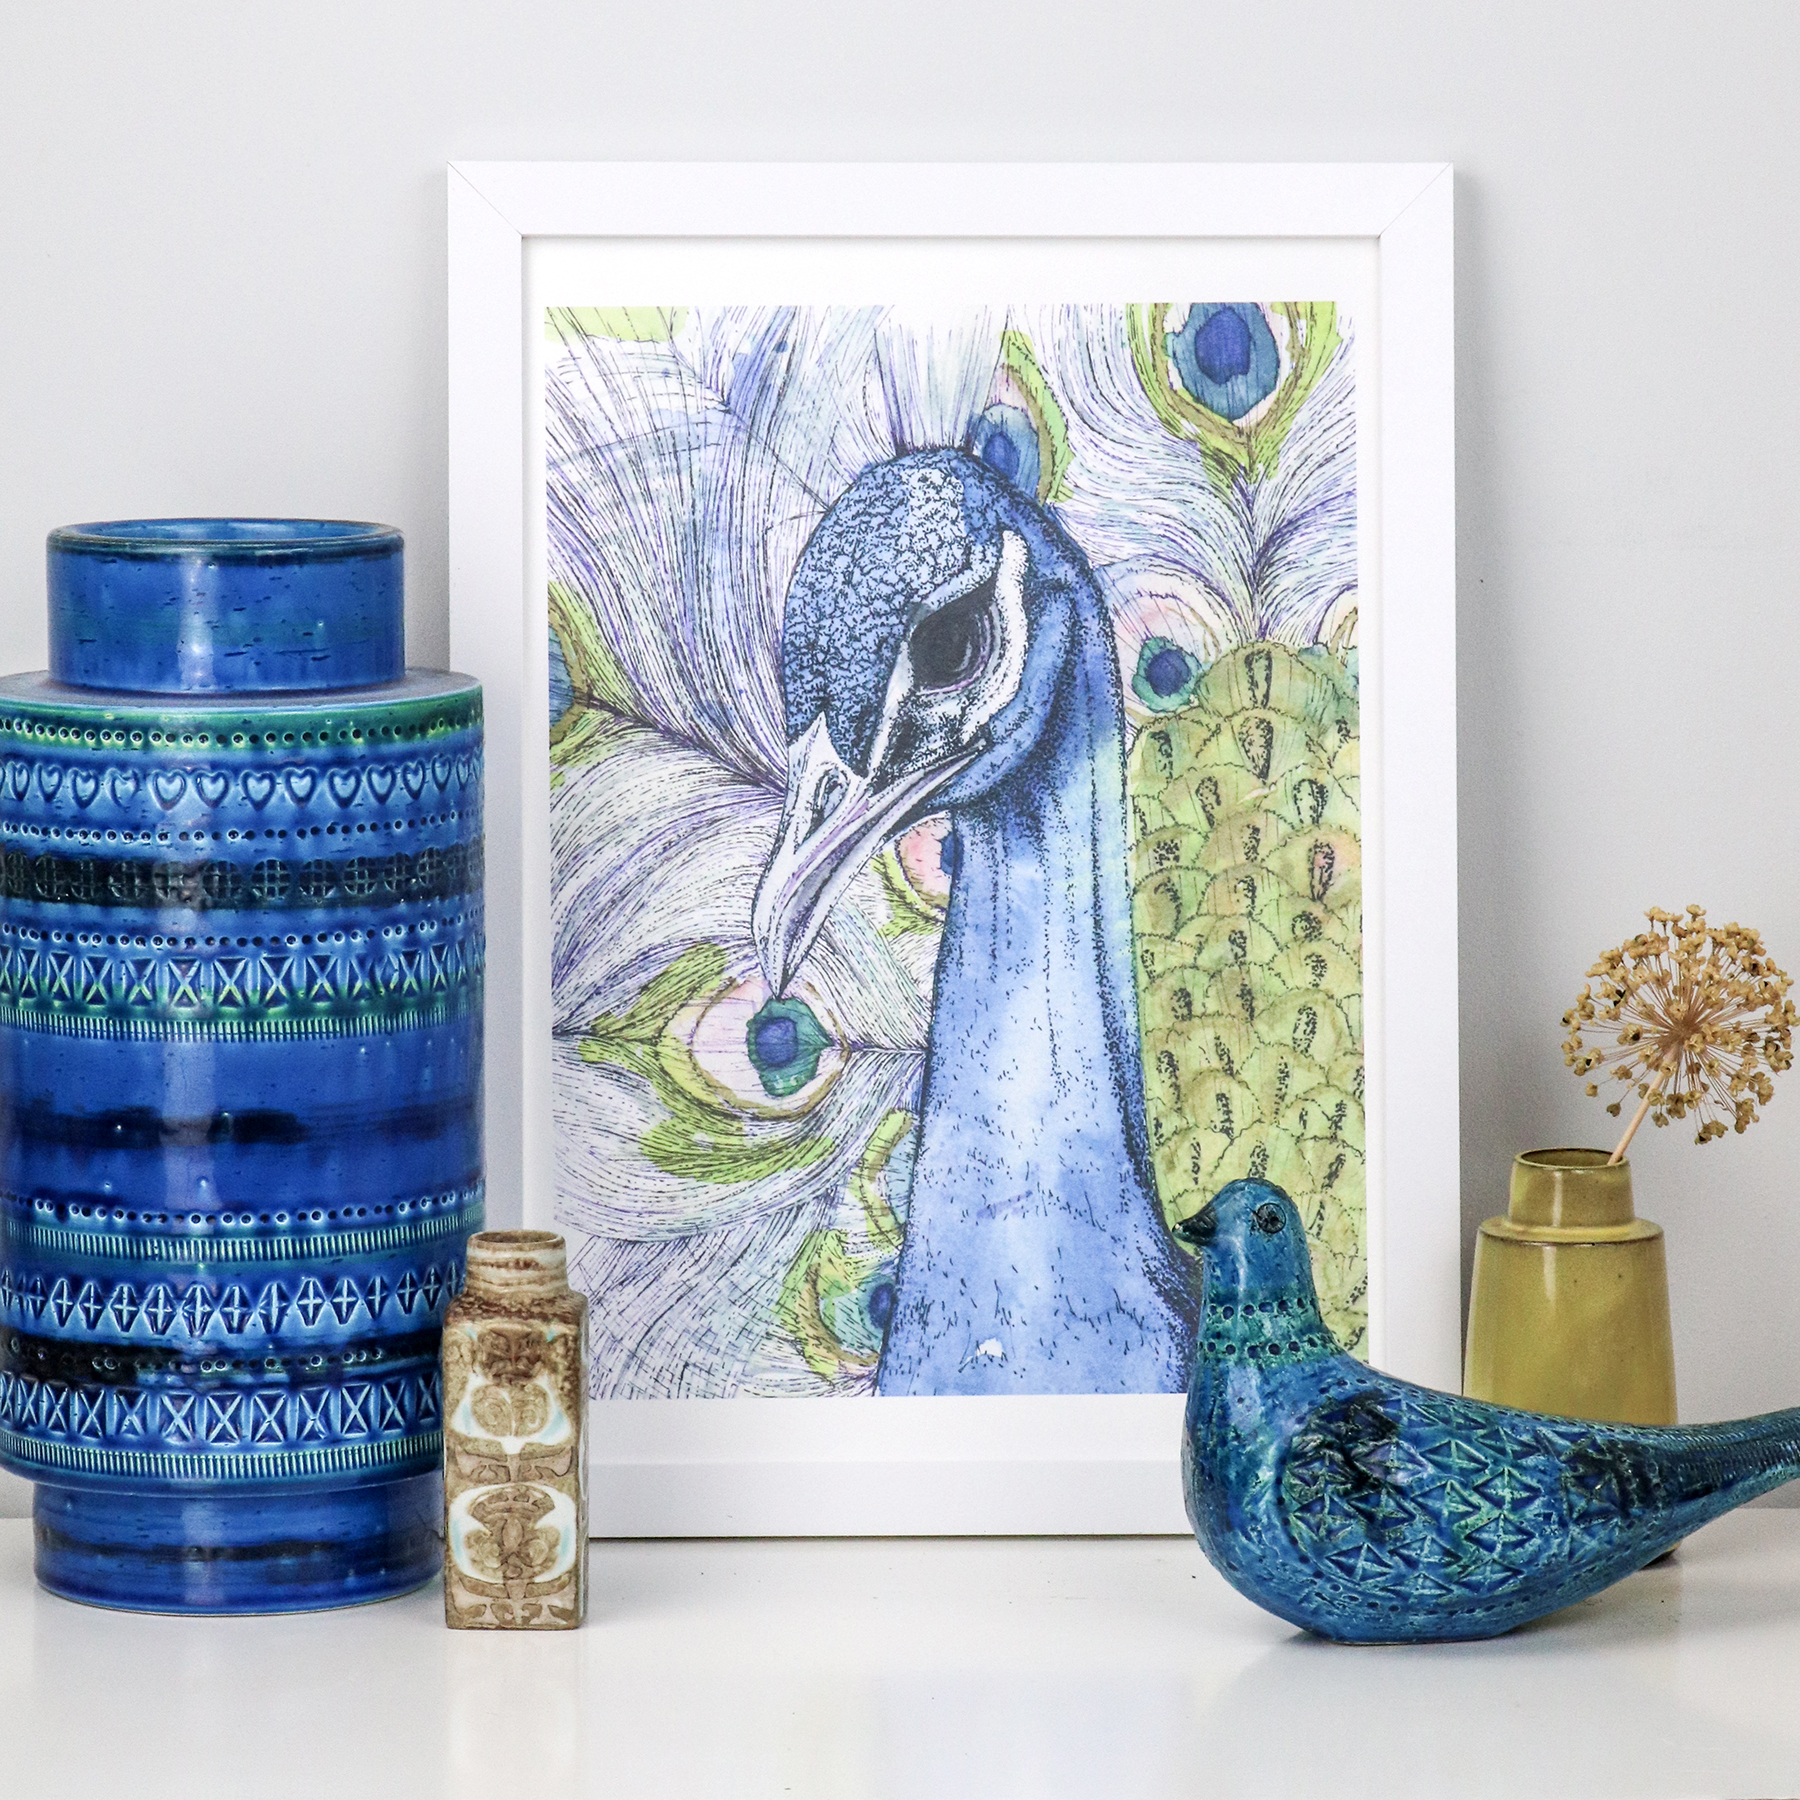
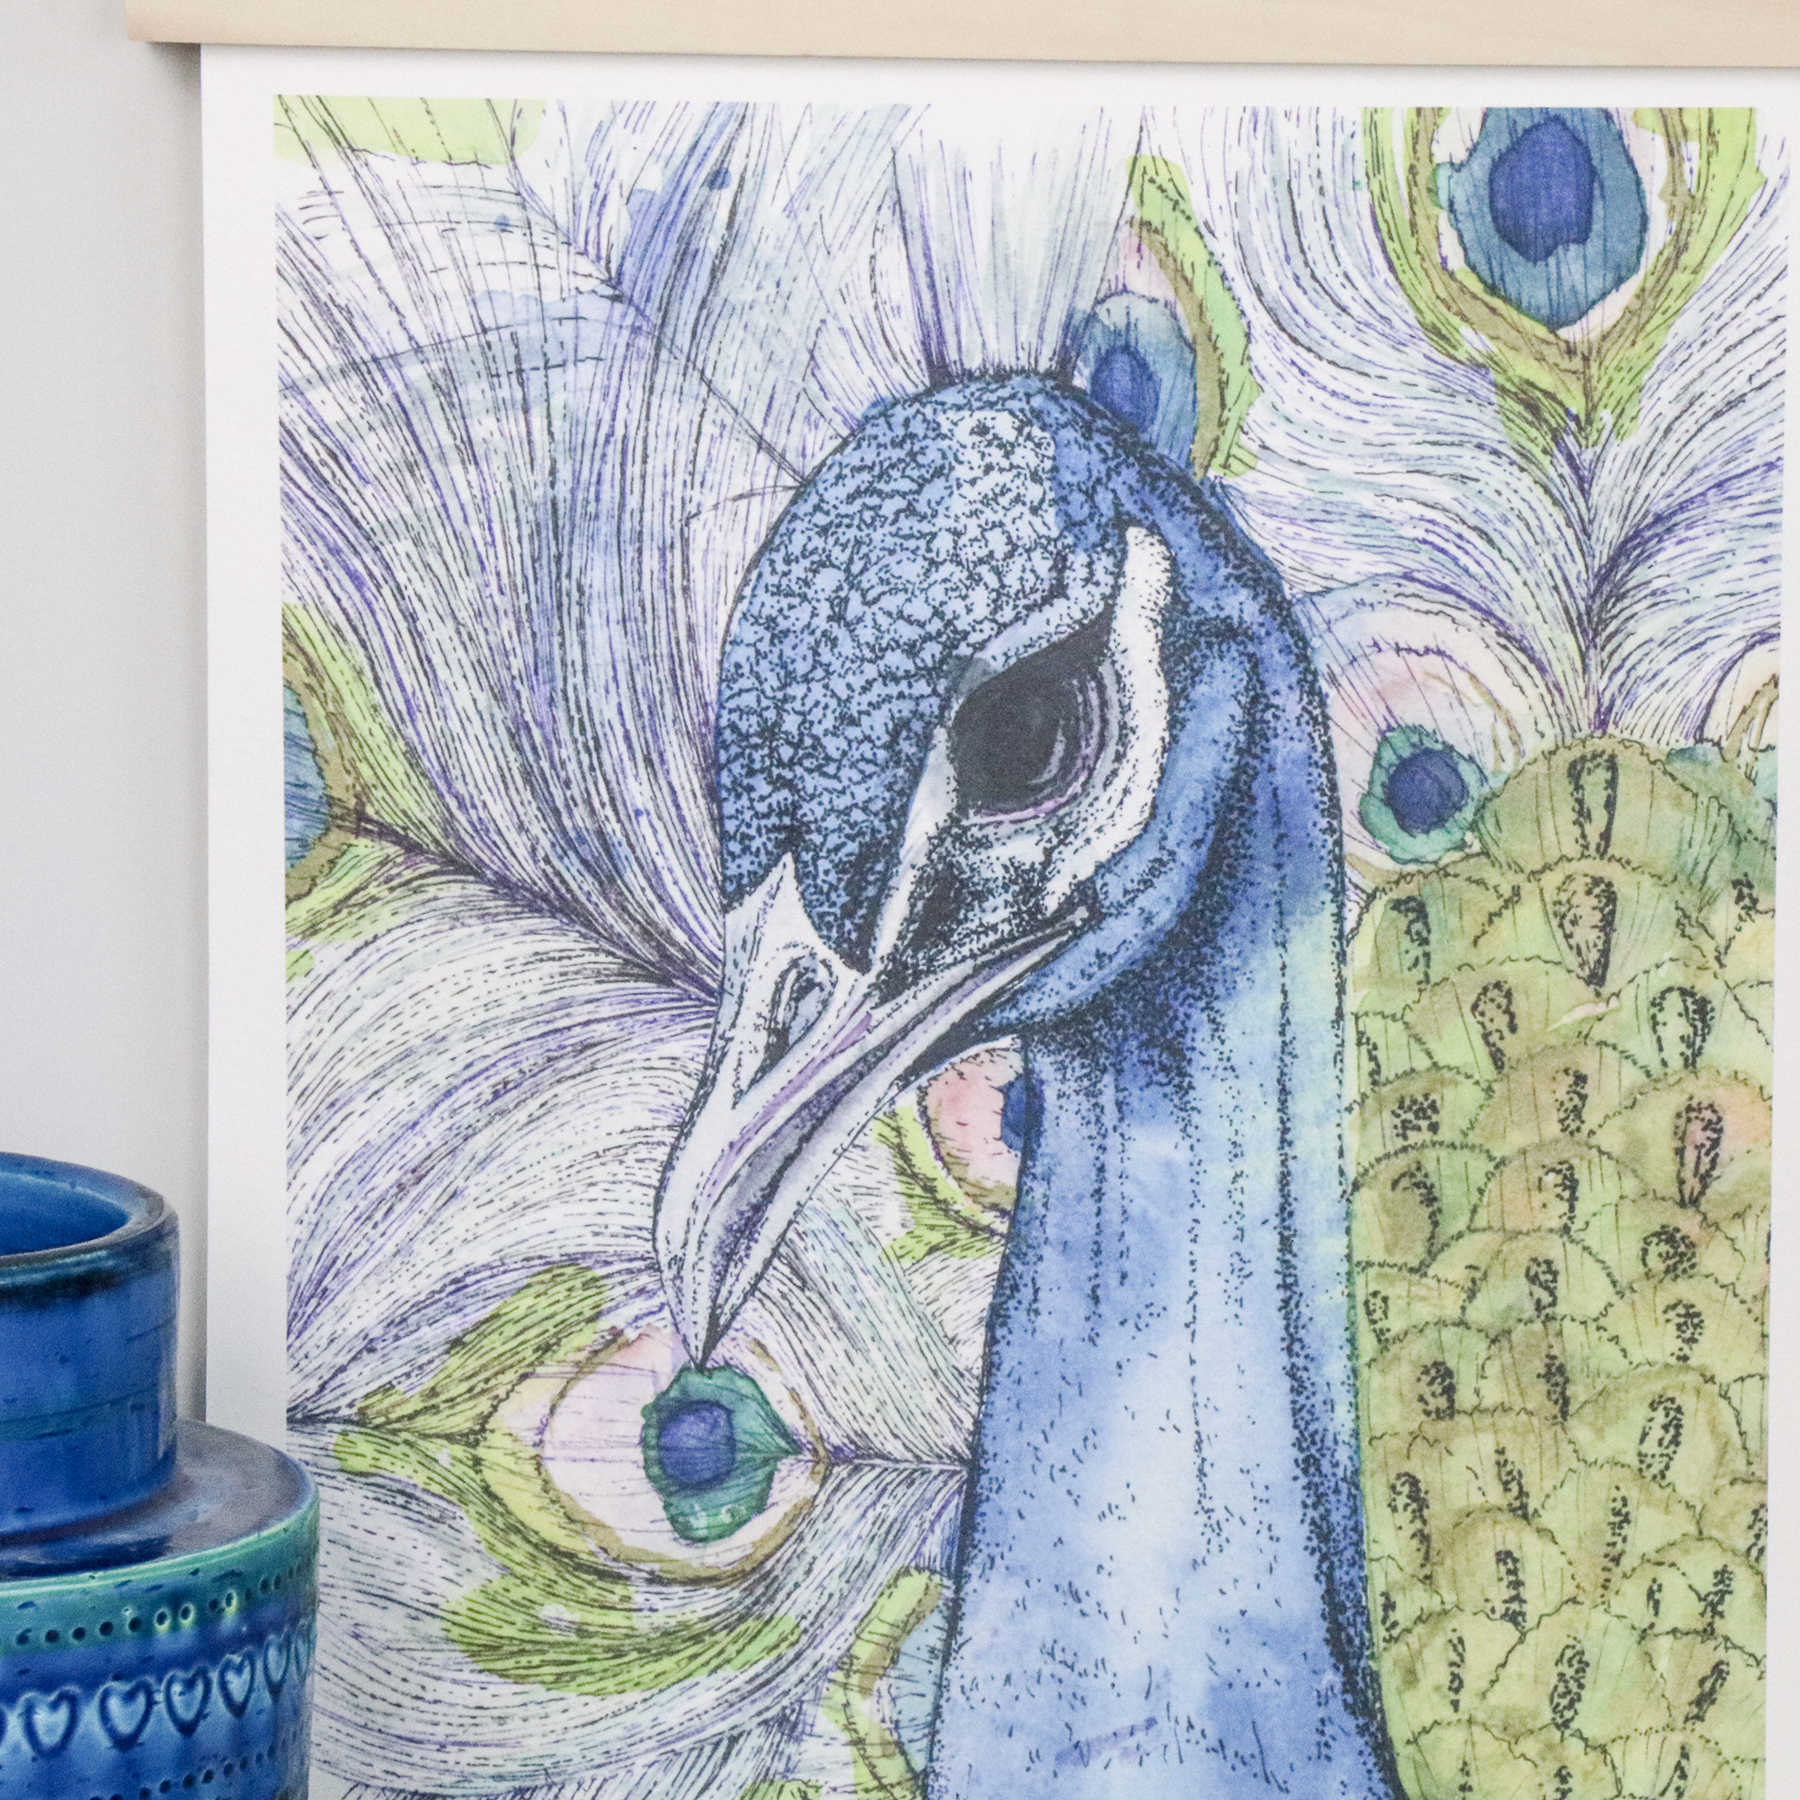
A3 Limited Edition Wren Giclee Print (c) Ella JohnstonI really enjoyed drawing this wren – I created it using new uni-pin sepia pigment ink pens on watercolour paper. This delicate avian illustration is then scanned and printed as a fine art print on archival paper ensuring that it will last a lifetime.A3 Limited Edition Peacock Giclee Print (c) Ella JohnstonI originally created the watercolour and ink Peacock artwork for an exhibition. The artwork showcases vivid blue, pea green and violet watercolour washes combined with shimmery golden POSCA pen washes. I then overlaid the painting with pigment ink pen.
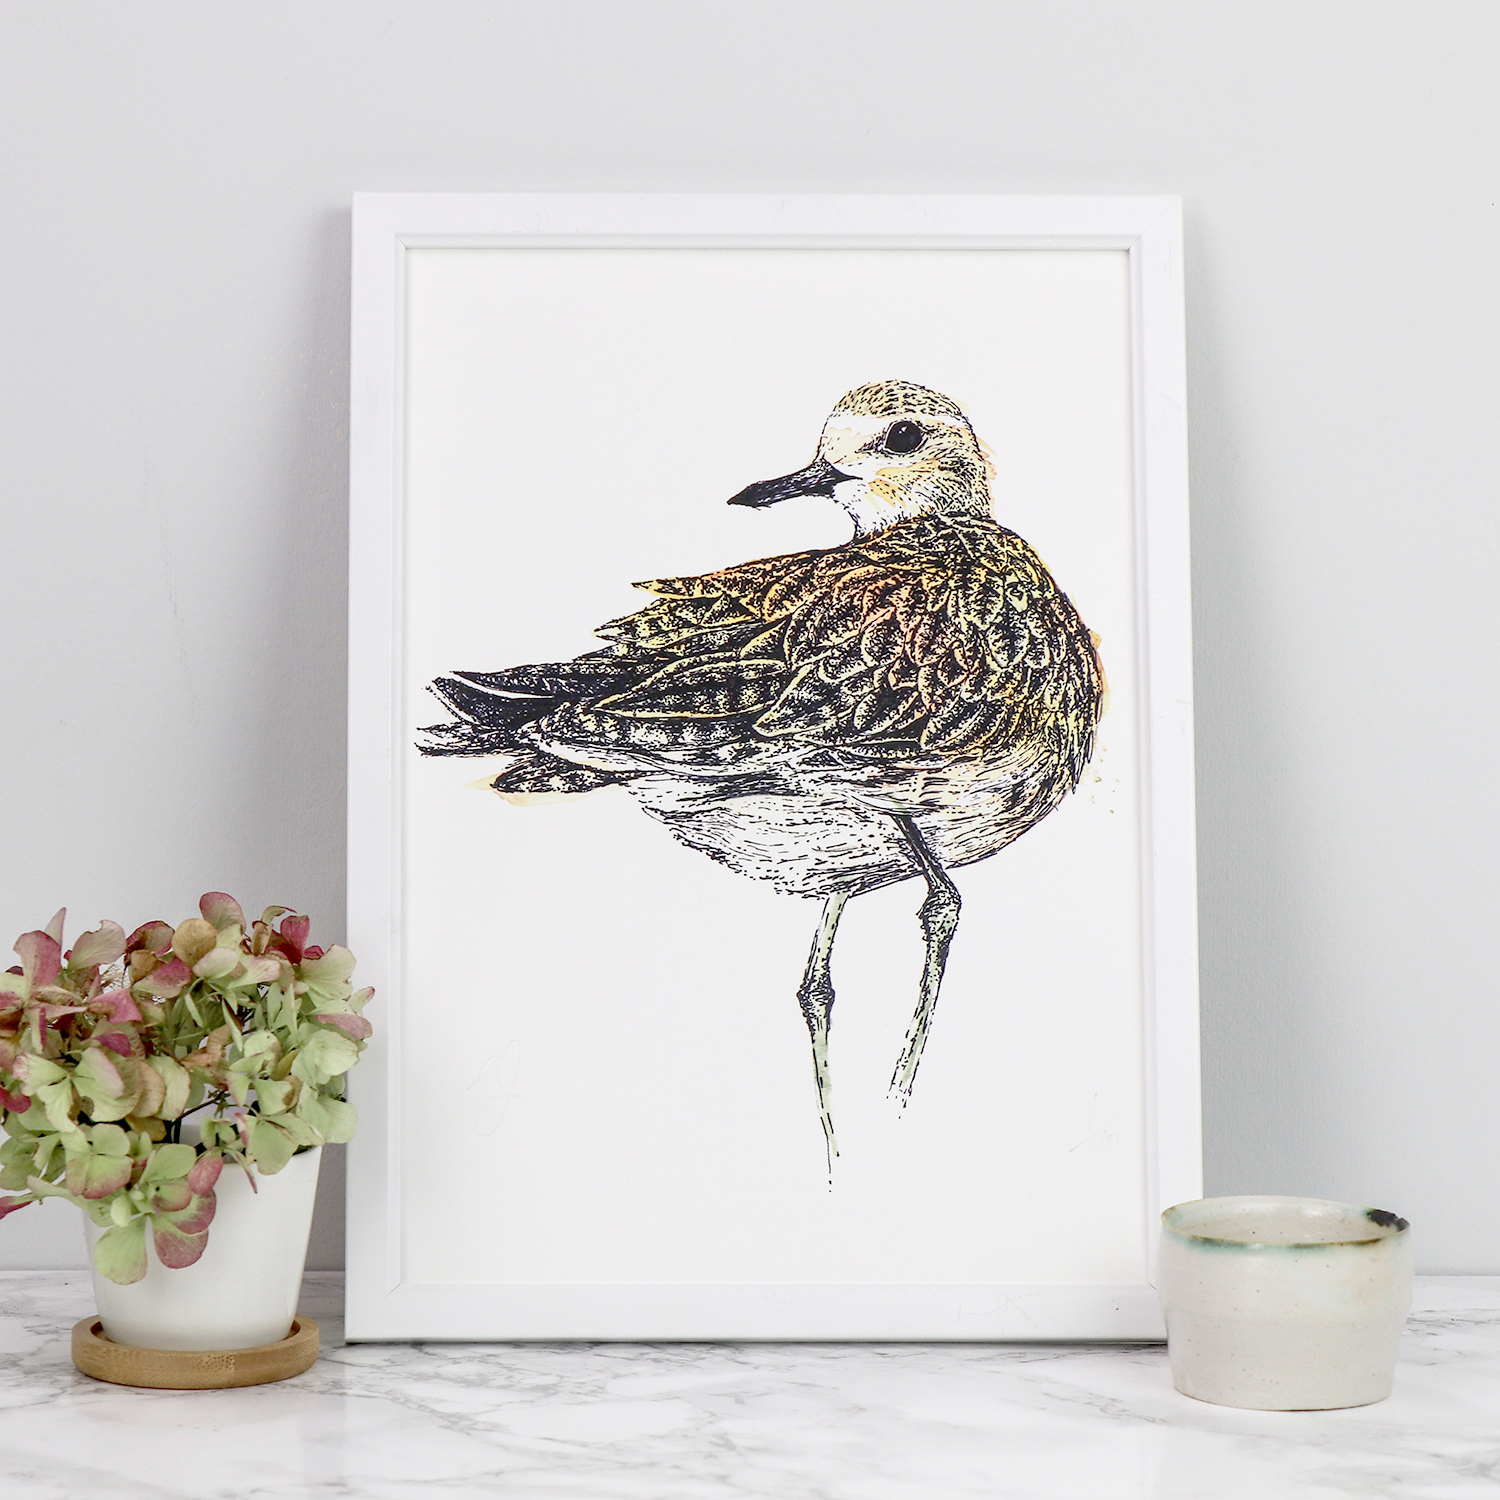
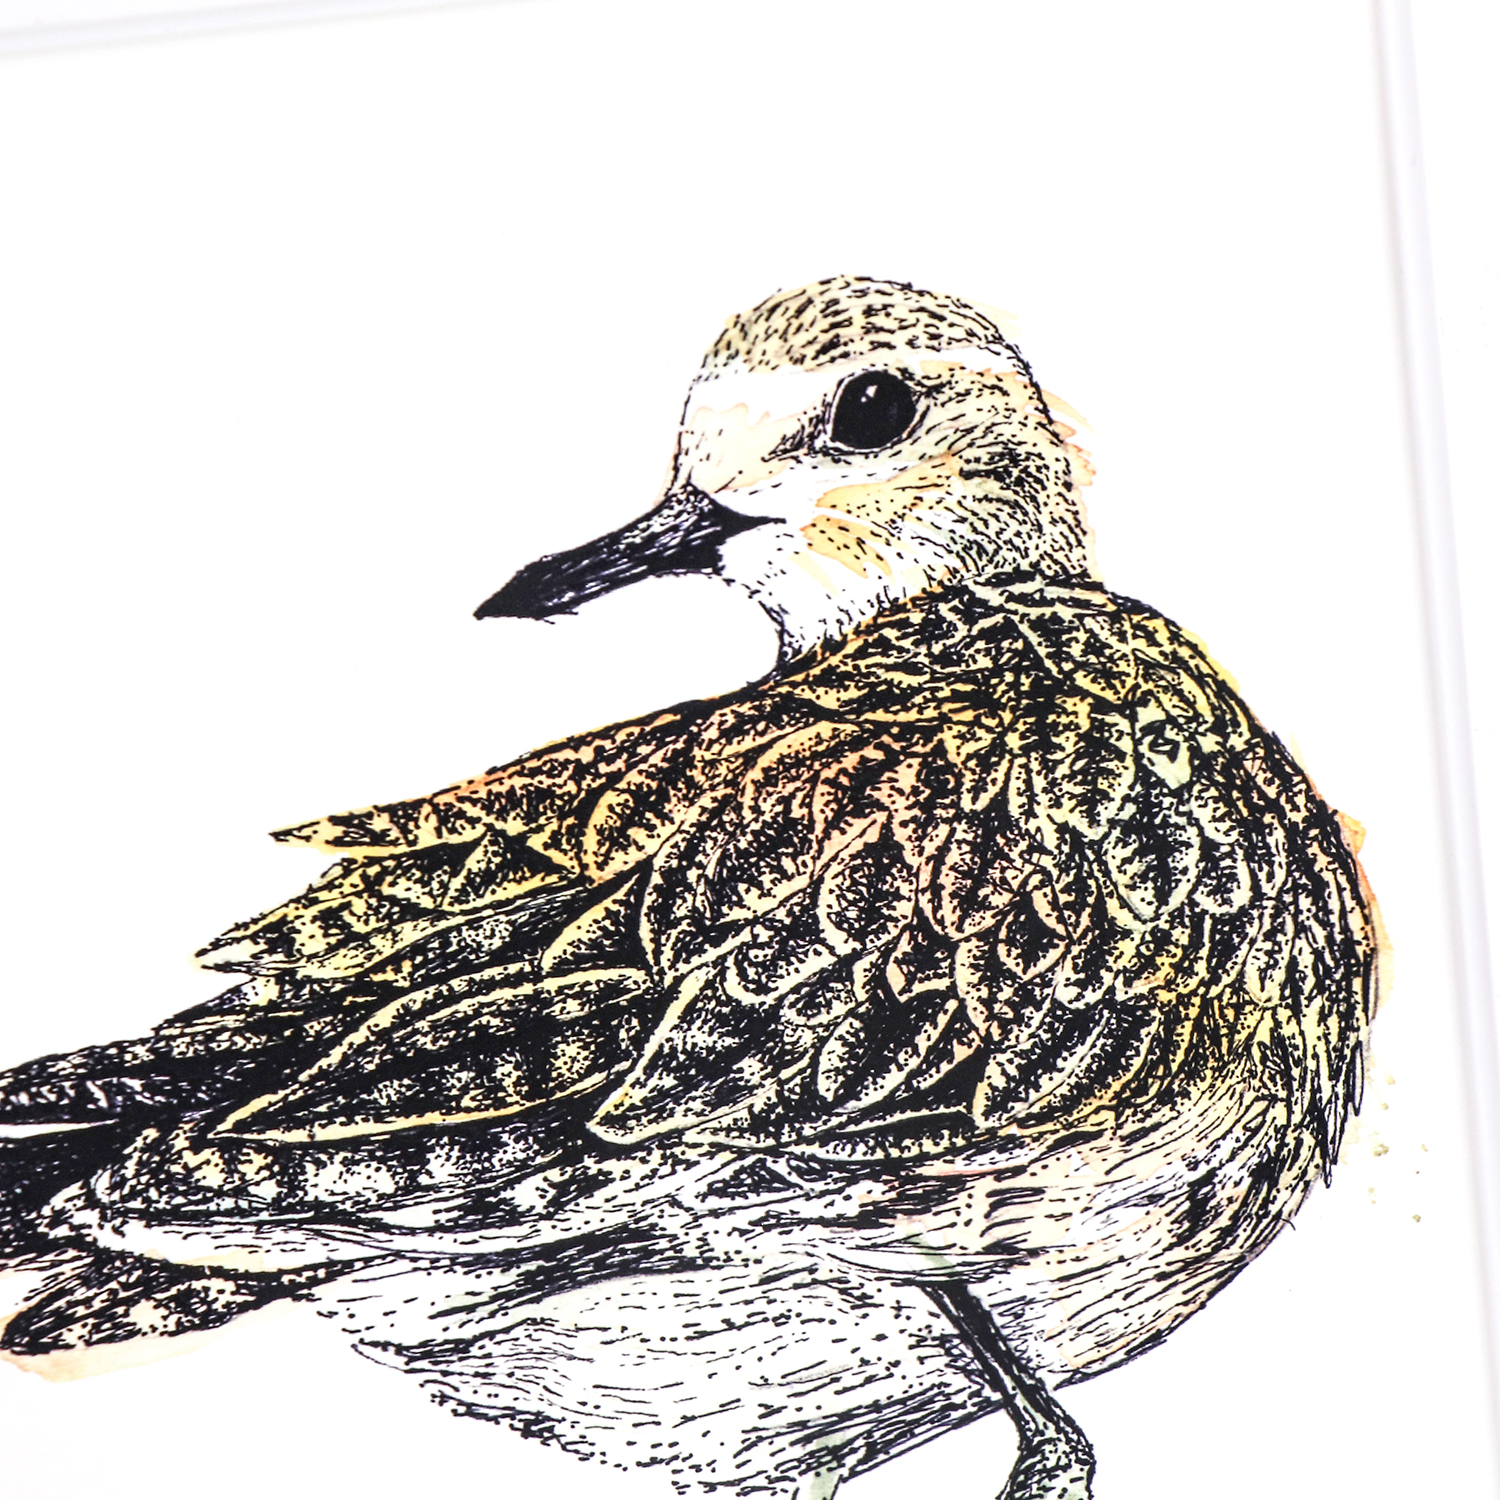
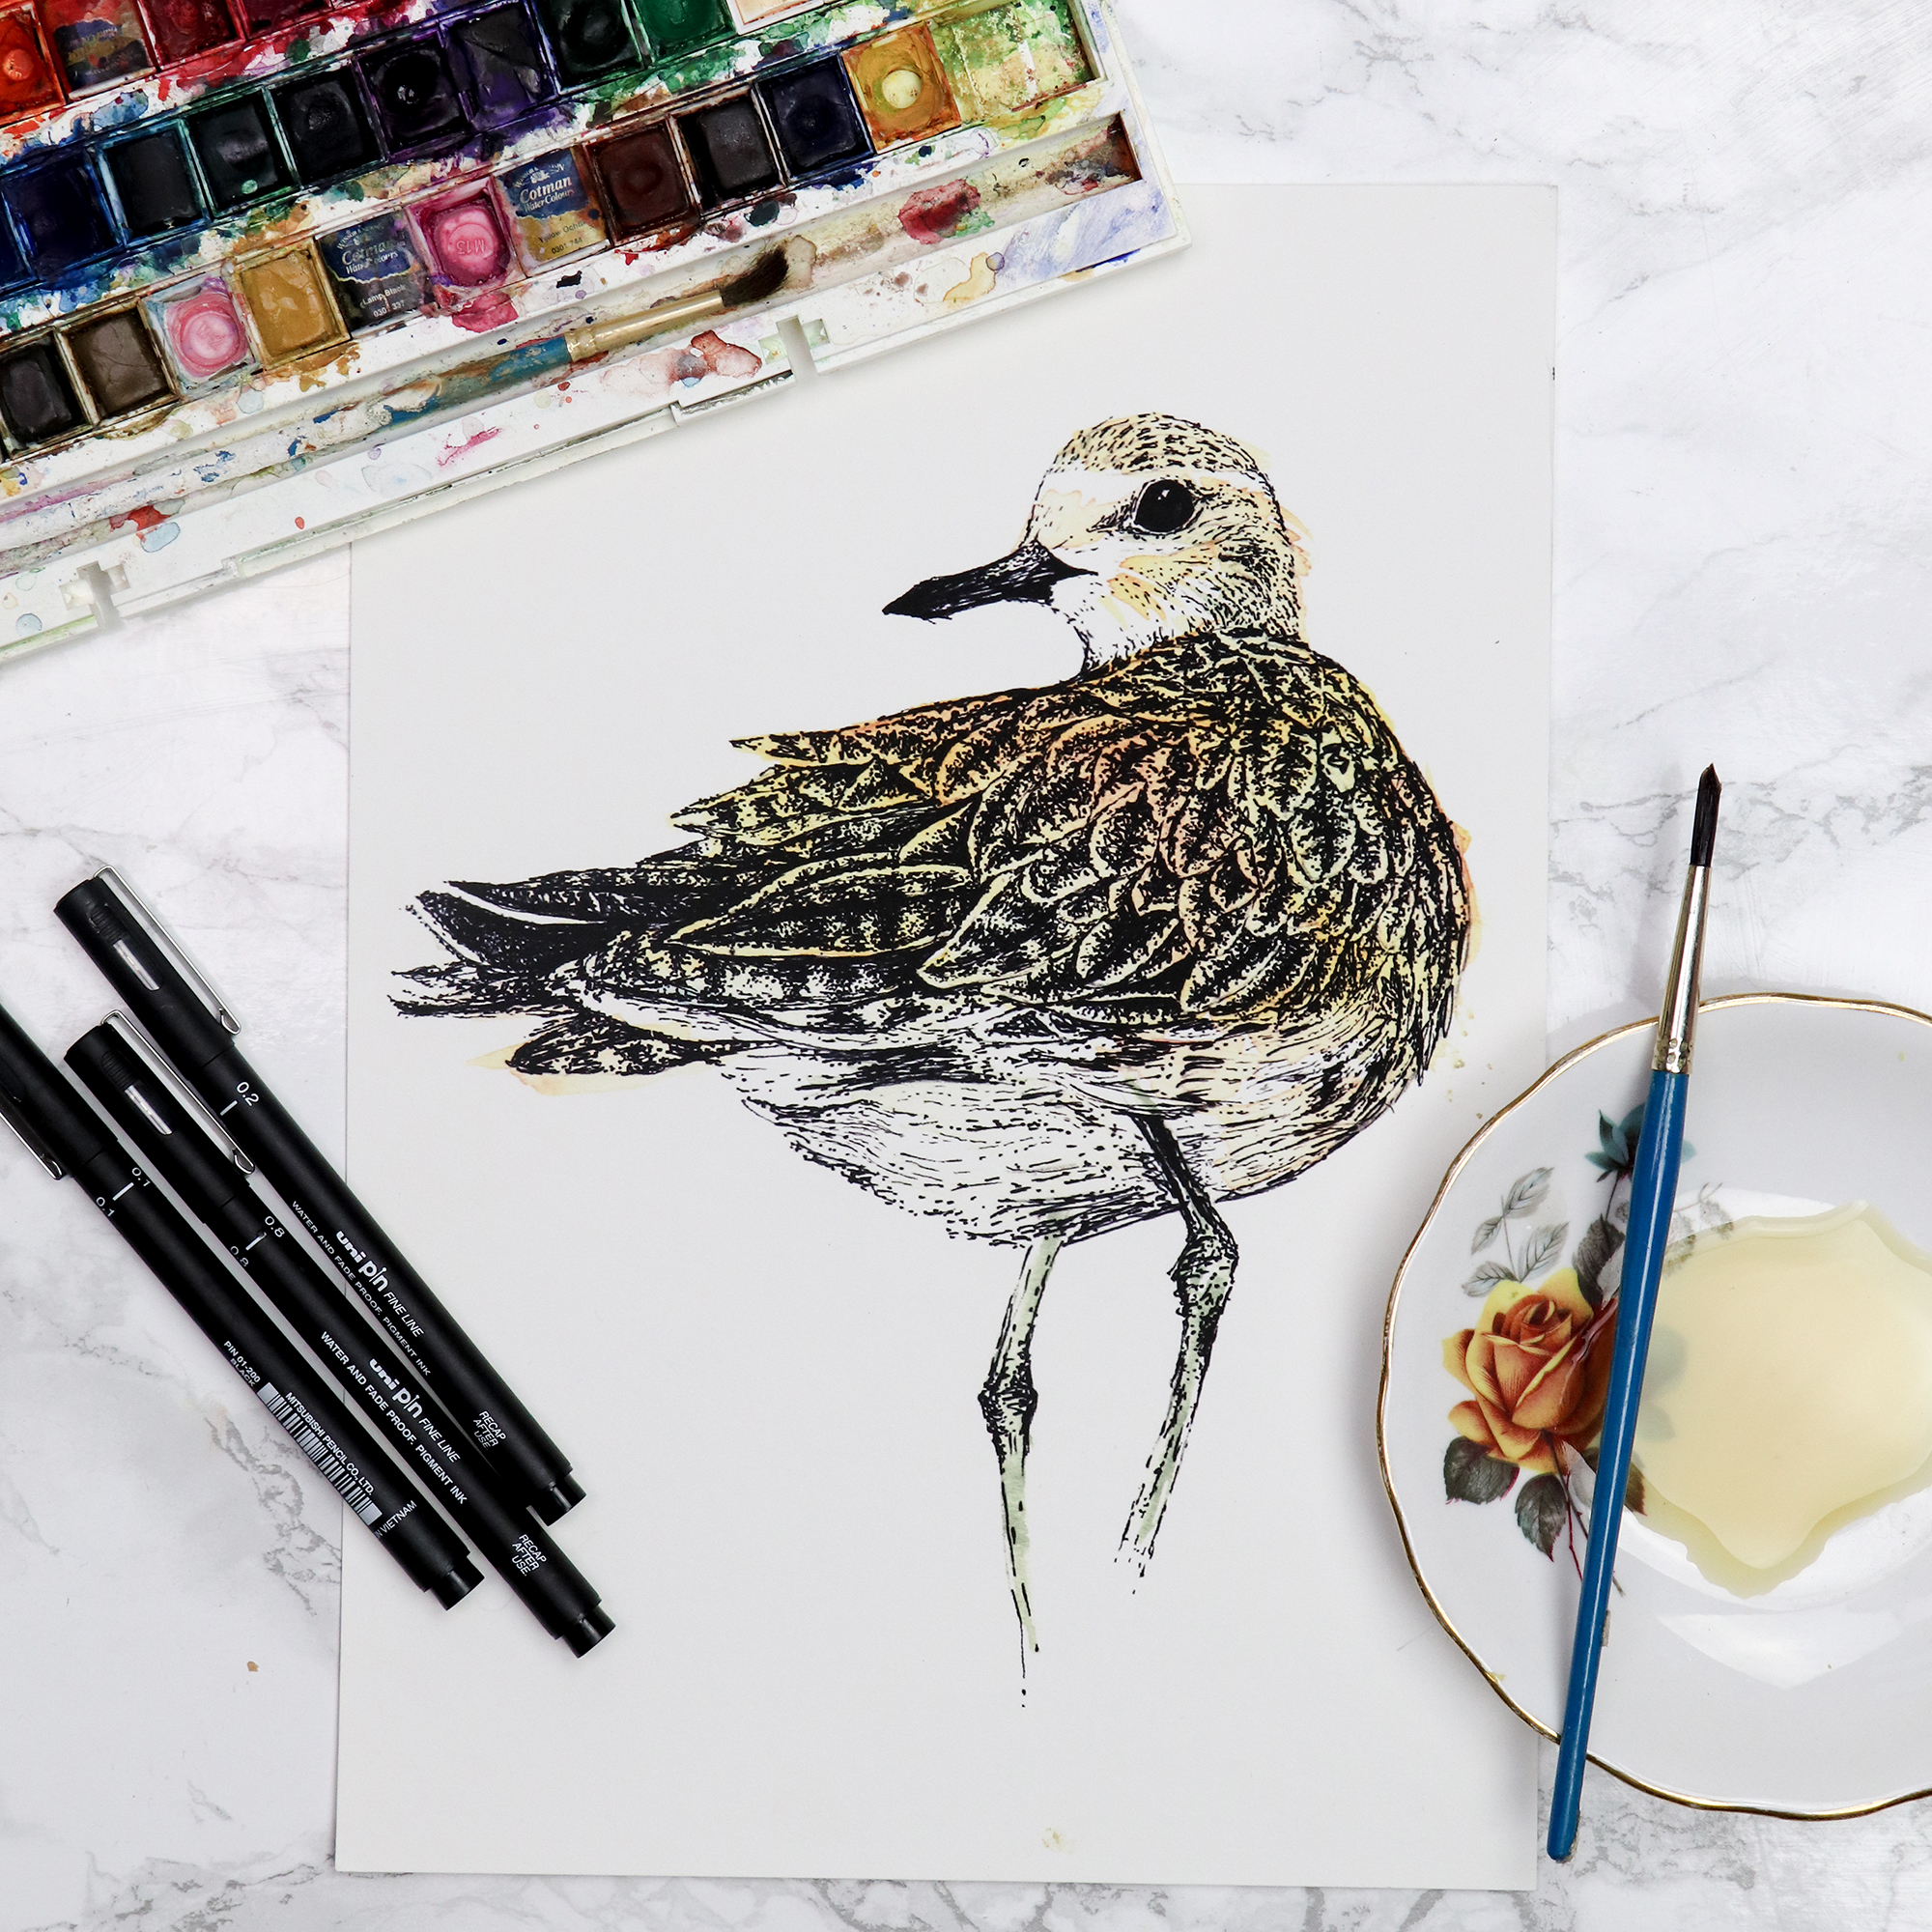
A3 Limited Edition Peacock Giclee Print (c) Ella JohnstonMy golden plover drawing was originally created for the book The Migrant Waders, published by Dunlin Press. It was one of my favourite illustrations and I love looking at it, so I had to turn it into a print. Again this is printed on high quality archival paper so it will last a lifetime.
A4 Limited Edition Golden Plover Giclee Print (c) Ella Johnston
A4 Limited Edition Golden Plover Giclee Print (c) Ella JohnstonGolden Plover illustration work in progress (c) Ella Johnston

Drawing of the week: Helenium

helenium flower illustration Ella JohnstonInspired by last Friday’s Gardener’s World and indeed my own home-grown efforts this week’s drawing of the week is a helenium.

Heleniums – 7 lovely things for the weekend at https://ellasplace.co.ukThis simple watercolour and ink illustration is taken from some of the few remaining flowers of my garden. Heleniums do really well in our garden and stay so long, so I’m always snipping them and displaying them around the house to make them last longer. I wonder how long they will last. Heleniums from our garden. http://www.ellasplace.me ©Ella Johnston.

Inspiration: Beth Chatto Garden Succulents

Beth Chatto Succulents Ella's Place

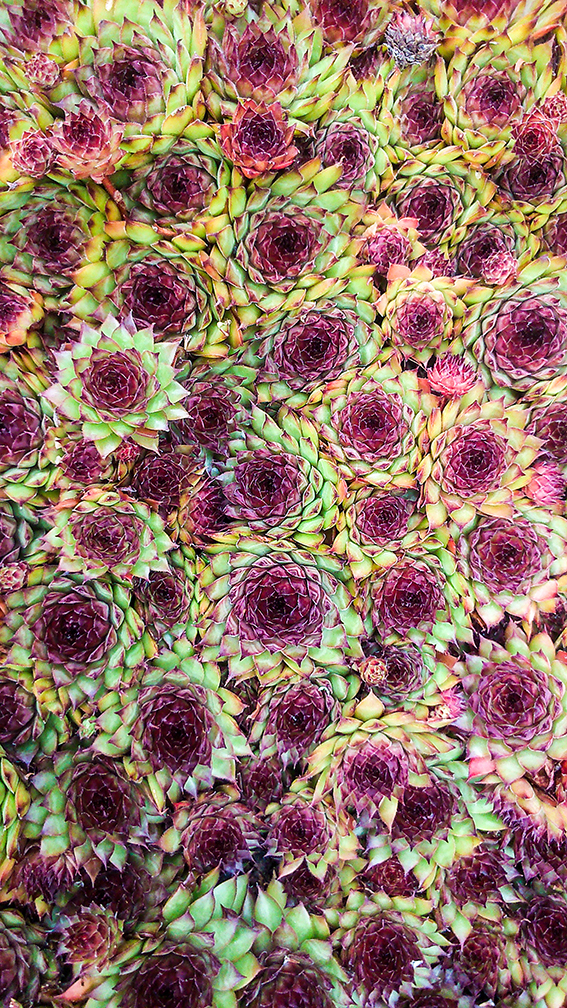
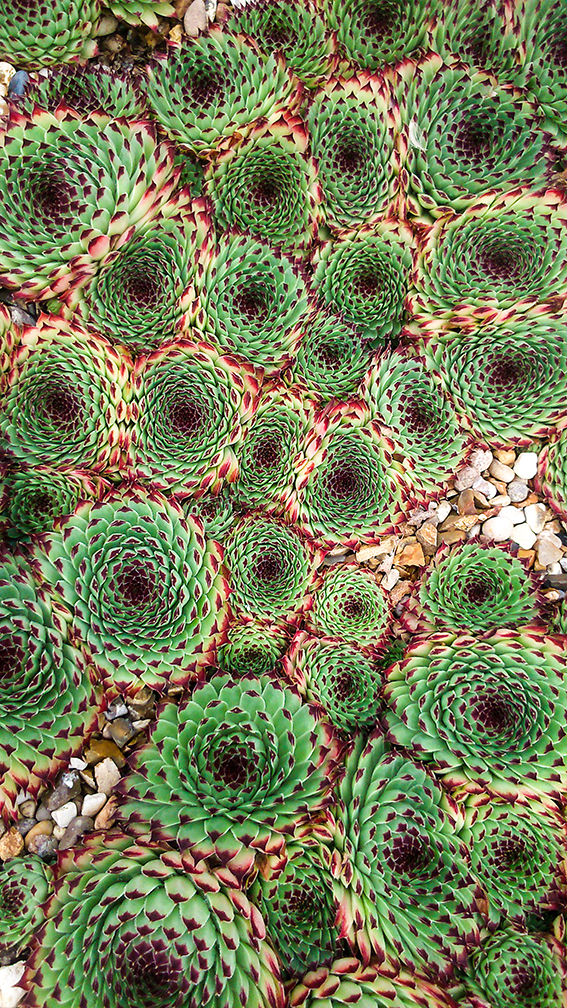
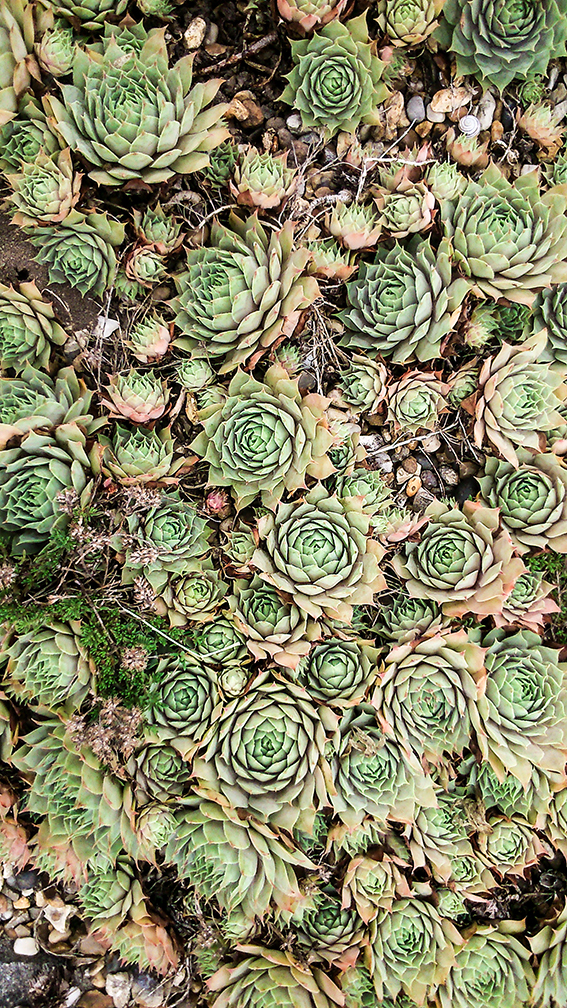
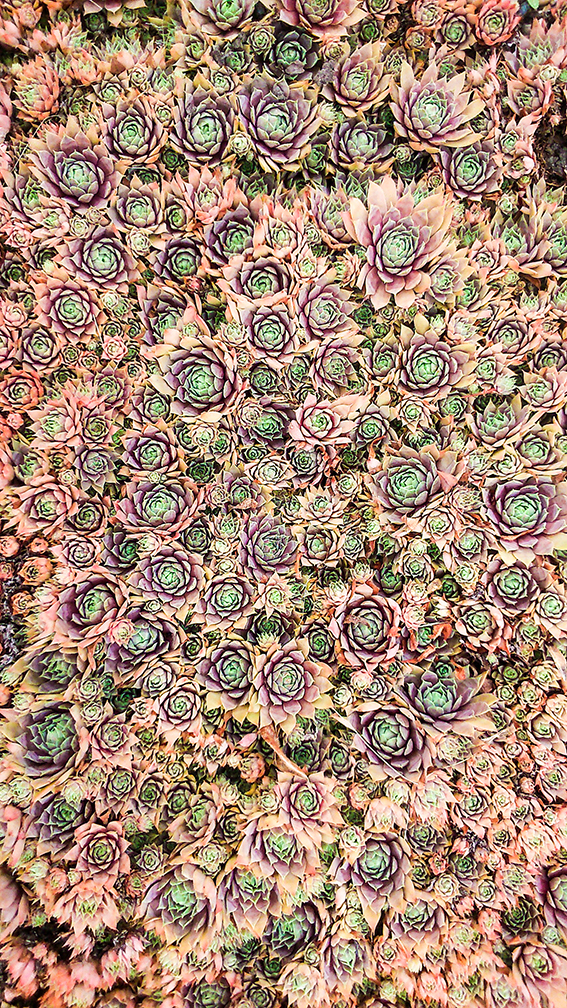
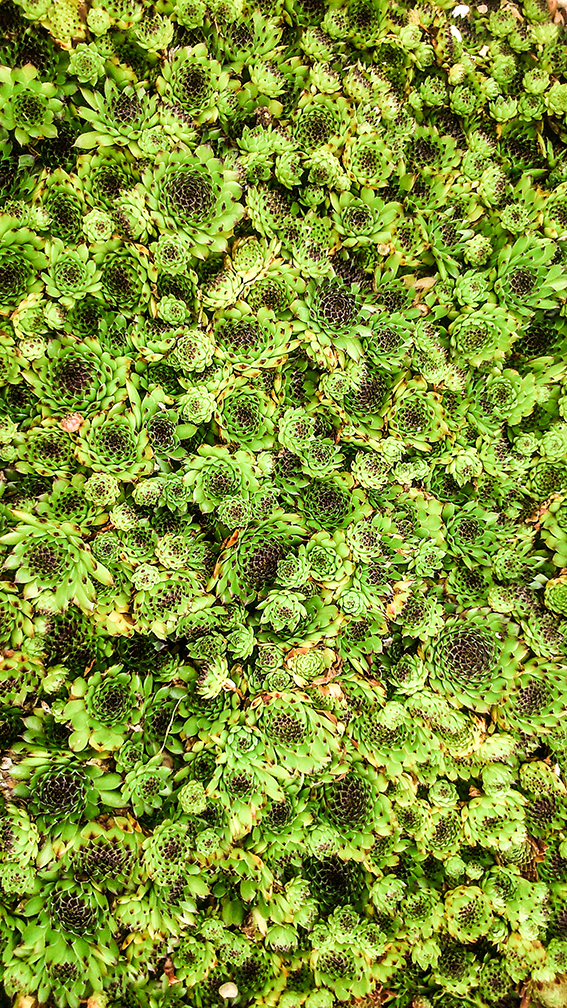
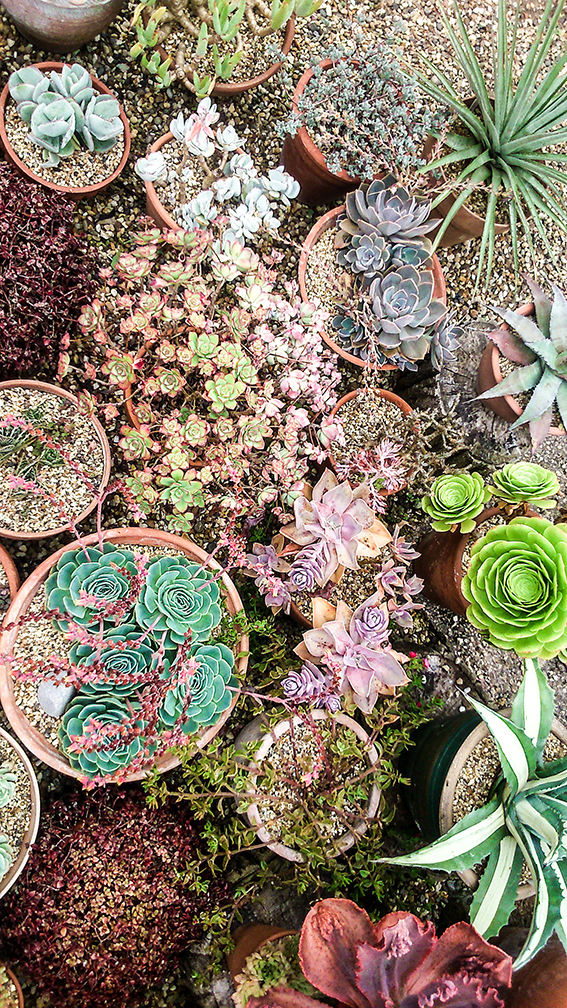
One of the best places to go for visual inspiration is the near-by Beth Chatto gardens. The succulent collection is a particular pull for me, especially as I go about my artistic work. Research is essential to my work and you’ll often find me with my phone or camera in hand, capturing images that interest and inspire me.

Beth Chatto Succulents Ella's PlaceThe gardens have is a wide variety of succulents.  The way the gardeners display the plants all together is really impressive. The visual impact of these packed-in plants in such a range of naturally attractive colours look like a patten design in themselves.

Beth Chatto Succulents Ella's Place Beth Chatto Succulents Ella's Place Beth Chatto Succulents Ella's Place Beth Chatto Succulents Ella's Place Beth Chatto Succulents Ella's Place

Check out my succulent print at > my Folksy shop
Find out more about Beth Chatto Gardens > here

How I made easy fabric coasters in 10 minutes

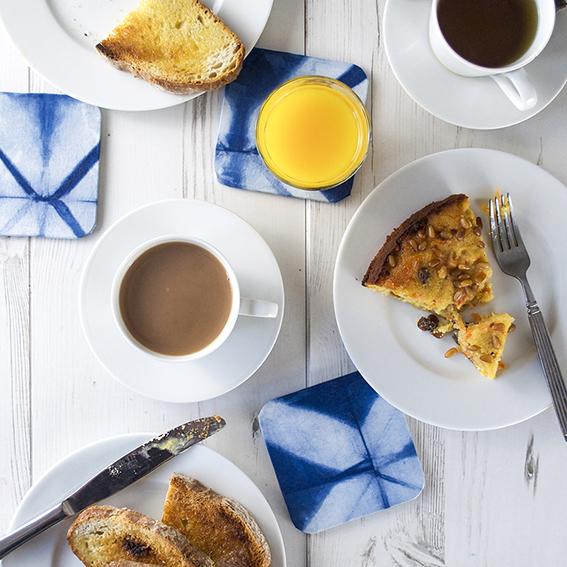
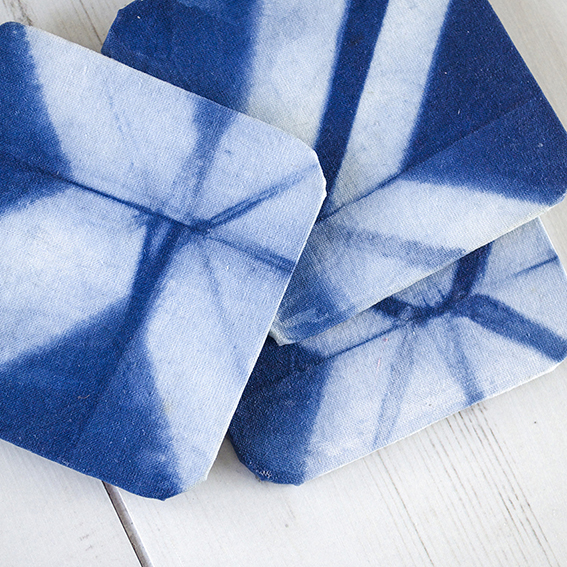
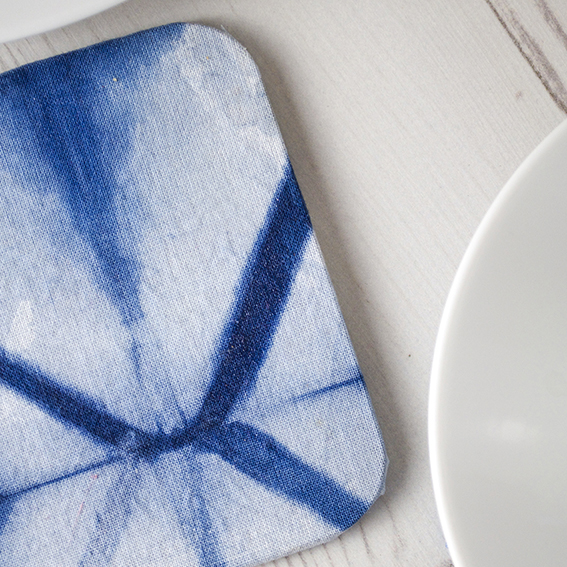
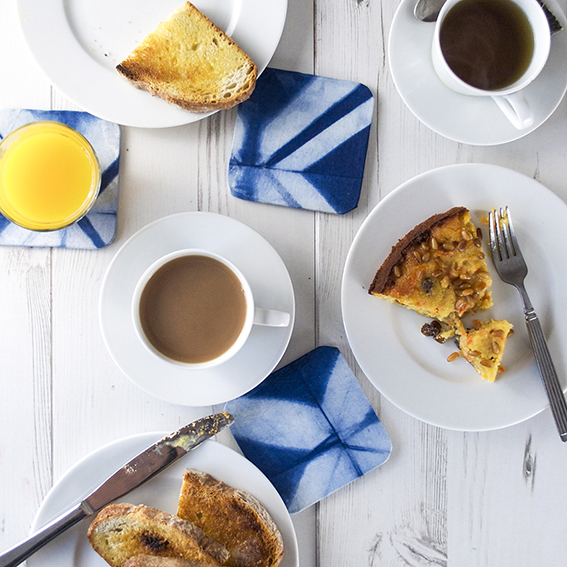
Shibori fabric coasters (c) Ella Johnston ellasplace.co.uk
This Shibori fabric coaster project is so easy I kind of feel bad posting it. It took me minutes to make and yet I think they look really stylish. And – seeing as I’m working on Christmas issues of my magazines at the moment – I reckon I may use the techniques employed here to whip up some handmade designer style pressies for my friends.

Shibori fabric coasters (c) Ella Johnston ellasplace.co.uk

I had a surplus of Shibori-dyed fabric from a recent workshop I attended and I haven’t got round to making cushions with my larger pieces of fabric yet, but I loved my scrap tester pieces that I made and wanted to do something nice with them.

Shibori fabric coasters (c) Ella Johnston ellasplace.co.uk

So I bought a set of blank MDF coasters, cut these scraps to size leaving a 1cm allowance. I then covered the MDF pieces with PVA. I tucked the fabric under and coated the whole lot with a varnish to seal in the fabric and protect the surface. Then once it was all dry I used a strong adhesive to apply a square of felt to the bottom to get rid of any ugly finishes and to provide a good base for the coaster.

Shibori fabric coasters (c) Ella Johnston ellasplace.co.uk

Shibori fabric coasters (c) Ella Johnston ellasplace.co.uk

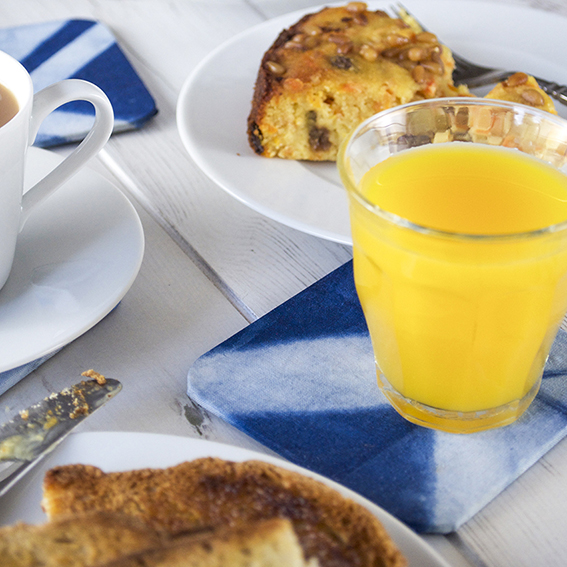
I’m really pleased with them and use them all the time. A final note: a special shout out has to go for the delicious gluten-free carrot and almond cake (in the pictures, above) from the Wivenhoe Deli and Tea Rooms – I’m a fan and I’m not even gluten intolerant!

How to make a book in eight easy steps

If you are anything like me you’ll have loads of spare bits of patterned, or even plain, card and reams of paper lying around. I’ve got a great little Japanese stab-bound book project that uses up all your stash and is brilliant for when you want to make handmade gifts for people.

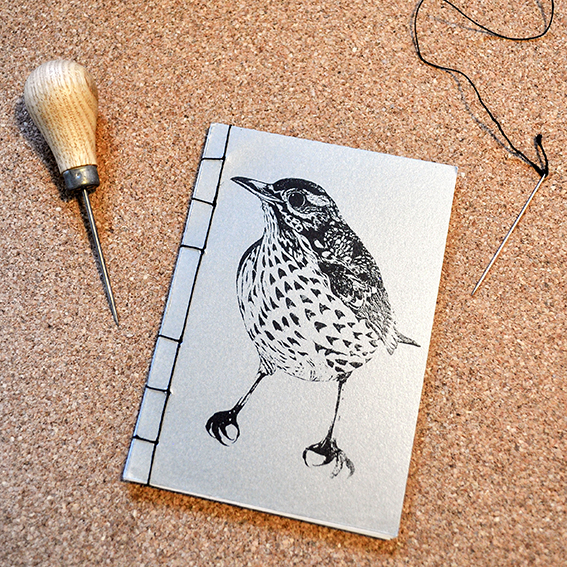
So here’s how to make a book in eight easy steps. I’ve screenprinted one of my bird illustrations onto a card cover of my book but you can make yours with anything you like.

Handmade book (c) Ella's Place


YOU WILL NEED
Awl
Ruler
Pencil
Two sheets of A6 card for your cover
15 sheets of 120gsm A6 paper
Book-binding thread and needle
Rough paper (same size as your book pages and card)

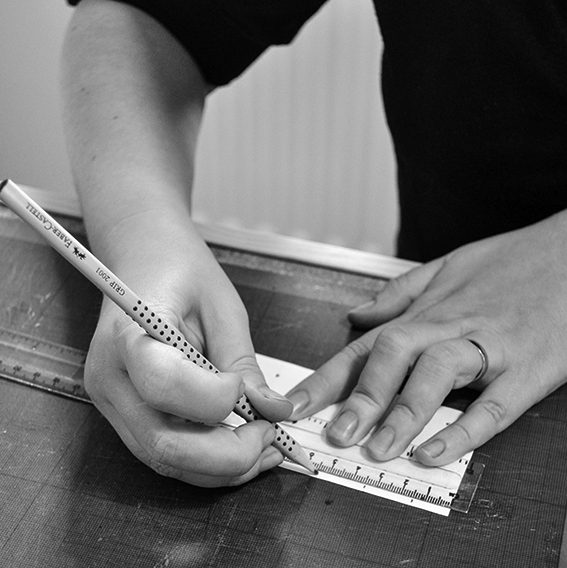
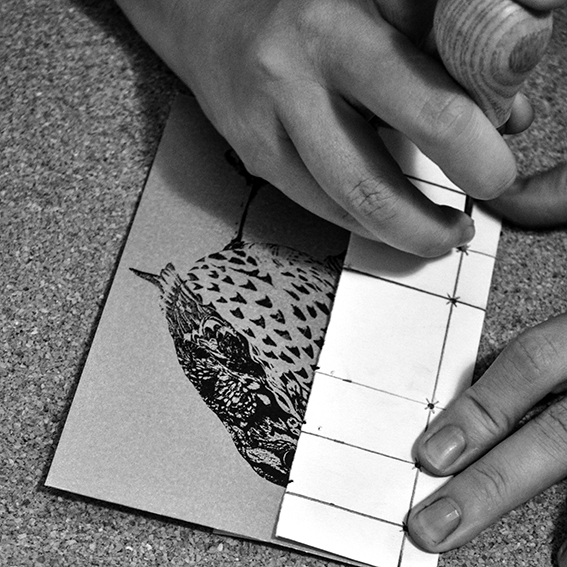
(c) Ella's Place1: Use rough paper to make a template. With a ruler, draw a line from top to bottom of the rough at 1cm from the spine. Starting 1cm from the top, mark off an even number of points spaced evenly on that line.

(c) Ella's place

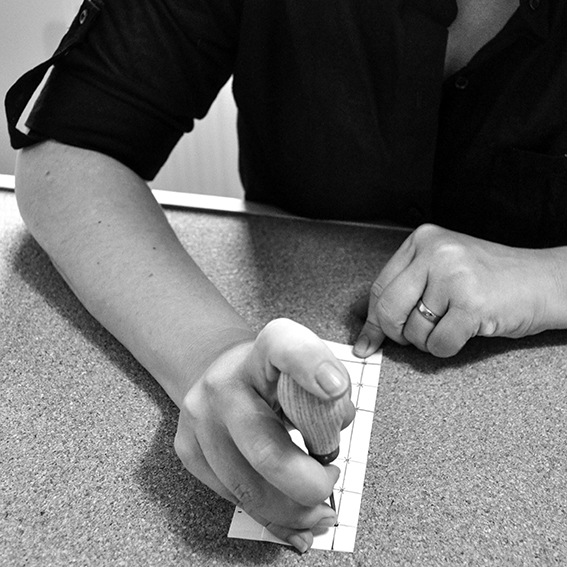
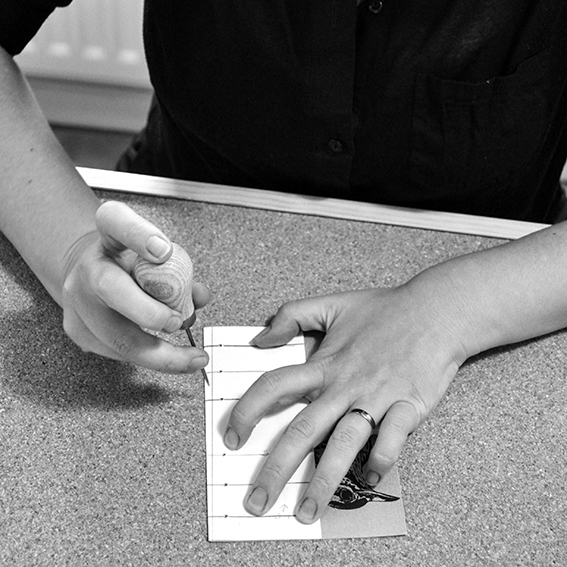
2: Working on a hard, flat surface. Use the awl to make holes in the intersections as shown – I’m protecting my table (and my hands) by placing the paper on a cork board so the awl can ‘sink in’.

(c) Ellas place

(c) Ellas place

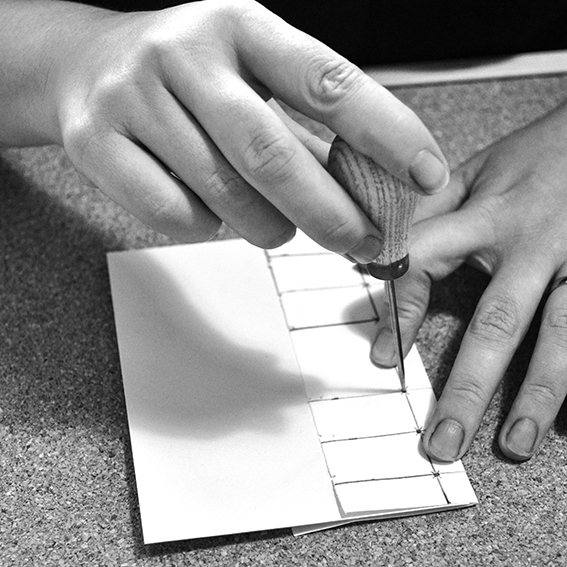
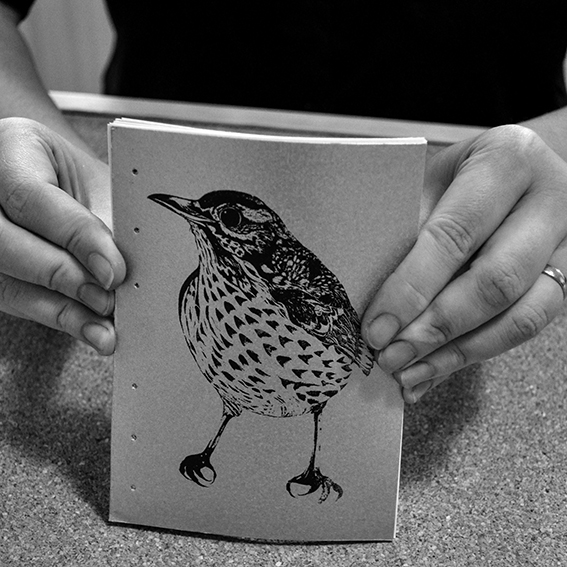
3: Place the front cover card underneath the template, holding or clipping the front edge to keep from moving. Protect your work surface as you punch a hole at each of the marked points using an awl. Repeat for the back cover.

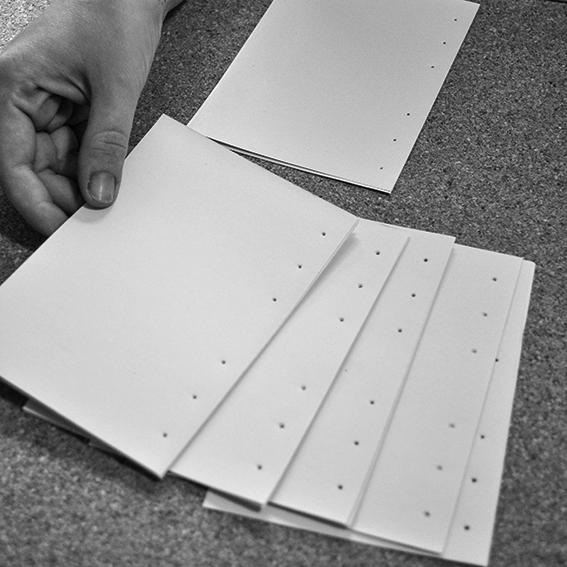
(C) Ellas place(c) Ella's Place4: Place a quarter of the book pages underneath the template and make holes as shown. Continue with the remaining pages doing quarters at a time. The pages and cover should all look the same once punched.
(c) Ella's Place

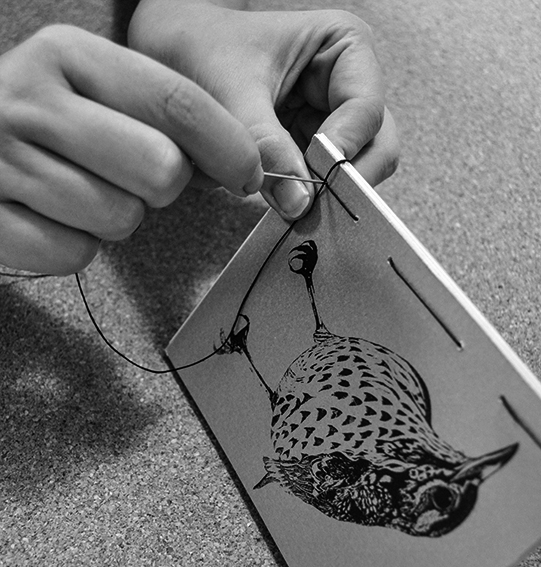
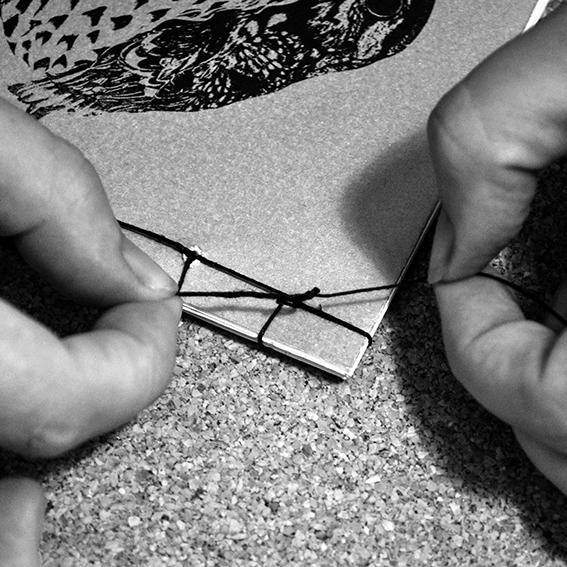
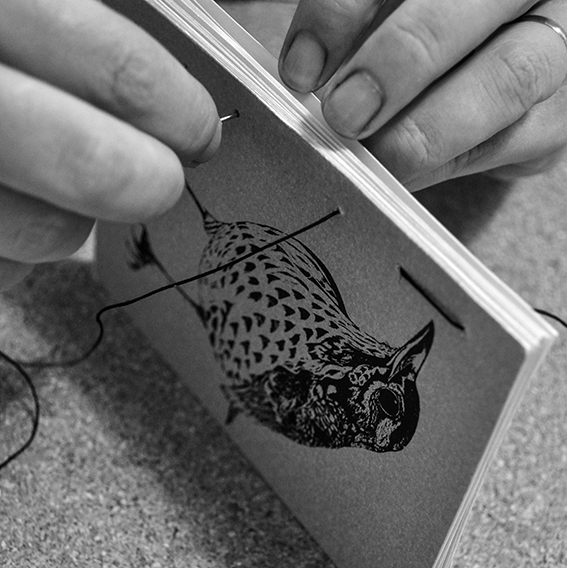
(c) Ella's Place5: Put all the pages, including the front and back covers, together. Thread the needle through the top back hole of the book, leaving some thread loose. Make a running stitch along the holes in the book, pulling the thread tight each time through a hole while keeping your top thread loose.

(c) Ella's Place

6: Loop the thread at the bottom of the book’s spine and go through the bottom hole. Place the book on its side, loop around the top of the spine and go through the bottom hole again.

(c) Ella's Place

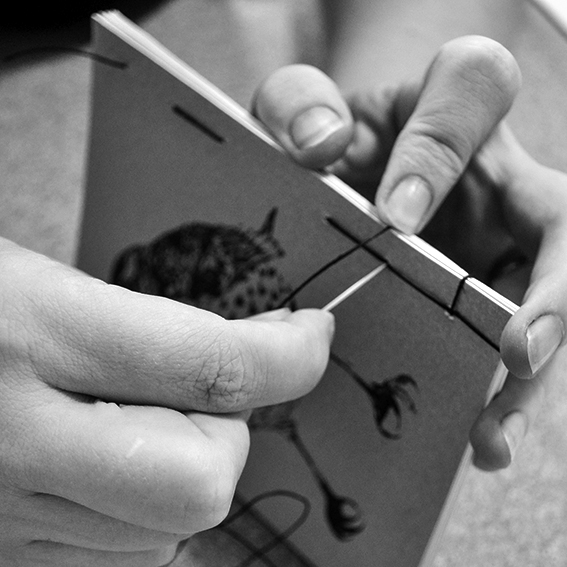
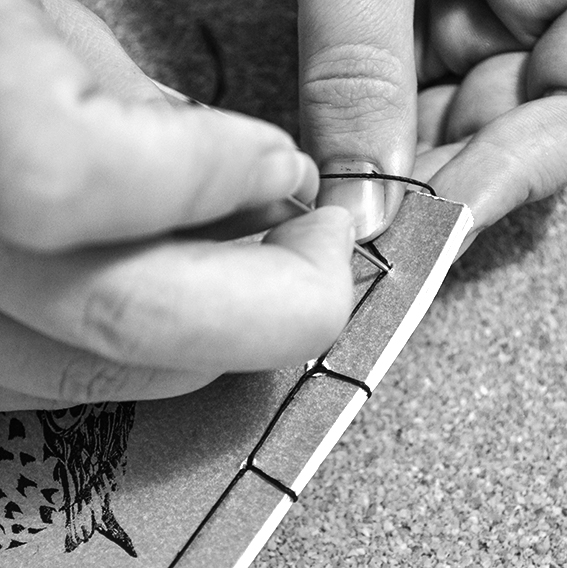
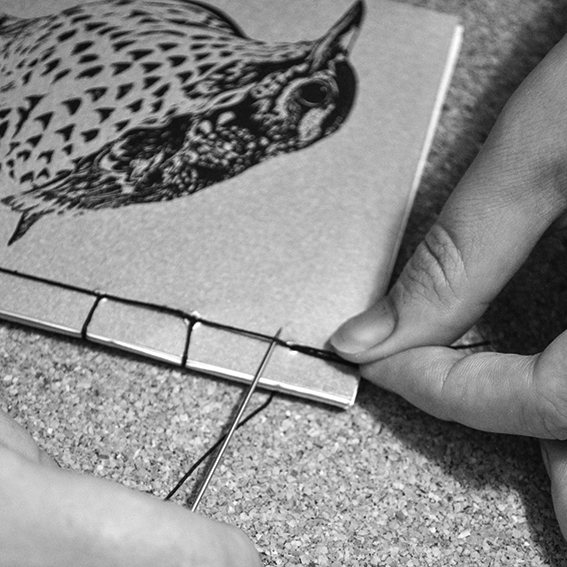
7: Do a running stitch into the next hole, loop around the top of the spine and go through that hole again on to the next hole. Repeat until you get to the top of the book.

(c) Ella's Place

(c) Ella's Place

(c) Ella's Place8: Make a loop at the top of the book and go through the top hole. Slip the needle under two of the top bindings coming out of starting hole. Tie a tight knot with the original loose thread.

(c) Ella's Place

Look – you’ve made a book!