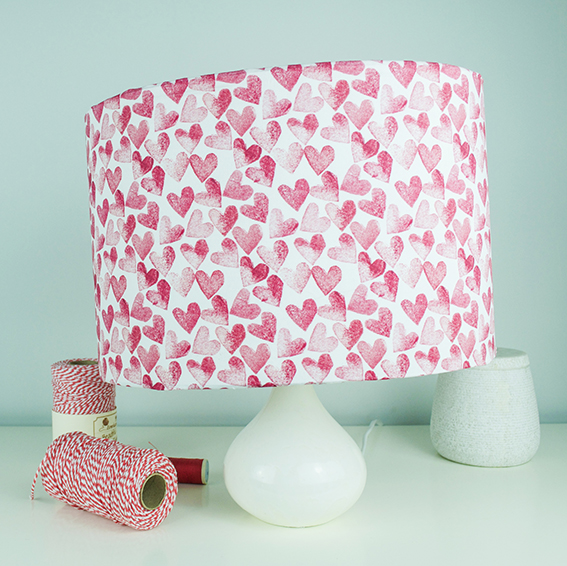
I’m embracing the DIY ethic this month and have just made a really easy lampshade with my own fabric. I have to say I’m very pleased with it – and you can easily make one too.
This summer I’ve been creating new designs using a rubber block print technique. I simply draw, then carve out a motif from a block, ink it up and start making lovely prints with it.
These block prints look great when translated into fabric design so, after ordering a few designs from my Spoonflower shop, I used my red heart fabric to make a lampshade.
To make the shade I used a 20cm Oval Lampshade Making Kit from Needcraft. I’ve worked with the round lampshade kits before and found them really straightforward to make with, so I branched out this time with a slightly more unusual shape. The kits contain two lampshade rings (one with the fitting), one self-adhesive lampshade panel (to adhere your cover onto), self-adhesive tape and a rolled edge tool for finishing – all you need to do is add fabric to cover. It’s as easy as that. As with the other kits the picture instructions and step-by-steps were easy to follow so the shade was made in around 15 minutes.
I didn’t want a pendant shade and, because I wanted my creation to have maximum impact, I chose a small base so my hearts take centre stage. Of course your choice of base is down to you. If you have a lamp base that could do with an upgraded shade, I’d really recommend it.
