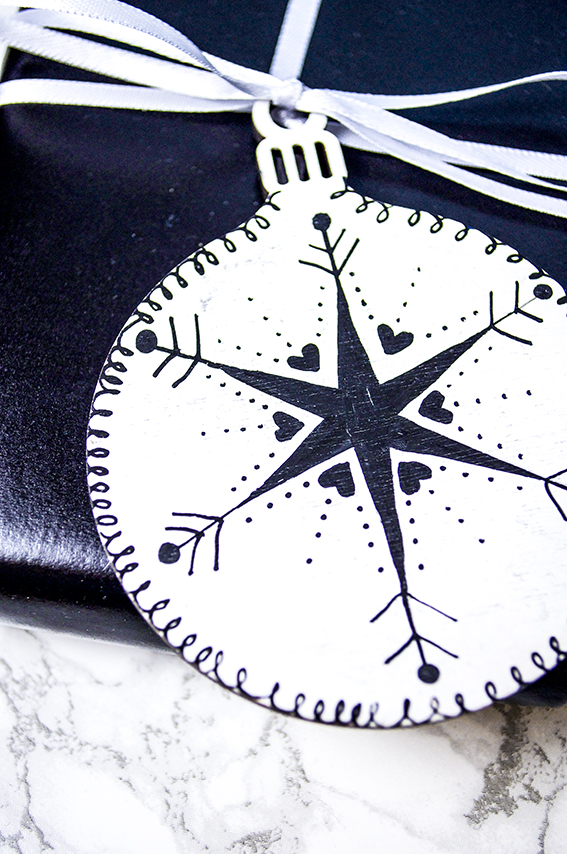
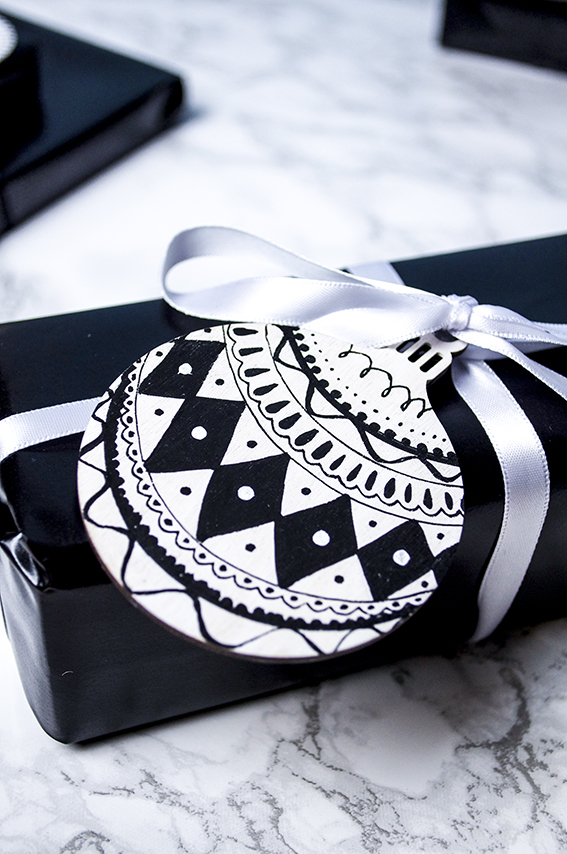
 It’s day two of my week of Christmas wrap ideas. This time I’ve gone for a stylish, yet playful Scandi-style as seen in my Scandi Lodge trend ideas with illustrated mdf bauble shaped tags.
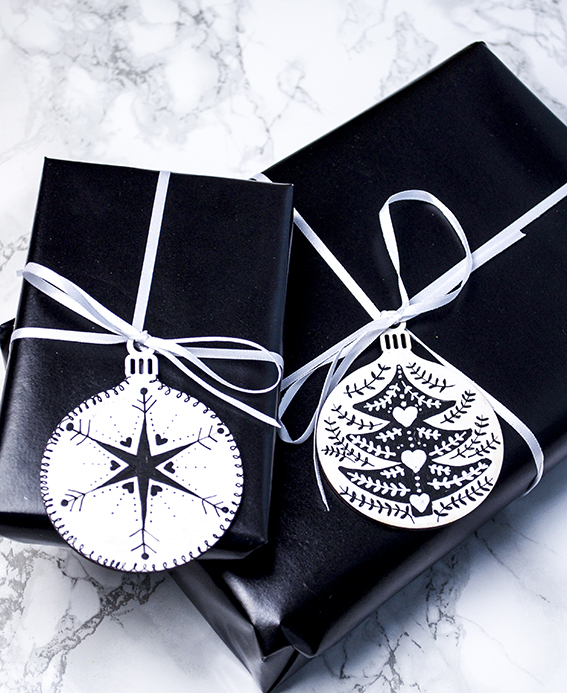 Using my Scandi-style Christmas moodboard and my pinterest pins as inspiration I painted the shapes with white acrylic paint and used black Posca pens to apply the designs.
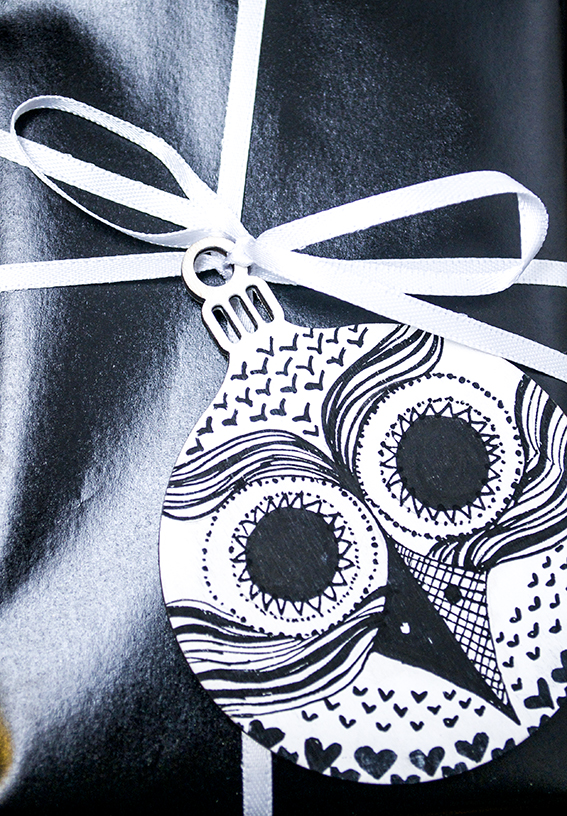
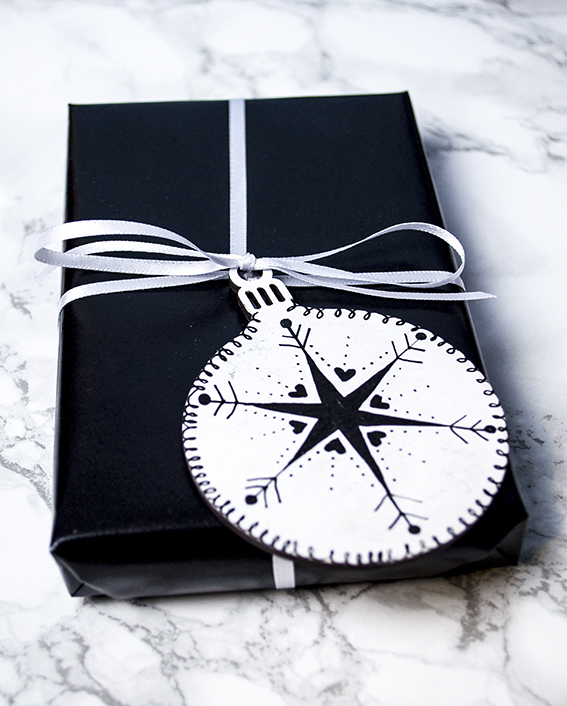 I kept the drawings fairly simple with basic star/snowflake shapes, squiggles, hearts, dots and scallops. Because the illustrated baubles create such an impact I kept the wrap itself very simple using shiny black paper with black or white 5mm and 10mm satin ribbon.
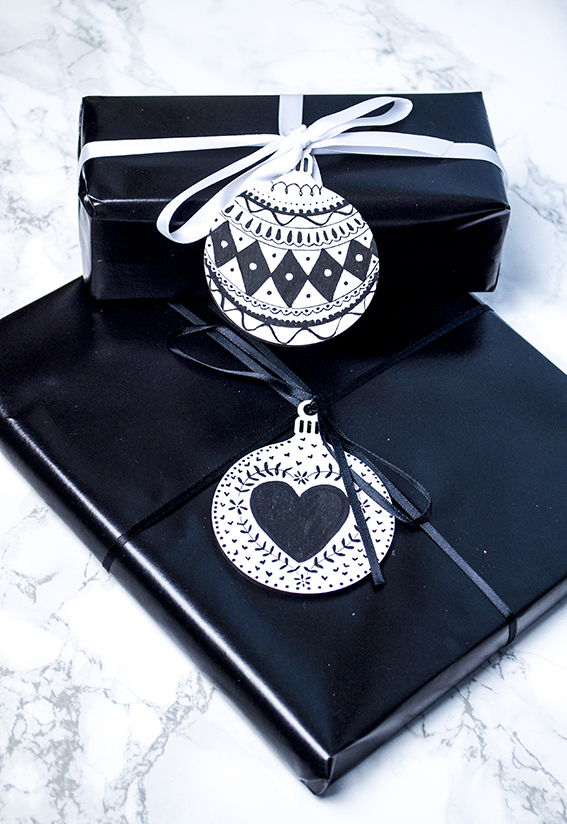 One of the easiest Scandi-style motifs I like to create is my simple laurel stem illustration that you can see above on the heart and the Christmas tree designs. It’s very, very easy to recreate as these step by steps show.
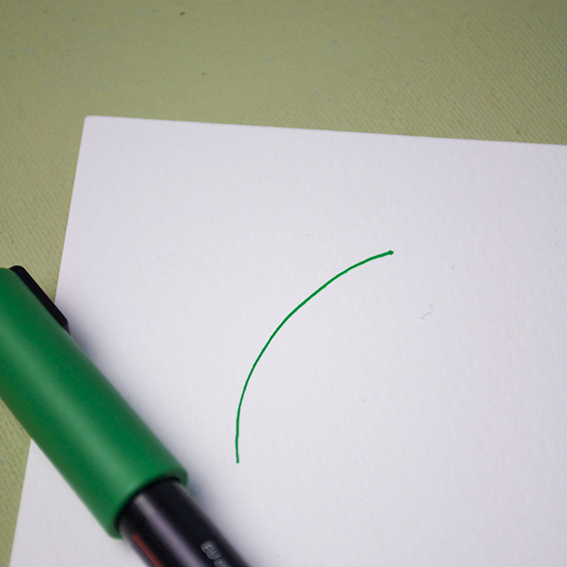 Step 1: Draw a simple line, it can be curved or straight, although I prefer mine to be a little jaunty.
 Step 2: Make little semi-circle shapes along the line as shown.
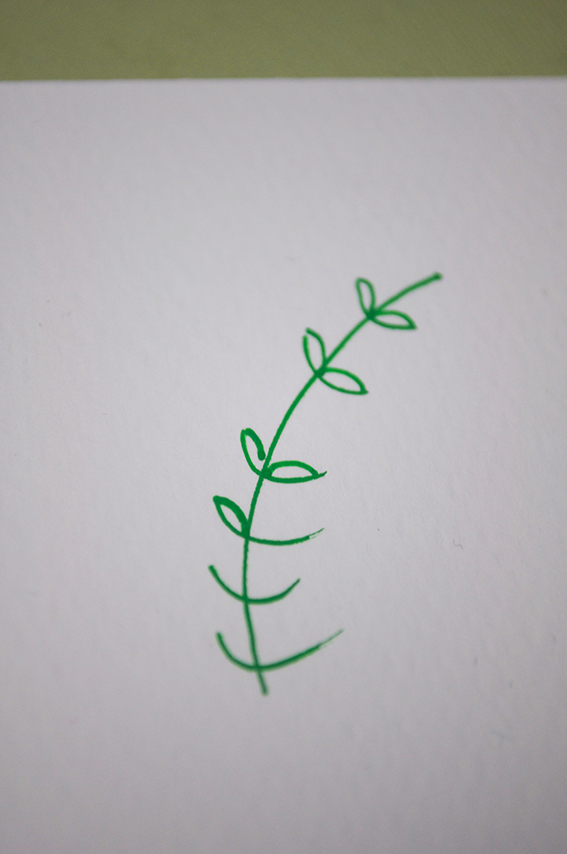 Step 3: Join the tops of the semi-circle to the central line to create leaves.
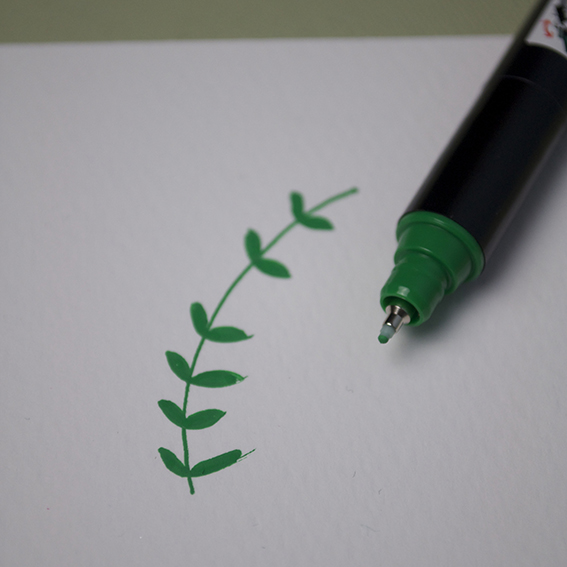 Step 4: Colour in the leaves.
Tag: gift wrap
Christmas wrap ideas part 1: Totes trad red and green
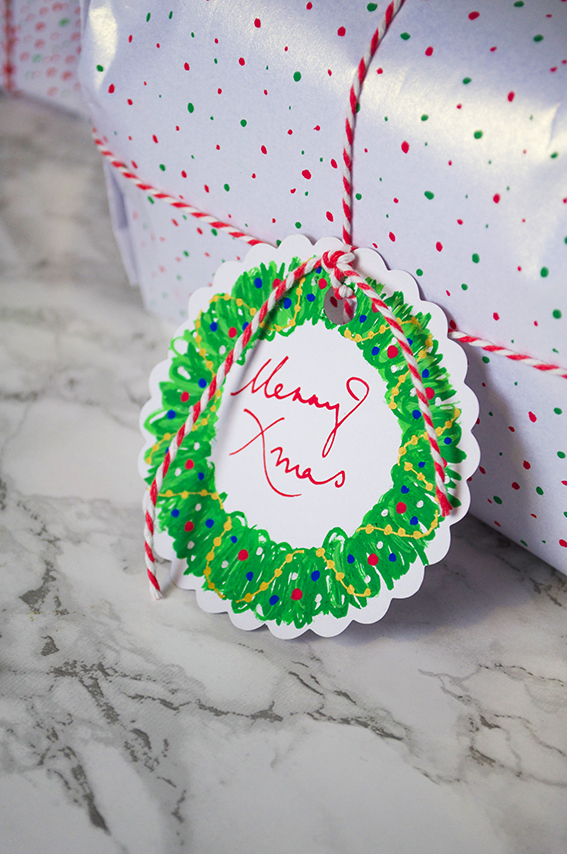 Over the next four days I got some top easy gift wrap ideas for giving your Christmas pressies that extra pizzazz.
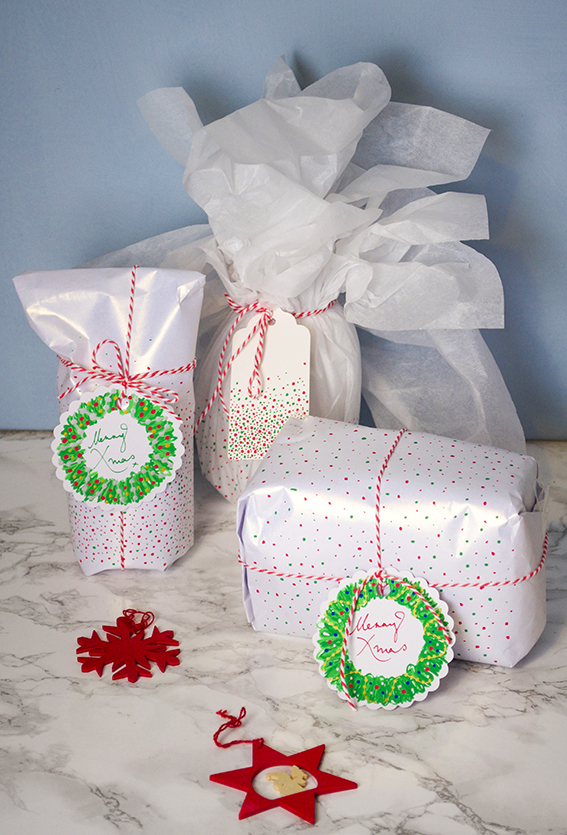 Idea number one is inspired by the totes trad red and white festive theme as outlined in this Christmas trends post. As I might of mentioned, this red, white and green colour scheme is one very much favoured by Dr B. So I always do something every year that’s a little concession to his yuletide preferences (although in fairness he’d have penguins and robins and Santas everywhere if it were up to him).
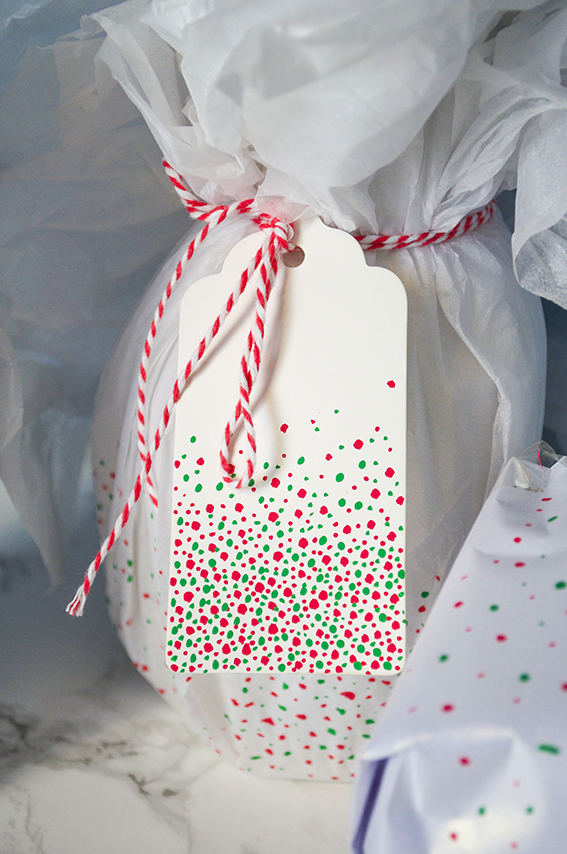 This is my concession to tradition. I have loads of gift tags and Posca pens left over from the craft shows I did this autumn so I thought I’d get busy with some quick and easy wrap revamps. I used two different nib sizes (5M and 1MR) to create different sized dots on the wrapping paper and some of the tags. I then finished it off with a trad twine bow. I also completed some of the gifts with a bespoke wreath tag. It’s dead easy to do, so much so I’ve got a little step by step for you below for you to try.
 You don’t have to be a fantastic drawer to create this wreath, I’ve shown loads of people how to do it; if you can make a mark you can make this wreath. You’ll need a circular tag and Posca pens in dark and light green, gold (or silver), red and blue.
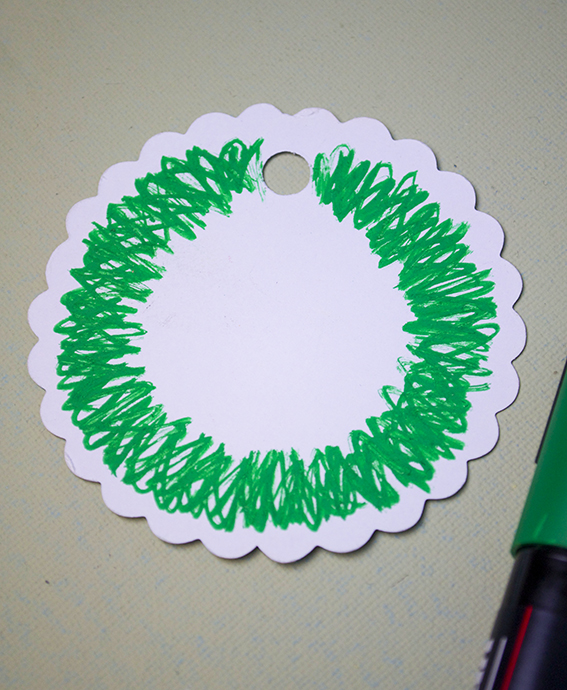 Step 1: Make a dark green circle using a rough layered zig-zags.
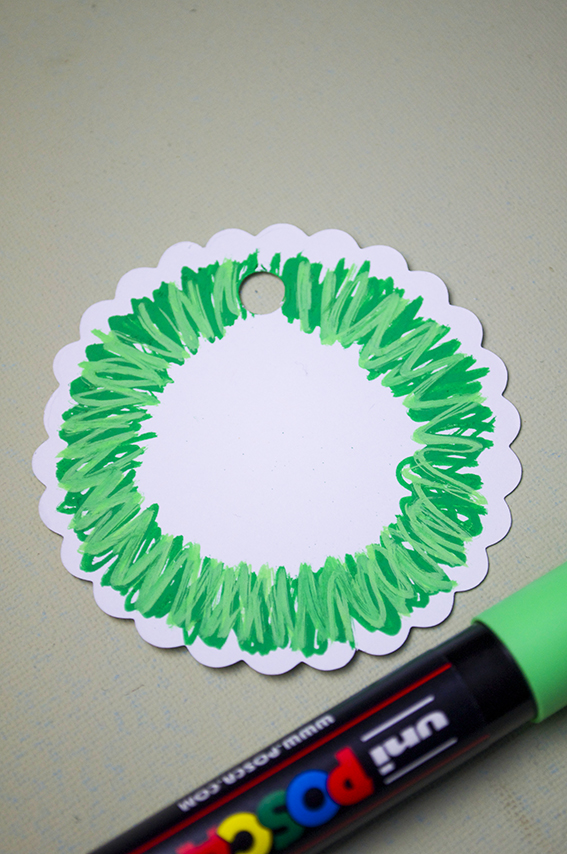 Step 2: Overlay the dark green with a lighter shade.
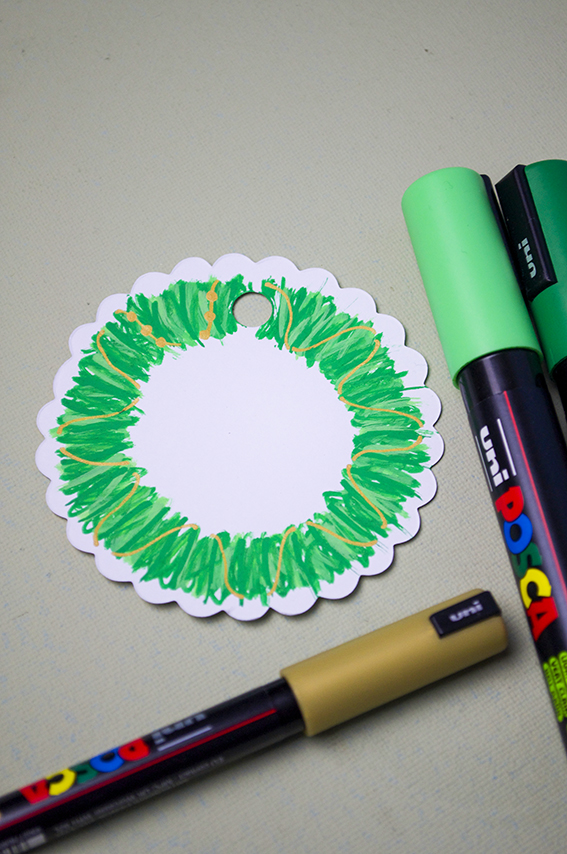 Step 3: Once your wreath is dry (the pens are paint based so you can use them as such) use the gold pen to draw lines around the ring as above, like it is wrapped around the wreath. Once you have covered the wreath with gold lines draw circles along the lines to make a string of beads.
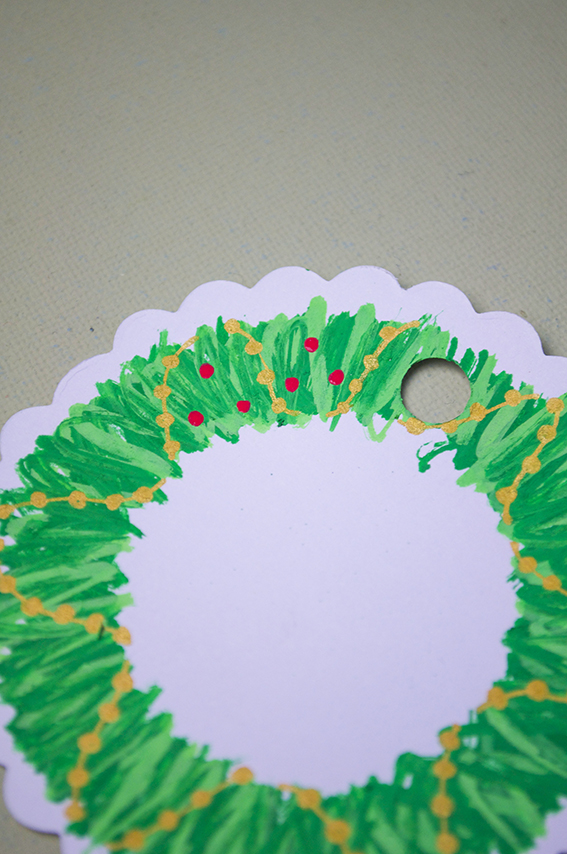 Step 4: Add coloured baubles in-between the gold bead garland.
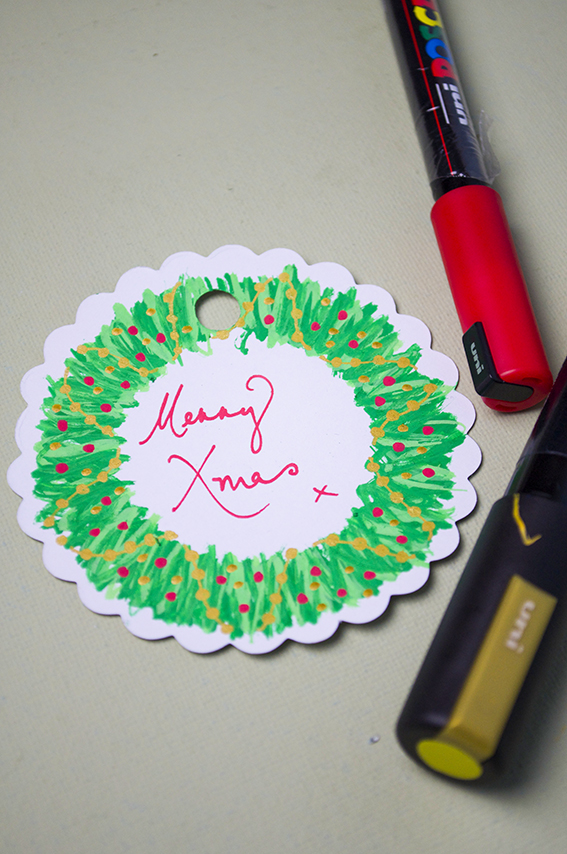
Step 5: Write a little festive phrase in the middle.