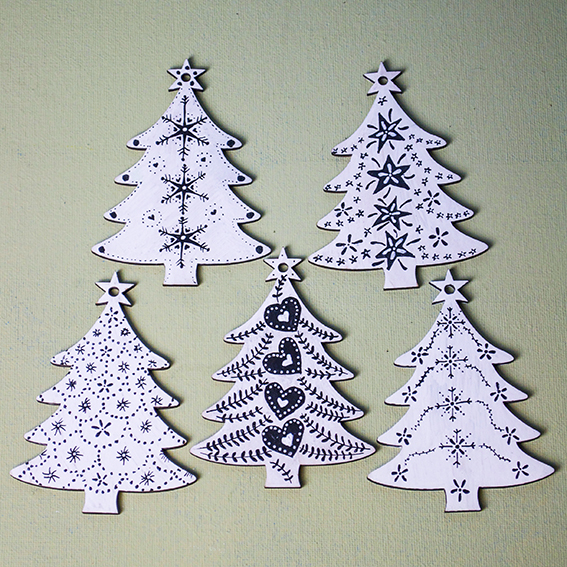
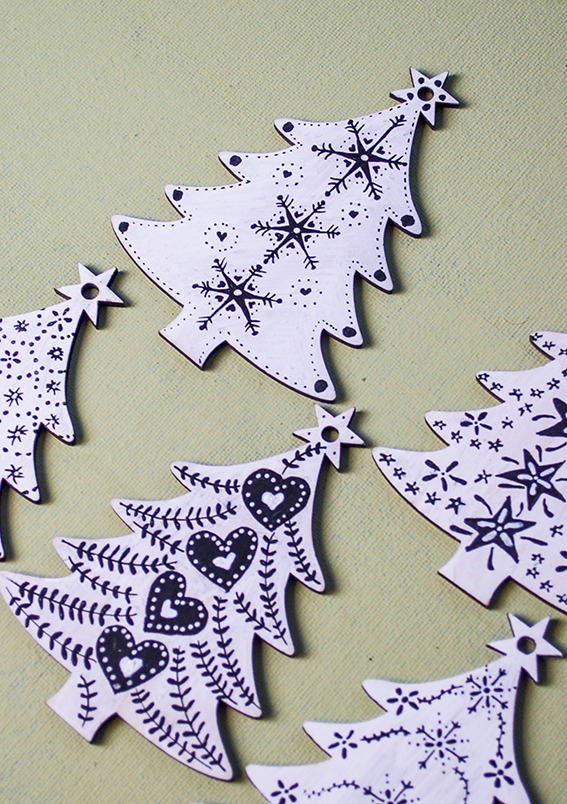
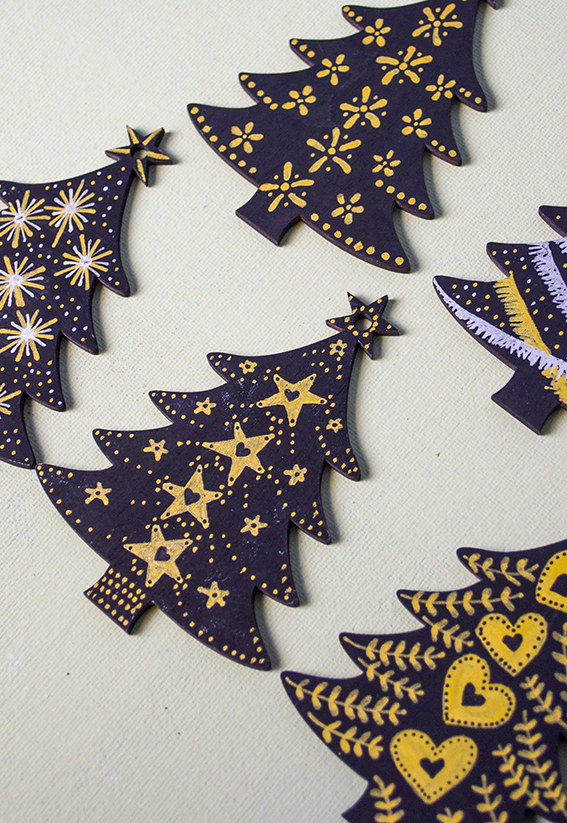
 My final Christmas gifting idea can also double up as decorations! I just decorated these mdf Christmas trees with posca pens I had left over from my autumn shows.
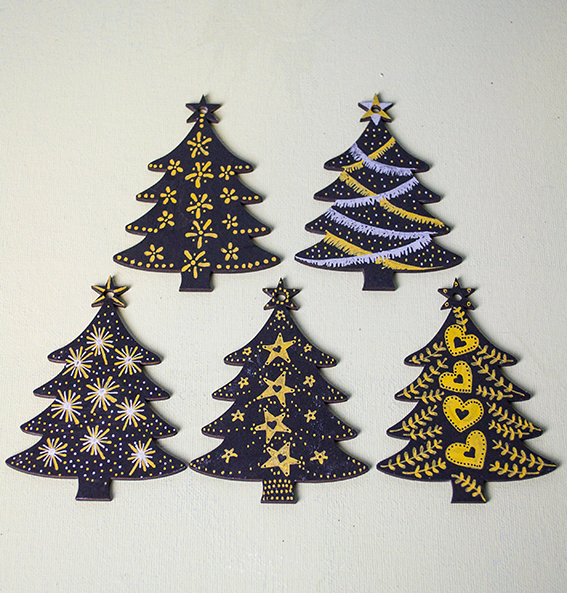 I’m very fond of sticking to a simple set of colours, so as well as using black and white designs I’ve also done some black, silver and gold trees. It’s about as bling as I get. Both of these would go with black wrap or metallic gold and silver papers.
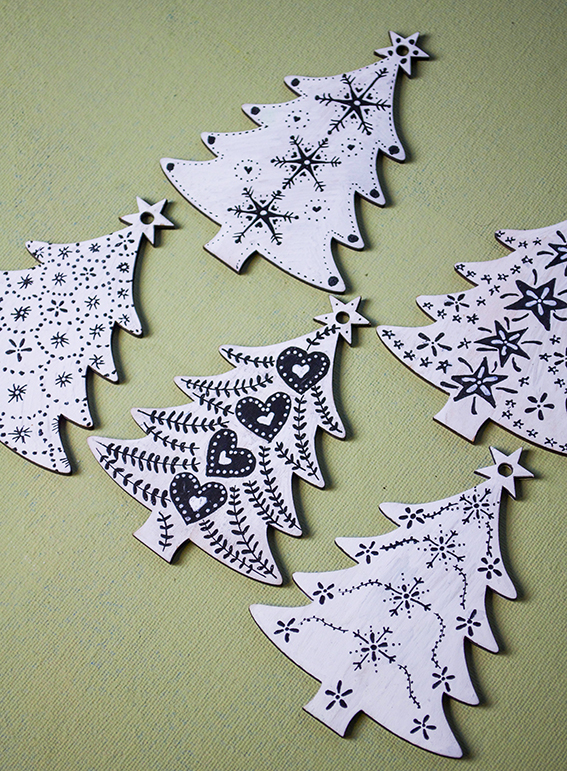 As you can see I’ve used my laurel stem design (how to here), and simple star, snowflake, heart and tinsel motifs.
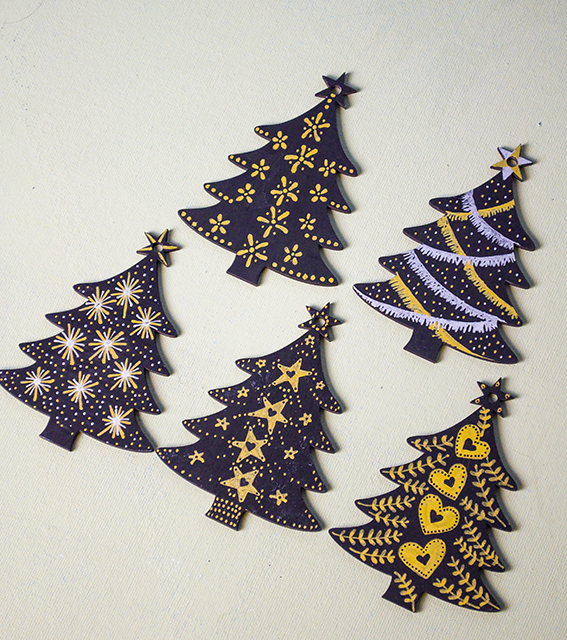 Another of my go-to motifs is my simple flower design. Like my other Scandi-style shapes it’s really easy to recreate as you’ll see by my how-to below.
 Simple flower how to step 1: Make a three curved marks one at the top and two at the bottom.
  Simple flower how to step 2: Add two lines between the triangular shape so the shape resembles a dancing man.
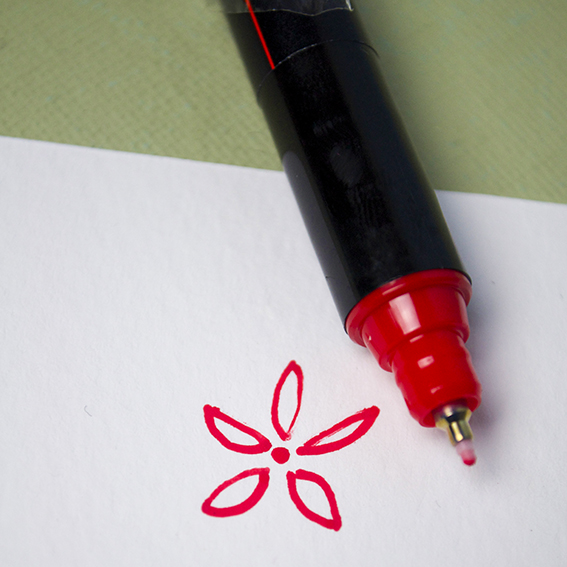 Simple flower how to step 3: Draw curves around the lines to make petals and add a dot in the middle.
 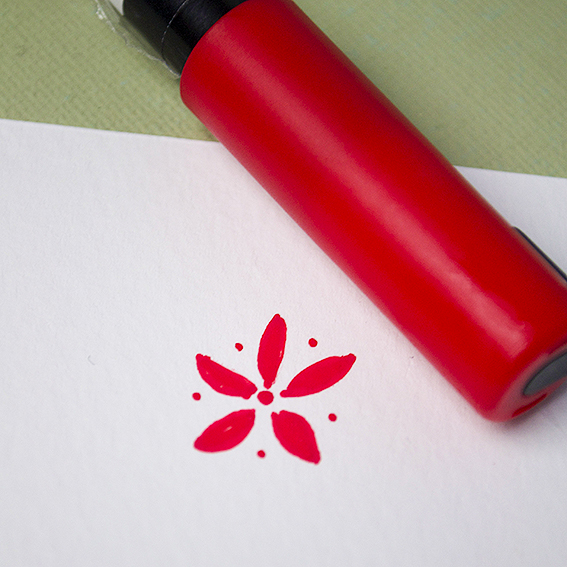 Simple flower how to step 4: Colour in the petals and make little dots around the shape.
Tag: scandi-style
Christmas gift wrap ideas part 2: Scandi-style black and white
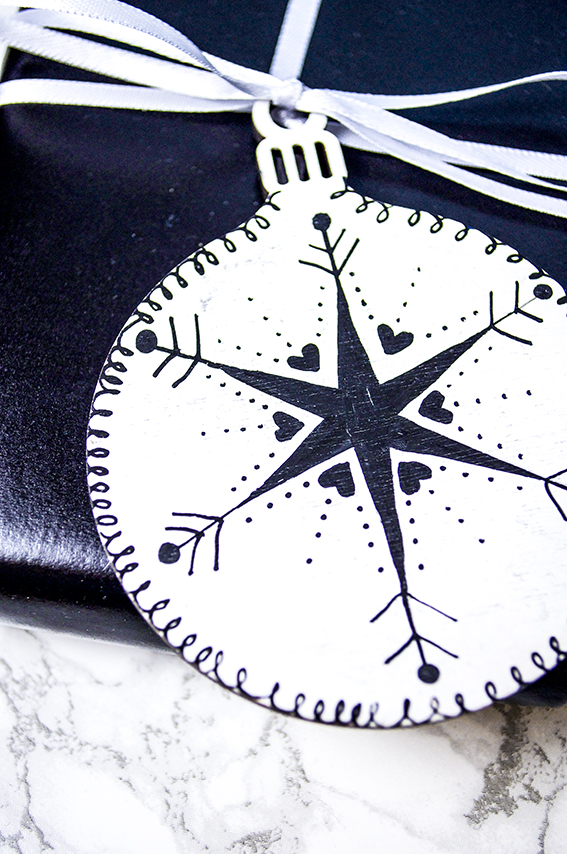 It’s day two of my week of Christmas wrap ideas. This time I’ve gone for a stylish, yet playful Scandi-style as seen in my Scandi Lodge trend ideas with illustrated mdf bauble shaped tags.
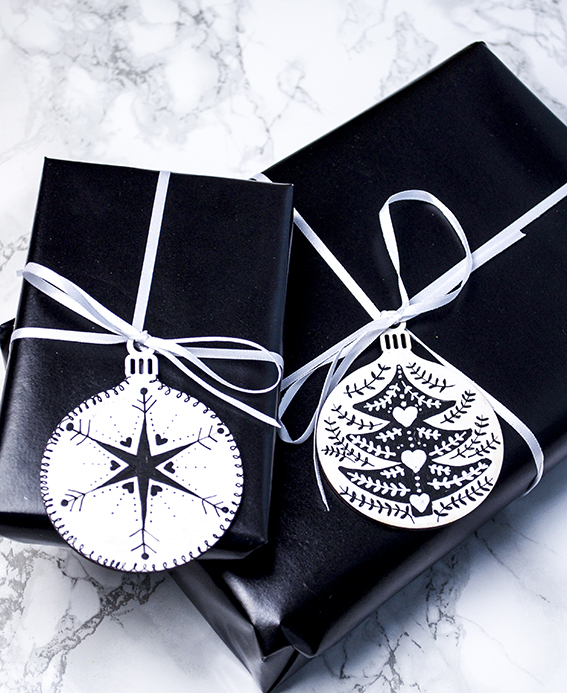 Using my Scandi-style Christmas moodboard and my pinterest pins as inspiration I painted the shapes with white acrylic paint and used black Posca pens to apply the designs.
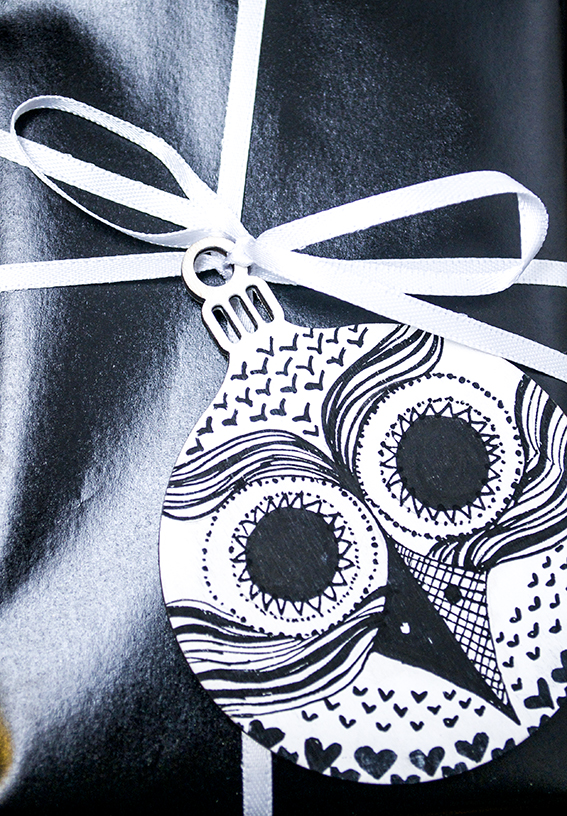
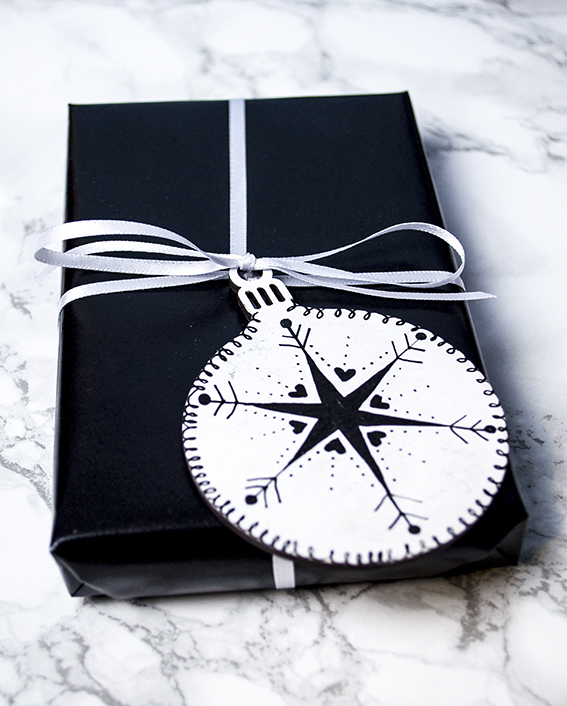 I kept the drawings fairly simple with basic star/snowflake shapes, squiggles, hearts, dots and scallops. Because the illustrated baubles create such an impact I kept the wrap itself very simple using shiny black paper with black or white 5mm and 10mm satin ribbon.
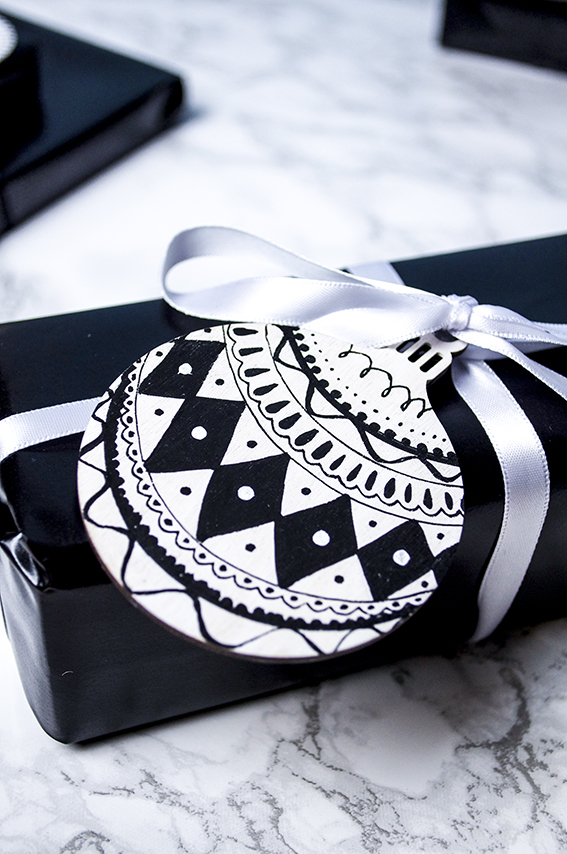
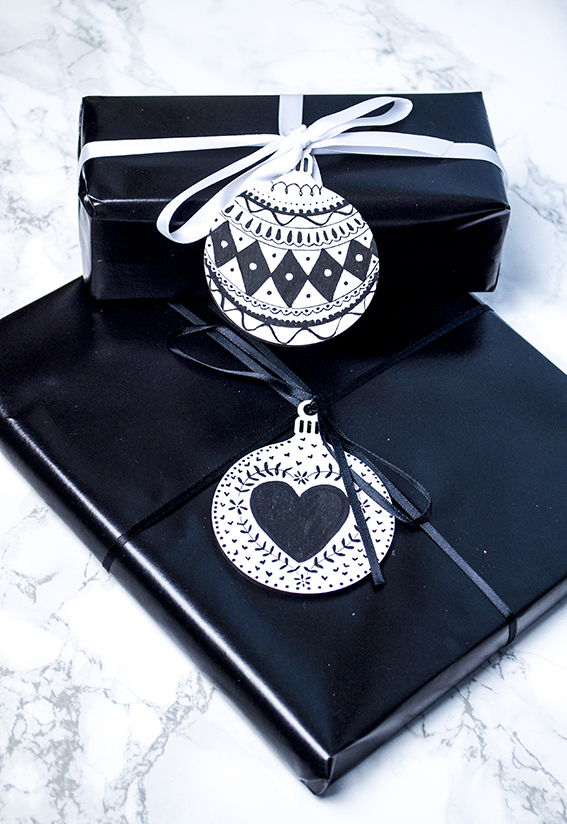 One of the easiest Scandi-style motifs I like to create is my simple laurel stem illustration that you can see above on the heart and the Christmas tree designs. It’s very, very easy to recreate as these step by steps show.
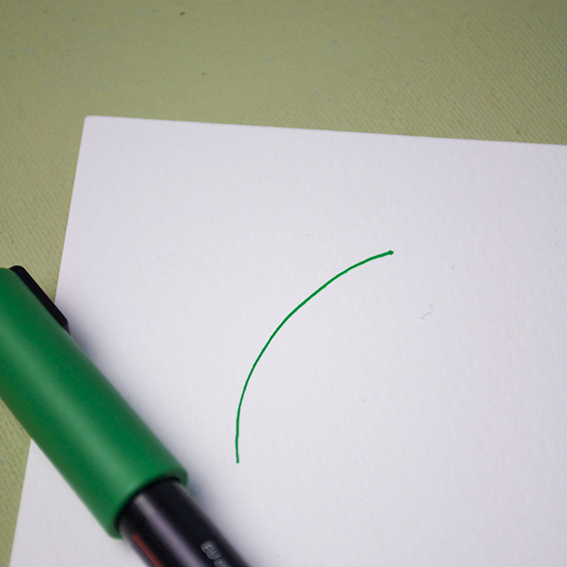 Step 1: Draw a simple line, it can be curved or straight, although I prefer mine to be a little jaunty.
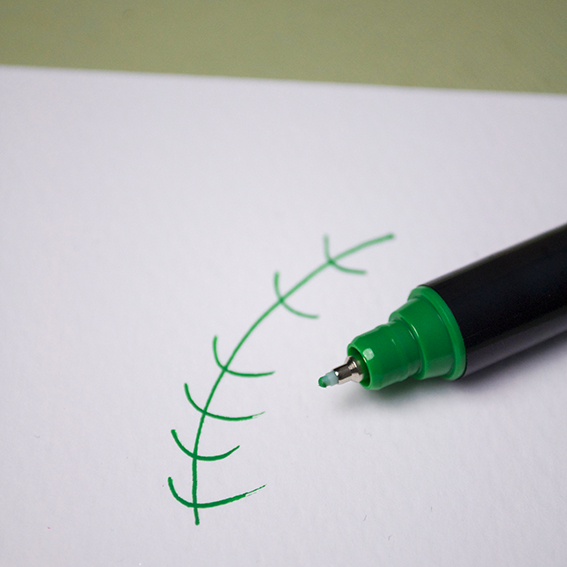 Step 2: Make little semi-circle shapes along the line as shown.
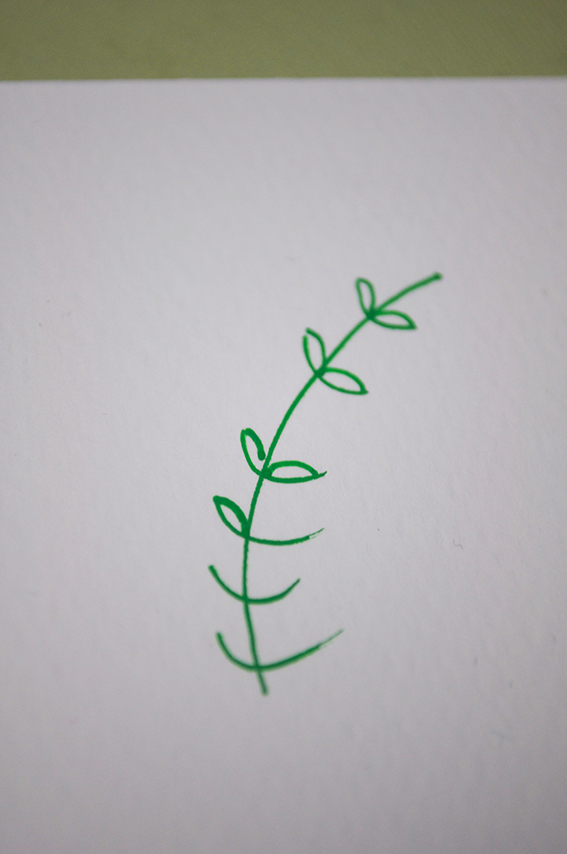 Step 3: Join the tops of the semi-circle to the central line to create leaves.
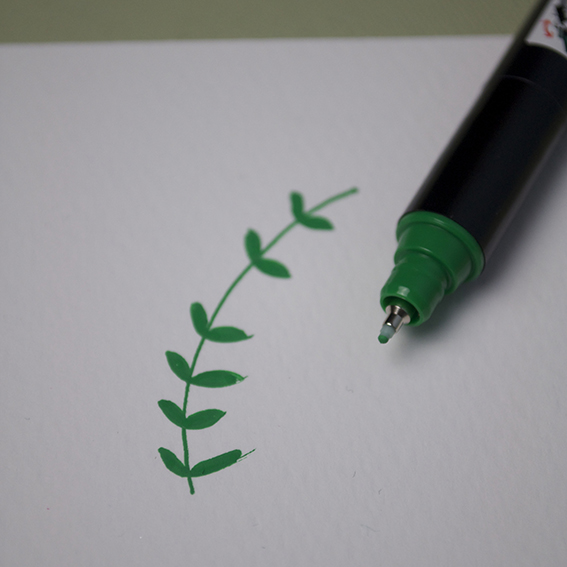 Step 4: Colour in the leaves.