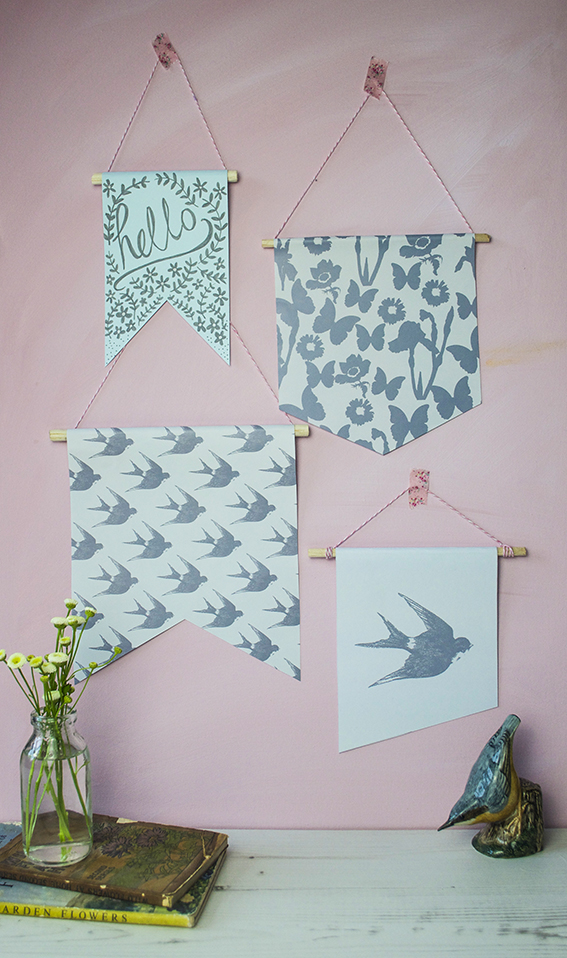
 I don’t know about you but I’ve got a big stash of plain and patterned paper from previous projects and from when I’ve taken advantage of bulk offers in art shops. It seems like a waste to have them languishing in drawers and boxes so last week I took action and turned some of them into stash-busting banners to decorate our study with a simple wall display.
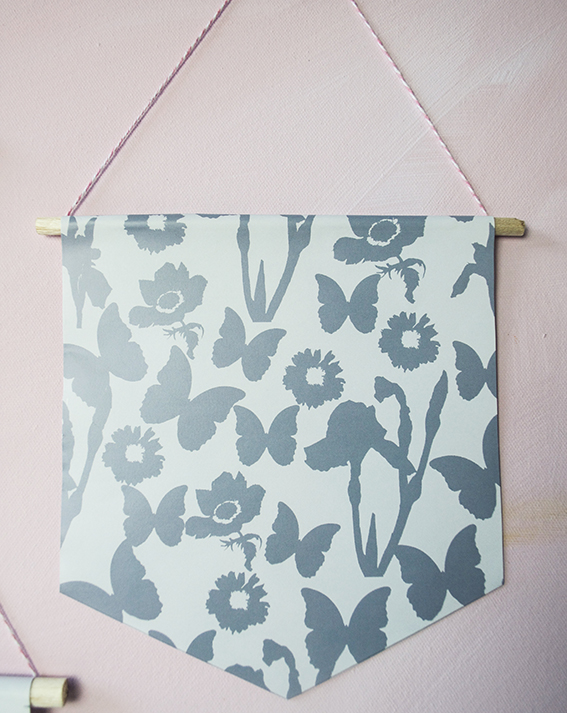
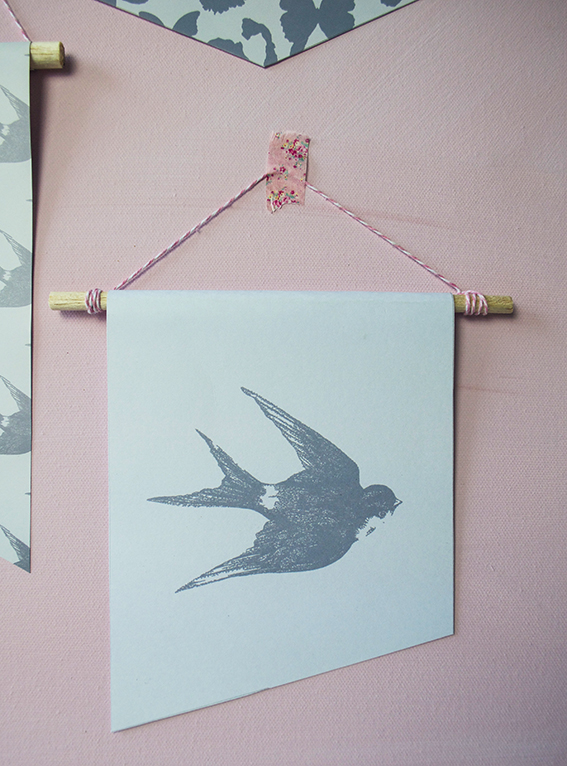 I had some lovely light blue card that I’d been waiting for something to do with and some left-over summer swallow and butterfly designs that I had created to decorate a friends wedding. I thought the colours all worked really well together and I had some Posca pens in a lovely slate grey that would lift the blue card and unify the whole scheme once I’d added some simple text and design.
 Making these banners is a synch. It just requires a ruler, a length of doweling, a craft knife, twine, double-sided-tape and the paper(s) of your choice. I measured my doweling at various lengths and cut to size (I could easily snip mine with a craft knife but you may need something more ‘robust’).
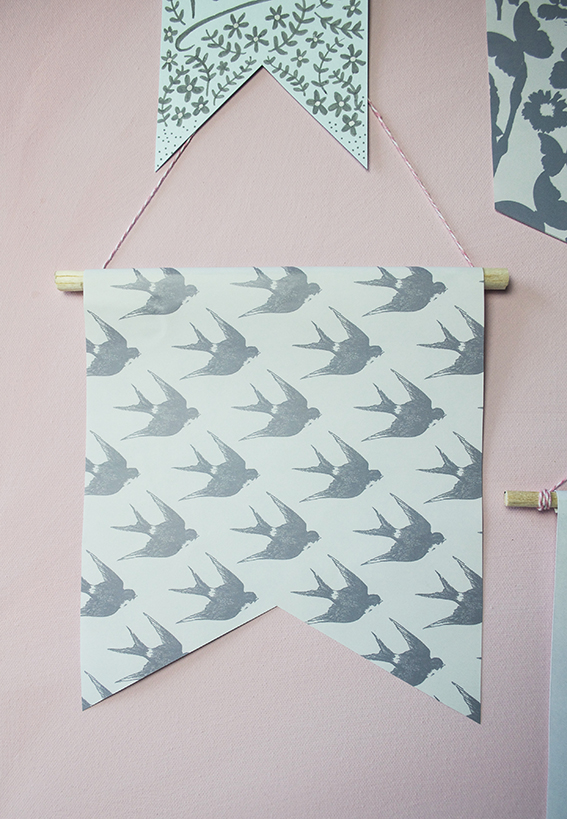 I then trimmed my papers into rectangles making sure I had about a 2cm allowance to wrap them over the doweling and leaving room at the bottom for cutting the bottom into a ‘v’ or inverted ‘v’ or at an angle while not compromising the main design.
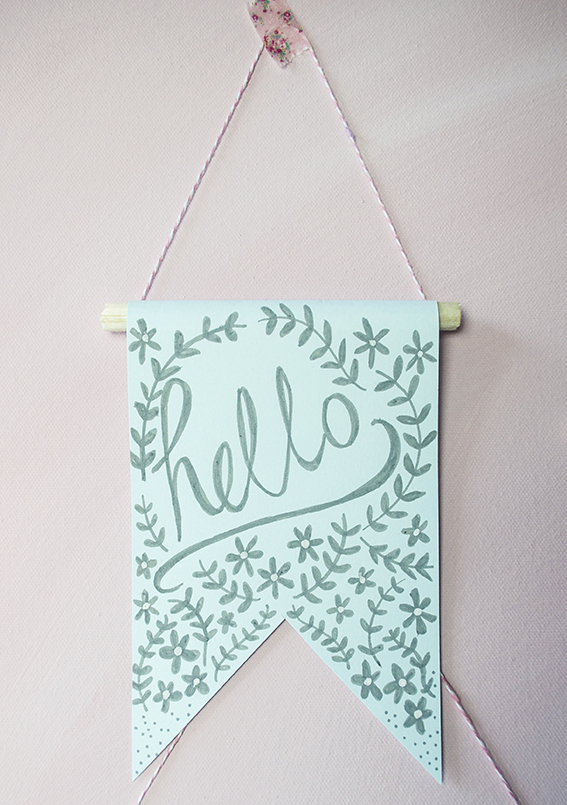 Once the blue card was cut, I could draw a bespoke illustration on it. I thought I’d keep it some with a hand-scripted ‘hello’ and some simple laurel leaf and flower motifs. Let me know if you’d like me to talk through hand scripting and drawing these leaves and flowers – they’re easy to master and you don’t have to be a great draftsman/woman, I promise .
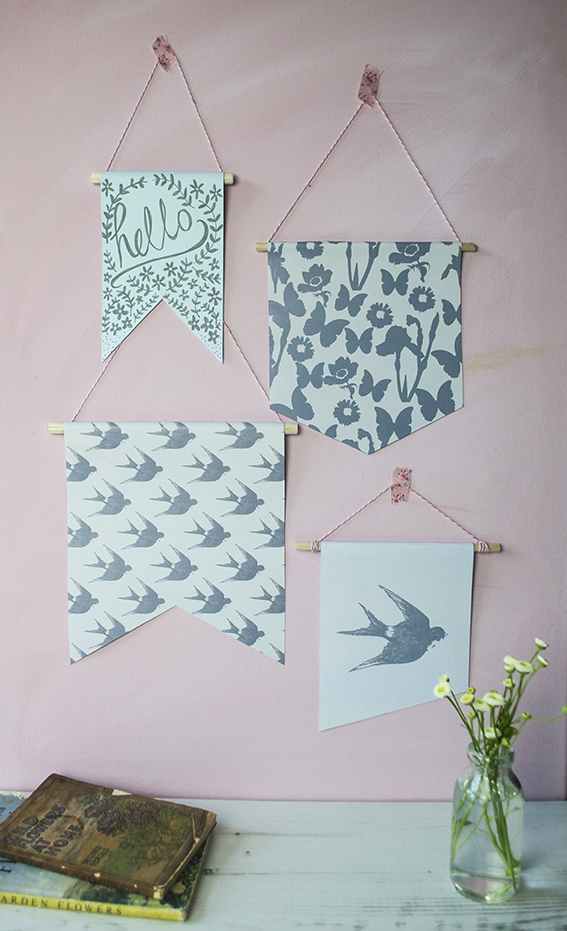 With everything cut to size I applied lengths of double-sided-tape to the doweling and, in the case three out of the four banners, I attached the ends of my twine before rolling the edges of the rectangles over the doweling to fix.
I’m pleased that I was able to give my old stash a new lease of life and I’m delighted to be able to add another bit of quirky handmade styles to a little corner of our study.