Posted on

DIY: My fabric designs

Ella Johnston Fabric designs ellasplace.co.uk
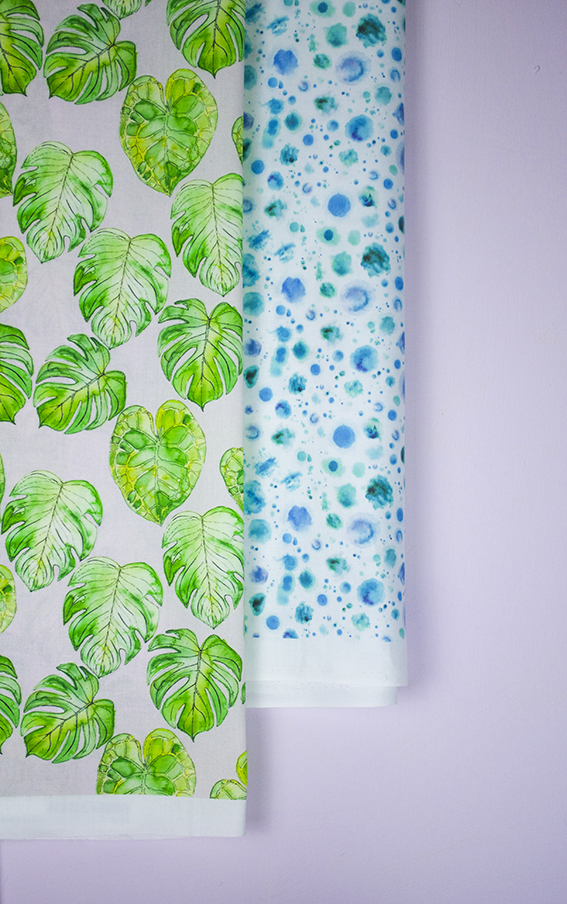
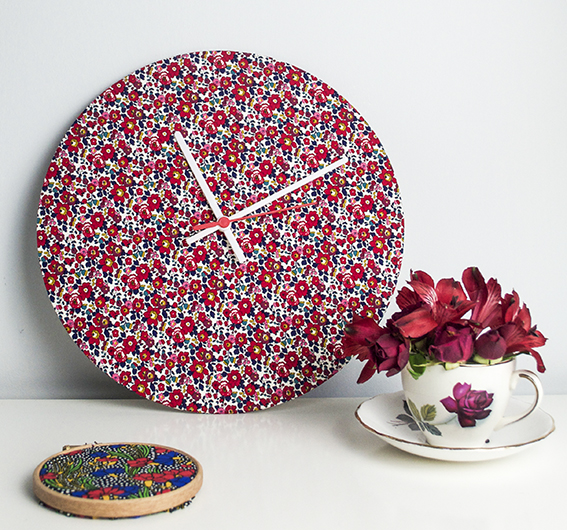
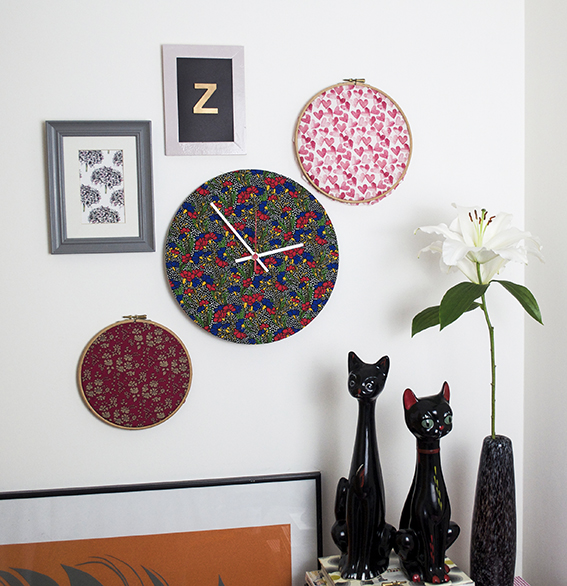
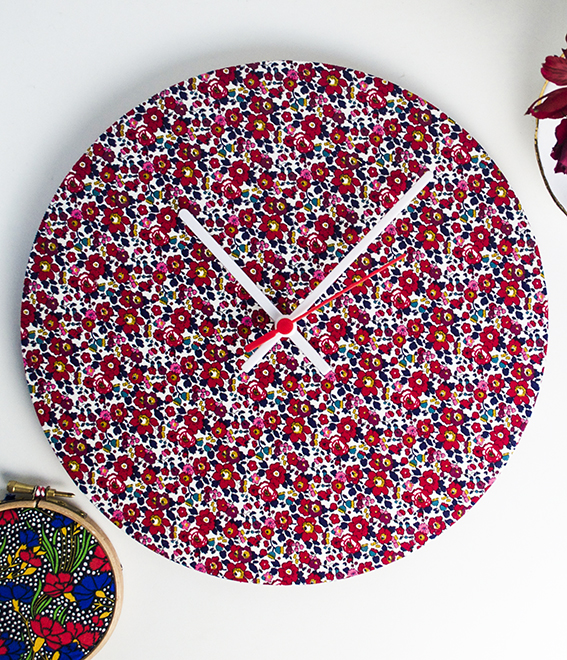
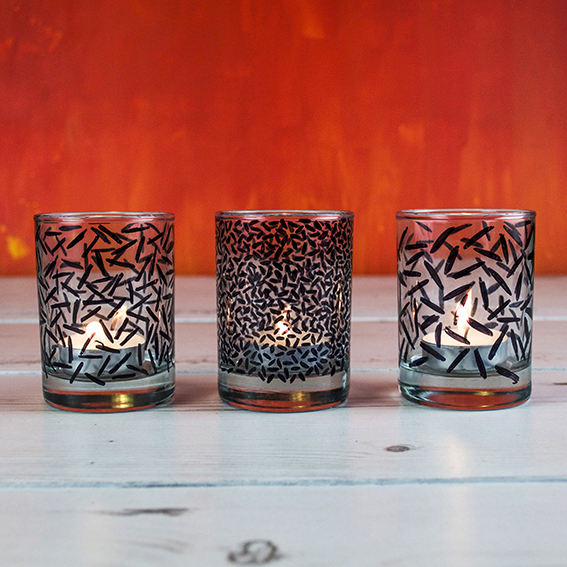
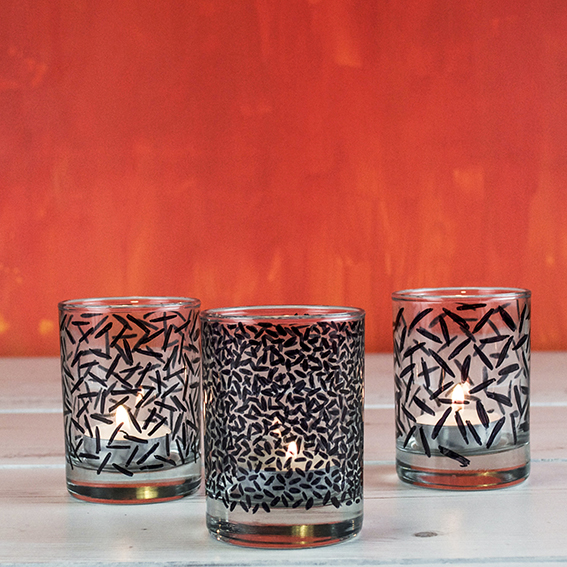
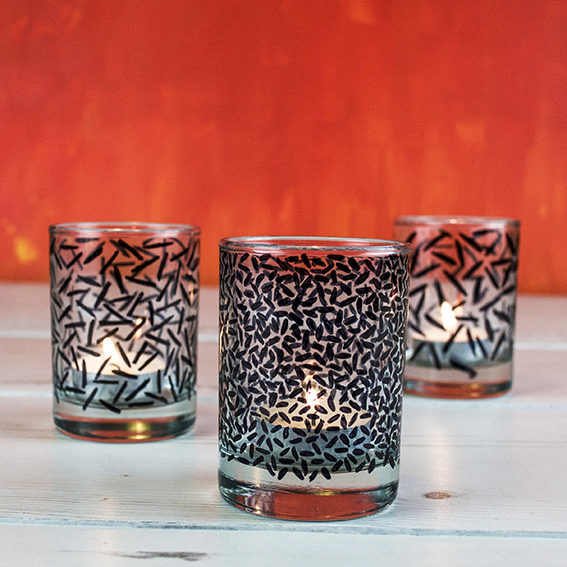
I had a very exciting delivery last week from Spoonflower, who sent me some of my new pattern designs on fabric.

Ella Johnston Fabric designs ellasplace.co.ukI’d worked up four designs taken from my illustrations. I wanted to see how they would work as a patten repeat and if it translated onto fabric.
Ella Johnston Fabric designs ellasplace.co.ukElla Johnston Fabric designs ellasplace.co.uk
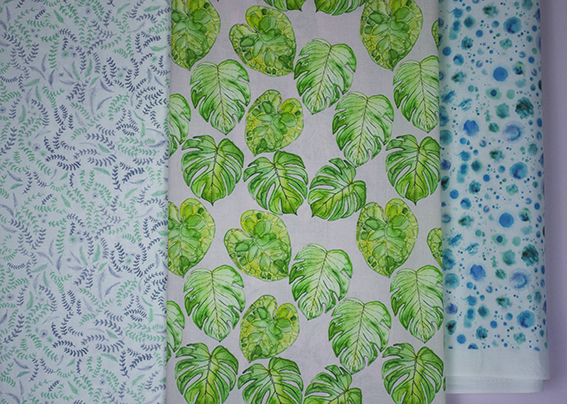
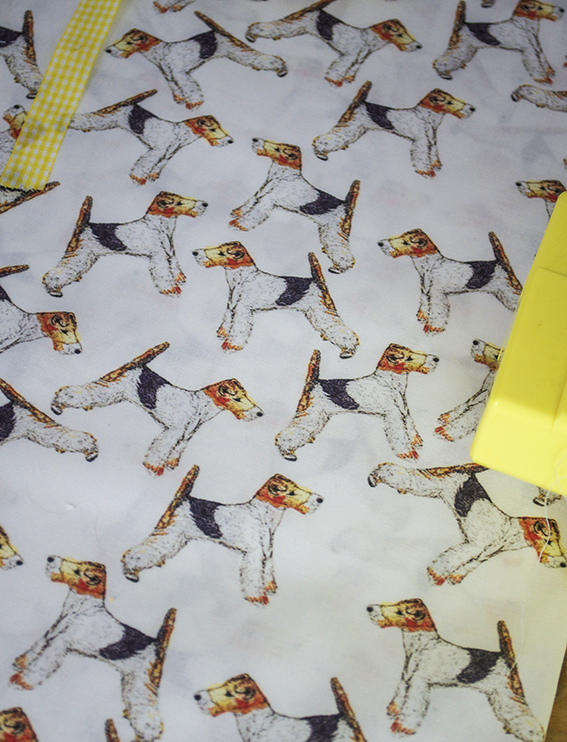
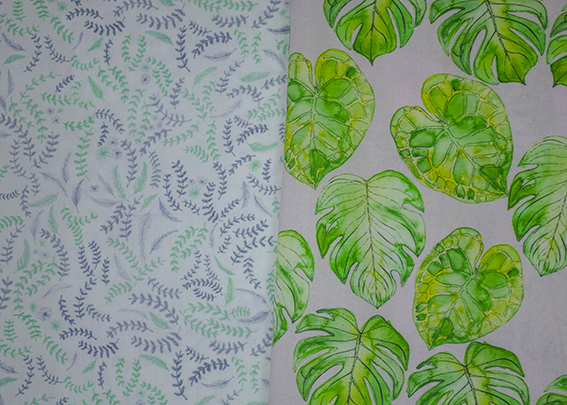
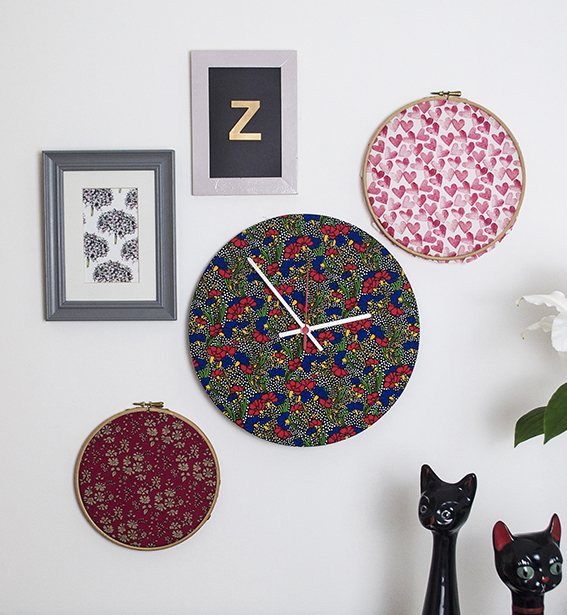
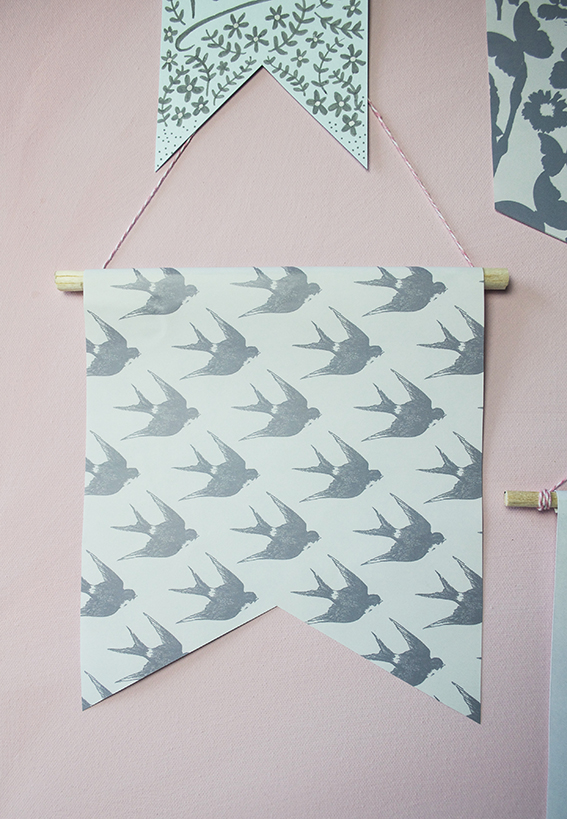
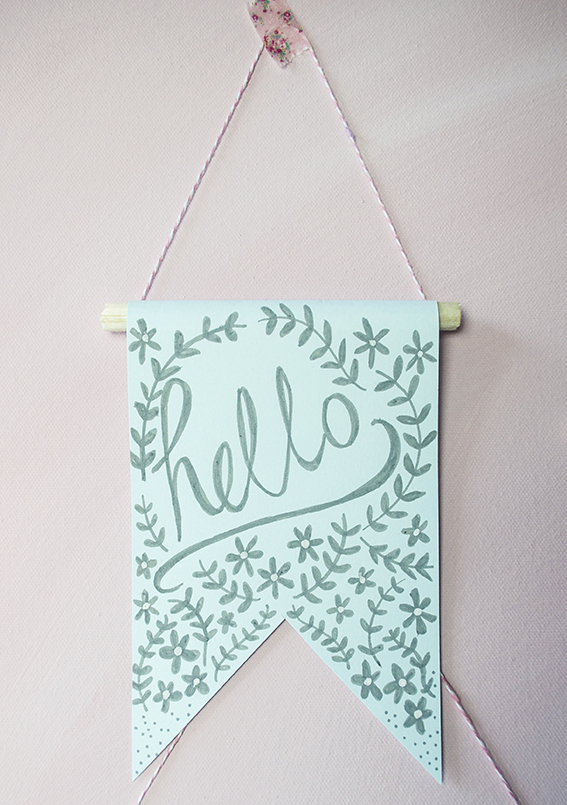
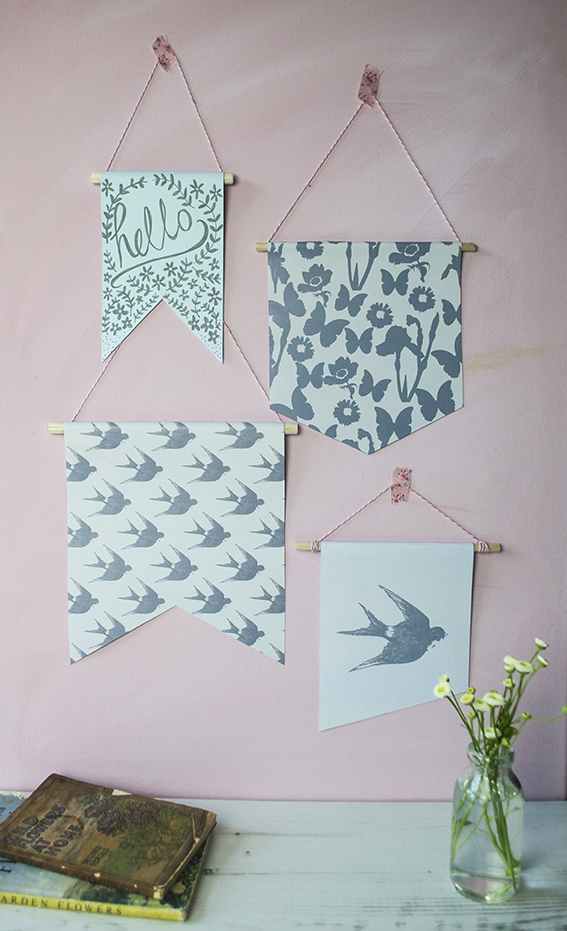
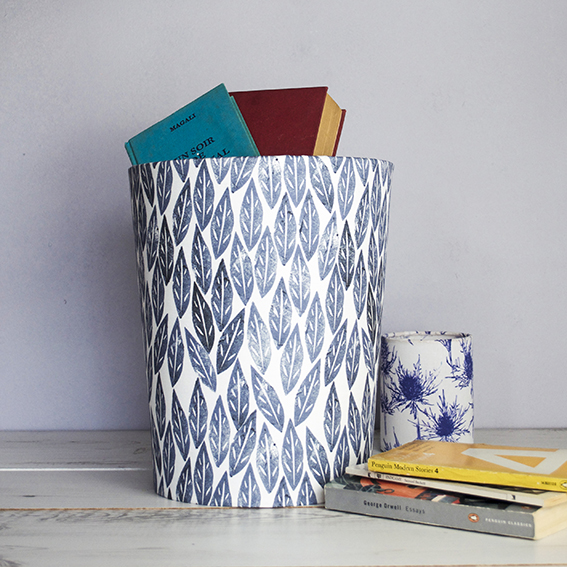
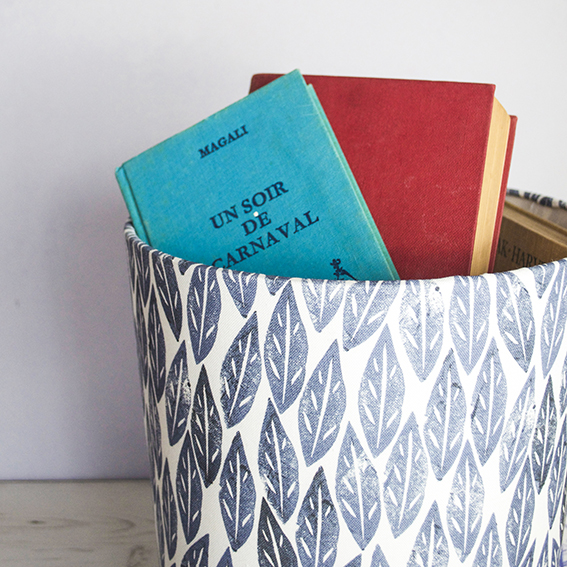
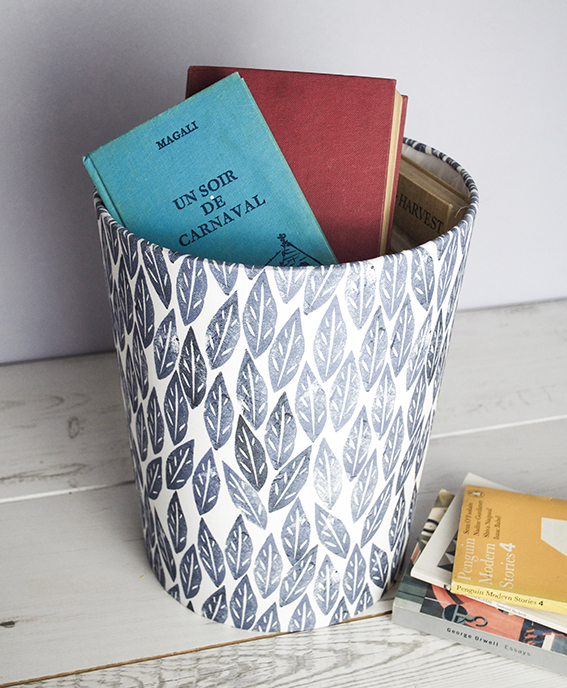
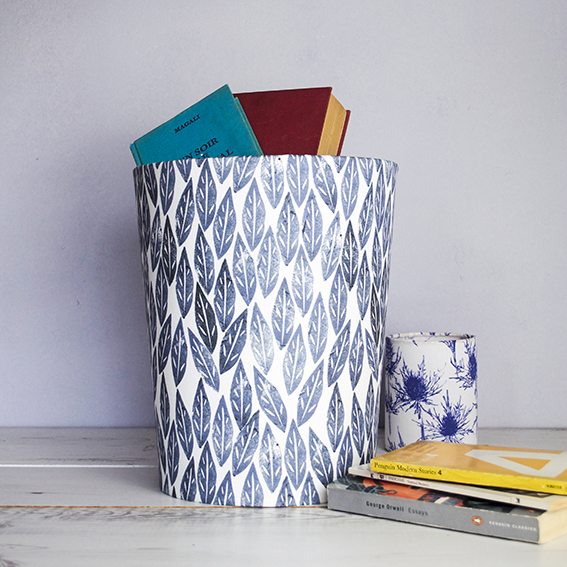
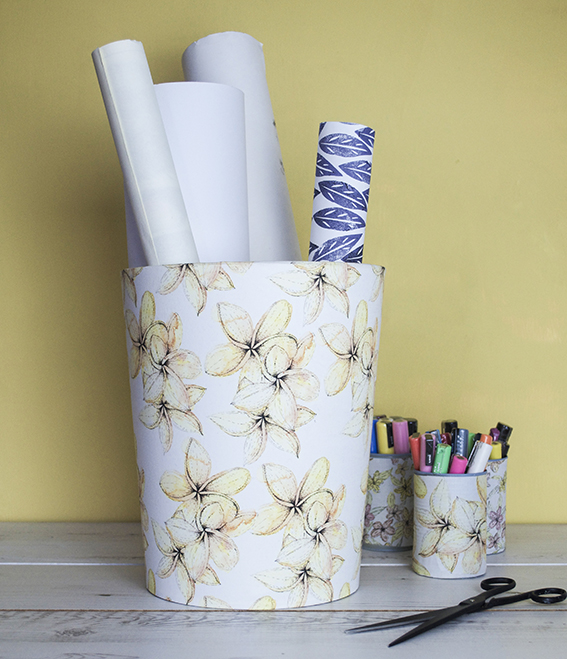
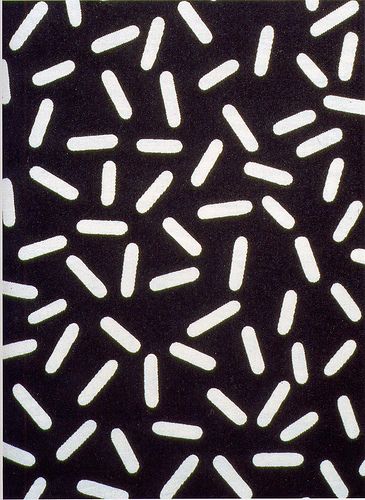
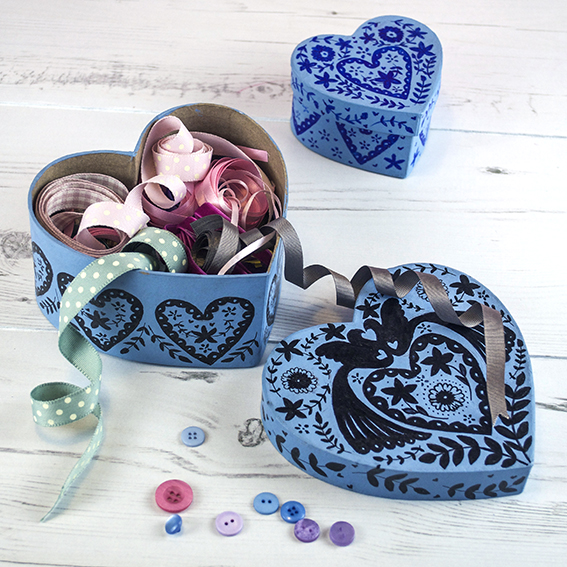
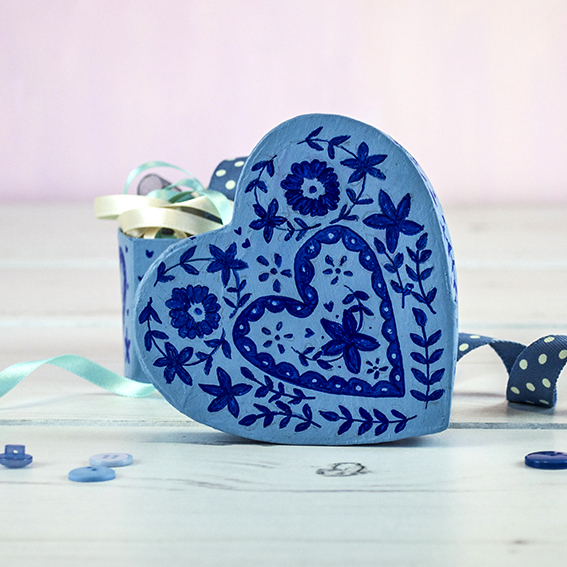
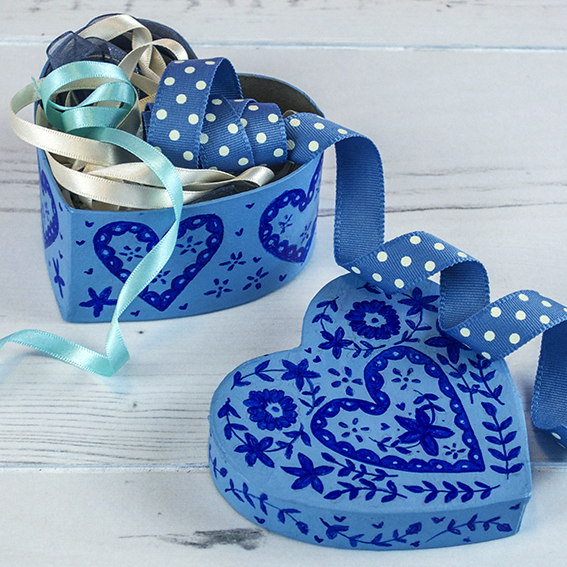
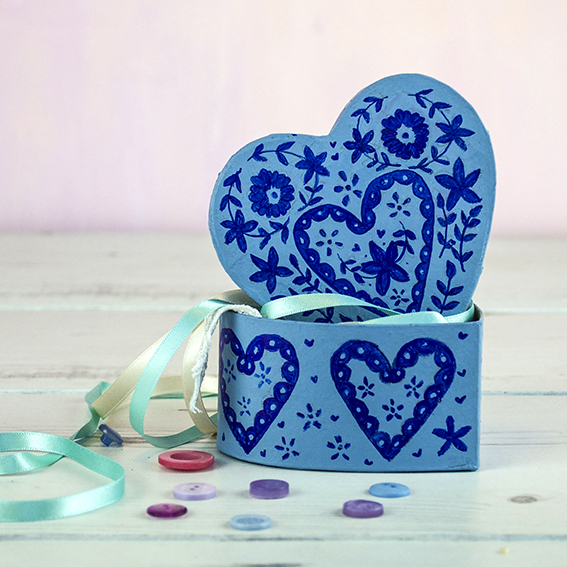
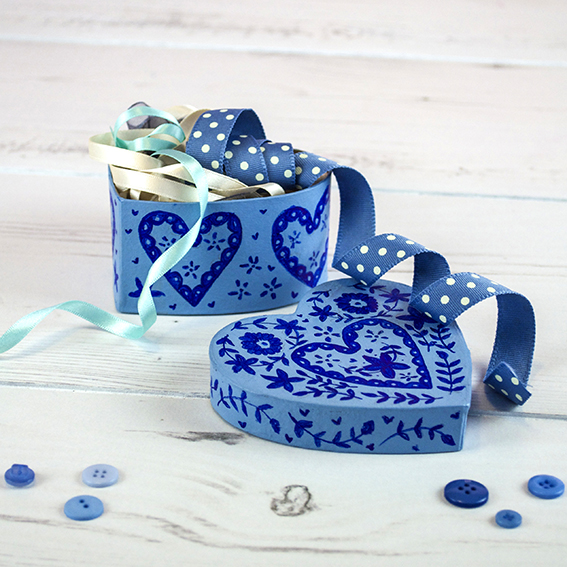
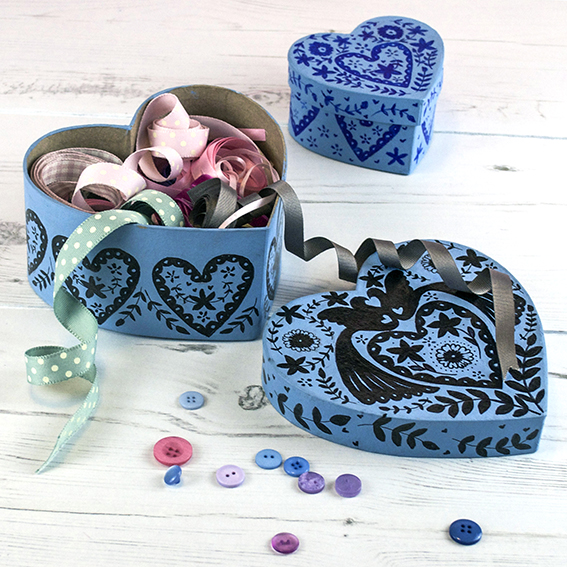
The theme of this year for me has been to get out of my comfort zone. So I’ve created patterns with my tropical leaf drawings,  laurel leaf and feather design, watercolour spots and fox terrier illustration. I have done other, very simple, designs in the past with my hand-carved heart and leaf designs but these have been one colour one white and very basic repeat. Ella Johnston Fabric designs ellasplace.co.uk
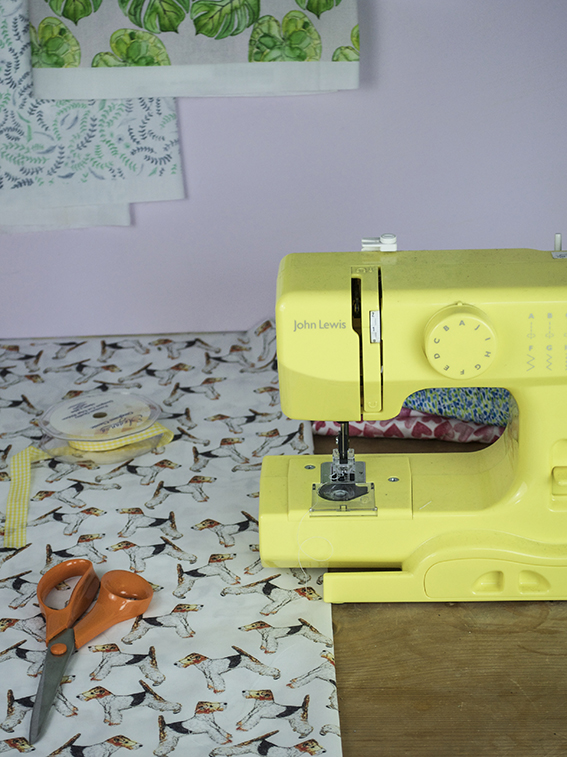
This was new territory for me and I’ve not normally been this playful with my pattern designs before. Still, I’m loving pushing myself and these new design were a lot of fun to put together.
Ella Johnston Fabric designs ellasplace.co.uk
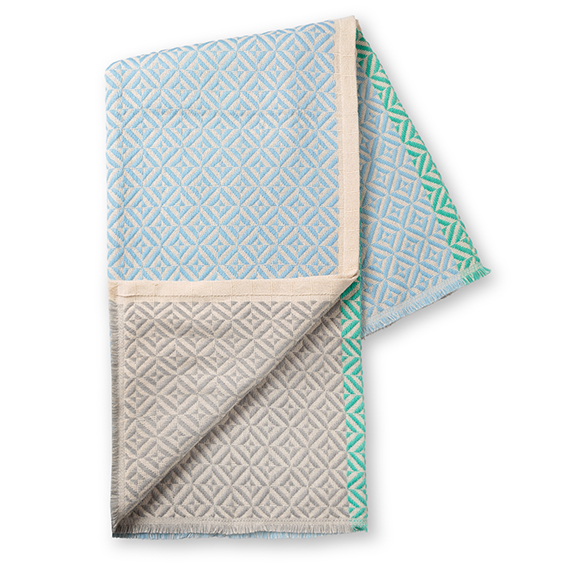
Creating repeat fabric designs is kind of like a jigsaw puzzle. I make a ’tile’ so that it’s one square that can be joined together and repeated to create an overall pattern that can cover as big an area as you desire. It’s a really efficient way of creating a  large design.
Ella Johnston Fabric designs ellasplace.co.uk 
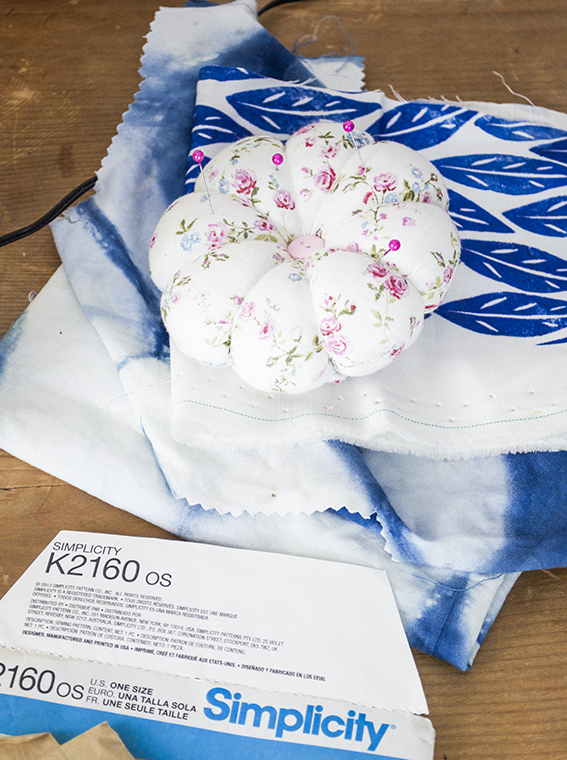
Seeing as I’m talking about getting out of my comfort zone I have to face one major stumbling block for me; sewing! I have undertaken some sewing projects before and have attended some great classes with Sew Over It but I admit I’m not the most confident with a machine.

I think I need some stitchy advice. What should I make with these fab fabrics? Where does an unconfident sewer like me start? Send help!
Ella Johnston Fabric designs ellasplace.co.ukElla Johnston Fabric designs ellasplace.co.uk


Posted on

DIY: Liberty Print Clocks

Liberty print clocks ellasplace.co.uk As an obsessive of iconic, classic design and illustration I regard a Liberty print with admiration and awe. But as I don’t live in a particularly girlie gaff, I’m sometimes at a loss as to where to put them in my home.  In fact it would be fair to say that Ella’s place is quite gender neutral so, while I like a floral print (I mean, I draw enough flowers and like to display a bloom in practically every room), I restrict more ornate, flowery designs to accents rather than a full on floral fest, which is why I made these handmade clocks.

Liberty print clocks ellasplace.co.uk

Creating a bespoke time piece is super simple. As clock fittings are so easy to come across these days (seriously, google it and you’ll be faced with a wealth of cost-effective options) you can make clocks in any shape or size with the minimum of effort all you need is the fitting and a suitable surface to attach it to.

Liberty print clocks ellasplace.co.uk I took a cheat’s choice and used a needcraft clock kit for ease, as everything  was pre-cut and measured. All I needed to do was add fabric – a total timesaver. But you can always cover an area of mdf or stiff card with material or paper with a hole made for the clock piece. It really is that simple – easy crafting if there ever was.

Liberty print clocks ellasplace.co.uk I got the Liberty fabric from Sewbox who has an extensive collection of designs by the brand – Sue from Sewbox is lovely too, I worked with her a lot on Homemaker and she was super helpful.
Liberty print clocks. ellasplace.co.ukI selected Liberty Betsy Ann in Rossmore Cord for a lighter, classically floral time-piece and Liberty Cranston in Colourway A from its Lifestyle Stile Collection for a deco-style feel (it looks ever so nice with Henry and Matilda my retro cat ceramics). I’ve got the latter hanging in my hallway and the former is looking rather splendid on the white sideboard in the dining room.

Liberty print clocks ellasplace.co.uk

Posted on

Stash-busting How-to: Make Paper Banners

Banner display ellasplace.co.uk I don’t know about you but I’ve got a big stash of plain and patterned paper from previous projects and from when I’ve taken advantage of bulk offers in art shops. It seems like a waste to have them languishing in drawers and boxes so last week I took action and turned some of them into stash-busting banners to decorate our study with a simple wall display.
Banner display ellasplace.co.uk I had some lovely light blue card that I’d been waiting for something to do with and some left-over summer swallow and butterfly designs that I had created to decorate a friends wedding. I thought the colours all worked really well together and I had some Posca pens in a lovely slate grey that would lift the blue card and unify the whole scheme once I’d added some simple text and design.
Banner display ellasplace.co.uk Making these banners is a synch. It just requires a ruler, a length of doweling, a craft knife, twine, double-sided-tape and the paper(s) of your choice. I measured my doweling at various lengths and cut to size (I could easily snip mine with a craft knife but you may need something more ‘robust’).
Banner display ellasplace.co.uk I then trimmed my papers into rectangles making sure I had about a 2cm allowance to wrap them over the doweling and leaving room at the bottom for cutting the bottom into a ‘v’ or inverted ‘v’ or at an angle while not compromising the main design.
Banner display ellasplace.co.ukOnce the blue card was cut, I could draw a bespoke illustration on it. I thought I’d keep it some with a hand-scripted ‘hello’ and some simple laurel leaf and flower motifs. Let me know if you’d like me to talk through hand scripting and drawing these leaves and flowers – they’re easy to master and you don’t have to be a great draftsman/woman, I promise .
Banner display ellasplace.co.uk With everything cut to size I applied lengths of double-sided-tape to the doweling and, in the case three out of the four banners, I attached the ends of my twine before rolling the edges of the rectangles over the doweling to fix.

I’m pleased that I was able to give my old stash a new lease of life and I’m delighted to be able to add another bit of quirky handmade styles to a little corner of our study.

Posted on

Hack: make your own storage buckets

Hack, make a bespoke bin ellasplace.co.uk

Okay I’ll come clean, I’m using these as storage buckets but they are actually waste paper bins.

I originally bought two Needcraft bin making kits for our upgraded study (pics coming soon) and our ‘continual work in progress’ bedroom. The kit is really easy to use with simple step by step pictorial instructions, I’m not a particularly neat sewer so I like a no-sew quick fix when I can.

The thing is when I made the bins and I didn’t have the heart to put rubbish in them.

Hack, make a bespoke bin ellasplace.co.uk

As I’m aiming for a relaxing cool blue vibe in my bedroom and I covered the first ‘bin’ in my storm-grey Scandi leaves fabric from my Spoonflower shop.

Hack, make a bespoke bin ellasplace.co.uk

I was really happy with the end result, so much so that I really couldn’t face filling it with make-up removing cleansing wipes, laddered tights and other bedroom rubbish stuff. It looked too pretty!

So, inspired by a rather nifty idea from Black Parrots Studio’s Sarah Mitchenall on her first round of The Great Interior Design Challenge my bin turned into a book bucket, which has proved to be very handy, as the one thing our house has got is an abundance of books. So this now lives at the bottom of our bed for all our reading needs.

Hack, make a bespoke bin ellasplace.co.uk

Now the study REALLY needed a bin so I set about making the next one in my tropical trio design, also available at my Spoonflower shop.

Hack, make a bespoke bin ellasplace.co.uk

Because the instructions are so easy to follow you can make these bins in minutes with either fabric or paper. I’ve had this tropical design for a while and, although I loved it, I was at a loss as to what to do with it. However the fabric’s subtle hues and graphic design suits our workspace perfectly.

Hack, make a bespoke bin ellasplace.co.uk

And you see that was the problem – too nice. Once I finished that one I could not face using it as a place to throw receipts and scrap paper for recycling. I do however have lots of gift wrap, large format paper, bookbinding cloth and posters I need to keep in one place so my tropical bloom bucket is being used for precisely that.

Hack, make a bespoke bin ellasplace.co.uk

Hack, make a bespoke bin ellasplace.co.uk

Posted on

How I added a ‘Memphis lite’ element to my home

Memphis style tealights (c) ellasplace.co.uk

Last summer I went to the Pick Me Up show at Somerset House. Every year the show features a fresh line-up of artists and designers who are considered to reflect the best of new illustration, graphic design and related disciplines. It’s a great event for picking up on trends.

Almost every item in the 2015 show was influenced by the Memphis Group, an Italian design and architecture collective founded in Milan by Ettore Sottsass in 1981 that designed Postmodern furniture, fabrics, ceramics, glass and metal objects from 1981 to 1987. Since the show I can’t seem to pick up a magazine or visit an interiors site without reading a reference to this group. This style is big in 2016, so if you’re new to Memphis style take a look at my Pinterest board to familiarise yourself with it.

I must confess that it’s taken me a little while to embrace this particular look – I was a child in the 1980s so anything from that era has to work extra hard to win my favour. However the Memphis look is fresh, playful, fun and actually very easy to incorporate into interiors and crafts projects. It also, even 30 plus years on, looks surprisingly contemporary. You can go all out with it or incorporate little elements of this style to give your home or craft creations a quirky, on-trend edge.

So starting softly, I took Ettore Sottsas’ iconic Letraset design, as seen below, as an inspiration for a quick interiors update.

‘Letraset’ textile design by Ettore Sottsas

It’s a wonderfully simple, effective design that works well as a standalone pattern but can look fab  layered over different shades. It’s also great at different sizes.

Memphis style tealights (c) ellasplace.co.uk

I used this Letraset pattern as a ‘Memphis lite’ starting point to update some funky tea-light holders as a gift for my lounge. I got these little shot glasses from a charity shop and they are perfect lanterns for my tea-lights. However, left plain, I felt they were rather stark.

Memphis style tealights (c) ellasplace.co.uk
I used black permanent marker (the Memphis Group use a lot of black) to very loosely apply a similar pattern over the glasses. I wanted to play with the scale of the motifs to make the lanterns more varied and create interest when they were arranged together. I literally did this while I was watching telly one evening, and I’m pleased that this easy make made me think more about the Memphis Group’s work and has spurred me on to check it out further.

Memphis style tealights (c) ellasplace.co.uk

Posted on

Hack: Pimp up a flower display

Easy carton boxes with Sizzix dies in Ella Johnston Love Heart Paper (c) ellasplace.co.uk

It’s a week until Mothering Sunday in the UK. If you’re having a little celebration or gathering with your mum (or indeed anyone – an aunt, a friend, a neighbour) it’s worth making an effort to make the get together more special. Having a lovely little flower display is an easy way to make someone smile and feel like you’ve gone the extra mile.

So this is a really easy and more importantly really cheap way to pimp up a floral display. I used few flower heads, some little shot glasses and sturdy paper featuring my love heart design. I made cute carton style boxes, popped the shot glass in (with around 2cm of water) and snuck the flower bud in to peak above the top of the paper. This method means you can display a single bloom without blowing your budget on a big bouquet.

I used a die-cutting machine (Sizzix Big Shot Machine #660200) with a carton box die (Sizzix Thinlits Die – Box, Milk Carton) to make my boxes but you can make a simple paper cover by simply scoring a paper rectangle so it wraps around the shot glass like a sleeve. So, it’s not just for Mother’s Day, I like to do this for parties and get-togethers when I want an easy decorative touch that I can theme with different paper designs and blooms.

Easy carton boxes with Sizzix dies in Ella Johnston Love Heart Paper (c) ellasplace.co.uk

Posted on

Hack: An Easy Way to Embrace Pastels

Pastel Painted Candle Votives (c) ellasplace.co.uk

As part of my on-going efforts to revamp my bedroom I’ve been looking to add a sense of calm and tranquility to the space. If you saw my previous post on the pastel trend you’ll see these tones are being touted as perfect for providing as sense of calm and relaxation and are currently dominating the high street.

I wanted an easy way to embrace pastels while giving my boudoir an handmade artisan touch. I also don’t want to commit myself to one colour or style yet as I’m still undecided as to how I want the room just yet. I needed a flexible update that I could change, so I got out my paints…

Pastel Painted Candle Votives (c) ellasplace.co.uk

First I painted a small canvas with a very simple layers of light, rose and dusky pinks to create a pop of gentle colour to brighten up my side tables.

Pastel Painted Candle Votives (c) ellasplace.co.uk

I liked my quick canvas but I wanted something to tie things together. I then remembered a project I did last year for Homemaker magazine. It was really simple but incredibly effective and all it involved was a set of acrylic paints and some filled glass candle votives.

Pastel Painted Candle Votives (c) ellasplace.co.uk

My house always has scented candle glass votives – I pick them up when I’m doing my grocery shopping and, if you don’t pick a pungent fragrance (give them a sniff) and don’t mind a shorter life span, you can buy them for about £1.50. I’ve used a rough, coarse brush to apply lilac and serenity blue paint on the base of the glass as I want a tactile, painterly feel to these pieces.

Pastel Painted Candle Votives (c) ellasplace.co.uk

They look fab on my bedside cabinets and I love the way they look when they are lit after I take a bath (I love a little spa feel) and when I’m reading in the evening or when unlit as a colourful ornament during the day. They also make great gifts for people too – I’ve done a couple of these for friends as part of a ‘relaxation box’ (more on that later) and they have loved them. Pastel Painted Candle Votives (c) ellasplace.co.uk

Posted on 1 Comment

13 quick pastel updates

Pastel Trends (c) ellasplace.co.uk
Ferns Duck Egg Bed Linen £55, Secret Linen Store

I was out shopping with Dr B last week and he remarked how many pastel shades there were on the high street. It’s funny, as someone who looks at trends all the time and who is always looking at colourways, I’m used to pastels – I forget that by the time they hit the shops, I’m looking at the next new thing.

At the start of the year Pantone launched its colours for 2016; Rose Quartz and Serenity, stating that the colours “demonstrate an inherent balance between a warmer embracing rose tone and the cooler tranquil blue, reflecting connection and wellness as well as a soothing sense of order and peace”.  As well as championing the colours themselves, the company also outlined some exquisite colour pairings that can imbue a sense of calm and relaxation.

Pastel Trends (c) ellasplace.co.uk
Christy Supreme Towel Range Pink £30, Very

It’s simple to add a sense of tranquility to your spaces with the addition of soft pastels. These cool shades can really brighten interiors as well as set a soothing mood. And you don’t have to go full-on with pastel, simple touches will do. A bed spread, a pop of pink with some fluffy towels (as seen above), a subtle bud vase or some simple lighting could be all you need to embrace this trend. Here’s a little sampler of more pastel themed buys…

Pastel Trends (c) ellasplace.co.uk
Geo Stripe Throw £65, Oliver Bonas
Pastel Trends (c) ellasplace.co.uk
Set Of Eight Colour Pop Porcelain T-light Holders £19.95, dotcomgiftshop
Pastel Trends (c) ellasplace.co.uk
Set of two Roef Chairs in Serenity Blue £180, Cuckooland
Pastel Trends (c) ellasplace.co.uk
M&S Loft Mixing Bowl in Pastel Mix (set of 3) £15, Marks & Spencer
Pastel Trends (c) ellasplace.co.uk
Blue Swirl Glass Table Lamp £60, Next
Pastel Trends (c) ellasplace.co.uk
Rose Geometric Bud Vase £12.95, MiaFleur
Pastel Trends (c) ellasplace.co.uk
Eva Five-Drawer Jewellery Box £69. Oliver Bonas
Pastel Trends (c) ellasplace.co.uk
Colours Oxygen Emulsion Paint, B&Q
Pastel Trends (c) ellasplace.co.uk
Rarkids Pink Natural, £35, Cult Furniture
Pastel Trends (c) ellasplace.co.uk
Recycled Pastel Paisley Green Trinket Box, £7.50, Karenza & Co
Pastel Trends (c) ellasplace.co.uk
Set Of 3 Pastel Retro Suitcases, £13.94. Luck and Luck
Pastel Trends (c) ellasplace.co.uk
Pastel Lustre Vases (set Of 3), £42. MiaFleur

Posted on

DIY: Scandi folk pattern boxes

Scandinavian folky patterned boxes (c) ellasplace.co.uk

I don’t know about you but I have been addicted to BBC Two’s Great Interior Design Challenge, I love the whole thing; the architectural history, updating spaces, adding special touches and answering client briefs, the reveal, everything. I’ve watched the show since it started and am always inspired by the ideas that the amateur designers come up with and the advice and insights the experts outline.

This series has seen loads of creative ideas and I was particularly struck by Lucy Tiffney’s Scandinavian Folk bedroom. I love the way that illustration, painting, craft and interior design have crossed over in this project and the sweet, rustic lines and simple motifs, executed in a muted colourway. I couldn’t wait to reconnect with some folky drawing myself.

Scandinavian folky patterned boxes (c) ellasplace.co.uk

Freshly inspired, I set about studying Scandinavian patterns. Some of my favourites are pinned on my Pinterest board. What’s lovely about these designs is they are so easy to recreate and then add your own twist to. From simple stem and leaf motifs, lovely lace edges and symmetrical composition, this folky style is great for when you want to achieve an effective looking, intricate decoration without feeling you have to be hugely technical or an amazing drawer.

I had some plain cardboard heart-shaped boxes that were in need of updating. I gave them a lick of light blue paint that really suited traditional Scandinavian design. I then set about drawing my design onto tracing paper. I drew half the design then folded the paper to create a mirror image. Then I simply transferred the designs onto the painted boxes.

Scandinavian folky patterned boxes (c) ellasplace.co.uk

I finished the traced design with felt-tip pen. I chose to use black and blue pen for a strong contrasting look with the light blue but I reckon this would also look lovely in traditional red and cream.

Scandinavian folky patterned boxes (c) ellasplace.co.uk

Had my motifs been larger I would have painted them on – and I am considering doing something with a piece of furniture for a funky little upcycling project. This kind of thing would look really effective on a bedside cabinet or storage box.

Scandinavian folky patterned boxes (c) ellasplace.co.uk

I’m storing ribbons and buttons in these boxes (I have so many of both) but I’m sure you could fill these with pretty tissue paper and treats (chocolates or toiletries) for a thoughtful gift. Scandinavian folky patterned boxes (c) ellasplace.co.ukScandinavian folky patterned boxes (c) ellasplace.co.ukScandinavian folky patterned boxes (c) ellasplace.co.ukScandinavian folky patterned boxes (c) ellasplace.co.uk

Posted on

How to make a book in eight easy steps

If you are anything like me you’ll have loads of spare bits of patterned, or even plain, card and reams of paper lying around. I’ve got a great little Japanese stab-bound book project that uses up all your stash and is brilliant for when you want to make handmade gifts for people.

So here’s how to make a book in eight easy steps. I’ve screenprinted one of my bird illustrations onto a card cover of my book but you can make yours with anything you like.

Handmade book (c) Ella's Place


YOU WILL NEED
Awl
Ruler
Pencil
Two sheets of A6 card for your cover
15 sheets of 120gsm A6 paper
Book-binding thread and needle
Rough paper (same size as your book pages and card)

(c) Ella's Place1: Use rough paper to make a template. With a ruler, draw a line from top to bottom of the rough at 1cm from the spine. Starting 1cm from the top, mark off an even number of points spaced evenly on that line.

(c) Ella's place

2: Working on a hard, flat surface. Use the awl to make holes in the intersections as shown – I’m protecting my table (and my hands) by placing the paper on a cork board so the awl can ‘sink in’.

(c) Ellas place

(c) Ellas place

3: Place the front cover card underneath the template, holding or clipping the front edge to keep from moving. Protect your work surface as you punch a hole at each of the marked points using an awl. Repeat for the back cover.

(C) Ellas place(c) Ella's Place
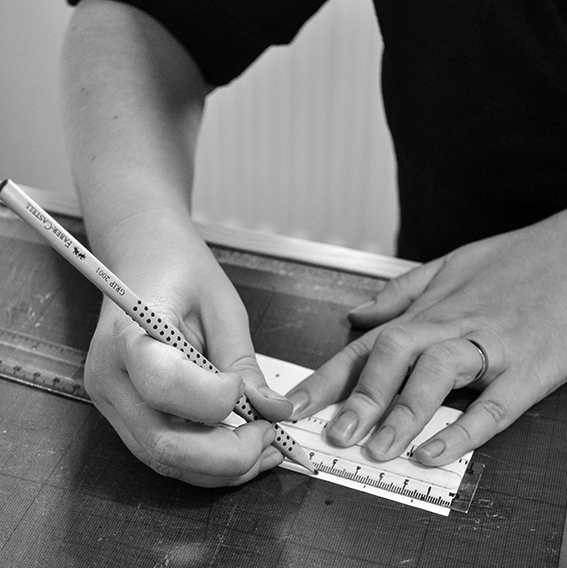
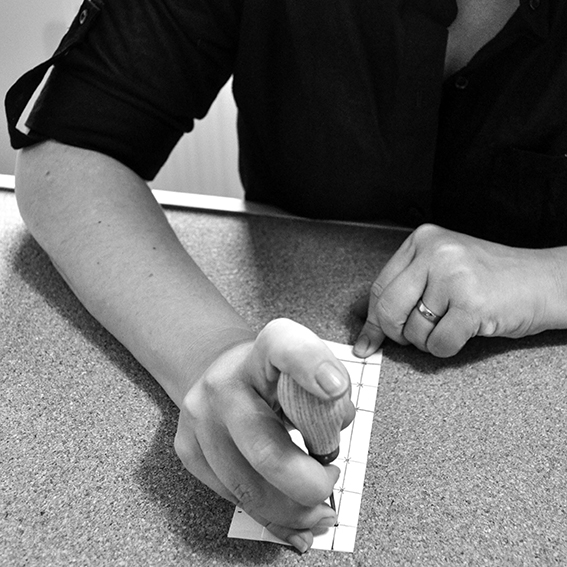
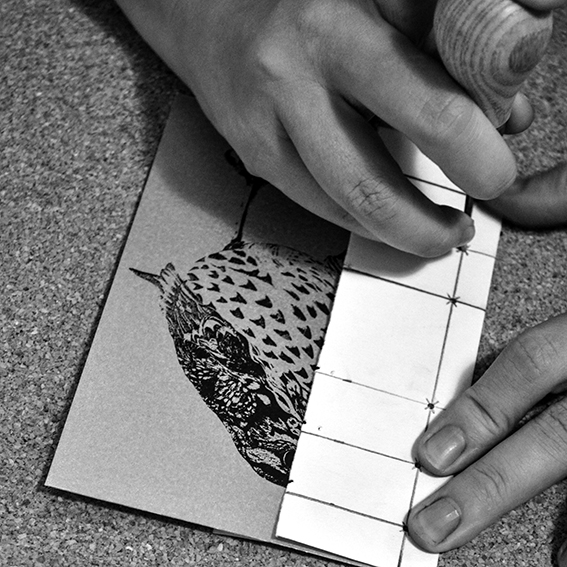
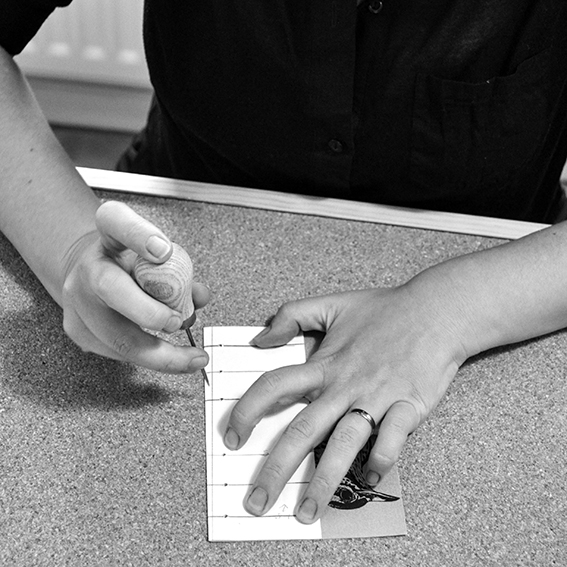
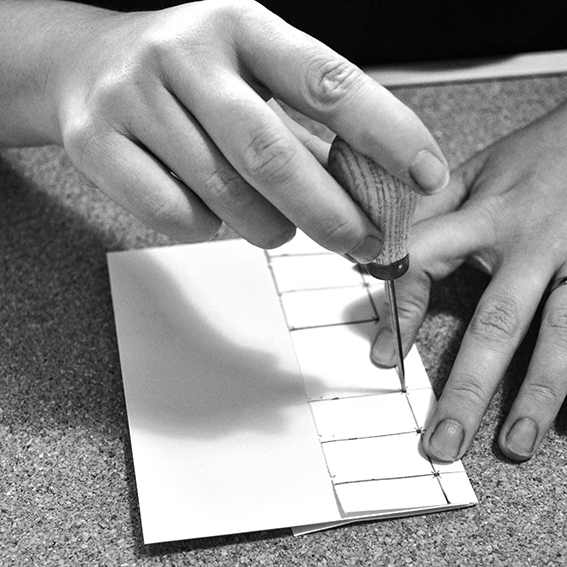
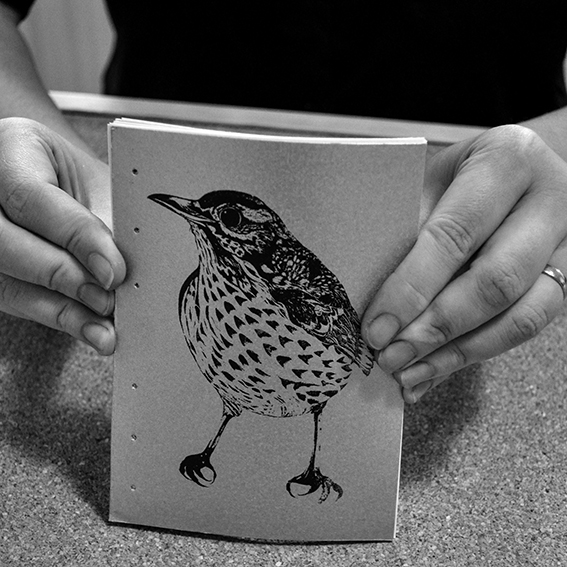
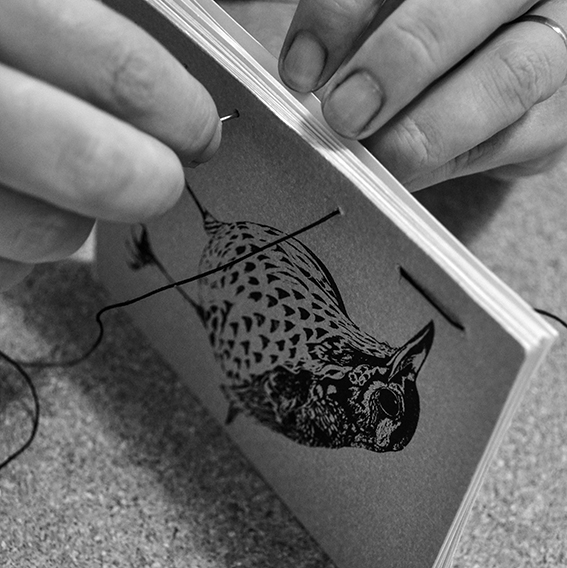
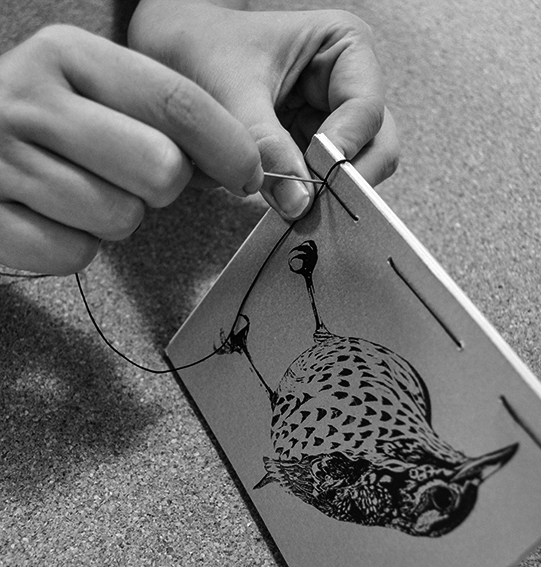
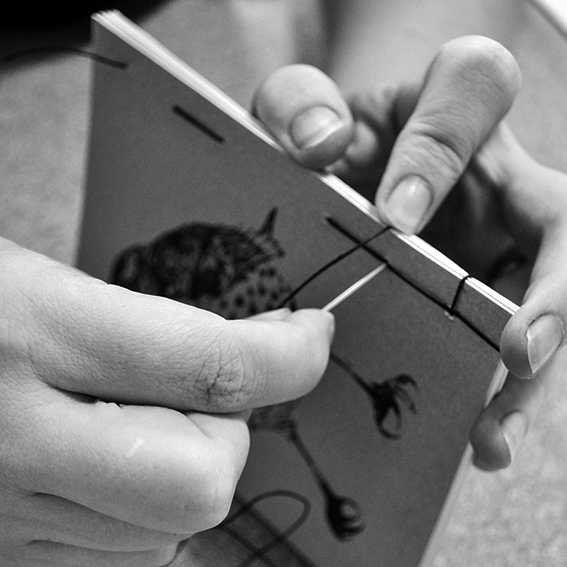
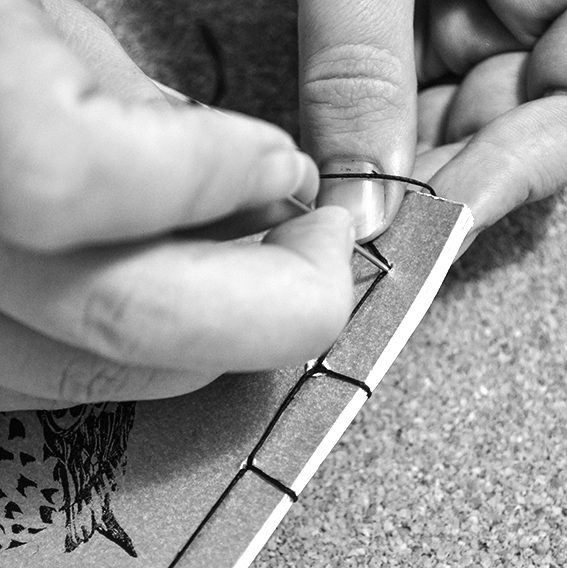
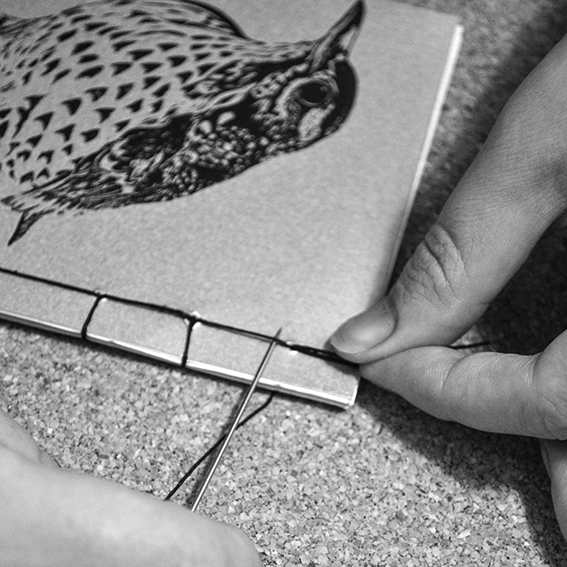
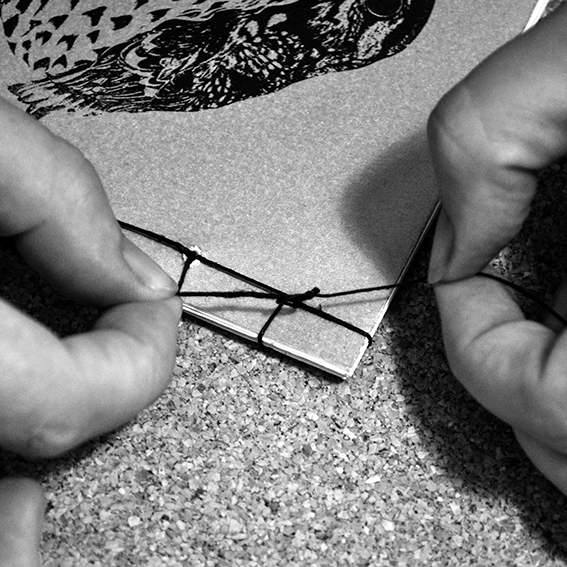
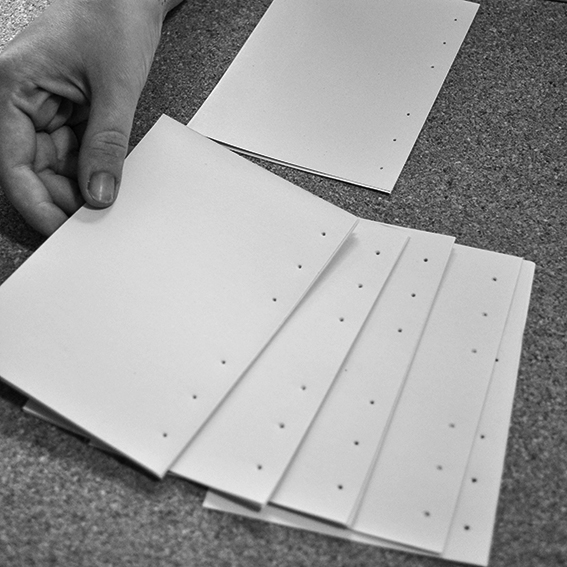
4: Place a quarter of the book pages underneath the template and make holes as shown. Continue with the remaining pages doing quarters at a time. The pages and cover should all look the same once punched.

(c) Ella's Place

(c) Ella's Place5: Put all the pages, including the front and back covers, together. Thread the needle through the top back hole of the book, leaving some thread loose. Make a running stitch along the holes in the book, pulling the thread tight each time through a hole while keeping your top thread loose.

(c) Ella's Place

6: Loop the thread at the bottom of the book’s spine and go through the bottom hole. Place the book on its side, loop around the top of the spine and go through the bottom hole again.

(c) Ella's Place

7: Do a running stitch into the next hole, loop around the top of the spine and go through that hole again on to the next hole. Repeat until you get to the top of the book.

(c) Ella's Place

(c) Ella's Place

(c) Ella's Place8: Make a loop at the top of the book and go through the top hole. Slip the needle under two of the top bindings coming out of starting hole. Tie a tight knot with the original loose thread.

(c) Ella's Place

Look – you’ve made a book!