Posted on

The Orphaned Spaces box set

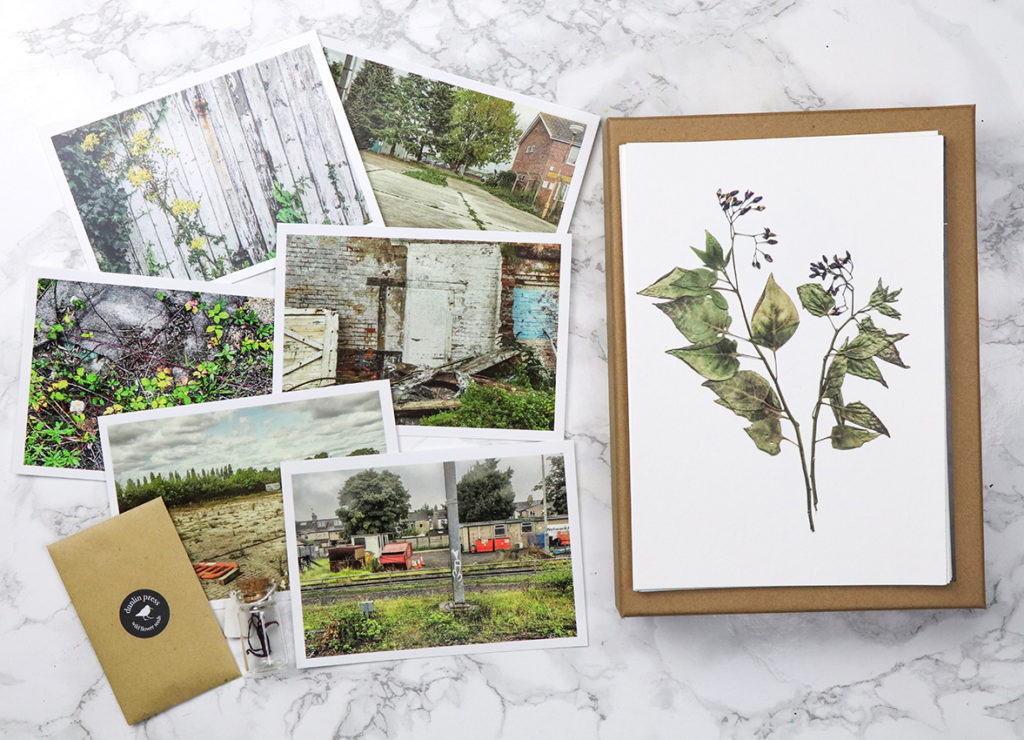
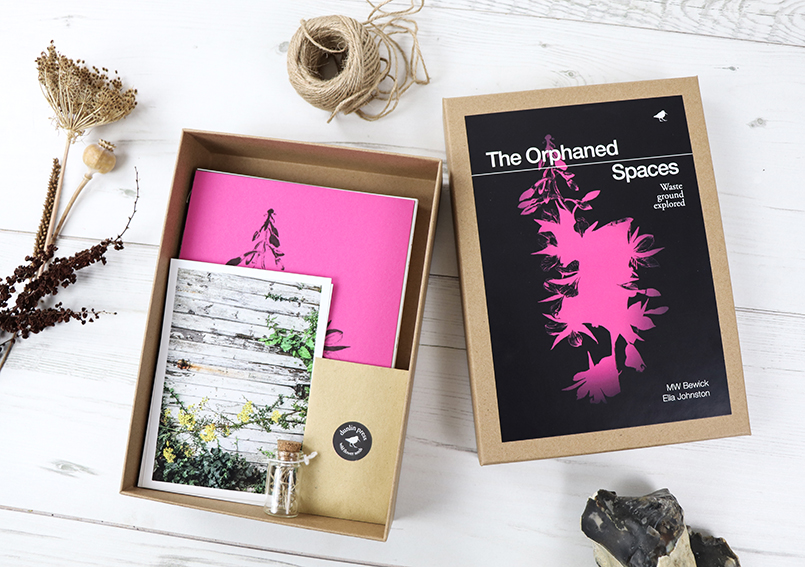
The Orphaned Spaces box set. Featuring postcards, hand-stitched books, seeds, reliquary, archival prints.

Last week I told you about my new illustrated book (with MW Bewick), The Orphaned Spaces published by our indie publishing company Dunlin Press, well here is the box set.
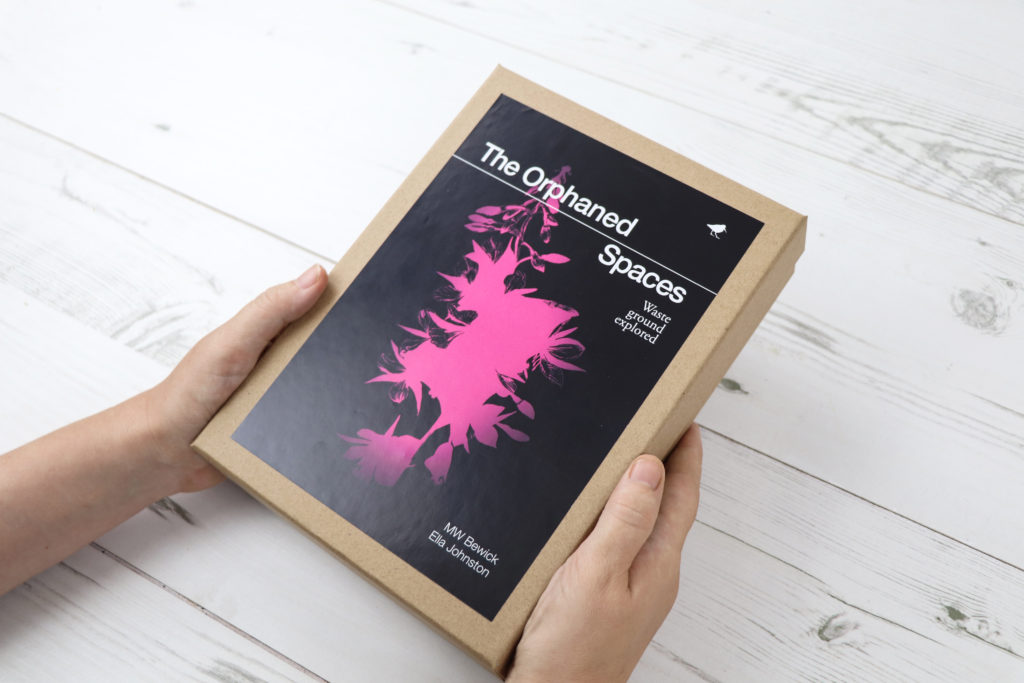
The Orphaned Spaces box set. Featuring postcards, hand-stitched books, seeds, reliquary, archival prints.

The Orphaned Spaces  box set is such an undertaking of work that I had to give it a separate post.

When working on Dunlin Press projects,  we’ve often described each book as ‘time capsules’. We aim for every publication to embody the mood and spirit of a place or region at a particular period of human history – like pressing a pause button or taking a picture. The Orphaned Spaces box set is a physical manifestation of this concept.
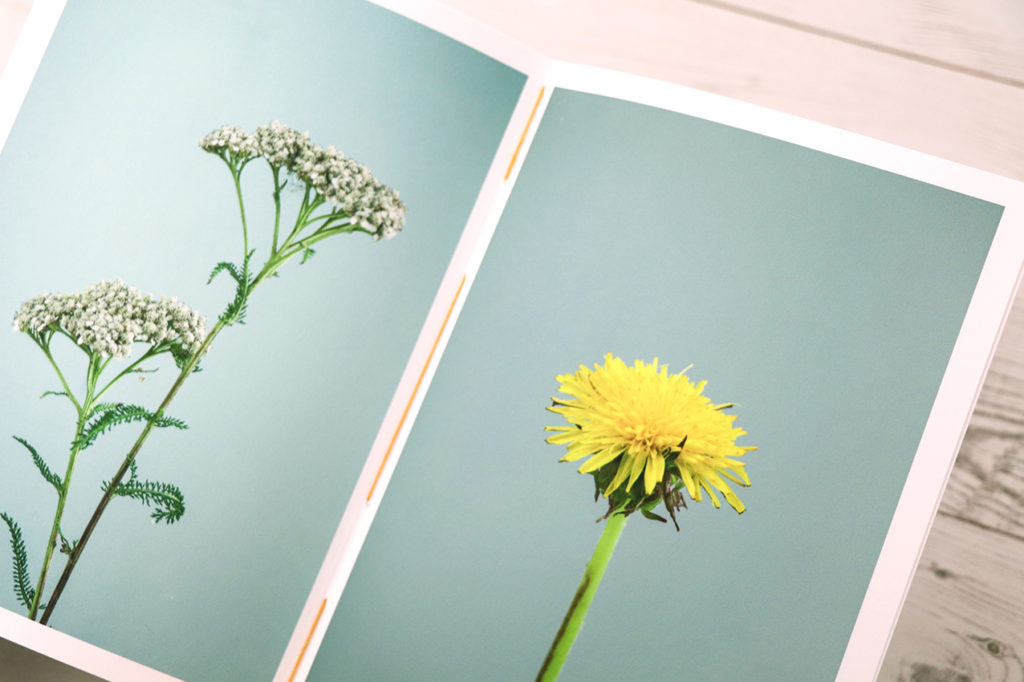
Hand-stitched still lives booklet
Limited edition postcards, reliquary, seeds and archival prints. The Orphaned Spaces Box Set

This highly limited edition, made-to-order box set, deconstructs the book The Orphaned Spaces, breaking it down into hand-stitched booklets, postcards, archival prints and a reliquary.

The box set contains the following elements:

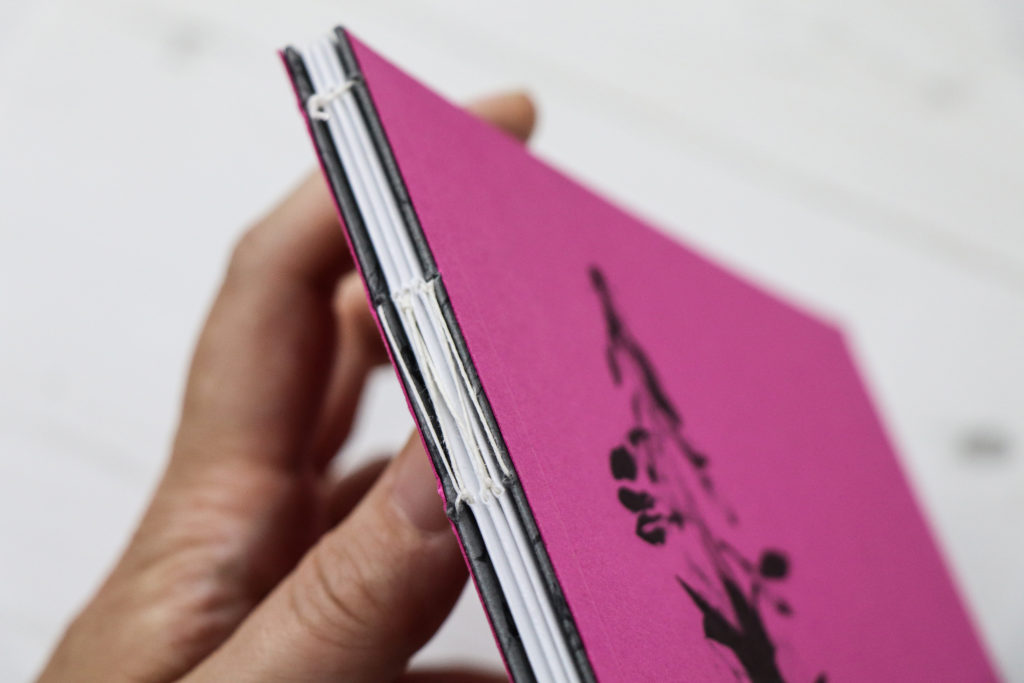
1: Hand-stitched ‘Journal’
Coverstock: G.F SMith, Colorplan, fuchsia pink, 270gsm. Inset pages: G.F SMith, Colorplan, dark grey, 135gsm. Inner pages: ZANDERS ZETA, Unwatermarked Textured Paper, linen 100gsm,
2: Hand-stitched black and white studies booklet
Paper stock: Hahnemühle, Photo Rag, matte smooth, 188gsm
3: Hand-stitched wild flower still lives booklet
Paper stock: Hahnemühle, Photo Rag, matte smooth, 188gsm
4: 10 pressed plants fine art giclée prints
Printed on archival Hahnemühle, Photo Rag, bamboo, 290gsm
5: Six landscape postcards
6: A glass bottle ‘reliquary’
7: Wildflower seeds include a mixture of annual and perennial wildflower species and grasses.
8: Bookmark using G.F SMith, Colorplan, dark grey, 135gsm
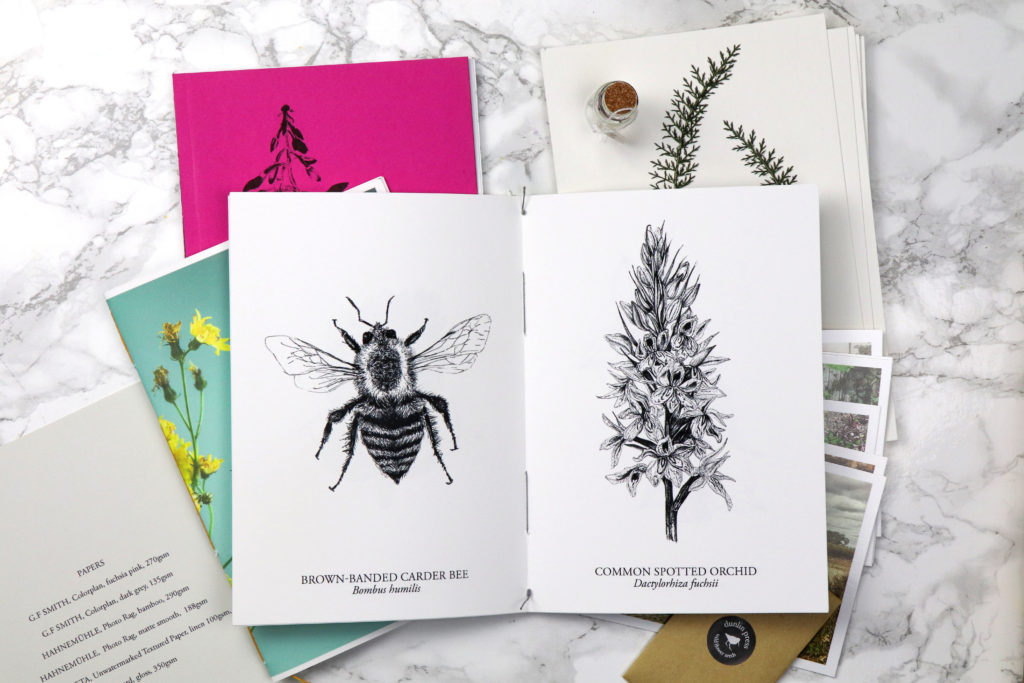
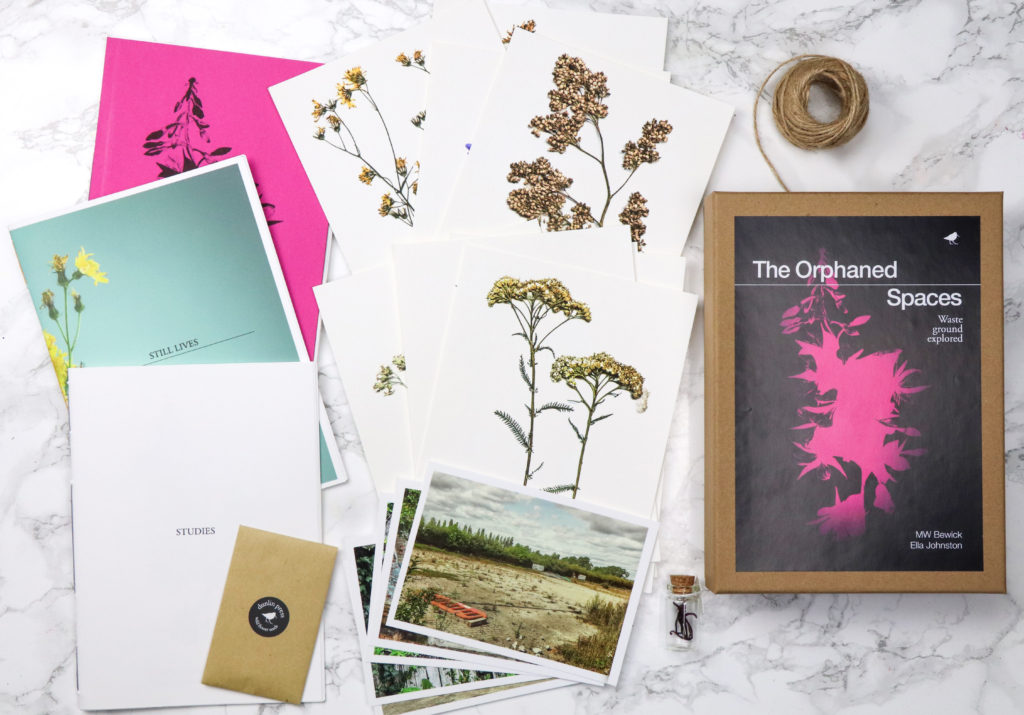
The Orphaned Spaces box set includes three individually hand-stitched books and archival prints plus seeds and reliquary

I’ve really made use of the 2010 Central St Martin book-binding summer course I attended during the past eight years. The box set features three hand-stitched booklets all bound by me. I really enjoy book-making so, what would feel like hard work for some feels like a kind of zen meditative process for me.
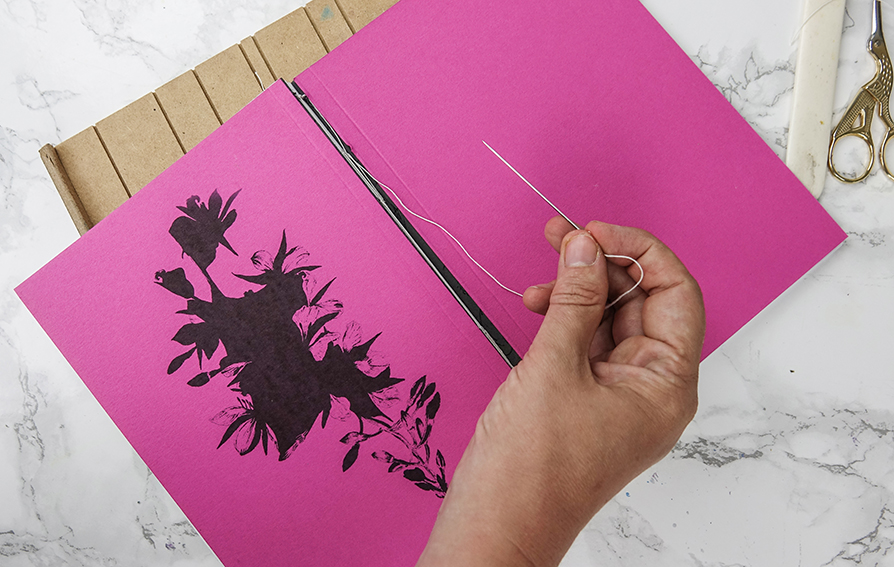
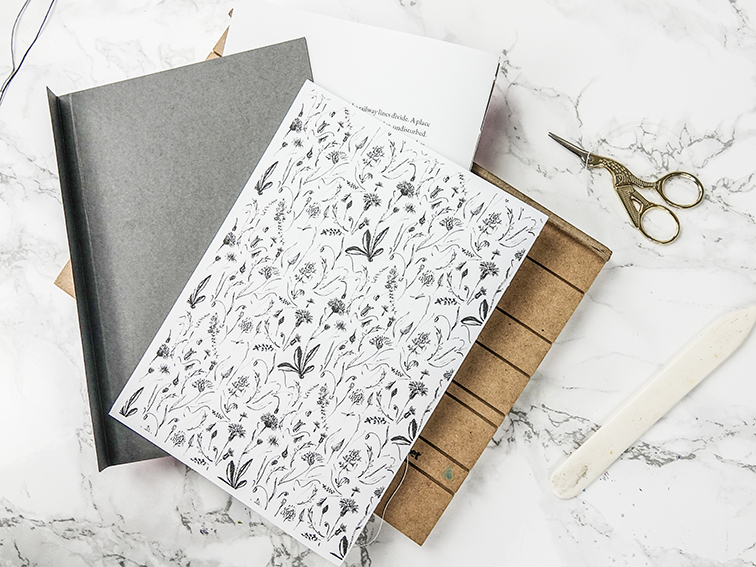
Making the hand-stitched books for The Orphaned Spaces.

You can buy the box set or the book at the Dunlin Press shop.
Posted on

Experiments in ink!

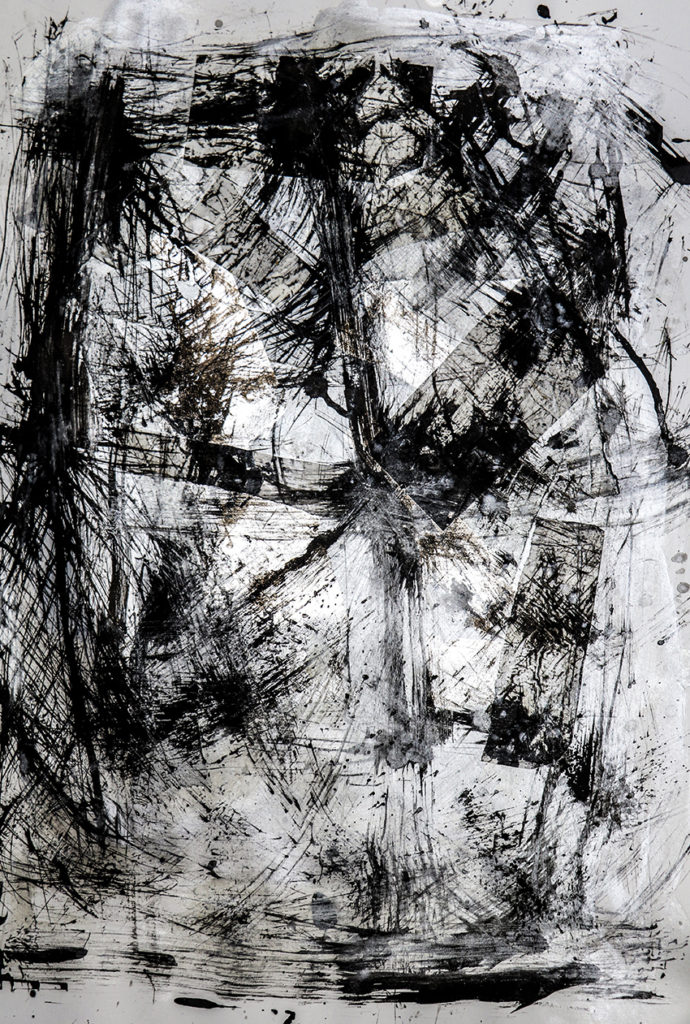
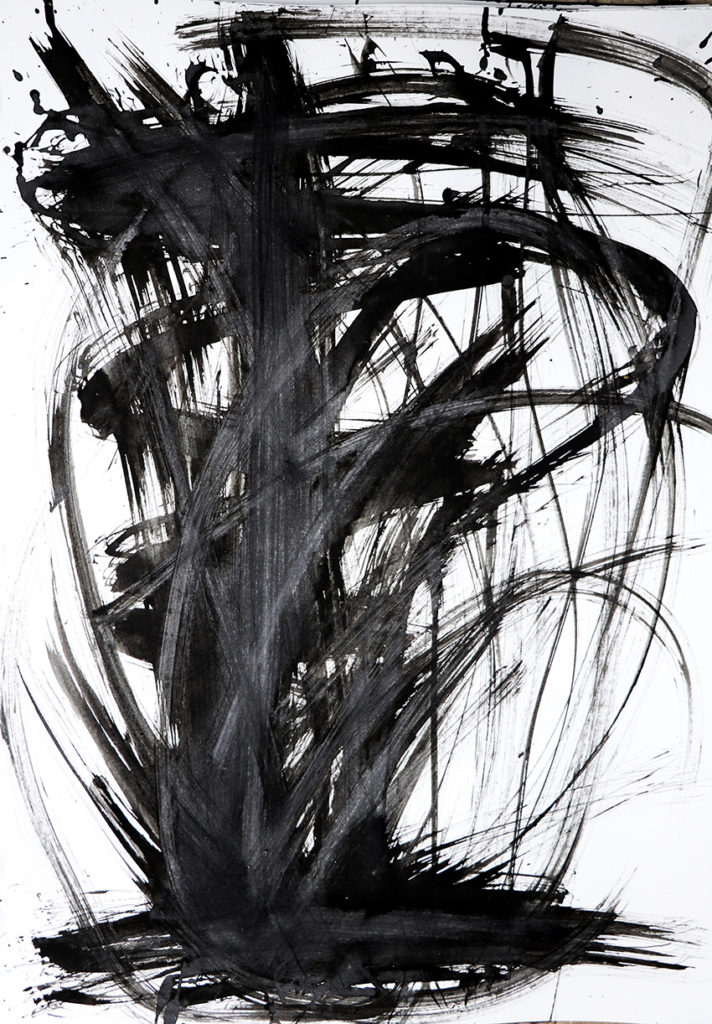
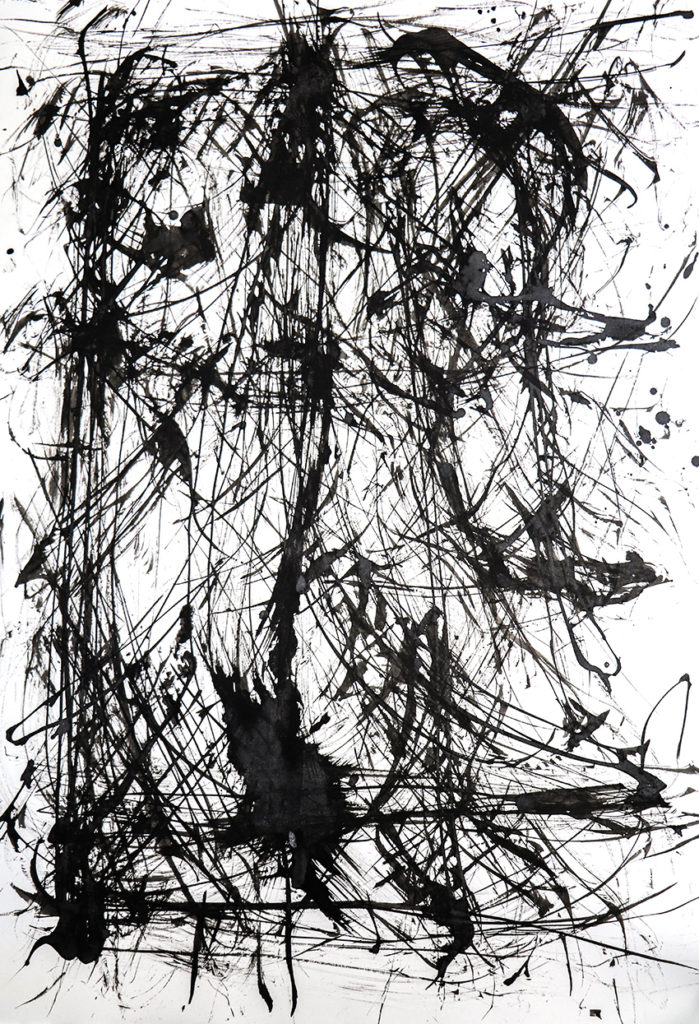
Ink, mark-making experiments Ella Johnston
In preparation for #inktober I’ve been playing with experiments in ink!

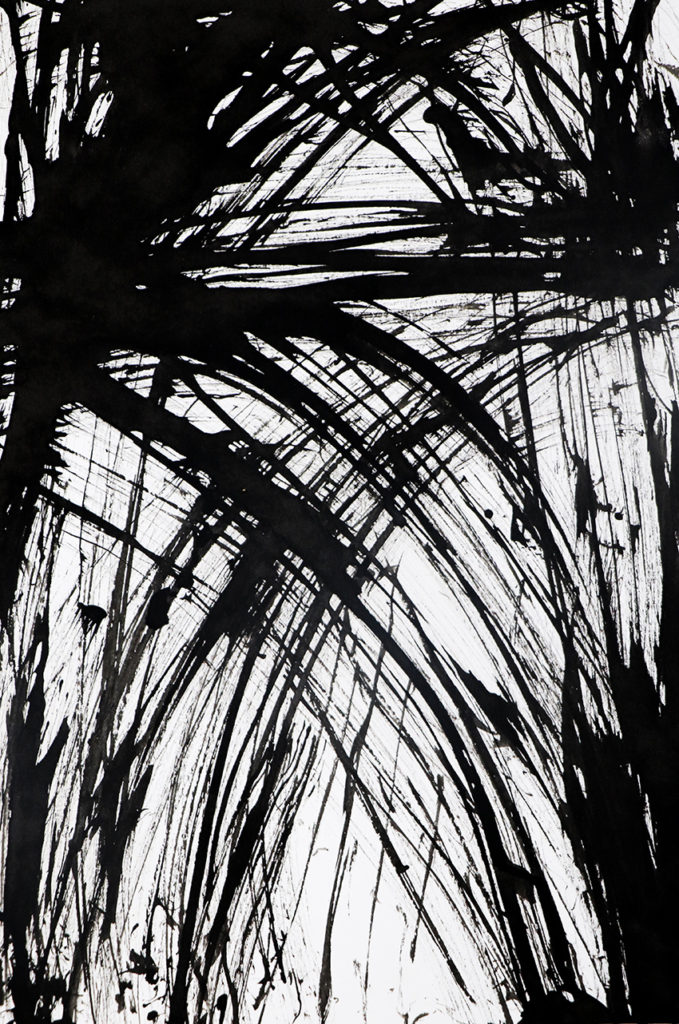
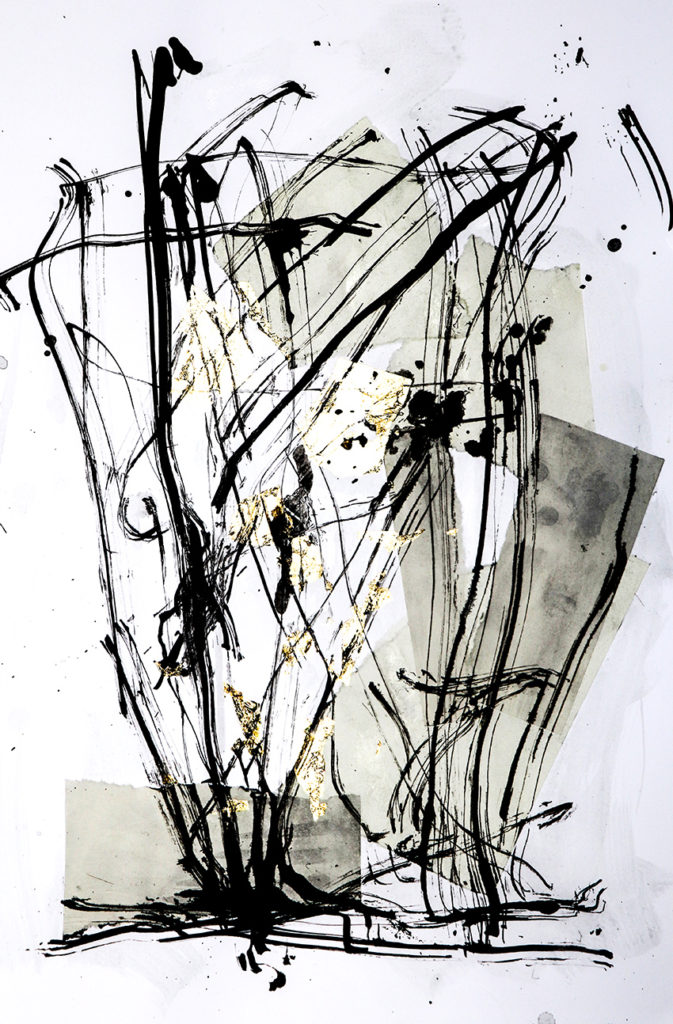
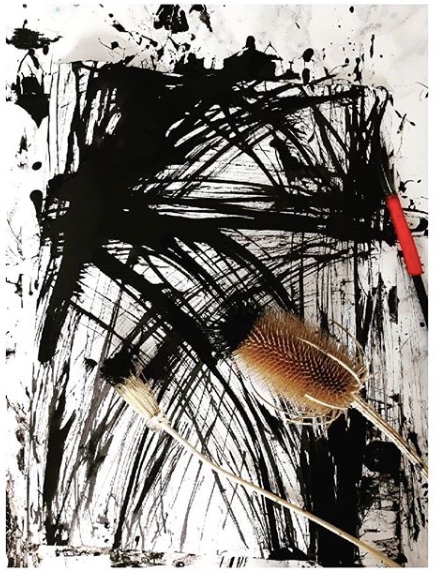
Composition, Indian ink feather and teasel drawing, book paper, silver leaf collage. Ella Johnston

Ages ago I told you about how as an artist and illustrator I strive for simplicity, well this has been a little mantra playing in my head all year so recently I gave into it. I’ve  started working on art work and illustrations using simple black Indian ink and various mark-making tools.

Simplicity is hard.

Composition, Indian ink teasel drawing Ella Johnston
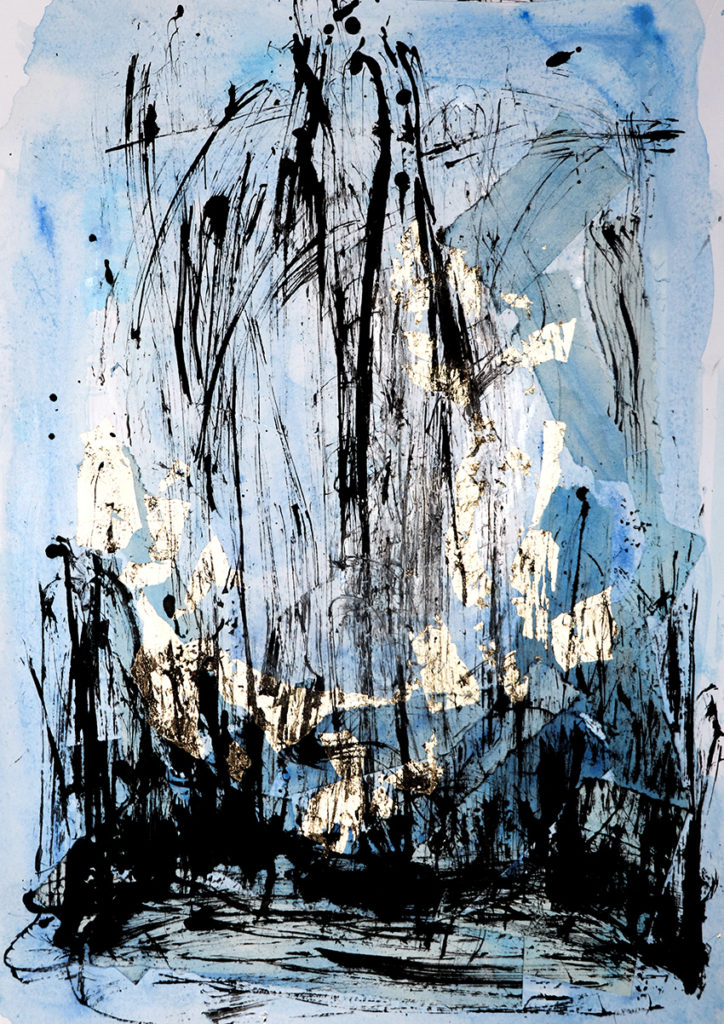
Composition, Indian ink feather and teasel drawing, book paper, gold leaf collage.

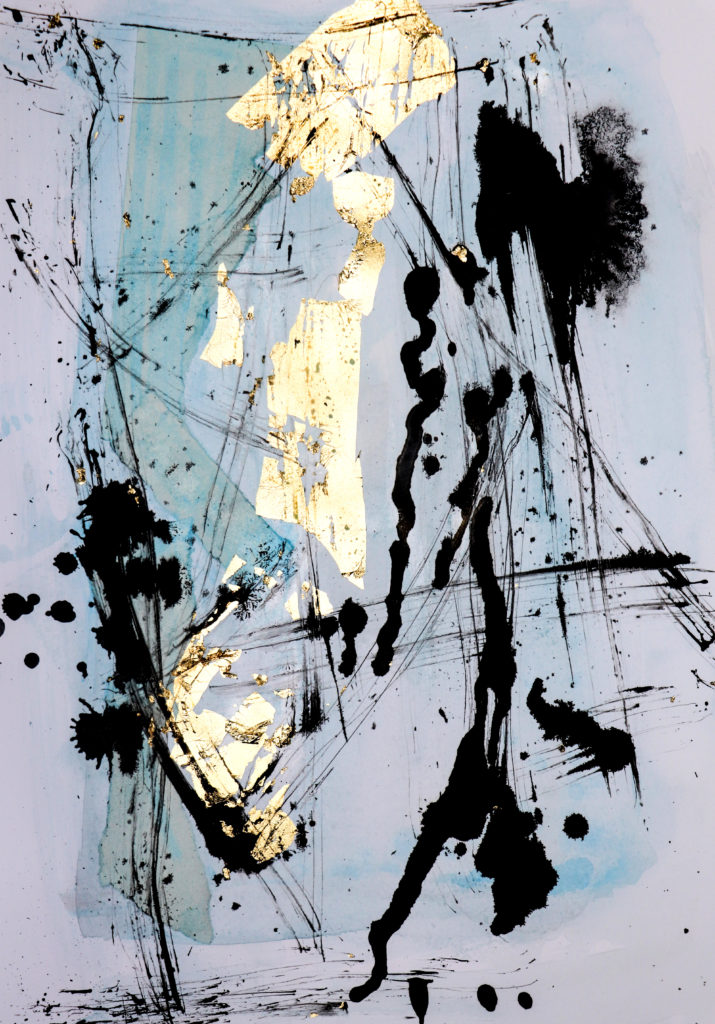
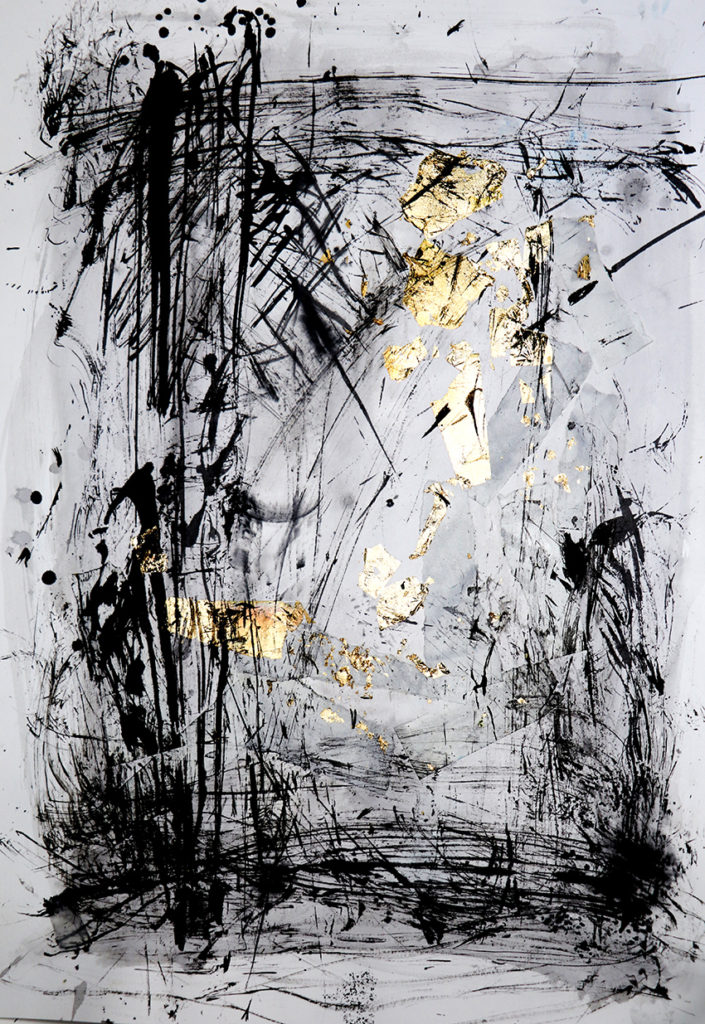
These scratchy ink sketches and gold/silver leaf and book paper collages are my first steps along my journey into the simple mark marking. Taking my cue from various Japanese ink artists I’ve experimented with my mark-making tools. I’ve fashioned ‘pens’ and ‘brushes’ from dried out teasels, found feathers, dried seed-heads and bunches of twigs to produce various line effects.

Composition, Indian ink teasel drawing Ella Johnston

I thought I would combine these ink strokes with collage to create movement, contrast and texture. I’m also fascinated by palimpsests (where a manuscript or piece of written-on material has been written over but still bears visible traces of its earlier form) so I wanted to create a sense of that.

Composition, Indian ink feather and teasel drawing, book paper, gold leaf collage.

At the moment, I still need to work on my serenity ( I imagine a few people have remarked on that through the years).

I like combining humble unbleached papers I use for the inner pages of my hand-stitched books (sometimes painted with washes of colour, sometimes not) with gold and silver leaf to create a sense of collision. After these elements are layered up, I naturally want to produce something visceral and energetic over them with the ink marks.

Composition, Indian ink feather and teasel drawing, book paper, gold leaf collage. Ella Johnston Composition, Indian ink feather and teasel drawing, book paper, gold leaf collage. Ella Johnston

Composition, Indian ink feather and teasel drawing, book paper, gold leaf collage. Ella Johnston
Composition, Indian ink dried seed-head, feather and teasel drawing, book paper, gold leaf collage. Ella Johnston

This mark-making method is real fun and, at this stage in my development with getting to know this way of working, I feel a little indulgent. I love the variation in marks the teasel, feather and seed-head tips create – I could go on all day marvelling at all the different line effects they produce.

Composition, Indian ink teasel, feather and seedhead drawing Ella Johnston
Posted on

Quick Mother’s Day upcycled crafts…

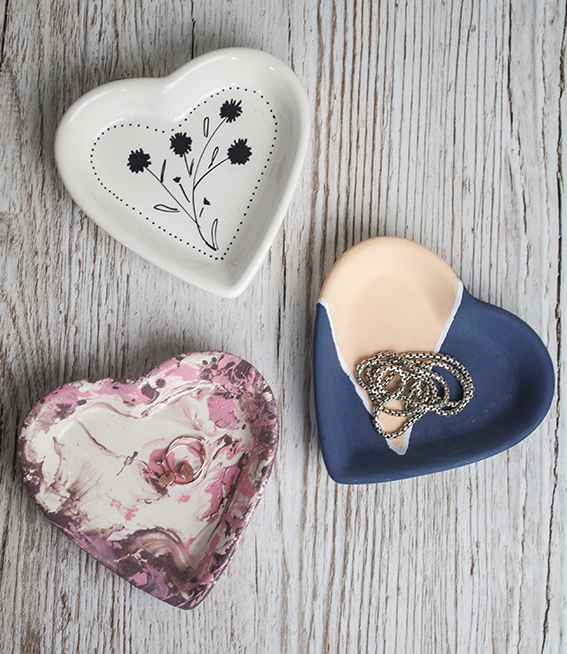
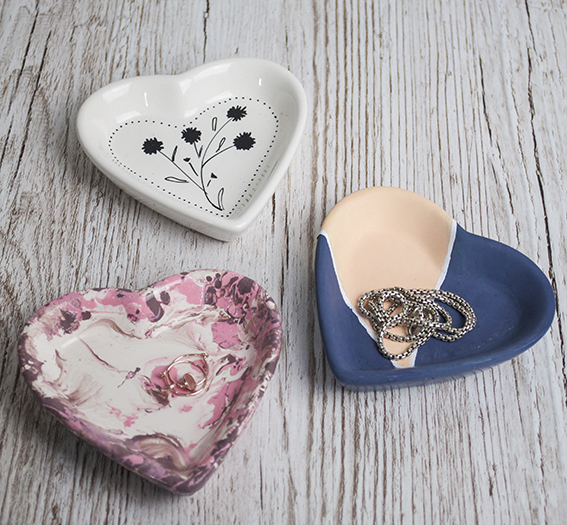
Heart shaped Jewellery holders 3 days (c) Ella Johnston This sounds terrible but I am rubbish at Mother’s Day. I love my mum but the day always lands between my birthday and my dad’s so it always gets a bit lost – not good considering. If you’re like me and always leave it to the last minute to sort something out then here are two quick and easy handmade craft solutions that you can whip up to suit your mum’s style in time for the day.

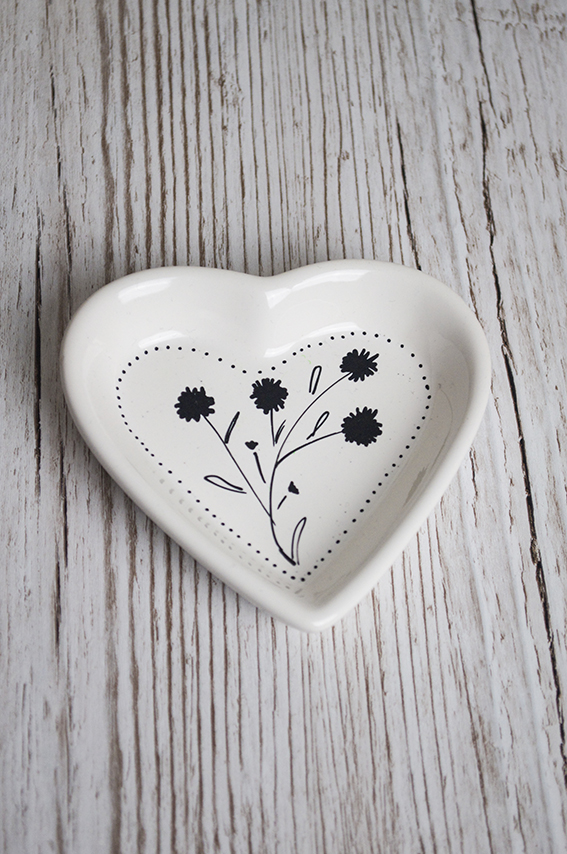
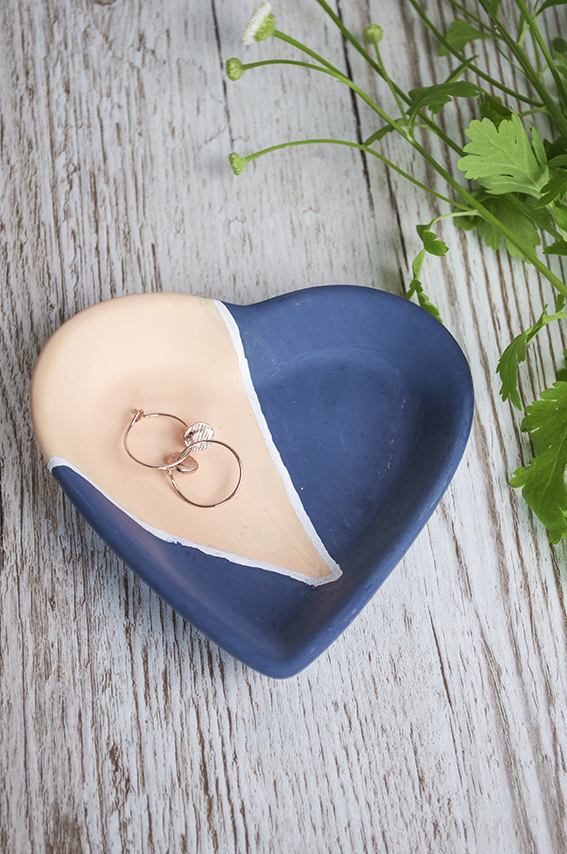
For my upcycled jewellery dishes, I found a set of plain ceramic hearts and got to work on them three ways. You could do these on any ceramic surface, in fact these designs would all look lovely on a plain white saucer or little bowl.
Heart shaped Jewellery holders 3 days (c) Ella Johnston The first one is a simple black on white floral drawing using a thin black posca pen. This will really suit my mum. Like me, she is a very keen drawer, she also loves simple, elegant lines and an expressive touch, so this is perfect for her.
Heart shaped Jewellery holders 3 days (c) Ella Johnston I then used some paints to create a more contemporary version for the modern mater. I’m a bit in love with this combination of soft peach with dark grey. I masked off the areas I wanted to paint with very think strips of masking tape then filled in the edges once the large areas were dry. I then added white outlines for further contrast. Heart shaped Jewellery holders 3 days (c) Ella JohnstonI tried marbling with nail varnish on the last two. I like this combination of mauve and pink. It almost makes the white ceramic look a bit creamy, which I love. Mind you this was a messy process. You tip the varnish in a tub of water and muddle it with a skewer, you then dip your ceramics in. It smells and gets everywhere so I suggest a big tub and clear area to work in and some rubber gloves!
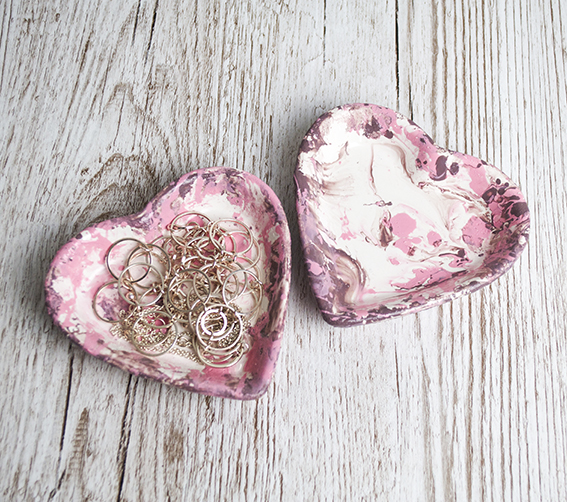
Heart shaped Jewellery holders 3 days (c) Ella Johnston My second make is really easy, mess free and is the ultimate easy upcycle.
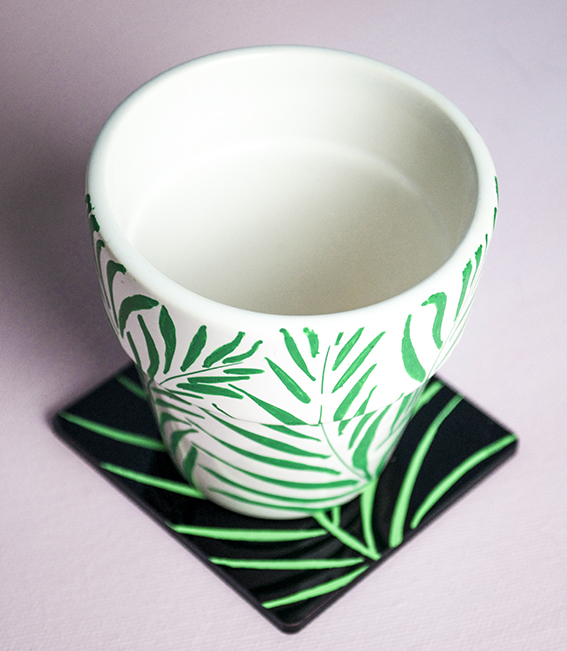
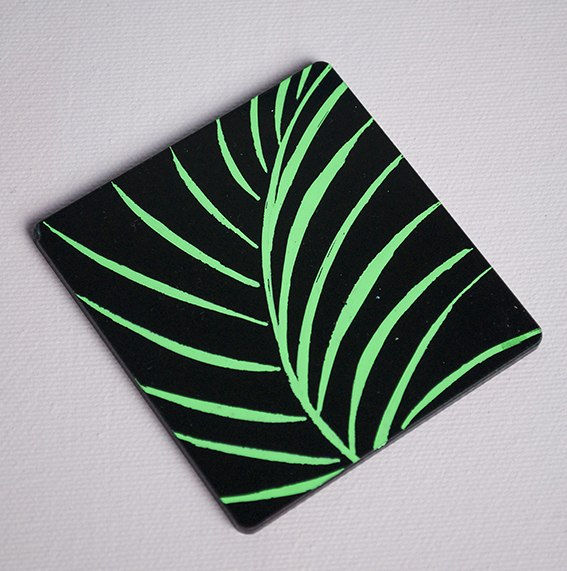
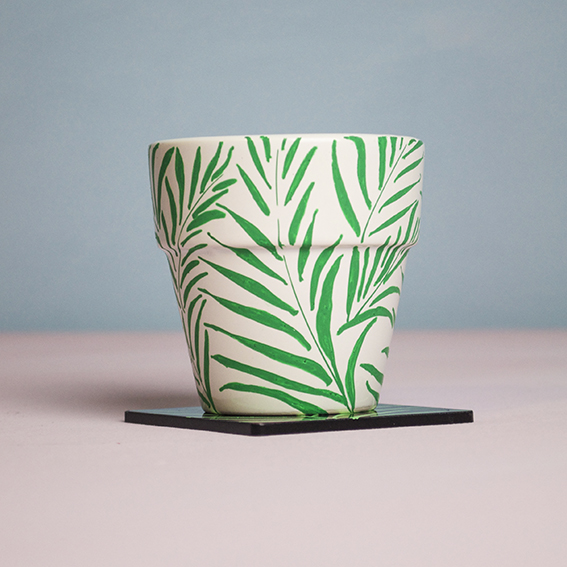
Leaf plant pot and coaster (c) Ella Johnston As you may have noticed the shops and style guides are full of botanical motifs. So I grabed a plain white pot, little black perspex off-cut (they are bloody handy little things and make great coasters) and a green posca pen and got drawing.Leaf plant pot and coaster (c) Ella Johnston This tropical leaf design is so easy to do; you just draw a thin curved line then create thicker curved shapes along it. Simple but effective. Again this design can work on any shaped mug, coaster or plate and makes a nice little on-trend gift for a green-fingered mum. Leaf plant pot and coaster (c) Ella Johnston

Posted on

Antelope in a leotard!

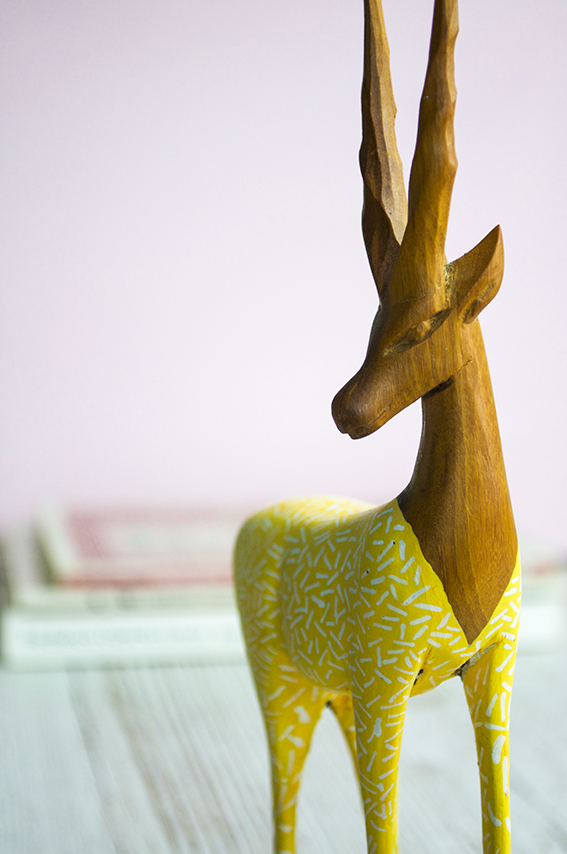
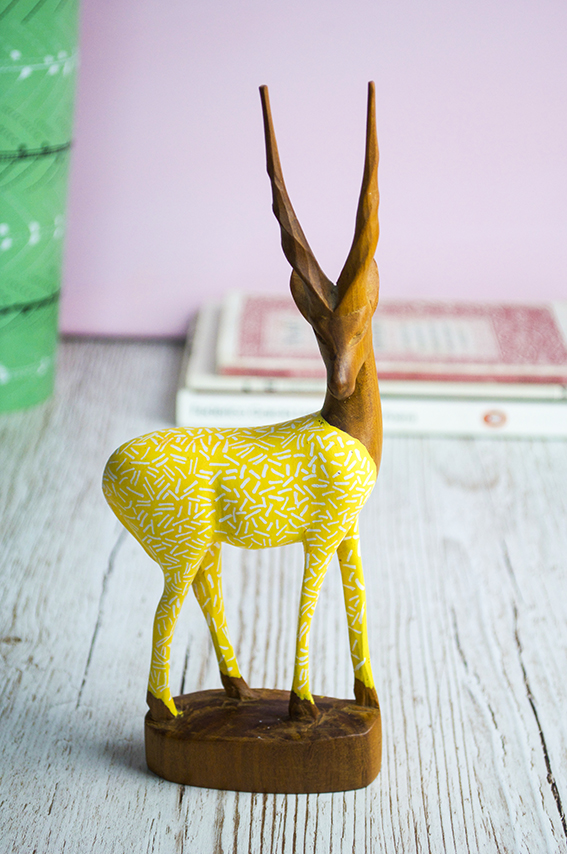
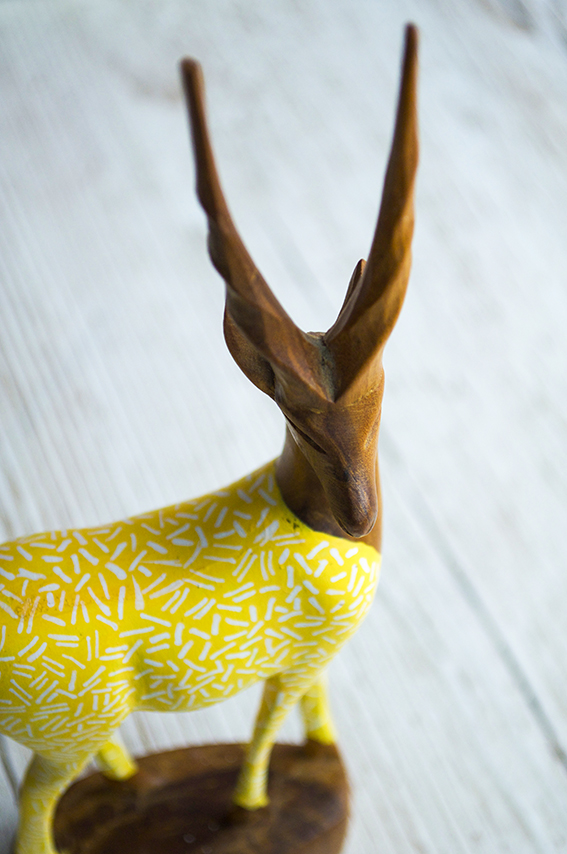
Vintage shop update Ella Johnston Yeah, here’s an antelope in a leotard. What of it?

I picked up this wooden antelope ages ago for 50p and, while I love it, this guy was looking a bit tatty and old. Then I saw a great craft project idea from Handsome Vintage who upcycles retro wooden creatures and pimps them up to make them ‘hipster’. Handsome Vintage has a wonderful collection of hand-painted pieces with intricate patterns and bright colours – it’s such a bright and original revamp idea so I thought I’d give it a go with my little guy.
Vintage shop update Ella Johnston I sanded old Andy the Antelope down (there’s another Ella’s Menagerie back story post due soon – Andy has an amazing tale to tell) and gave him a paint with bright yellow acrylic paint. Then I used a white posca pen to give the leotard a 1980s-inspired pattern. I gave him a spray of varnish too so his ‘tard stays in place.
Vintage shop update Ella Johnston Unlike Handsome Vintage, I have no intention of selling Andy. He has now become a firm favourite in our house, beloved particularly by Dr B of all people.Vintage shop update Ella Johnston I’m now obviously on the hunt for other charity shop animals (wooden or ceramic) that I can give similar treatments to. And, once she’s back from maternity leave, may purchase some brothers and sisters from HV.

Posted on

Easy draw Valentine’s makes


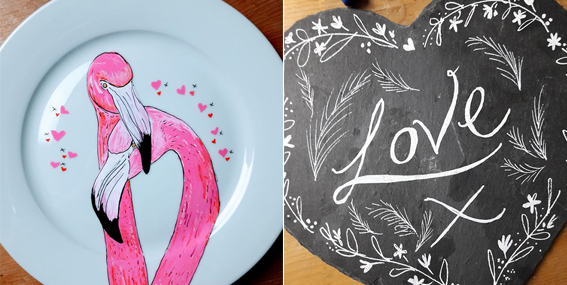
These easy-draw Valentine’s makes are perfect if you like your love tokens handmade. So why not give these illustrations a try in time for the big day on Tuesday?

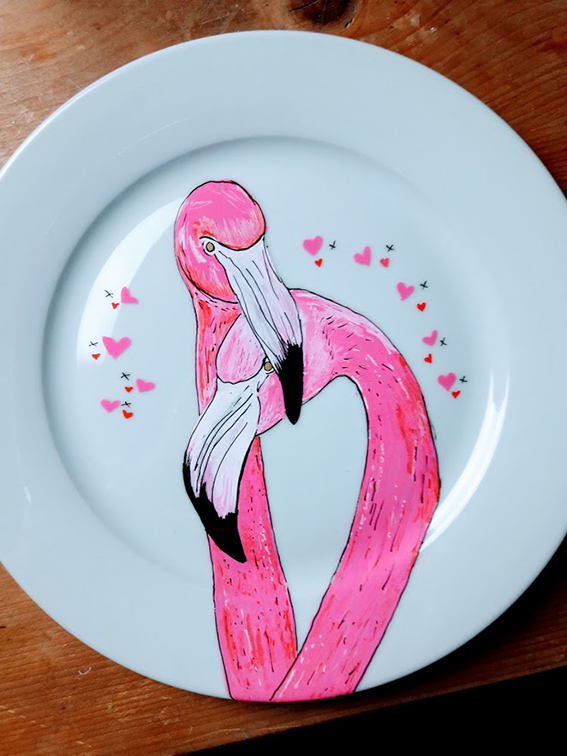
flamingo plate (c) Ella Johnston
I’ve got lots of posca pens from my workshops last year so  grabbed an old white plate and some slate heart-shaped table mats and decided to give them a  love-themed drawing update. And with my templates and how-tos you can do them to…

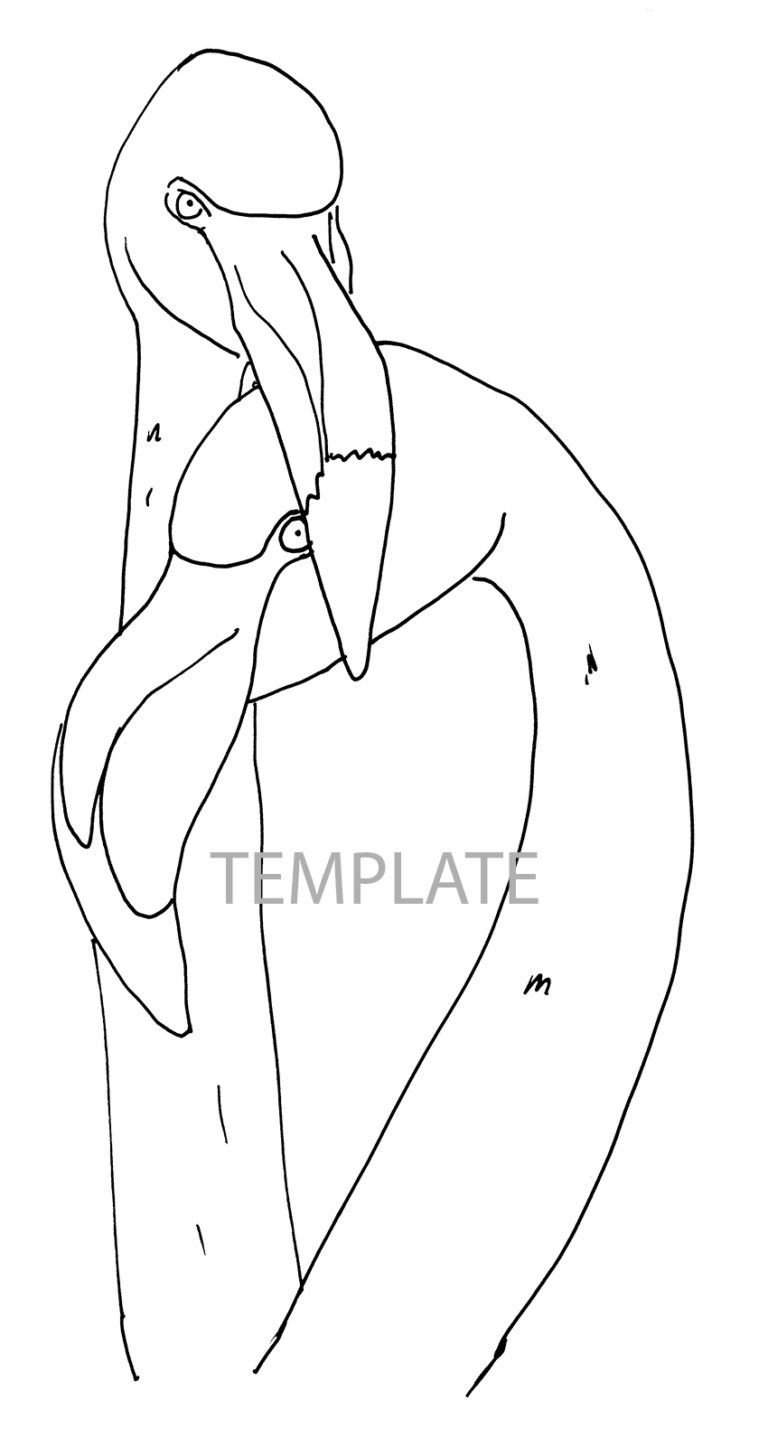
Download the Flamingo template below and take a look at what I did with my outline drawing on this video above.

Love slate heart craft Ella Johnston
Or if monotone line drawing is more your bag then follow this cute little demo movie. You don’t need slate, you could work this on any dark surface.

Click right to save this template
Posted on

Sharing the love with Not On The High Street #LoveIsReal

Love is Real, NOTHS (c) Ella Johnston

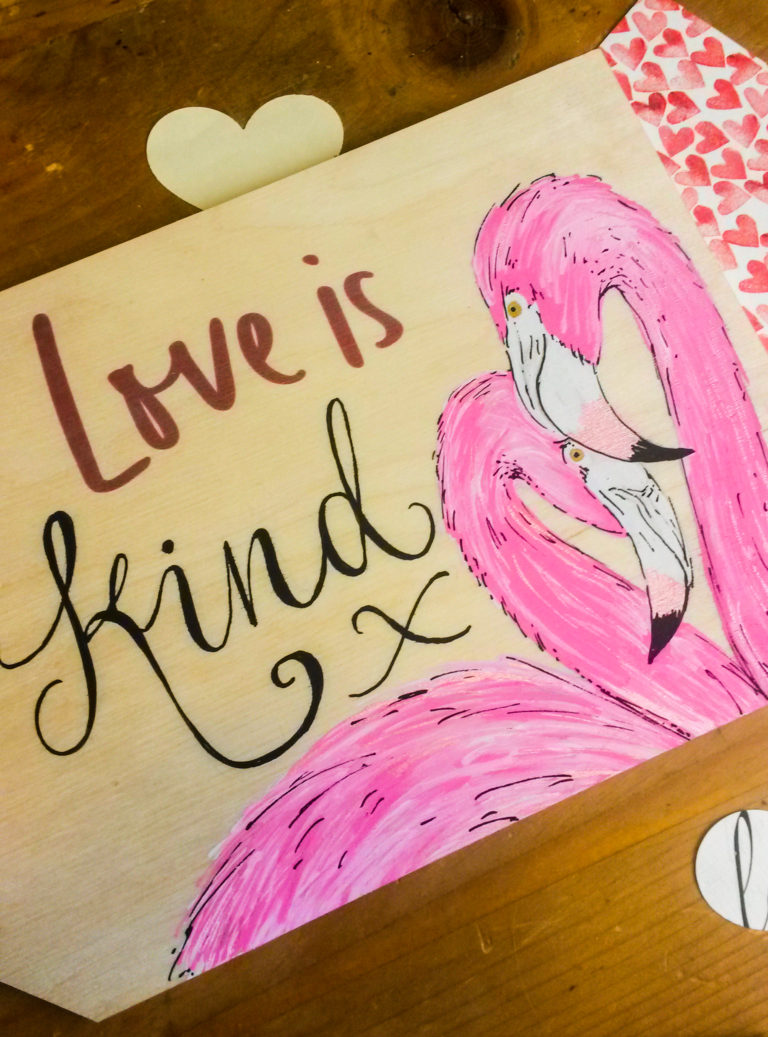
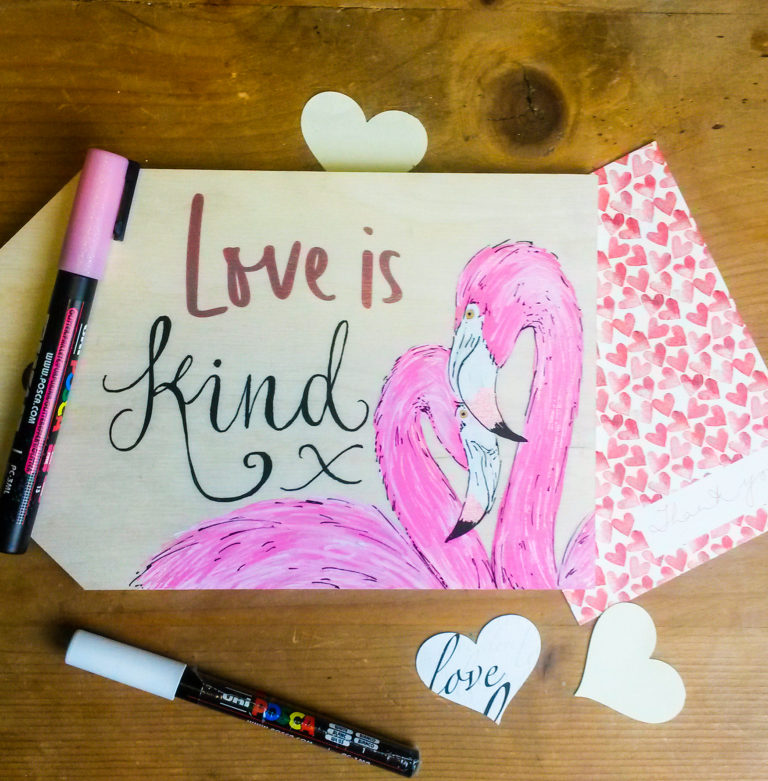
Today I’ve had fun doing my version of the Not On The High Street “Love is” tag. The company has sent it to its partners so they can spread the love in the run up to Valentine’s Day.

I think love is an important message to communicate at any time, no more so than in these turbulent, uncertain times. For me kindness and compassion goes hand and hand with love. Kindness to your partner, to your friends, to strangers, to yourself and to the planet we all share; the latter is why my sign is nature-themed flamingo illustration. I created the illustration with pencil and my spare pink and white poscas.

Love is Real, NOTHS (c) Ella Johnston

You can see more LoveIsReal tags here

Posted on

Easy craft: wipe-clean nesting trays

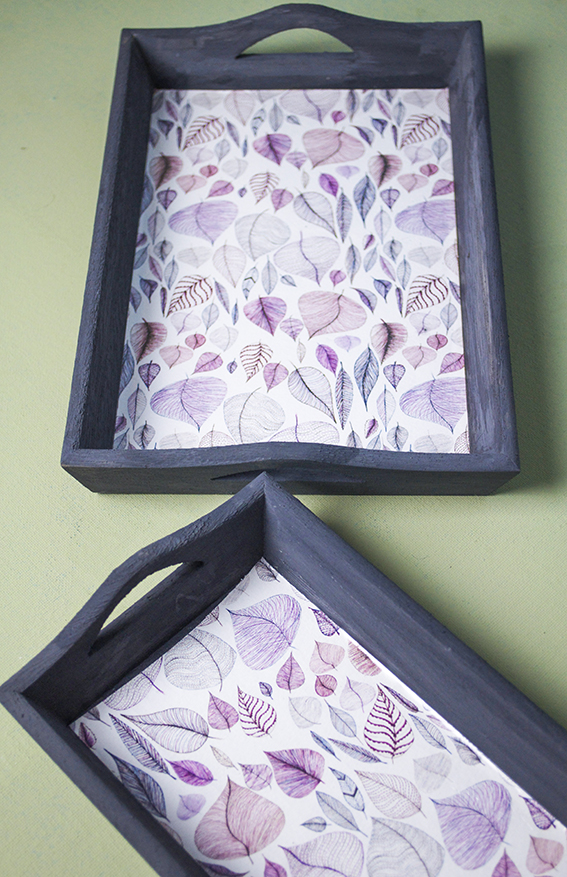
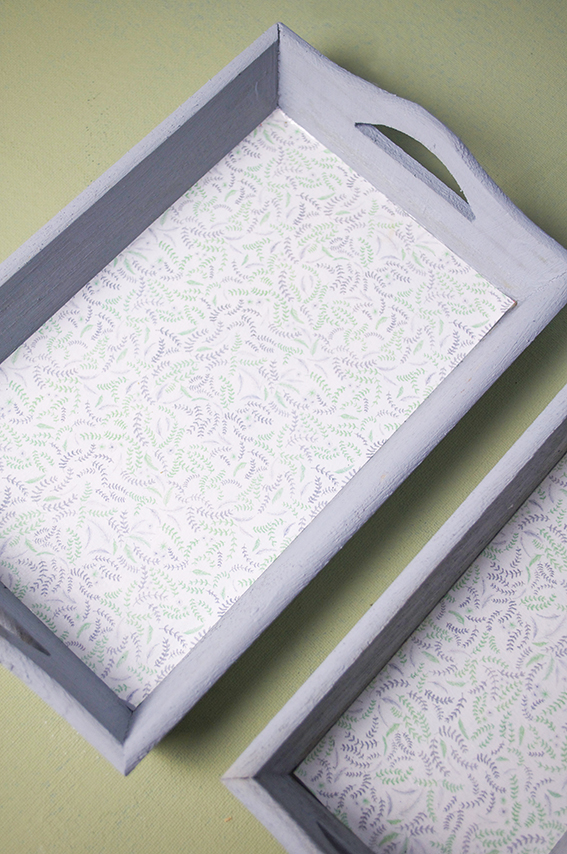
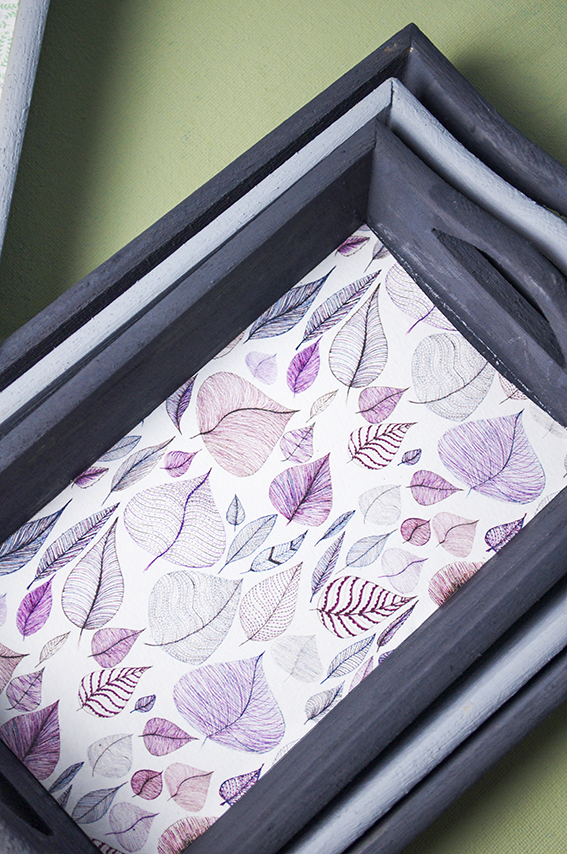
These wipe-clean nesting trays are just the thing for carrying little treats and drinks and they are easy to make too.

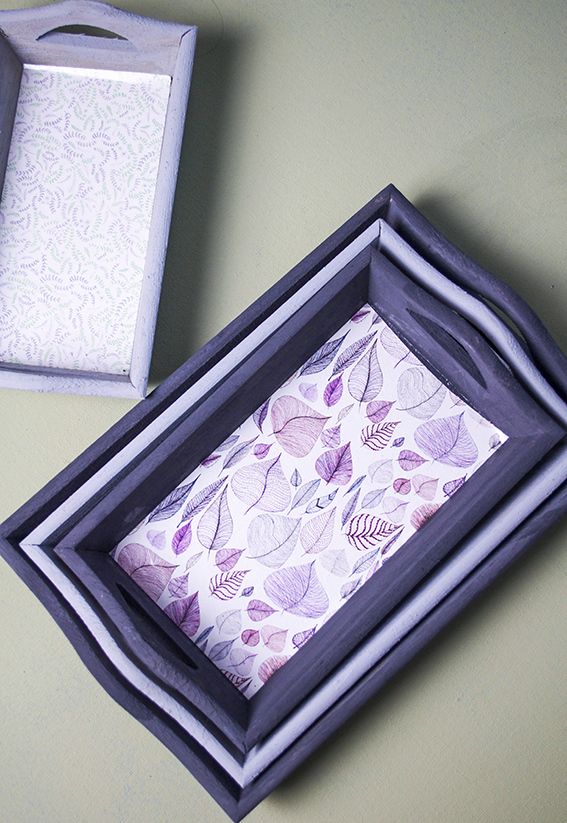
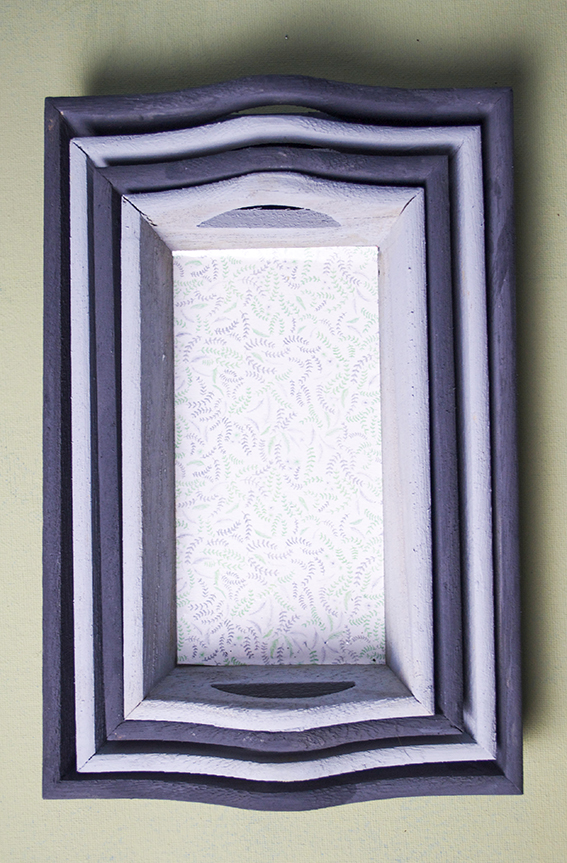
All I did was get a plain set of wooden nesting trays and gave them a lick of chalk paint (Deco Art Americana Decor Chalky finish paint to be exact) in two shades of grey.

I then measured the inside of the trays and cut my laurel leaf and autumn leaves design paper to size. I covered the paper with sticky-back plastic to make it wipe-clean.

I brushed PVA glue on the inside and placed the shiny patterned paper in it to adhere to the bottom of the tray. See, an easy paper make.
I’ve been using these trays for all sorts of things and they haven’t been damaged by ring marks and spillages. They’re so handy I may make a whole load of them as gifts.

Posted on

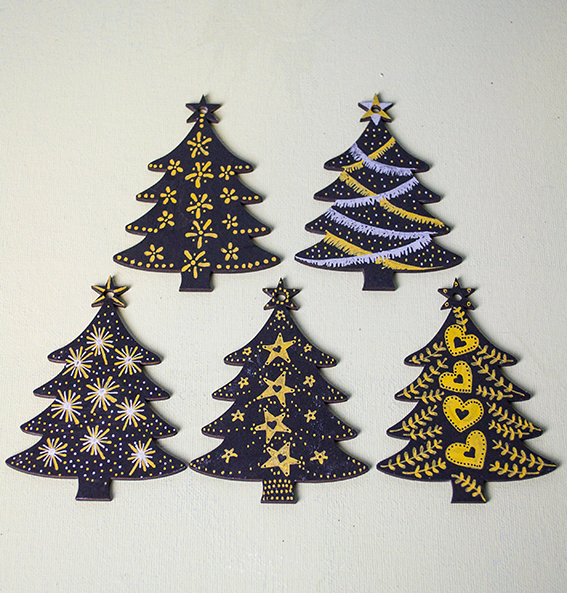
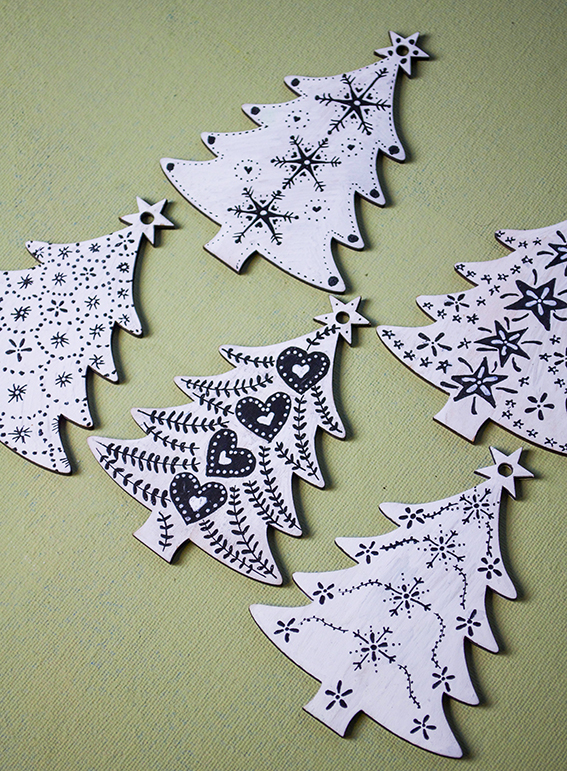
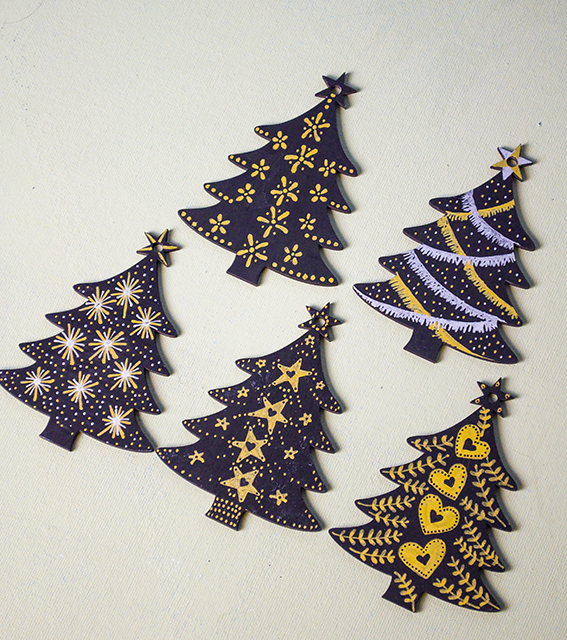
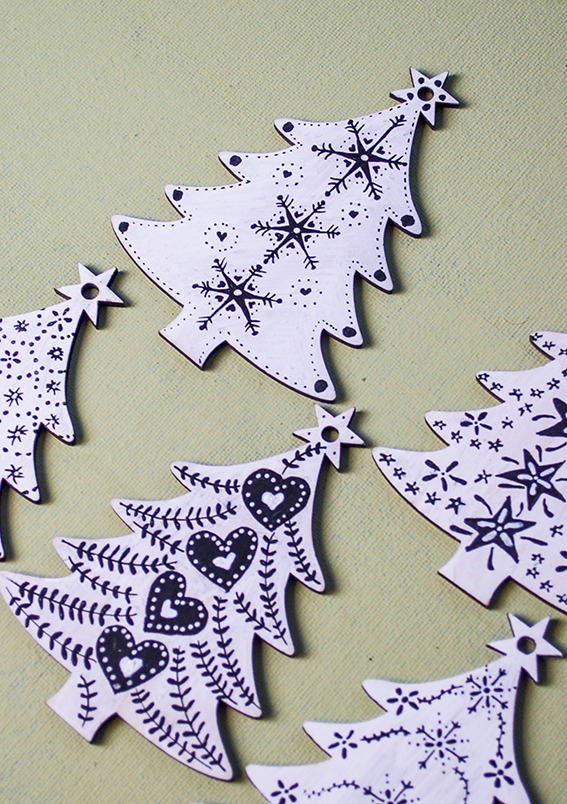
Christmas gift wrap ideas part 4: Christmas tree tags

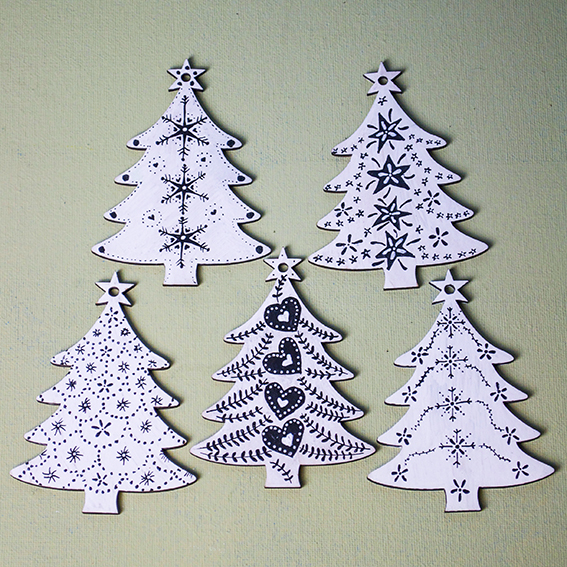
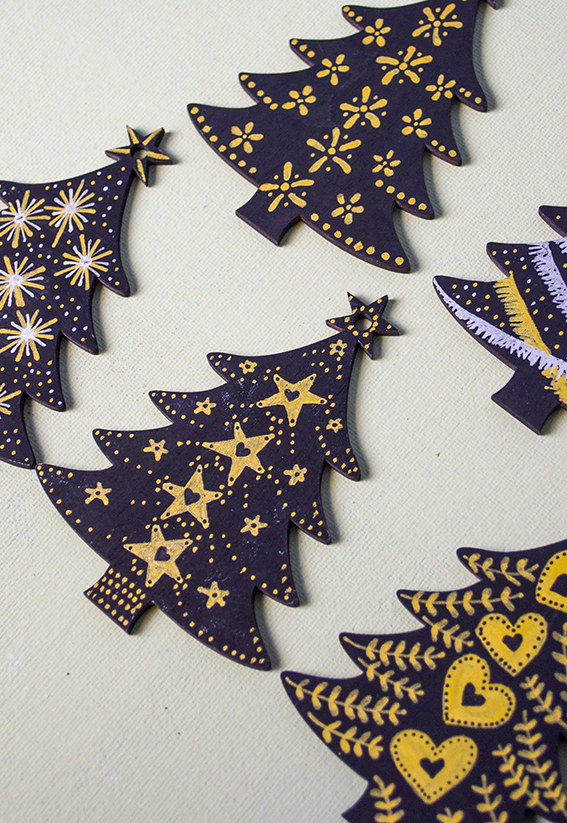
trees_1_white My final Christmas gifting idea can also double up as decorations! I just decorated these mdf Christmas trees with posca pens I had left over from my autumn shows.
trees_1_blackI’m very fond of sticking to a simple set of colours, so as well as using black and white designs I’ve also done some black, silver and gold trees. It’s about as bling as I get. Both of these would go with black wrap or metallic gold and silver papers.
trees_2_whiteAs you can see I’ve used my laurel stem design (how to here), and simple star, snowflake, heart and tinsel motifs.
trees_2_black Another of my go-to motifs is my simple flower design. Like my other Scandi-style shapes it’s really easy to recreate as you’ll see by my how-to below. trees_3_white trees_4_black
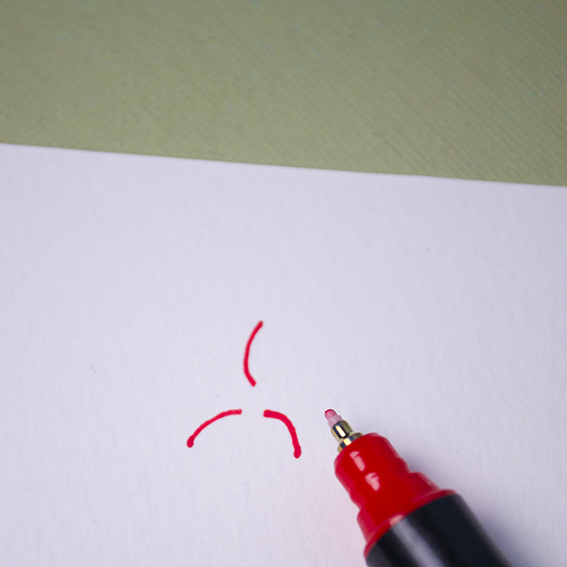
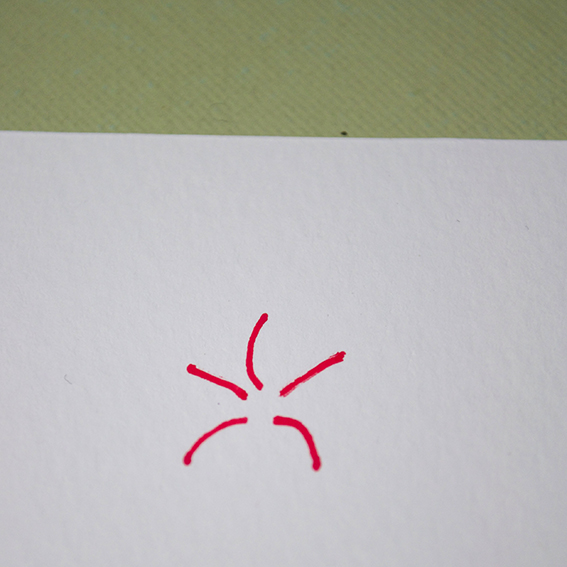
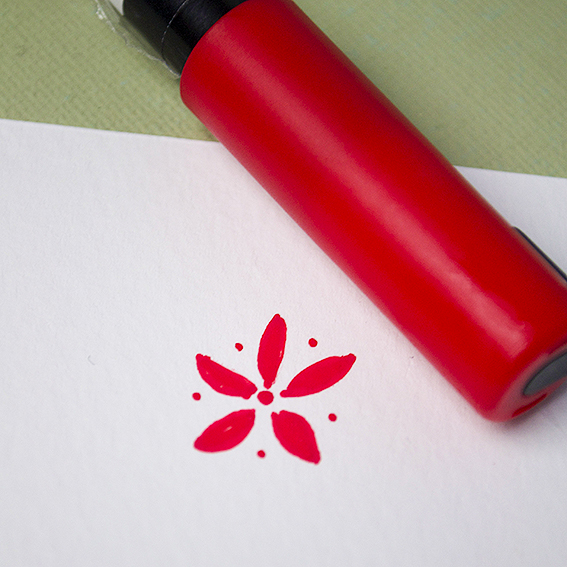
demo_flower_4 Simple flower how to step 1:  Make a three curved marks one at the top and two at the bottom. demo_flower_3Simple flower how to step 2:  Add two lines between the triangular shape so the shape resembles a dancing man.
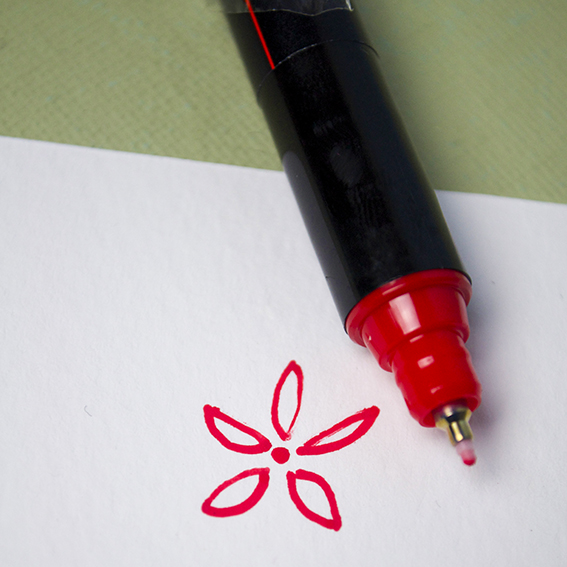
demo_flower_2 Simple flower how to step 3: Draw curves around the lines to make petals and add a dot in the middle.  demo_flower_1 Simple flower how to step 4: Colour in the petals and make little dots around the shape.

Posted on

Christmas wrap ideas part 1: Totes trad red and green

whitewrapping_2 Over the next four days I got some top easy gift wrap ideas for giving your Christmas pressies that extra pizzazz.
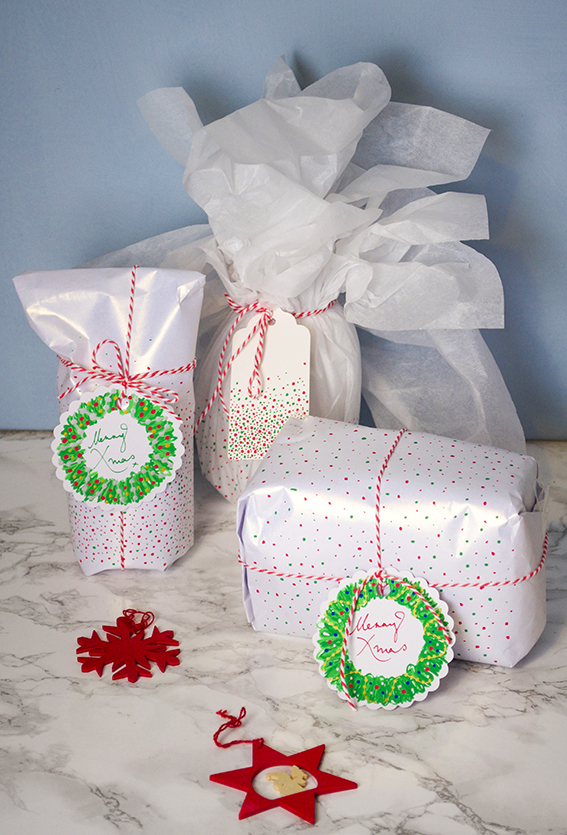
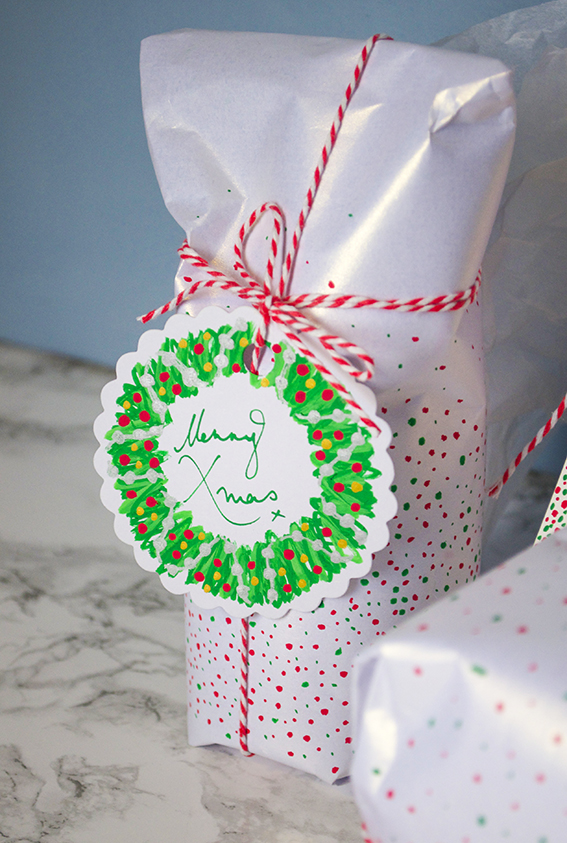
whitewrapping_3Idea number one is inspired by the totes trad red and white festive theme as outlined in this Christmas trends post. As I might of mentioned, this red, white and green colour scheme is one very much favoured by Dr B. So I always do something every year that’s a little concession to his yuletide preferences (although in fairness he’d have penguins and robins and Santas everywhere if it were up to him).

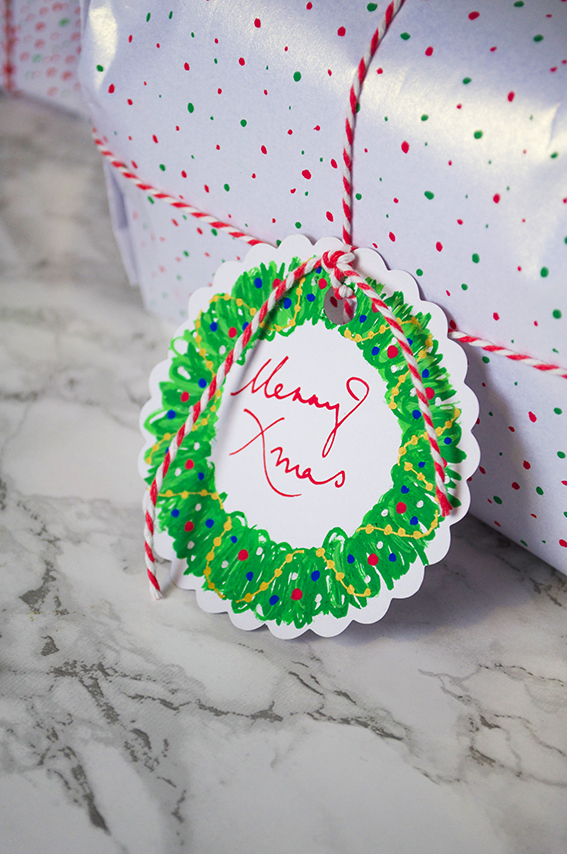
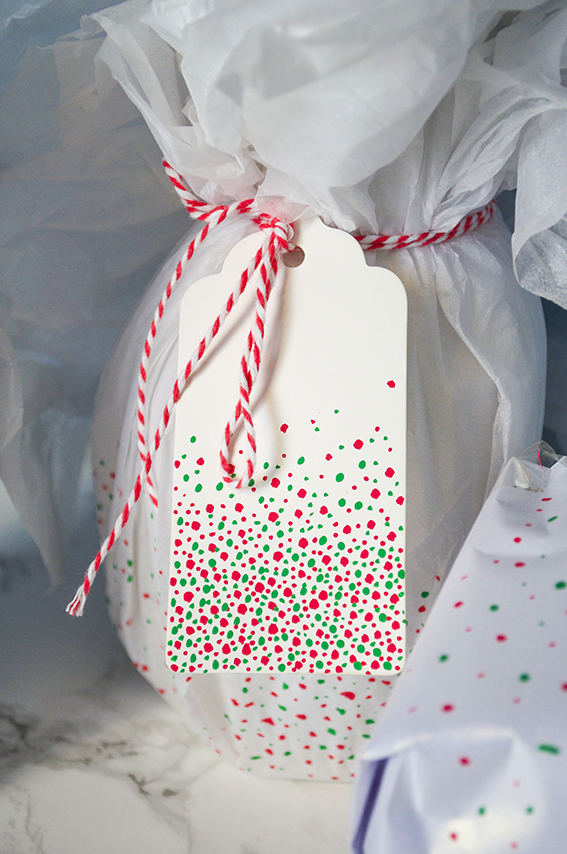
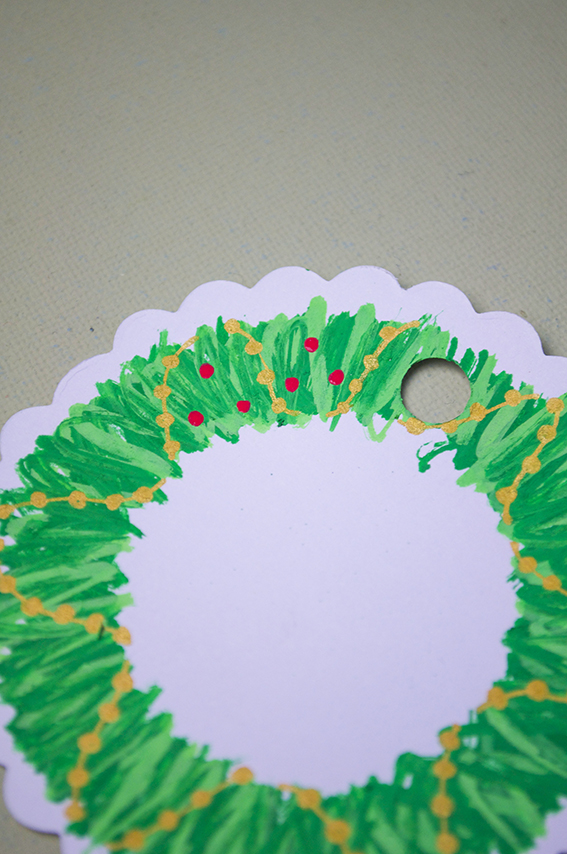
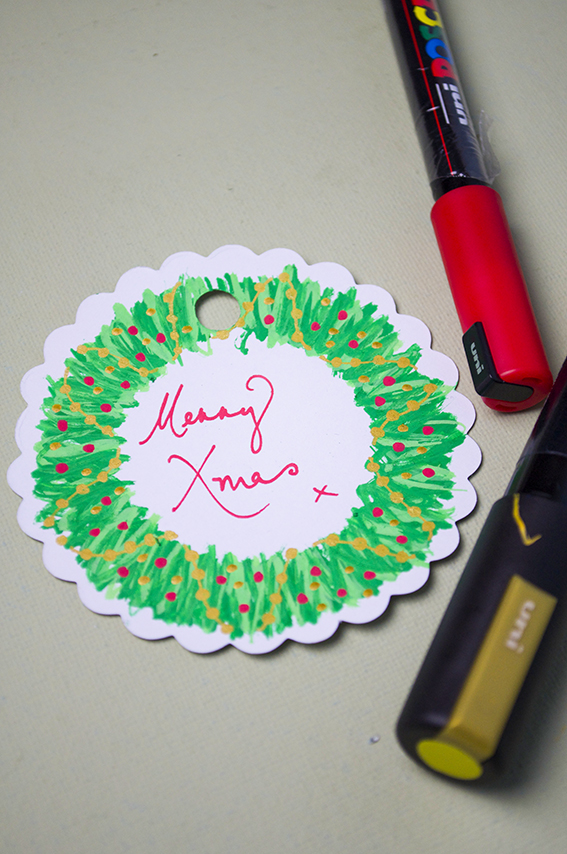
whitewrapping_4This is my concession to tradition. I have loads of gift tags and Posca pens left over from the craft shows I did this autumn so I thought I’d get busy with some quick and easy wrap revamps.  I used two different nib sizes (5M and 1MR) to create different sized dots on the wrapping paper and some of the tags. I then finished it off with a trad twine bow.  I also completed some of the gifts with a bespoke wreath tag. It’s dead easy to do, so much so I’ve got a little step by step for you below for you to try.
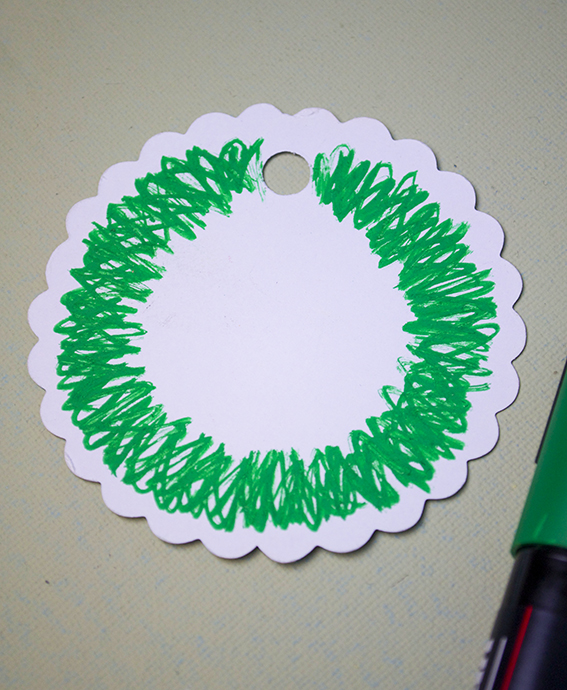
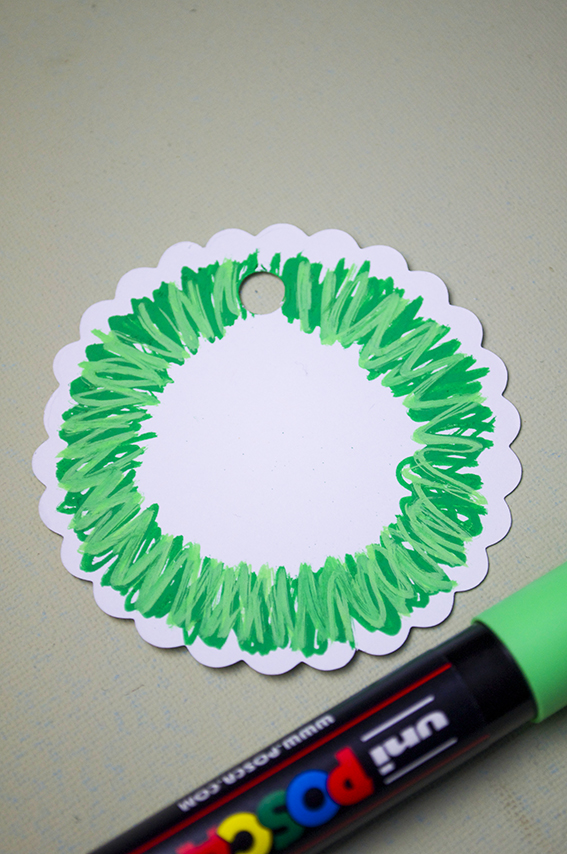
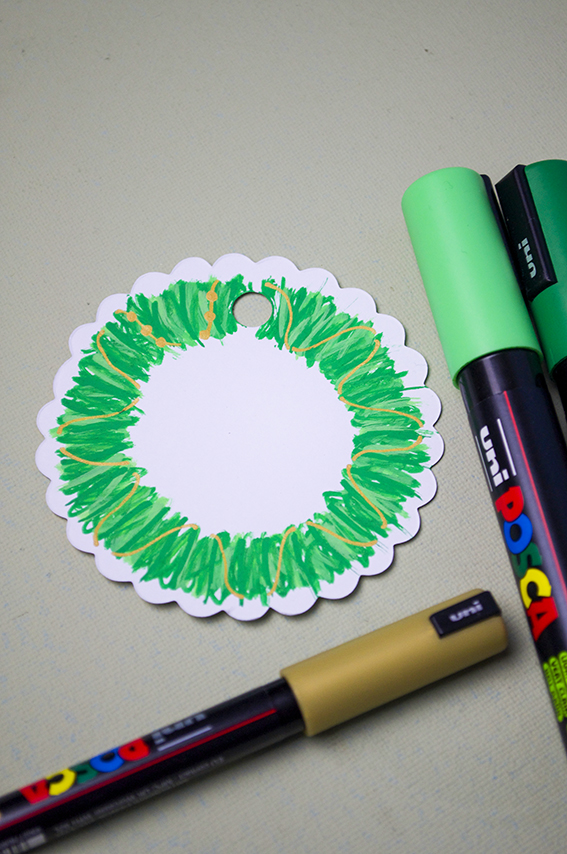
whitewrapping_1 You don’t have to be a fantastic drawer to create this wreath, I’ve shown loads of people how to do it; if you can make a mark you can make this wreath. You’ll need a circular tag and Posca pens in dark and light green, gold (or silver), red and blue.
Ella Johnston Christmas Wreath gift tag tutorial Step 1: Make a dark green circle using a rough layered zig-zags.
Ella Johnston Christmas Wreath gift tag tutorial Step 2: Overlay the dark green with a lighter shade.
Ella Johnston Christmas Wreath gift tag tutorial Step 3: Once your wreath is dry (the pens are paint based so you can use them as such) use the gold pen to draw lines around the ring as above, like it is wrapped around the wreath. Once you have covered the wreath with gold lines draw circles along the lines to make a string of beads.
Ella Johnston Christmas Wreath gift tag tutorial Step 4: Add coloured baubles in-between the gold bead garland.
Ella Johnston Christmas Wreath gift tag tutorial
Step 5: Write a little festive phrase in the middle.

Posted on

Moodboard: Scandi-style Christmas

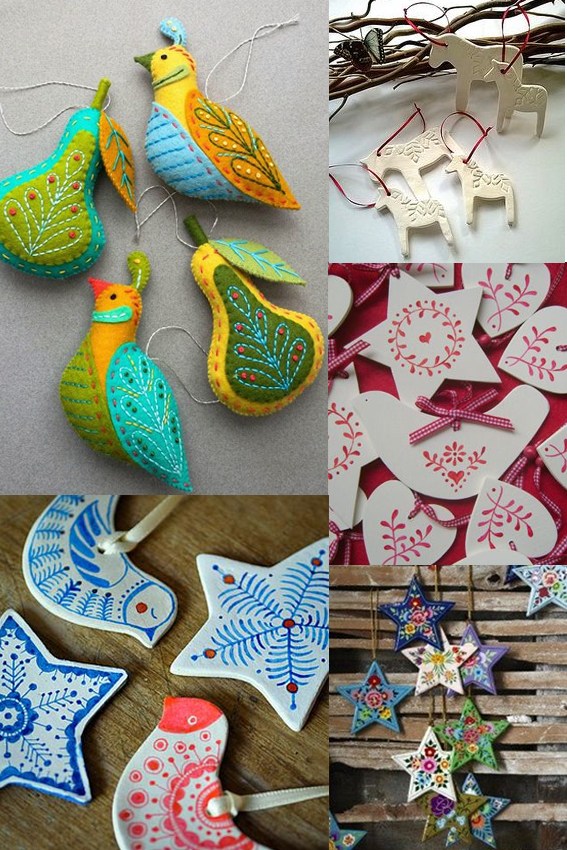
Scandi Christmas MoodboardMy posts have been sporadic of late because I have been having the busiest time sending out Christmas orders and selling my ways in various Christmas markets. It’s been fun but boy has it been full-on.

Anyway, my festive mood, and indeed this Monday Moodboard,  is in total full flow now working on a set of Scandi-style designs and illustrations for Christmas demos for Posca pens and for my Christmas wrapping. I’ll reveal more of this later in the week but in the mean time enjoy some of the patterns and imagery that has been inspiring me.