Posted on

Drawing of the week: mid-century style leaves

Line leaves Ella Johnston

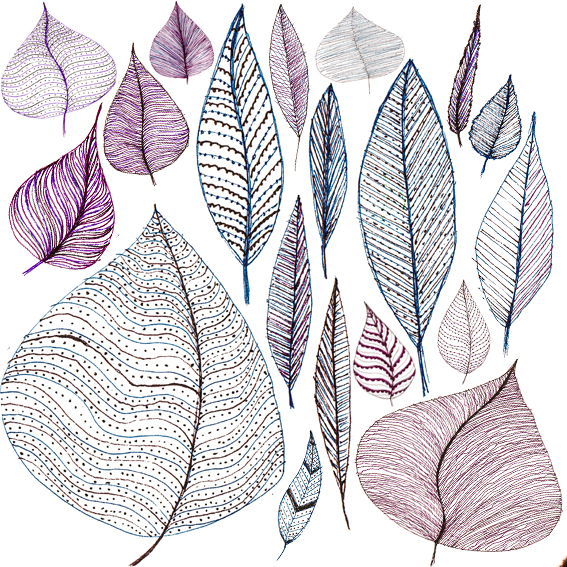
As I’m very happy to share my experiments as well as my finished pieces this week’s drawing of the week is my collection of mid-century style leaves.

I’ve been working on a set of autumn designs and while I’ve been enjoying working with watercolour and ink, these initial pen sketches shown here were a real joy to play with and reminded me of illustrations and fabric motifs from the 1950s.

Normally I would use these as a starting point for something else however I actually like them as they are, they have real potential for pattern designs.

Posted on

Friday fun: Sort of Shelfie!

Ella Johnston Dining RoomOf late there has been a trend for ‘shelfies’; things on people’s shelves that reveal a bit about them.

I’ll try and do a semi regular one for Ella’s Place as they are a bit of Friday fun and it’s always nice to have a bit of a nose.

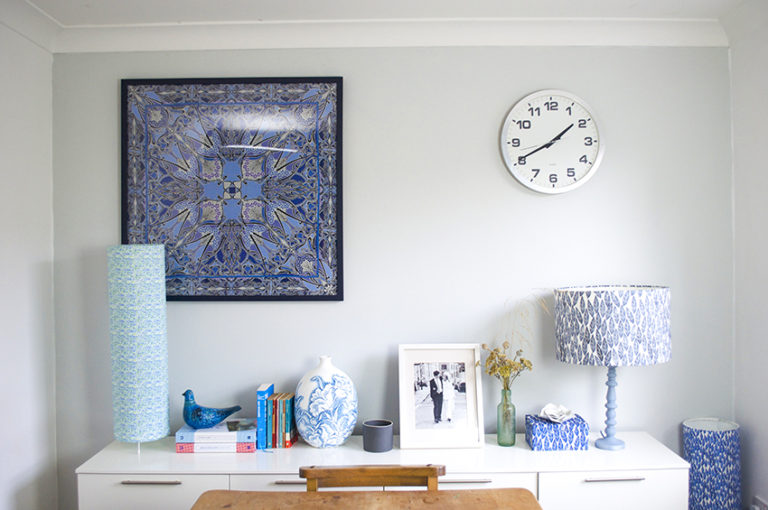
This time I’m doing a ‘sort of shelfie’ with the items on my mainly blue and white dining room sideboard. Here’s a list of items from left to right.

1: Floor lamp made with Dannells kit and bluebell fabric from Spoonflower.
2: Pierre Luigi, a flamboyant Bitossi Rimini pigeon. You can read his story here.
3: PL is sat on Letters of Note and More Letters of Note, visit the Letters of Note Website for fab correspondence.
4: Books, including The Beechwood Airship Interviews by Dan Richards where you can see some of my sister Lucy Johnston’s photography
5: Vintage Habitat vase.
6: Adorable plain grey vase.
7: Our wedding picture (don’t we look young).
8: Old glass bottle with dried flowers, poppy heads and grasses.
9: Fabric covered tea-light box (you can see how I made it here)
10: Large lamp made with Dannells kit using Spoonflower fabric with base sprayed in matt blue paint.

The large square gorgeous thing on the wall is a beautiful Liberty silk scarf the lovely Dr B gave me on our 12th wedding anniversary that I had framed. I adore it.

Posted on

DIY: My fabric designs

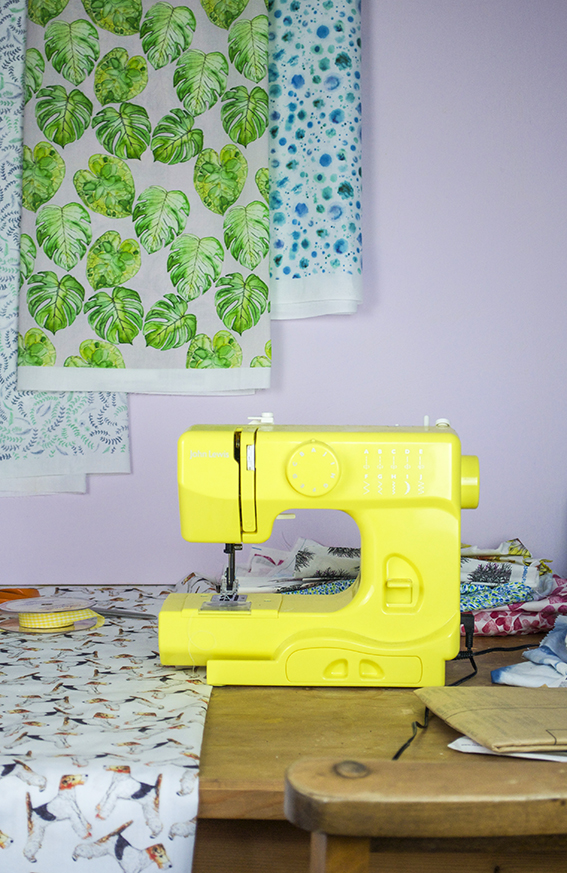
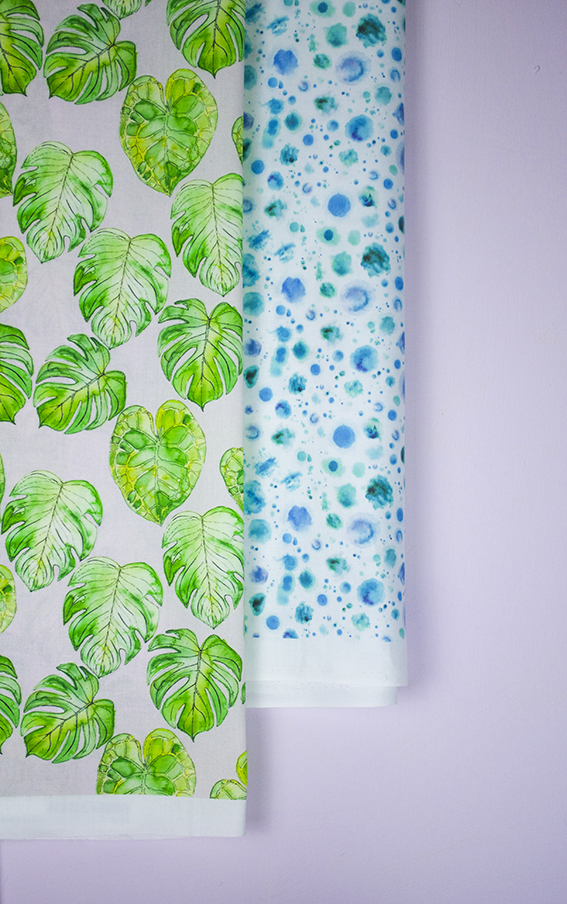
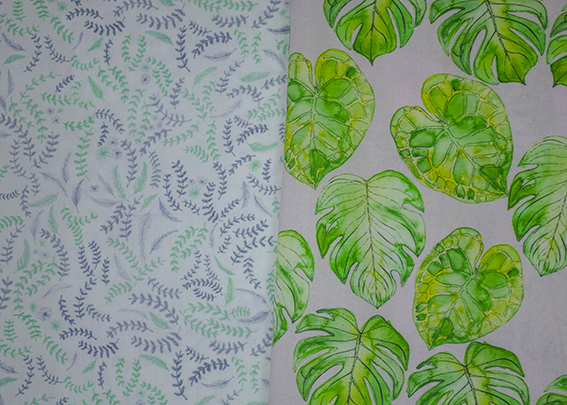
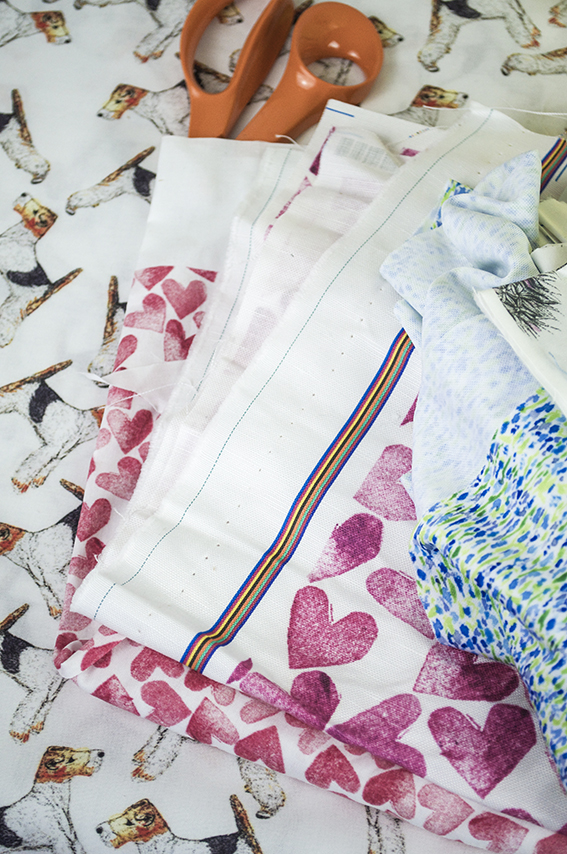
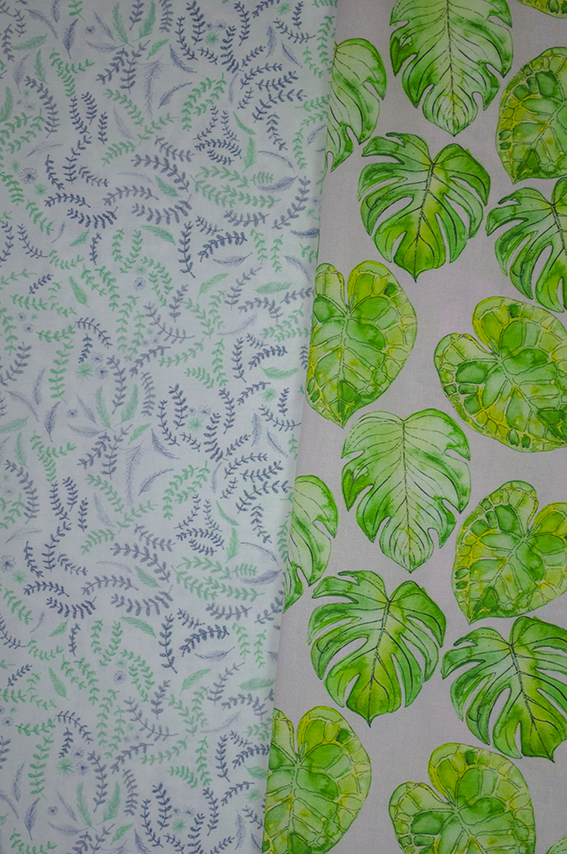
Ella Johnston Fabric designs ellasplace.co.ukI had a very exciting delivery last week from Spoonflower, who sent me some of my new pattern designs on fabric.

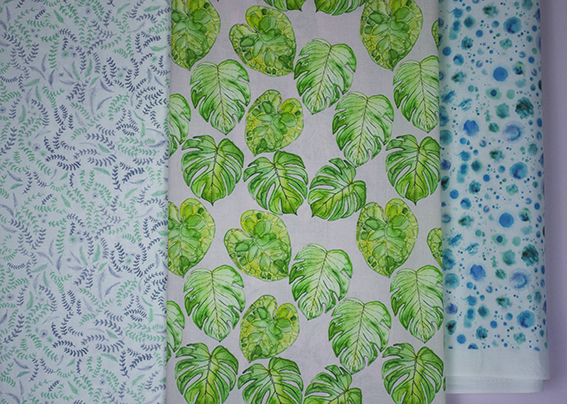
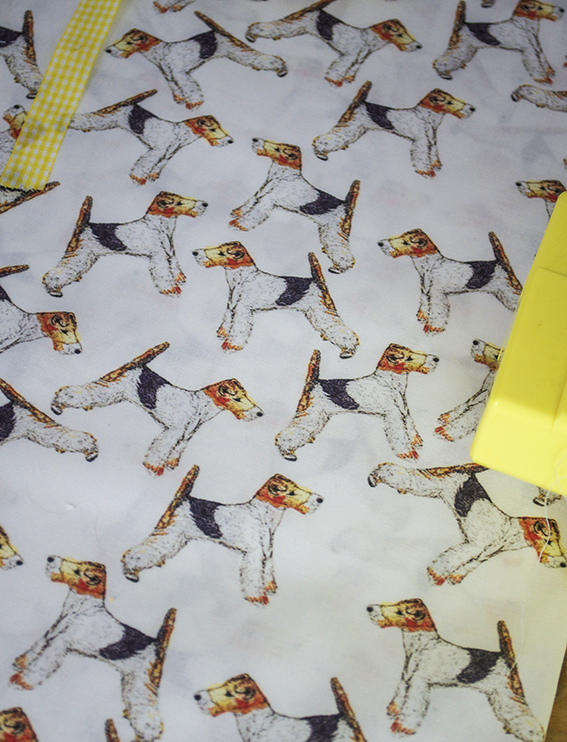
Ella Johnston Fabric designs ellasplace.co.ukI’d worked up four designs taken from my illustrations. I wanted to see how they would work as a patten repeat and if it translated onto fabric.
Ella Johnston Fabric designs ellasplace.co.ukElla Johnston Fabric designs ellasplace.co.ukThe theme of this year for me has been to get out of my comfort zone. So I’ve created patterns with my tropical leaf drawings,  laurel leaf and feather design, watercolour spots and fox terrier illustration. I have done other, very simple, designs in the past with my hand-carved heart and leaf designs but these have been one colour one white and very basic repeat. Ella Johnston Fabric designs ellasplace.co.ukThis was new territory for me and I’ve not normally been this playful with my pattern designs before. Still, I’m loving pushing myself and these new design were a lot of fun to put together.
Ella Johnston Fabric designs ellasplace.co.ukCreating repeat fabric designs is kind of like a jigsaw puzzle. I make a ’tile’ so that it’s one square that can be joined together and repeated to create an overall pattern that can cover as big an area as you desire. It’s a really efficient way of creating a  large design.
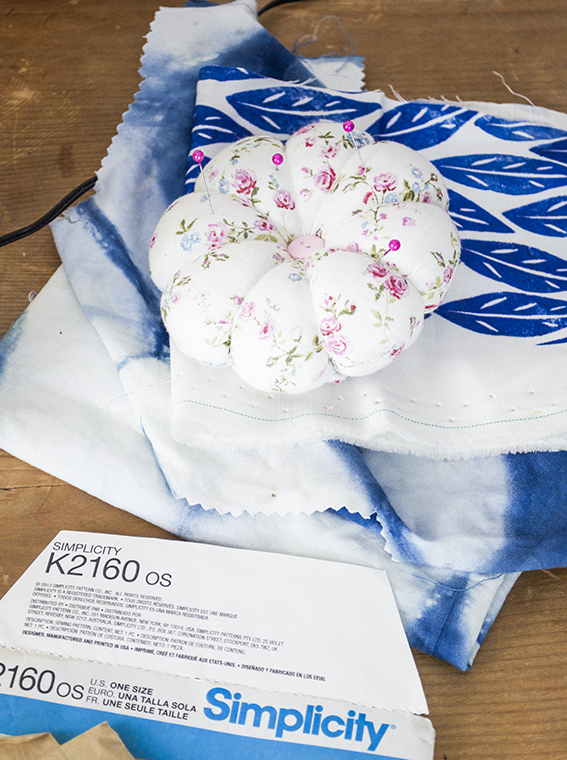
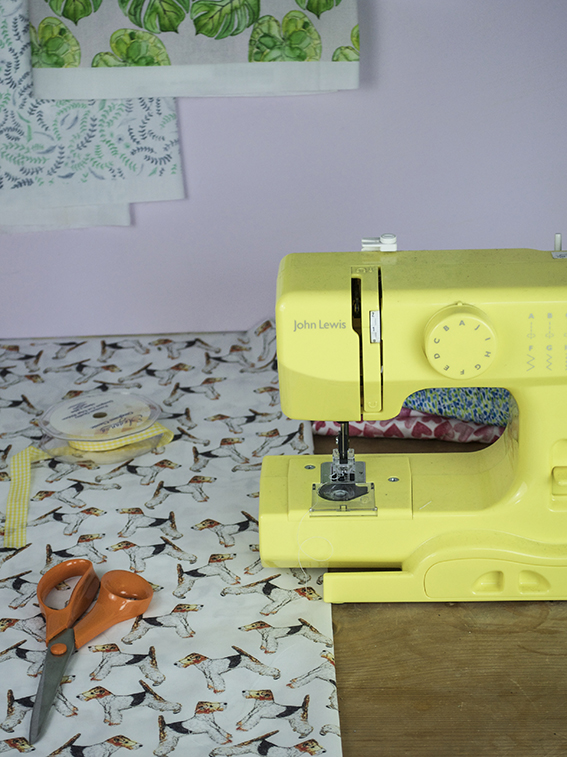
Ella Johnston Fabric designs ellasplace.co.uk Seeing as I’m talking about getting out of my comfort zone I have to face one major stumbling block for me; sewing! I have undertaken some sewing projects before and have attended some great classes with Sew Over It but I admit I’m not the most confident with a machine.

I think I need some stitchy advice. What should I make with these fab fabrics? Where does an unconfident sewer like me start? Send help!
Ella Johnston Fabric designs ellasplace.co.ukElla Johnston Fabric designs ellasplace.co.uk


Posted on

Quick and Easy Update: Hang Fabric hoops

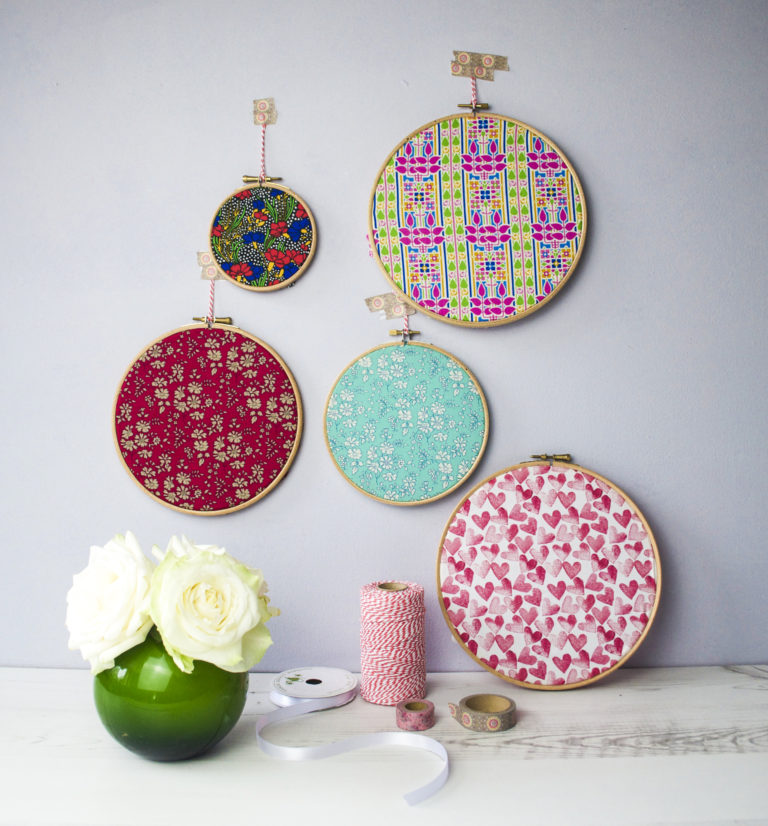
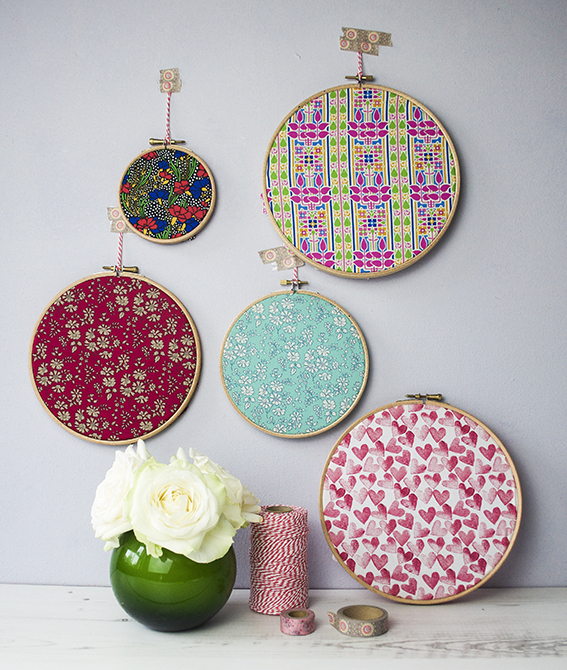
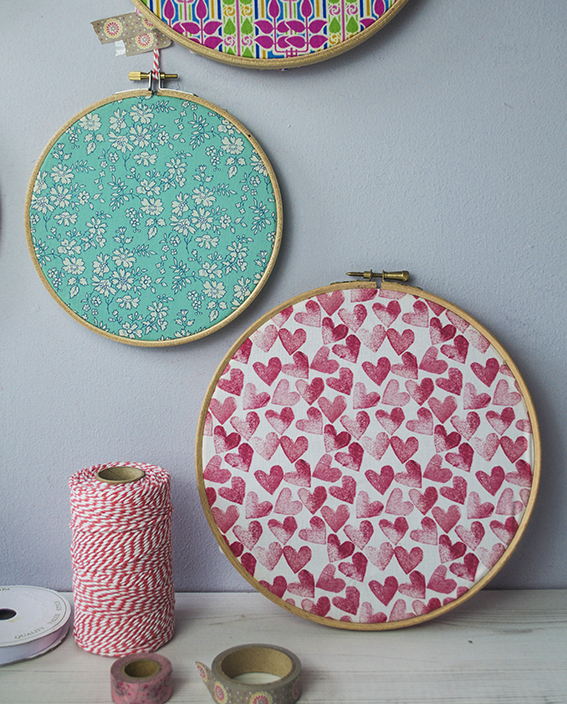
Fabric hoop display ellasplace.co.ukIf you’re short of time or money here’s a super quick, easy way of giving your walls an update. Just buy a set of embroidery hoops, stretch some over some scrap fabric (it doesn’t have to be ‘proper’ haberdashery fabric you can use old shirts or dresses) and there you go!
Fabric hoop display ellasplace.co.ukThe great thing about this is you can change the display to suit the seasons. And if you’re so inclined, you can also add a little stitching over your fabric with slogans and patterns.
Fabric hoop display ellasplace.co.uk

Posted on

Savvy small space solutions: creating a reading corner

As Dr B and I work from home in a small space we’ve had to be quite savvy when looking for storage and creative solutions. 
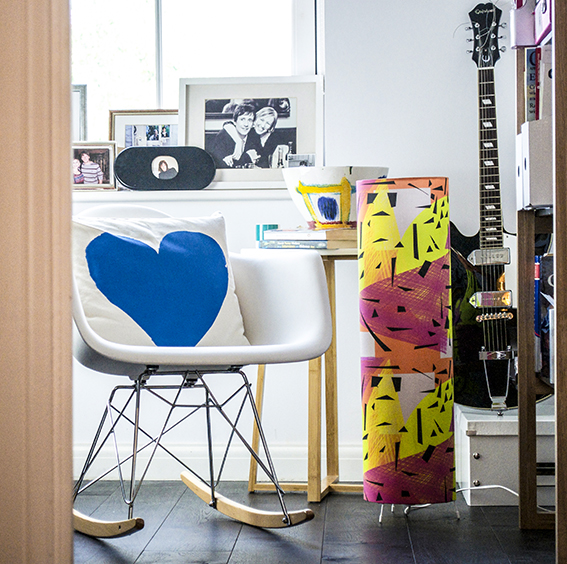
ReadingCorner_1As we both work from home, it’s important to me that work stays in the office rather than seep into every bit of the house. Although it’s a compact space, I was very keen to create a corner where one of us could step away from the desk and do a bit of reading and thinking while staying in the working environment.

As the room is small, I’ve stuck to a simple to a black and white colour-scheme with little pops of colour.
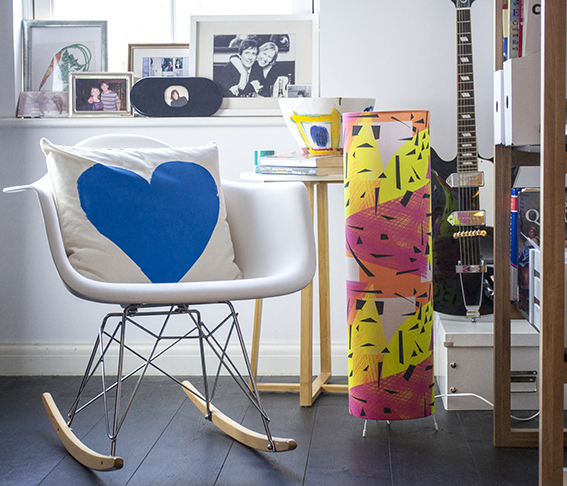
ReadingCorner 2The mini rocking chair is perfect for reading and is a great escape from an upright office seat. It’s also light and easy to move around so you never feel like it’s a big bit of immovable furniture taking up too much space.

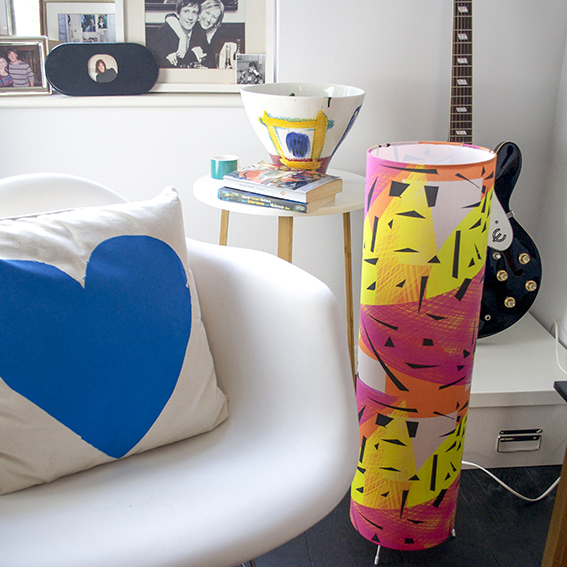
The slim little table is from Habitat. It’s simple, stylish and didn’t cost much money but it’s tall enough to rest your coffee or book on, as well as this cool ceramic bowl also from Habitat.

I deliberately chose the table, chair and shelves (which you can see peeking in at the right) with long legs that you could see under, adding to the sense of space.

Multi-function objects are great for small rooms too; that A3 box isn’t just a brilliant way to store all my art stuff (it has improved my life immeasurably), it also makes a great little guitar stand for Dr B’s Epiphone Casino.
ReadingCorner 3A tall thin, floor lamp is ideal for a smaller room as it makes a real statement and gives out warm light without taking up too much space. I made my own with a Dannells Floor Lamp Making Kit and designed my own Memphis-inspired fabric especially for the lamp.

As with the other kits this was really easy to use and, what’s great about this is you can buy it with the lamp-fitting so there is no faffing. It provides fantastic light and a much needed splash of playful colour in an otherwise very restrained scheme.

Posted on

DIY: Liberty Print Clocks

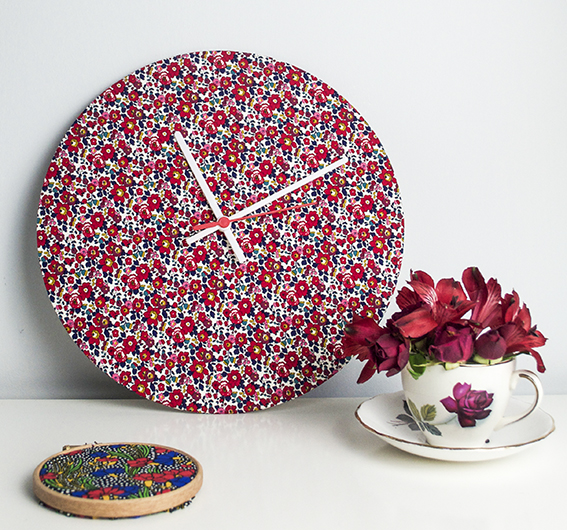
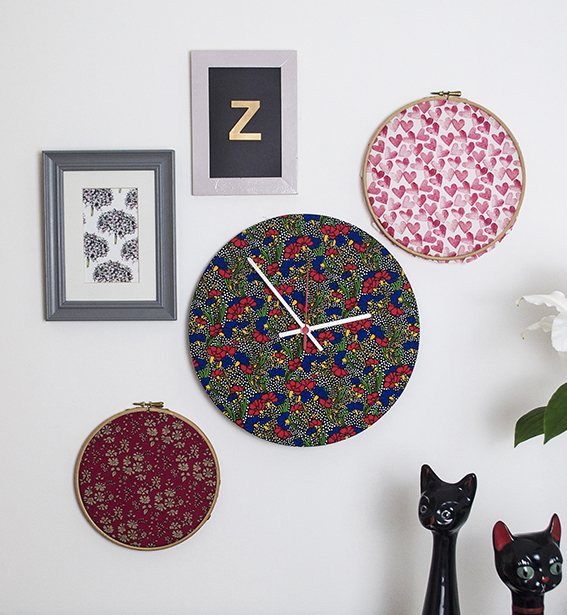
Liberty print clocks ellasplace.co.uk As an obsessive of iconic, classic design and illustration I regard a Liberty print with admiration and awe. But as I don’t live in a particularly girlie gaff, I’m sometimes at a loss as to where to put them in my home.  In fact it would be fair to say that Ella’s place is quite gender neutral so, while I like a floral print (I mean, I draw enough flowers and like to display a bloom in practically every room), I restrict more ornate, flowery designs to accents rather than a full on floral fest, which is why I made these handmade clocks.

Liberty print clocks ellasplace.co.uk

Creating a bespoke time piece is super simple. As clock fittings are so easy to come across these days (seriously, google it and you’ll be faced with a wealth of cost-effective options) you can make clocks in any shape or size with the minimum of effort all you need is the fitting and a suitable surface to attach it to.

Liberty print clocks ellasplace.co.uk I took a cheat’s choice and used a needcraft clock kit for ease, as everything  was pre-cut and measured. All I needed to do was add fabric – a total timesaver. But you can always cover an area of mdf or stiff card with material or paper with a hole made for the clock piece. It really is that simple – easy crafting if there ever was.

Liberty print clocks ellasplace.co.uk I got the Liberty fabric from Sewbox who has an extensive collection of designs by the brand – Sue from Sewbox is lovely too, I worked with her a lot on Homemaker and she was super helpful.
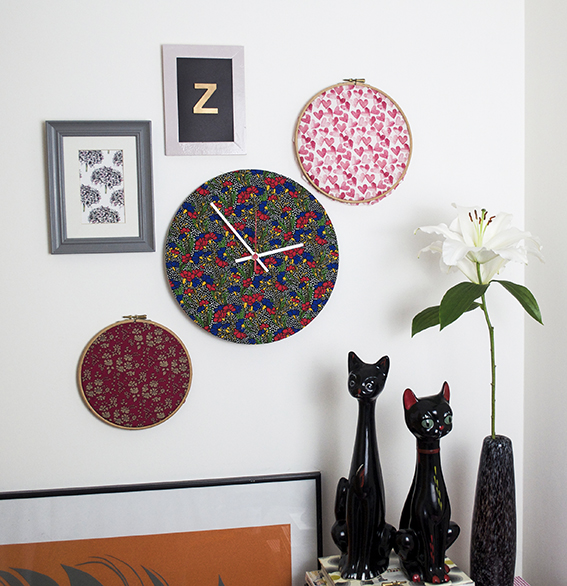
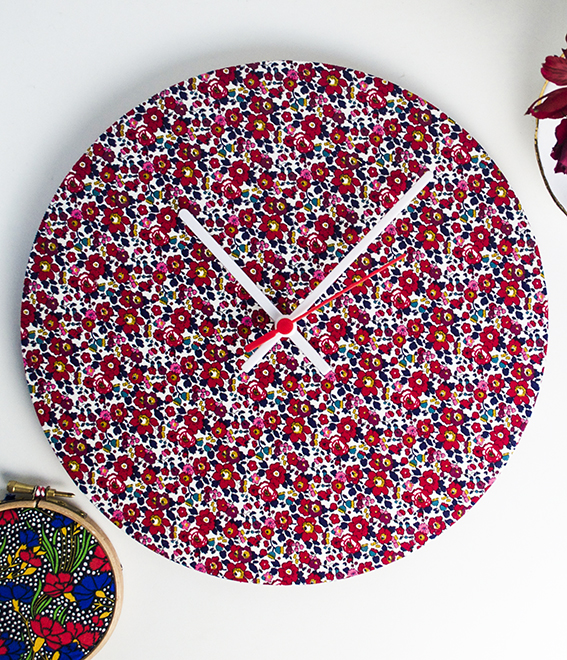
Liberty print clocks. ellasplace.co.ukI selected Liberty Betsy Ann in Rossmore Cord for a lighter, classically floral time-piece and Liberty Cranston in Colourway A from its Lifestyle Stile Collection for a deco-style feel (it looks ever so nice with Henry and Matilda my retro cat ceramics). I’ve got the latter hanging in my hallway and the former is looking rather splendid on the white sideboard in the dining room.

Liberty print clocks ellasplace.co.uk

Posted on 1 Comment

How I made bedside lanterns in 10 minutes

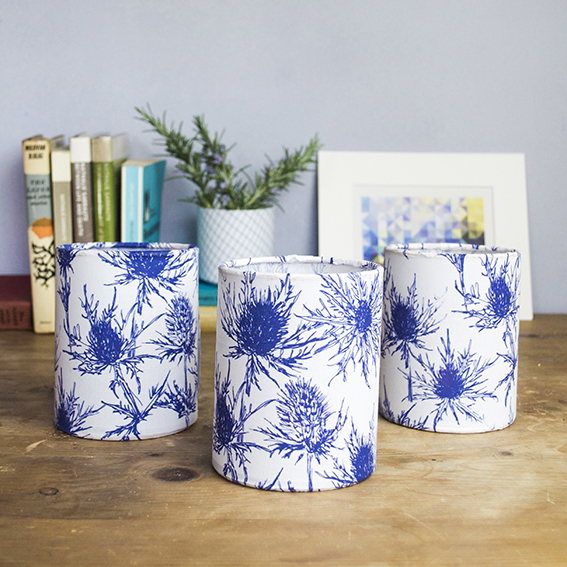
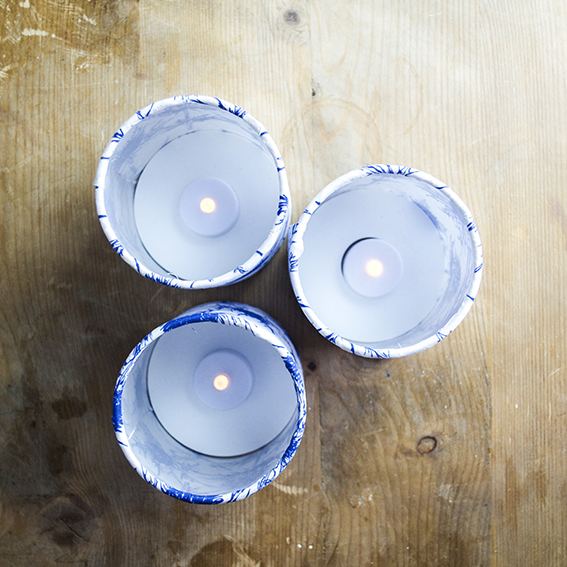
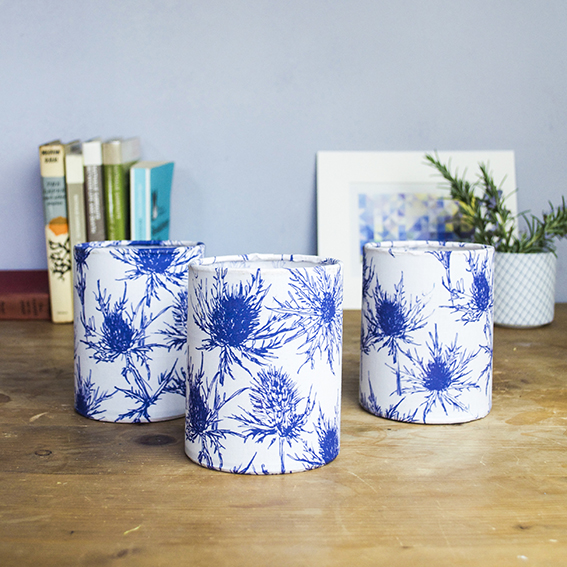
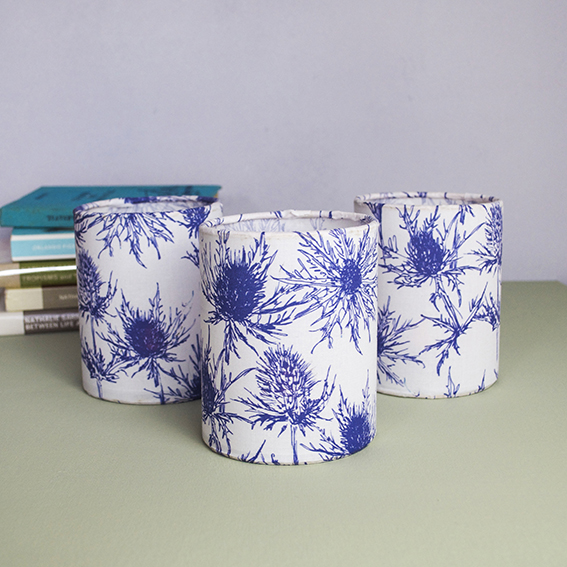
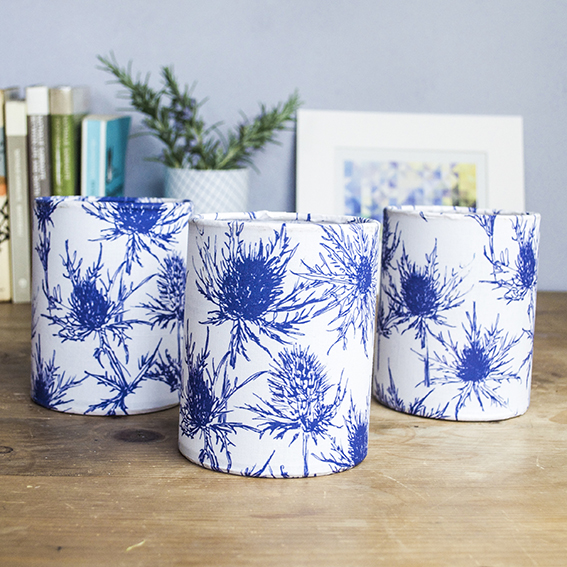
Homemade lanterns with thistle fabric ellasplace.co.ukIn my on-going quest to revamp the bedroom I decided we could do with some subtle lighting. I’m a massive fan of candles but they are not always the safest thing to have burning while you’re falling asleep to some night-time reading or Radio 4’s Book at Bedtime (I know, I’m so street). So I’ve opted with some safe bespoke LED lanterns.
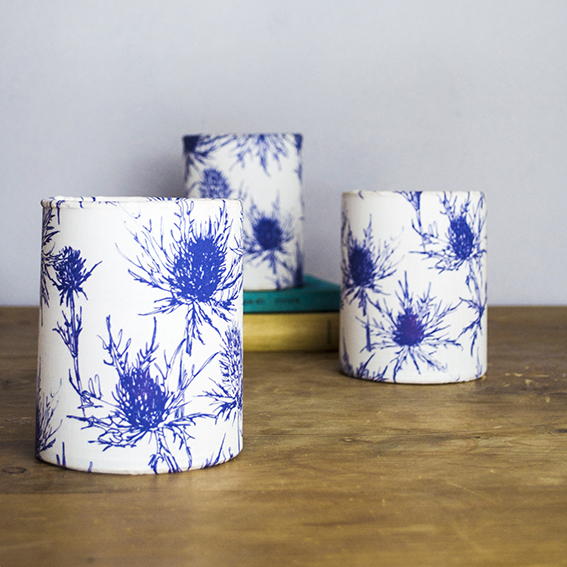
Homemade lanterns with thistle fabric ellasplace.co.ukI  bought a needcraft lantern making kit which enables you to make three little lights using fabric or paper as a covering.  They’re a fab little update and would make a great gift.
Homemade lanterns with thistle fabric ellasplace.co.ukI’ve used a lot of needcraft kits  (the company are not paying me) to give elements of my home the personal touch. From lampshades to bins, the kits have allowed me to make use of my own fabric designs with quick-win, no-sew makes.  The instructions are super easy so you really can whip these up in minutes.
Homemade lanterns with thistle fabric ellasplace.co.ukI’ve covered the lanterns with my thistle fabric from Spoonflower in keeping with the blue bedroom theme. However they are currently living in the dining room – Dr B loves them and is very keen on using them along with our candles when we have our evening meals (weekends mostly if I’m being honest – we eat on the kitchen or lounge most days).
Homemade lanterns with thistle fabric ellasplace.co.uk

Posted on

Hack: make your own storage buckets

Hack, make a bespoke bin ellasplace.co.uk

Okay I’ll come clean, I’m using these as storage buckets but they are actually waste paper bins.

I originally bought two Needcraft bin making kits for our upgraded study (pics coming soon) and our ‘continual work in progress’ bedroom. The kit is really easy to use with simple step by step pictorial instructions, I’m not a particularly neat sewer so I like a no-sew quick fix when I can.

The thing is when I made the bins and I didn’t have the heart to put rubbish in them.
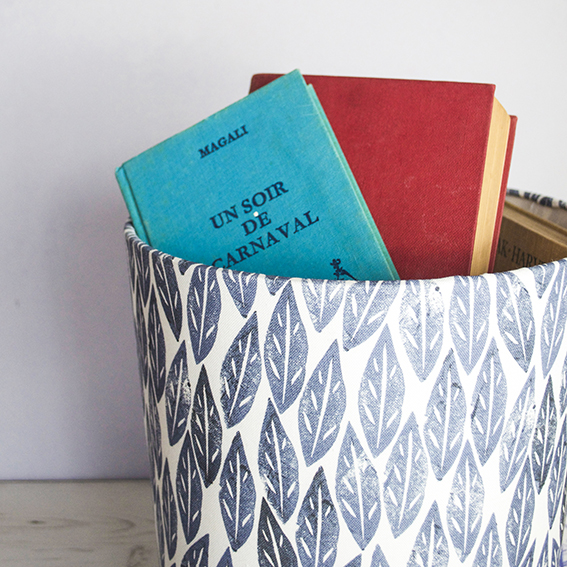
Hack, make a bespoke bin ellasplace.co.uk

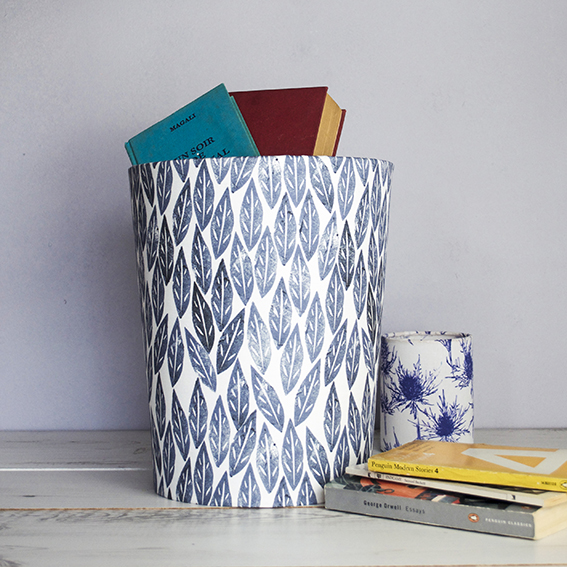
As I’m aiming for a relaxing cool blue vibe in my bedroom and I covered the first ‘bin’ in my storm-grey Scandi leaves fabric from my Spoonflower shop.
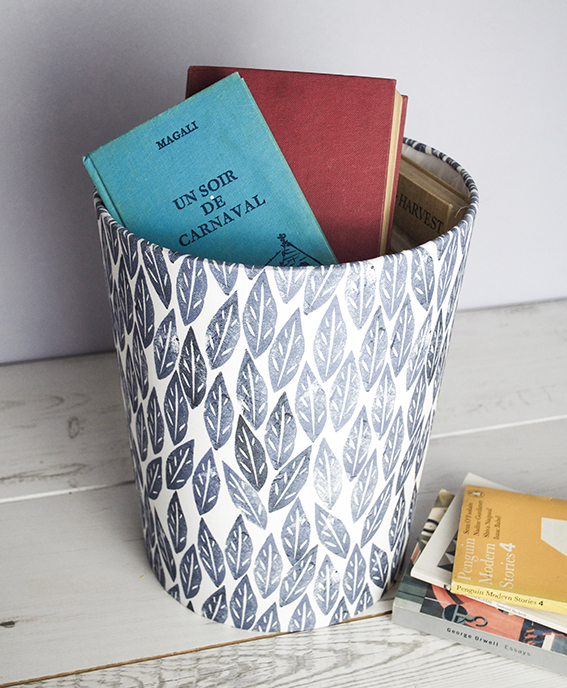
Hack, make a bespoke bin ellasplace.co.uk

I was really happy with the end result, so much so that I really couldn’t face filling it with make-up removing cleansing wipes, laddered tights and other bedroom rubbish stuff. It looked too pretty!

So, inspired by a rather nifty idea from Black Parrots Studio’s Sarah Mitchenall on her first round of The Great Interior Design Challenge my bin turned into a book bucket, which has proved to be very handy, as the one thing our house has got is an abundance of books. So this now lives at the bottom of our bed for all our reading needs.
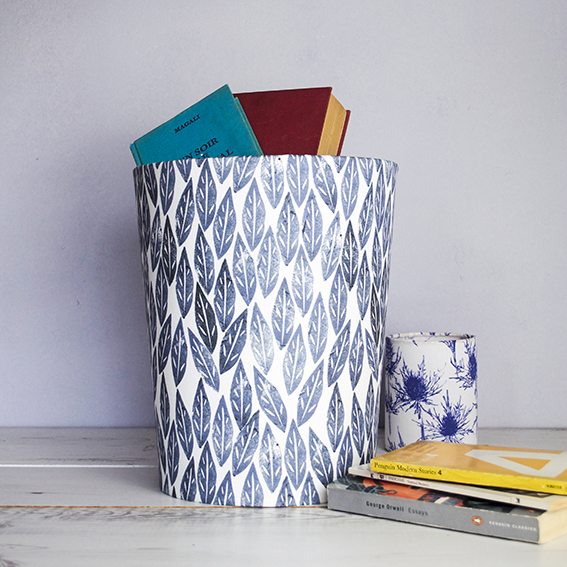
Hack, make a bespoke bin ellasplace.co.uk

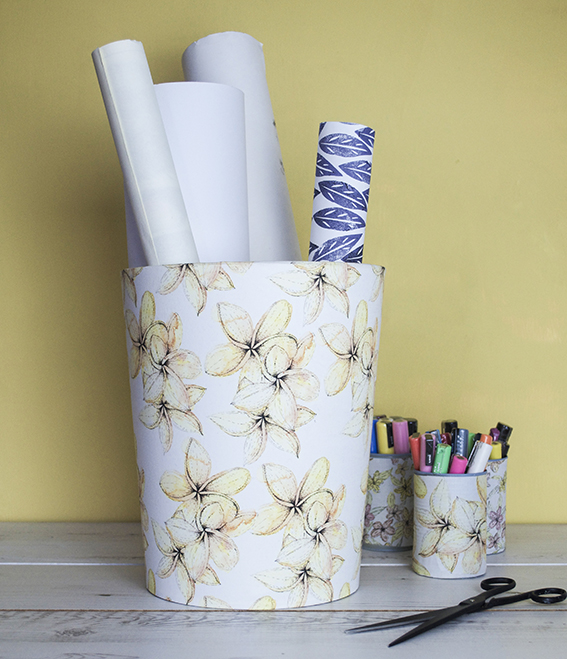
Now the study REALLY needed a bin so I set about making the next one in my tropical trio design, also available at my Spoonflower shop.
Hack, make a bespoke bin ellasplace.co.uk

Because the instructions are so easy to follow you can make these bins in minutes with either fabric or paper. I’ve had this tropical design for a while and, although I loved it, I was at a loss as to what to do with it. However the fabric’s subtle hues and graphic design suits our workspace perfectly.
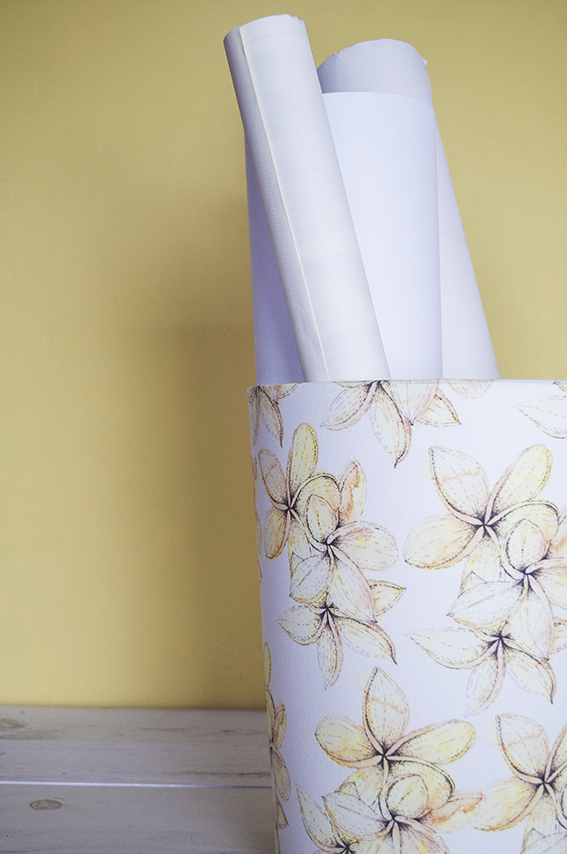
Hack, make a bespoke bin ellasplace.co.uk

And you see that was the problem – too nice. Once I finished that one I could not face using it as a place to throw receipts and scrap paper for recycling. I do however have lots of gift wrap, large format paper, bookbinding cloth and posters I need to keep in one place so my tropical bloom bucket is being used for precisely that.
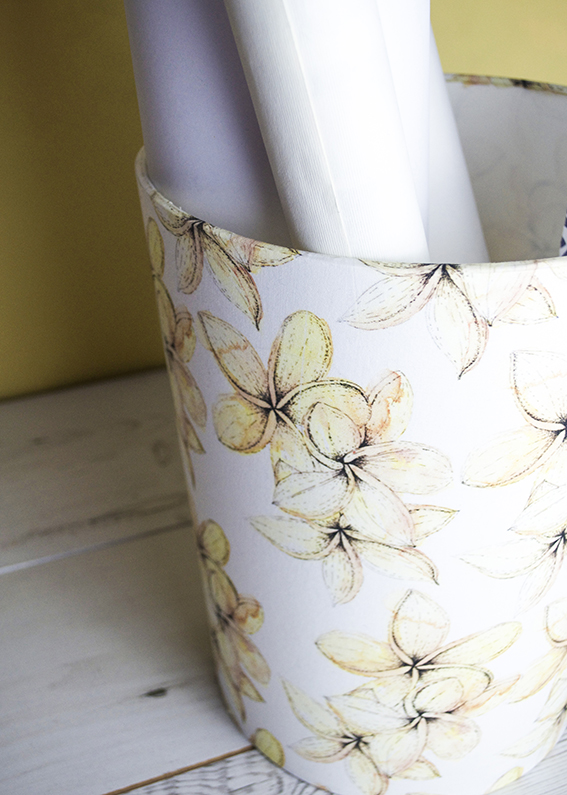
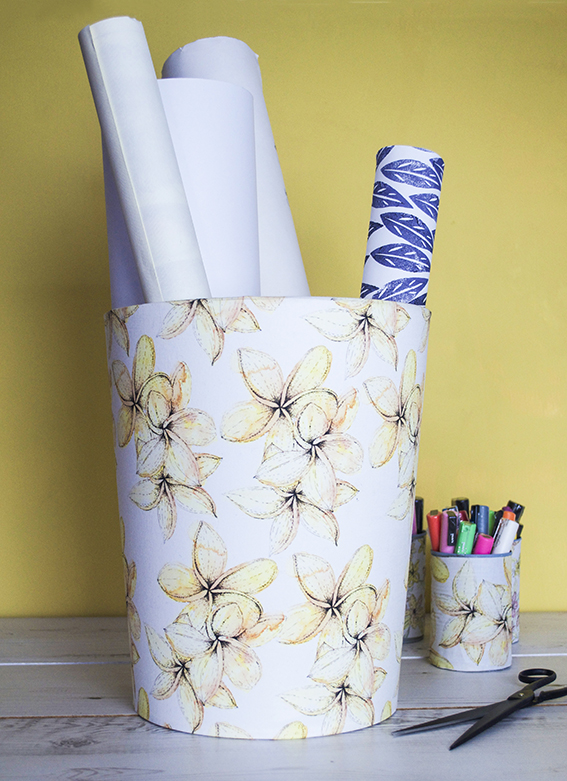
Hack, make a bespoke bin ellasplace.co.uk

Hack, make a bespoke bin ellasplace.co.uk

Posted on

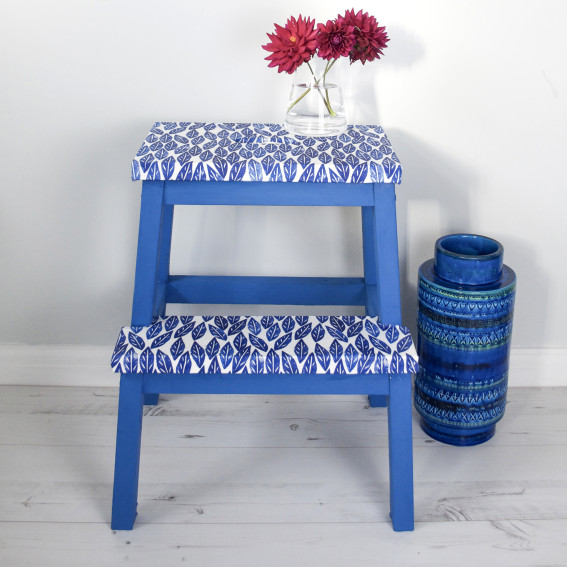
IKEA hack – revamp a step stool

Revamped Ikea Steps photography (c) ellasplace.co.uk

Revamped Ikea Steps photography (c) ellasplace.co.uk

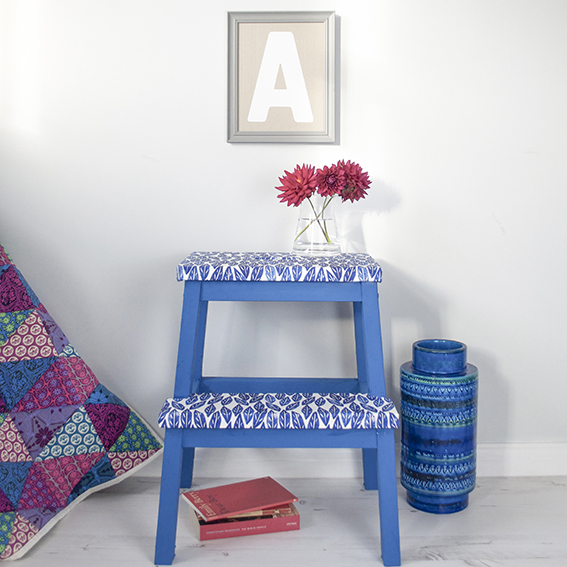
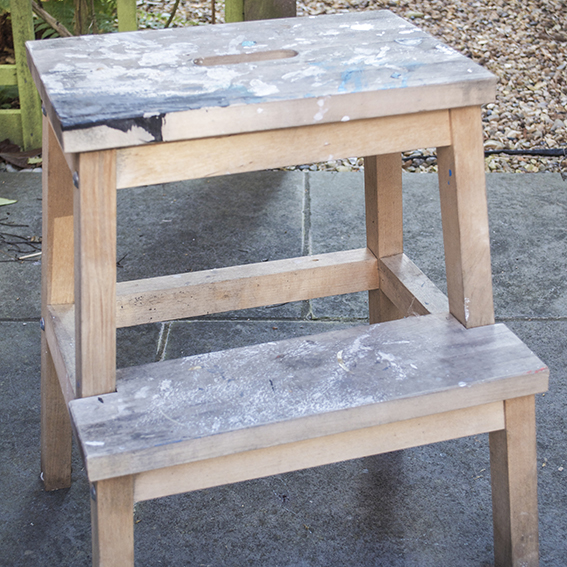
Being only 5ft 4in and a half (the half is very important), the IKEA step stool is my friend. The one above has been particularly well used – especially when we first got it 13 years ago. We lived in a tiny studio flat in London so storage had to be utilised in every space: it went right up to the ceiling. I’ve recently been using the steps in my art studio (another area that makes use of every single square metre of storage), so they’ve got a bit bashed up over the years and were in need of some TLC.

I came across a very sweet revamp project on This Little Street blog, who spruced up a new set of steps with paint and her peel-off wallpaper collection. I thought this idea would work with my Spoonflower fabrics and chalk paint.
Revamped Ikea Steps photography (c) ellasplace.co.uk

Revamped Ikea Steps photography (c) ellasplace.co.uk

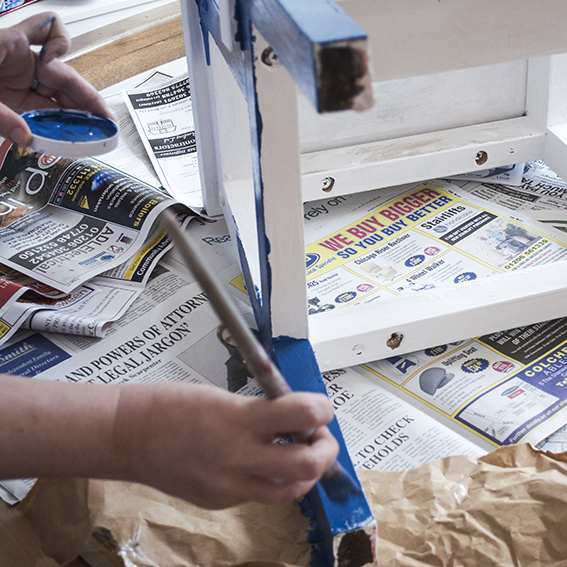
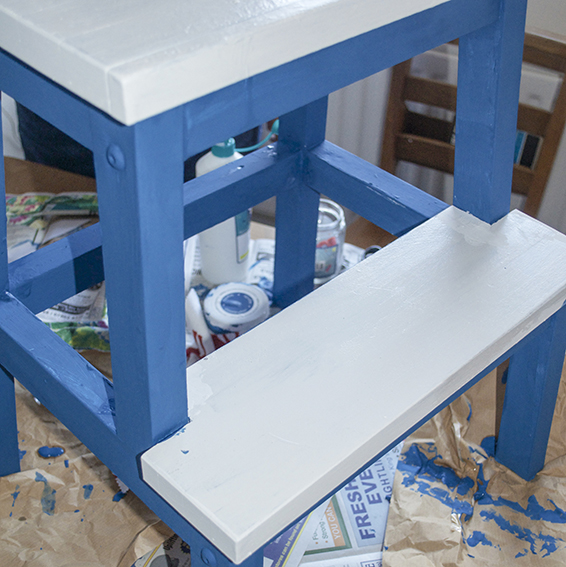
First I had to get these steps into some kind of workable condition. Unlike the Little Street’s upcycle, which used a new set of steps, mine were old, scuffed, split and covered in printing ink and paint. I had to scrape off the paint, sand the surfaces down and treat the steps to some wood primer and a lick of white emulsion.

Revamped Ikea Steps photography (c) ellasplace.co.uk

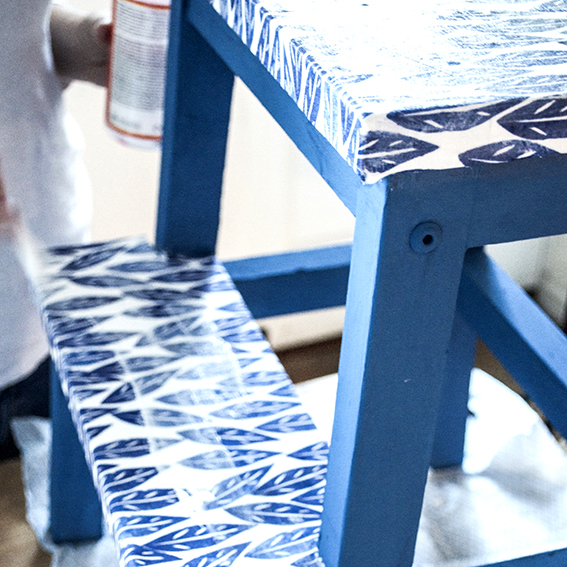
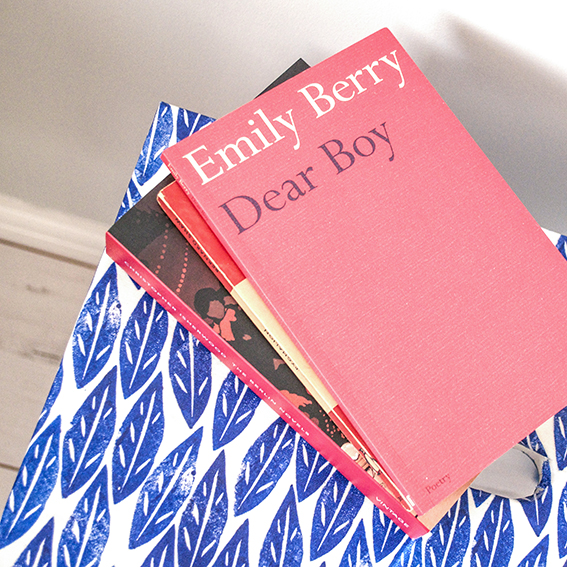
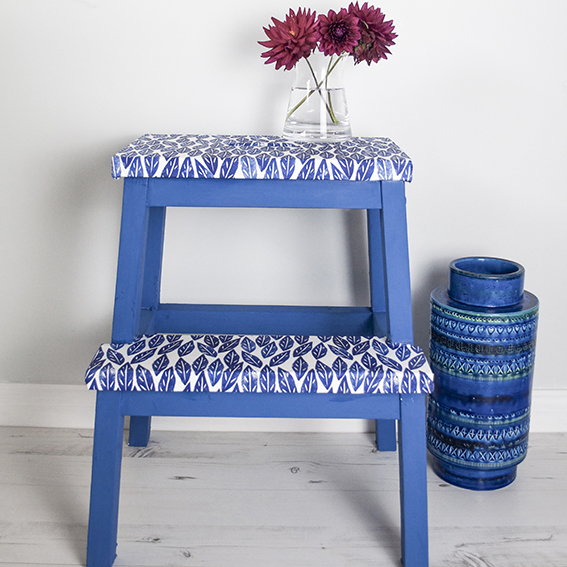
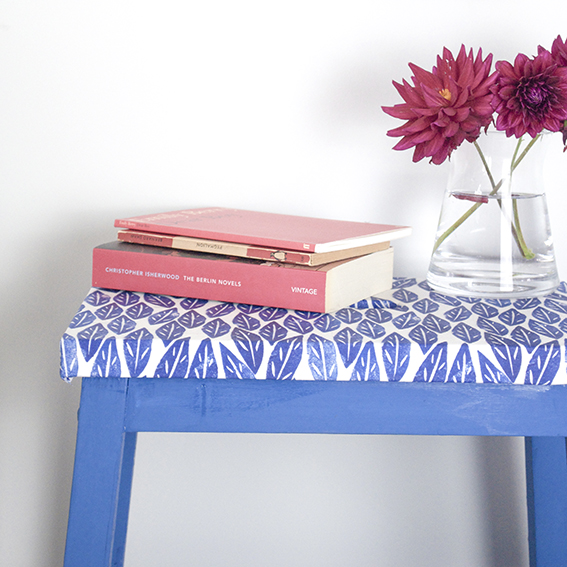
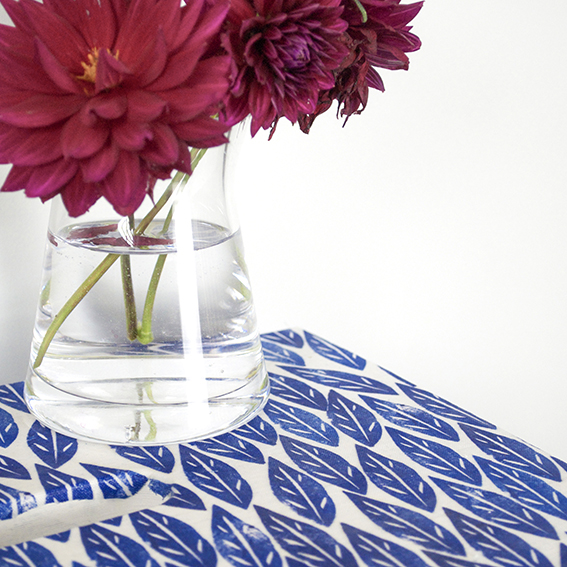
I then painted the frame with Americana Decor® Chalky Finish paint in Legacy, keeping the step and the top white. I then used PVA glue to adhere my blue Scandi leaves material to the white areas and then sealed them in varnish – it means any spills can be wiped off. I’m really pleased with the end result and this once hardworking bit of furniture is now pride of place in our study (where, yes, we have floor-to-ceiling shelves).

Revamped Ikea Steps photography (c) ellasplace.co.uk

Revamped Ikea Steps photography (c) ellasplace.co.uk

Revamped Ikea Steps photography (c) ellasplace.co.ukRevamped Ikea Steps photography (c) ellasplace.co.uk

Revamped Ikea Steps photography (c) ellasplace.co.uk


Posted on

How I made easy fabric coasters in 10 minutes

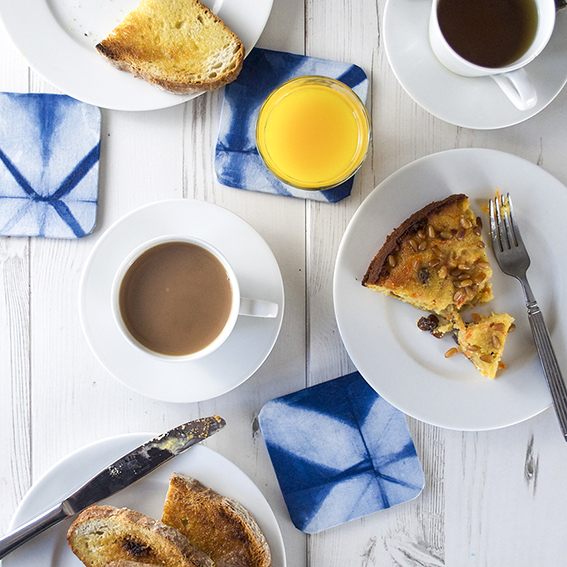
Shibori fabric coasters (c) Ella Johnston ellasplace.co.uk
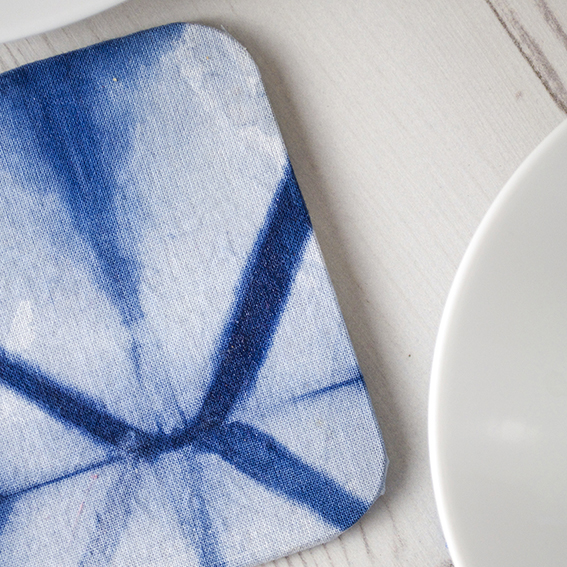
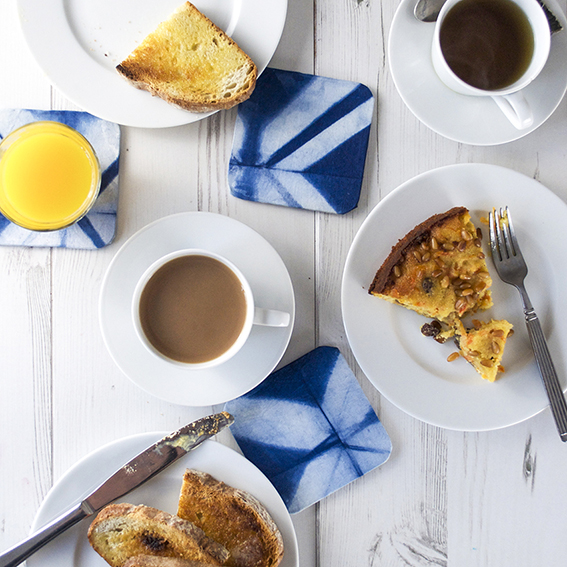
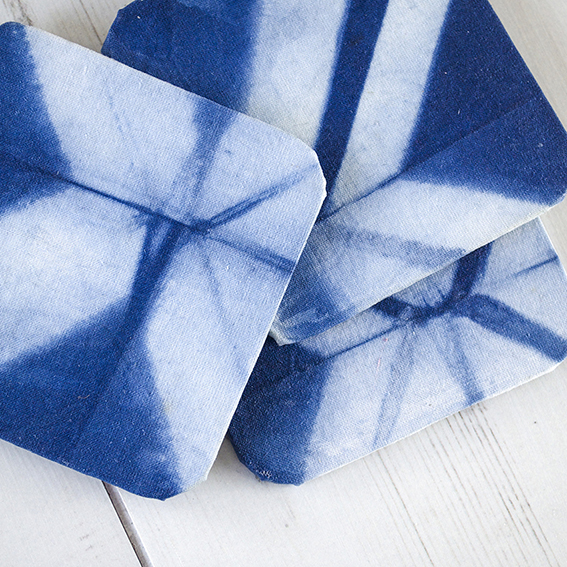
This Shibori fabric coaster project is so easy I kind of feel bad posting it. It took me minutes to make and yet I think they look really stylish. And – seeing as I’m working on Christmas issues of my magazines at the moment – I reckon I may use the techniques employed here to whip up some handmade designer style pressies for my friends.

Shibori fabric coasters (c) Ella Johnston ellasplace.co.uk

I had a surplus of Shibori-dyed fabric from a recent workshop I attended and I haven’t got round to making cushions with my larger pieces of fabric yet, but I loved my scrap tester pieces that I made and wanted to do something nice with them.

Shibori fabric coasters (c) Ella Johnston ellasplace.co.uk

So I bought a set of blank MDF coasters, cut these scraps to size leaving a 1cm allowance. I then covered the MDF pieces with PVA. I tucked the fabric under and coated the whole lot with a varnish to seal in the fabric and protect the surface. Then once it was all dry I used a strong adhesive to apply a square of felt to the bottom to get rid of any ugly finishes and to provide a good base for the coaster.

Shibori fabric coasters (c) Ella Johnston ellasplace.co.uk

Shibori fabric coasters (c) Ella Johnston ellasplace.co.uk

I’m really pleased with them and use them all the time. A final note: a special shout out has to go for the delicious gluten-free carrot and almond cake (in the pictures, above) from the Wivenhoe Deli and Tea Rooms – I’m a fan and I’m not even gluten intolerant!