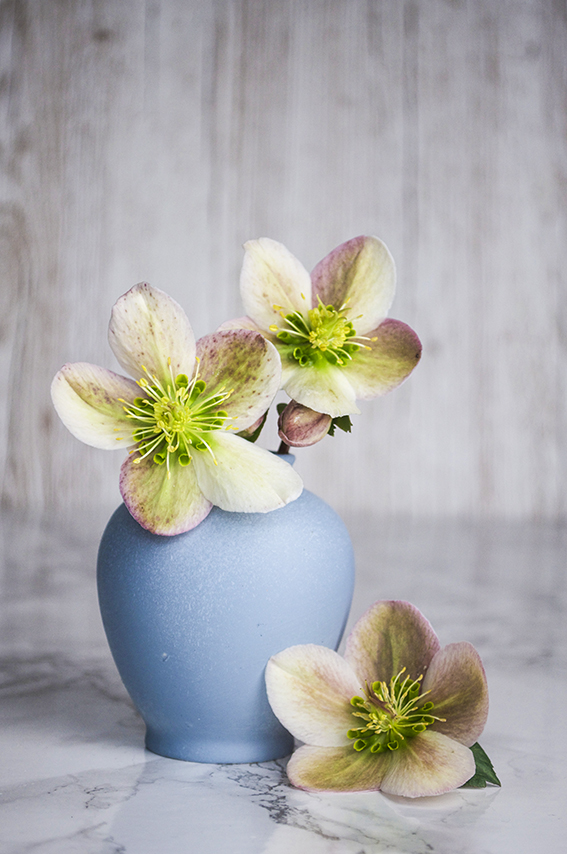
 This time of year is just a gift for me as I celebrate my love for hellebores.
 I have a confession to make though. Until we had our garden I had never heard of these blooms. Yes I know – I’m rubbish. I have Dr B to thank for this new love of mine.
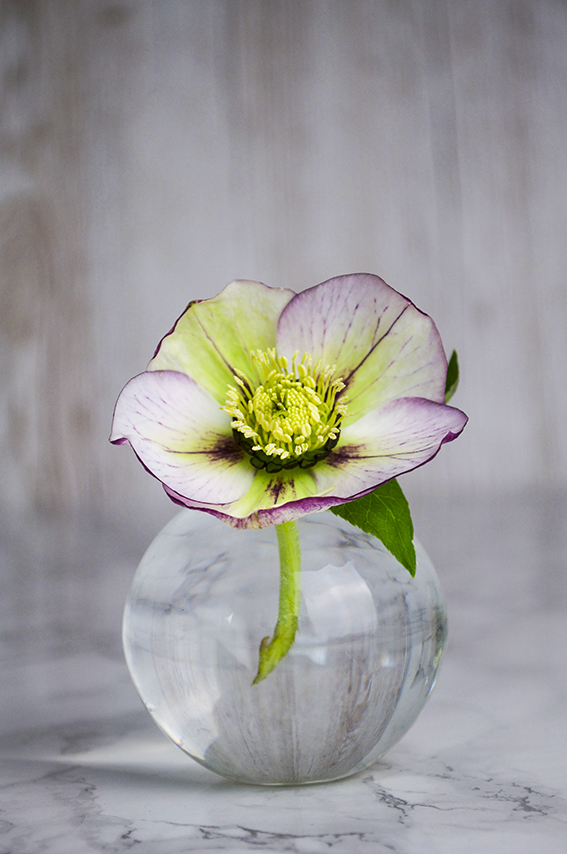 When we moved from our London flat to a house with a garden, Dr B unleashed his inner Monty Don (no bad thing) and began his plan for ‘all year planting’. Hellebores, he told me, were a classic winter flower that pop up in Feb and I was assured that every February I would see lovely blossoms that would delight. Dr B didn’t disappoint.
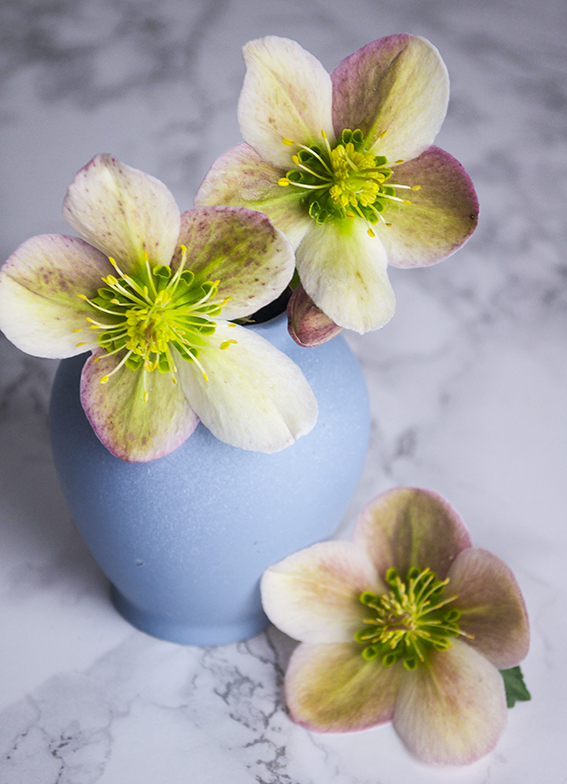 Now every year I look forward to the arrival of these beautiful flowers. I’m told they benefit from a little prune so I’m forever dipping into our garden to snip some flower heads to display indoors.
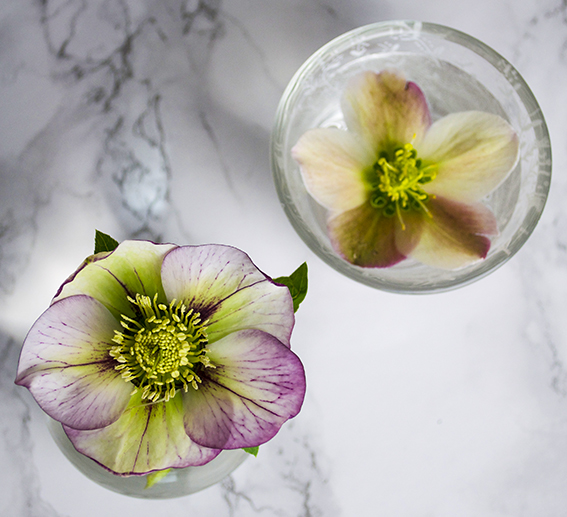
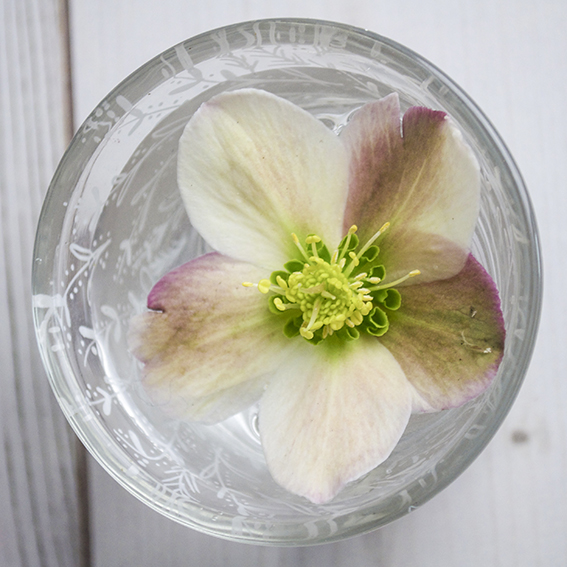
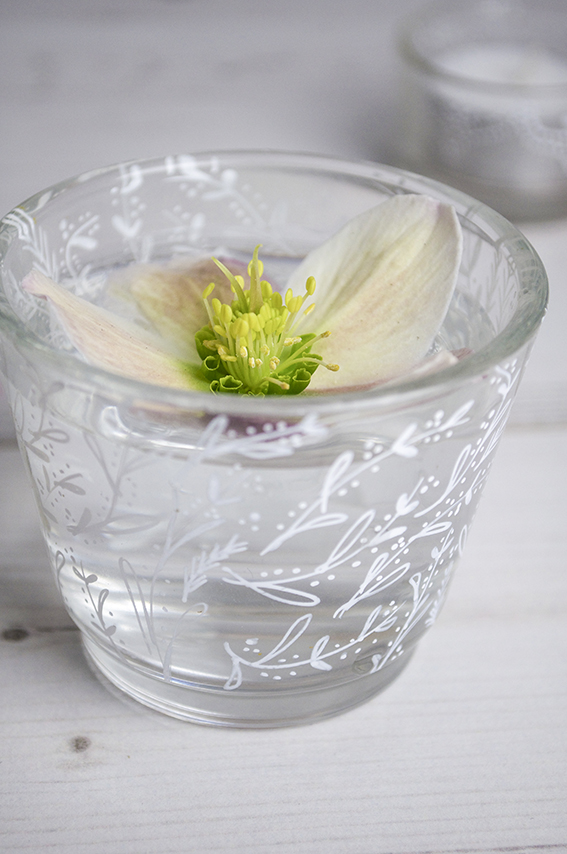
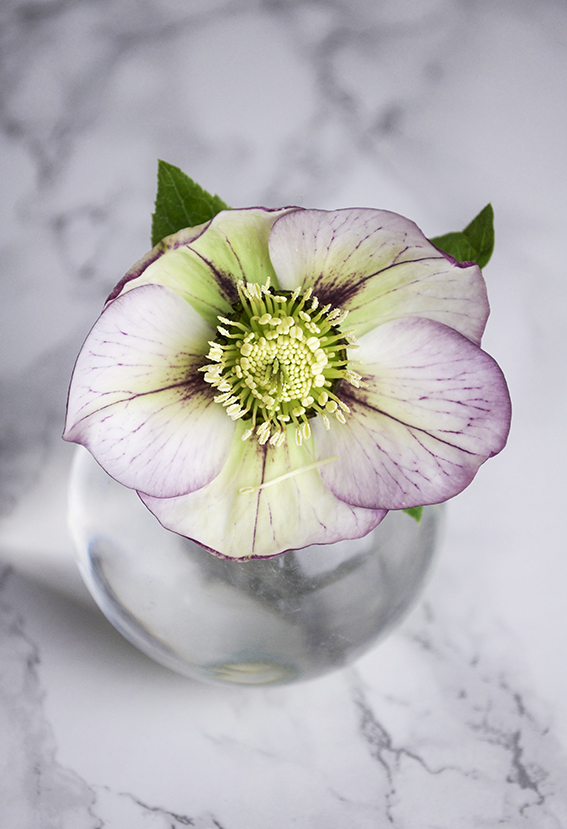 This also gives me a chance to use up my glass globe mini vase (a gift from my sister) and upcycle some charity shop finds. I’ve used my Posca pens to draw on some tealight holders for some floating water displays and spray painted a really rather ugly small vintage vase for a more traditional arrangement.
Tag: posca pens
Christmas wrap ideas part 1: Totes trad red and green
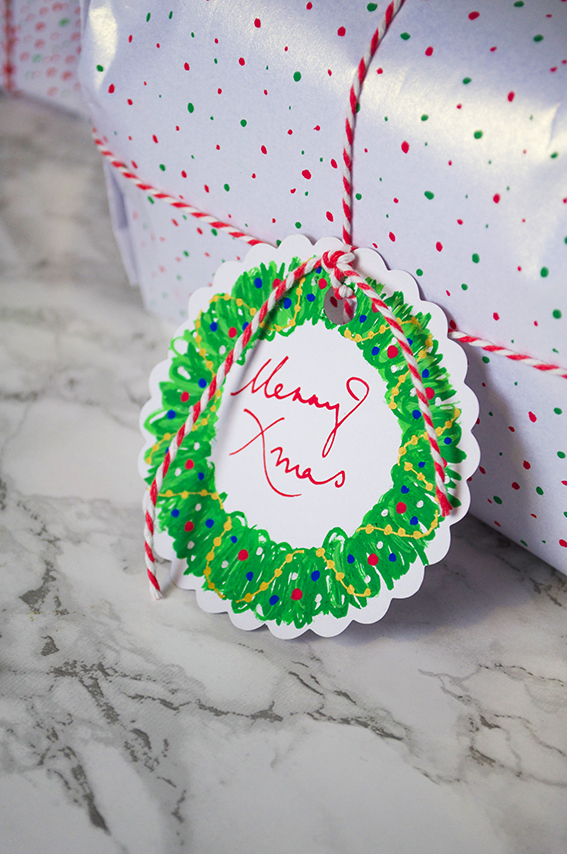 Over the next four days I got some top easy gift wrap ideas for giving your Christmas pressies that extra pizzazz.
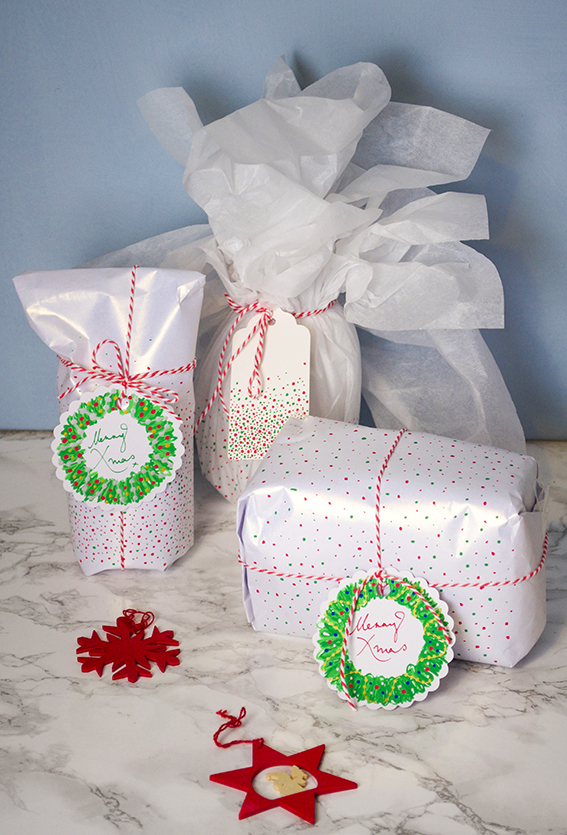 Idea number one is inspired by the totes trad red and white festive theme as outlined in this Christmas trends post. As I might of mentioned, this red, white and green colour scheme is one very much favoured by Dr B. So I always do something every year that’s a little concession to his yuletide preferences (although in fairness he’d have penguins and robins and Santas everywhere if it were up to him).
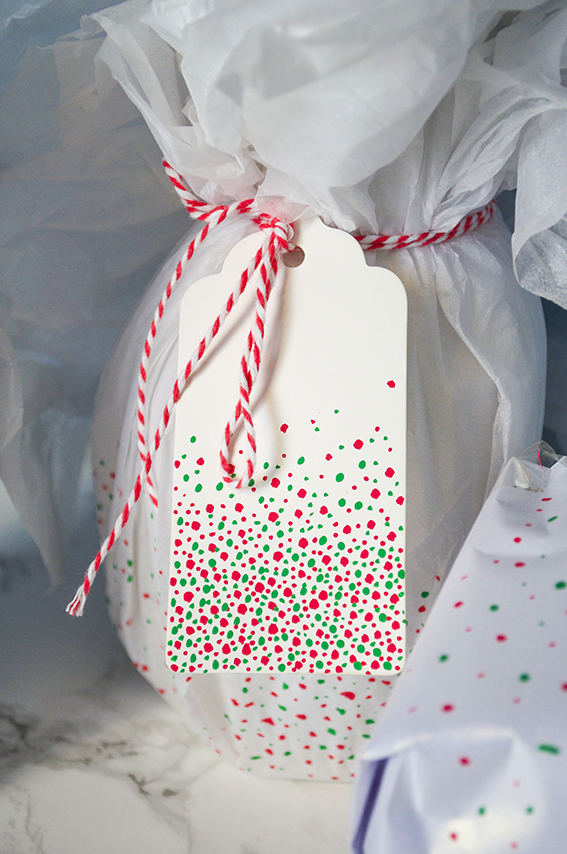 This is my concession to tradition. I have loads of gift tags and Posca pens left over from the craft shows I did this autumn so I thought I’d get busy with some quick and easy wrap revamps. I used two different nib sizes (5M and 1MR) to create different sized dots on the wrapping paper and some of the tags. I then finished it off with a trad twine bow. I also completed some of the gifts with a bespoke wreath tag. It’s dead easy to do, so much so I’ve got a little step by step for you below for you to try.
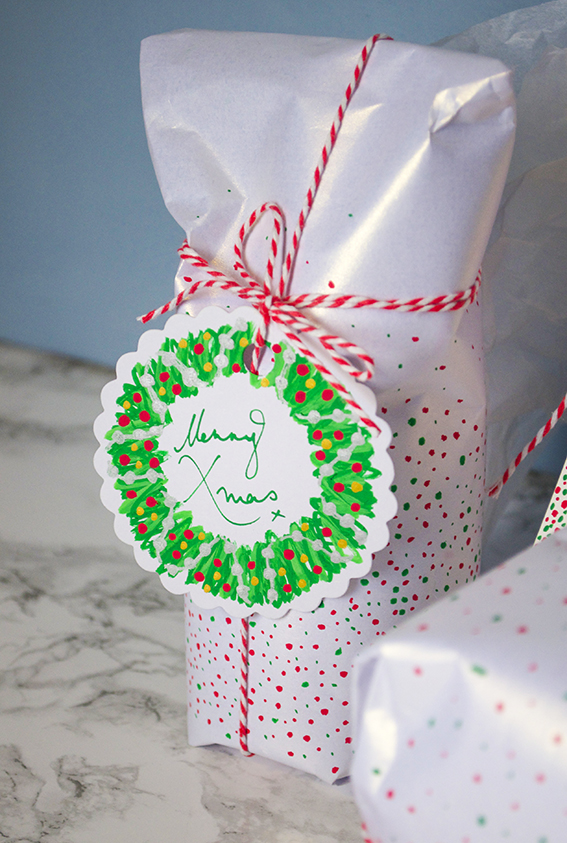 You don’t have to be a fantastic drawer to create this wreath, I’ve shown loads of people how to do it; if you can make a mark you can make this wreath. You’ll need a circular tag and Posca pens in dark and light green, gold (or silver), red and blue.
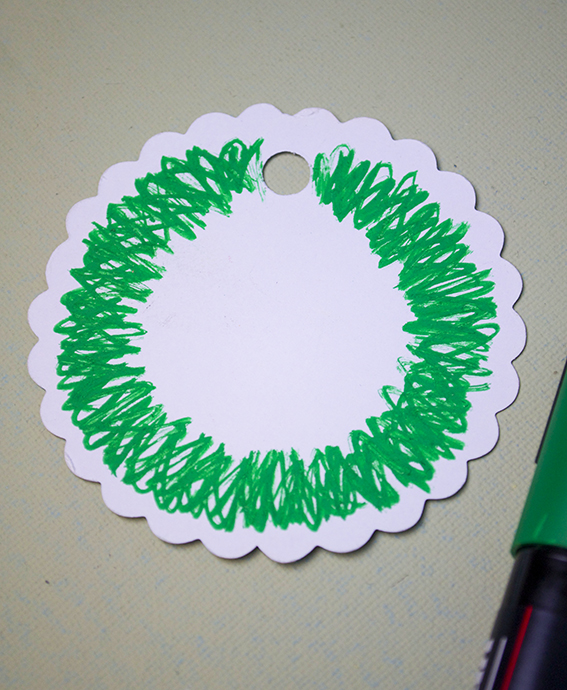 Step 1: Make a dark green circle using a rough layered zig-zags.
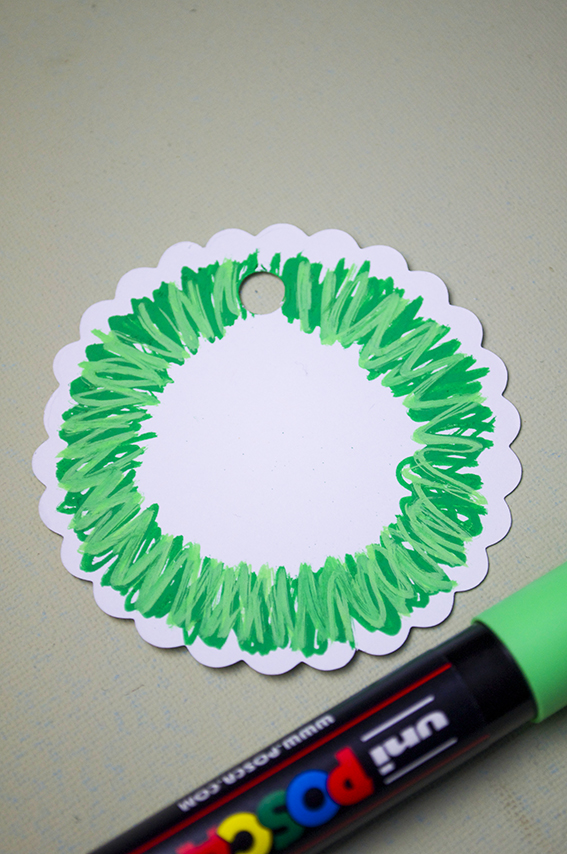 Step 2: Overlay the dark green with a lighter shade.
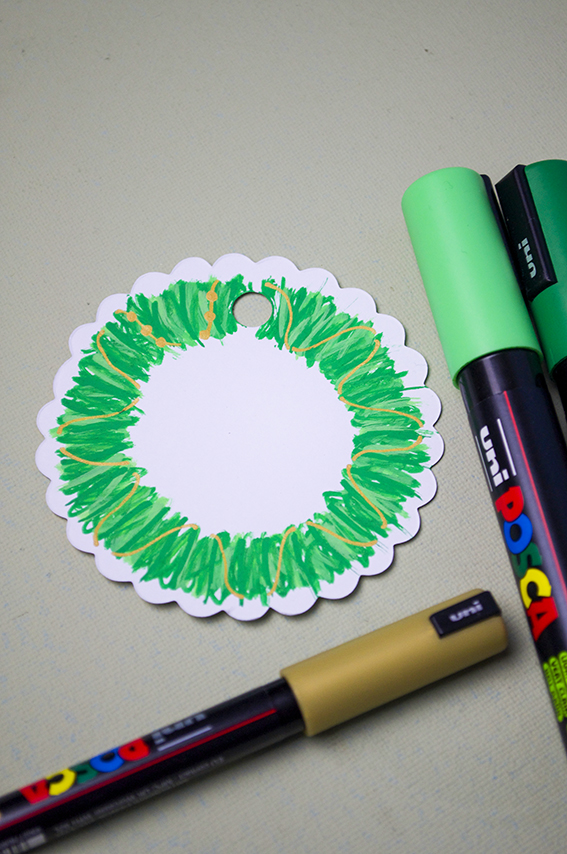 Step 3: Once your wreath is dry (the pens are paint based so you can use them as such) use the gold pen to draw lines around the ring as above, like it is wrapped around the wreath. Once you have covered the wreath with gold lines draw circles along the lines to make a string of beads.
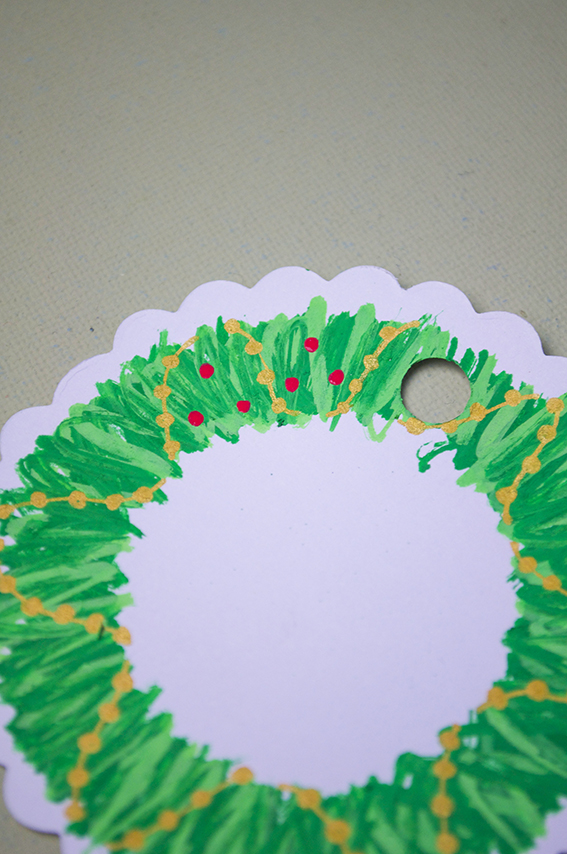 Step 4: Add coloured baubles in-between the gold bead garland.
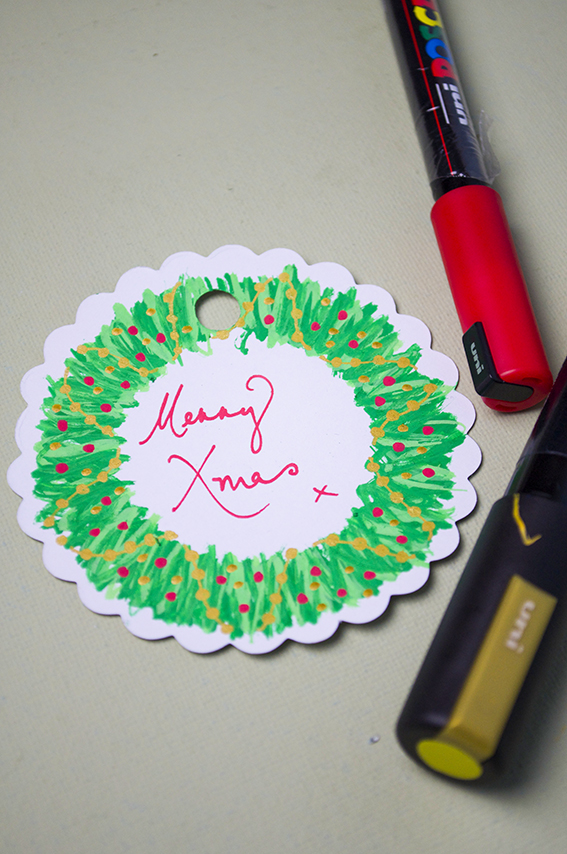
Step 5: Write a little festive phrase in the middle.
How-to: Easy Glass Lanterns
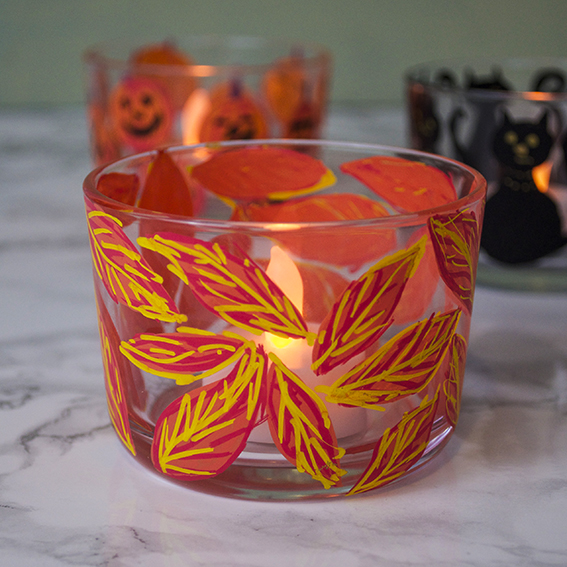
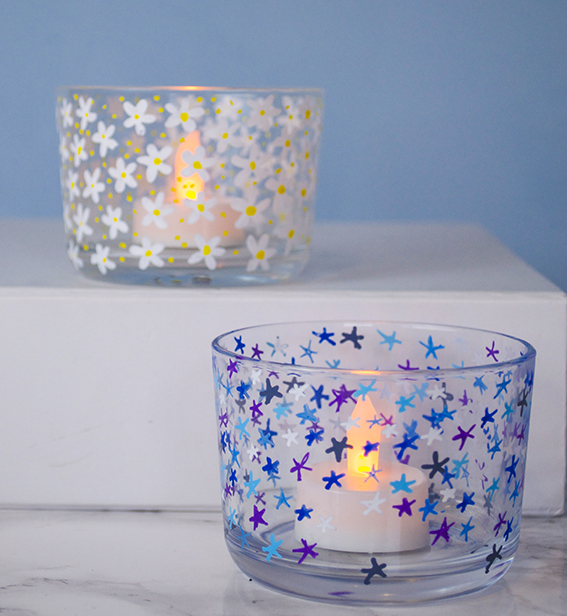 Earlier this month I had great fun showing people how to use Posca pens to decorate glass lanterns the easy way at The Stitching, Sewing & Hobbycrafts show at EventCity in Manchester.
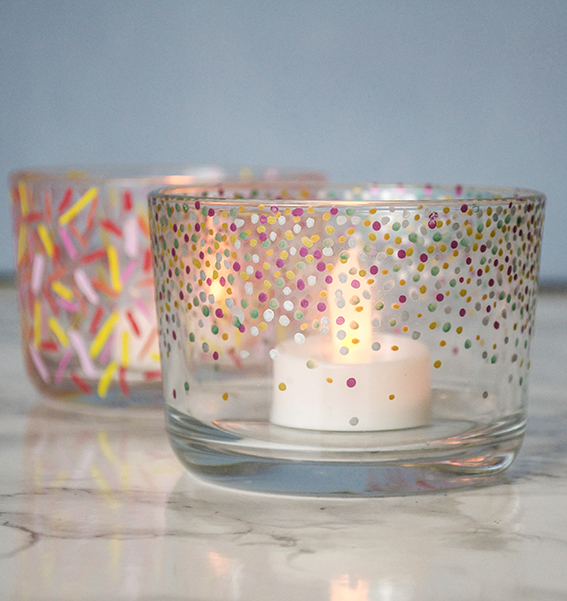 As you know I’ve been working with Posca pens all year, as I’ve done a lot of work with the company, but it’s always better when you can see what other people come with up when you show them how to use the pens.
I ran around five workshops in small groups of five or six everyday and it was such as pleasure to share some knowledge and see others’ creativity flourish.
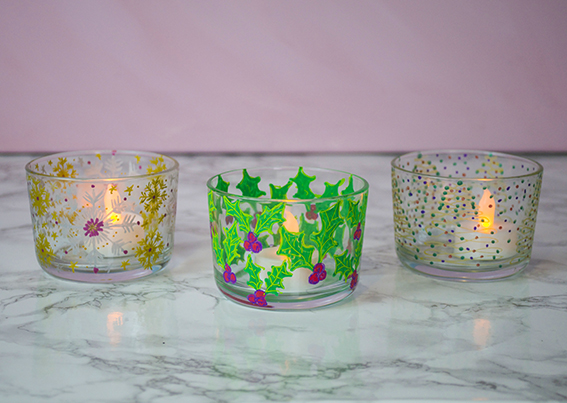
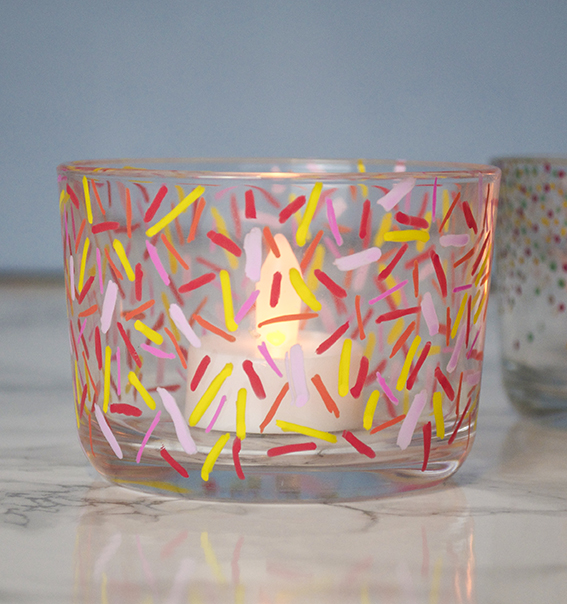 I made the illustrated lanterns shown here in preparation for the show, to illustrate how you can use the pens to decorate onto glass, using the different sized nibs and various colours to create different illustrative effects.
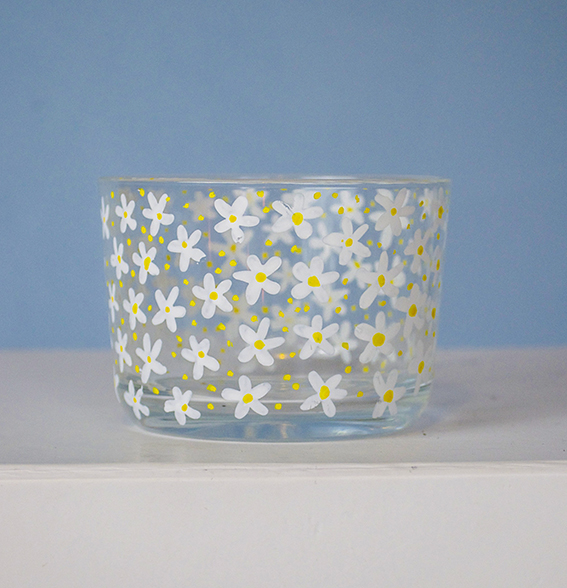 The glass drawing preparation work I’d done was a great way of kick-starting new ideas from my workshop buddies who used the designs as a inspiration for their own work.
I did a combination of easy dots and strokes, simple girly designs and seasonal Christmas-themed, autumn and halloween illustrations.
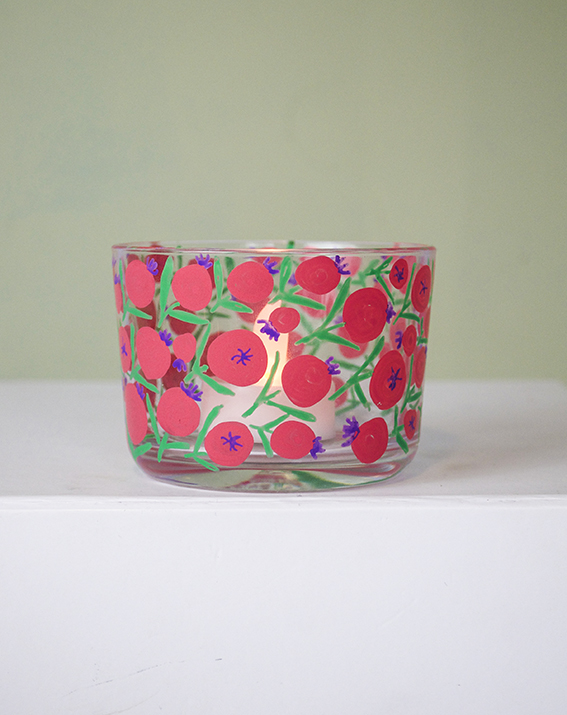 I’d kept the shapes very simple and easy to copy and explored ways you can layer colour with the pen. And while some of my workshoppers stuck to simple dots and strokes or my easy shapes, others were more ambitious, creating stunning intricate designs of their own. It gave me a real buzz.
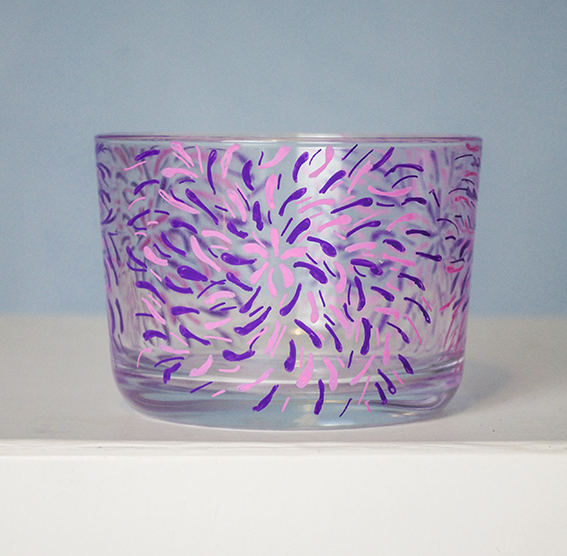 You can work directly onto these glasses with the pens. To seal in the design you simply bake the glass in the oven for 160-degrees (Gas mark 2 I think) for 45 mins so we’re using robust glass here. We used glasses from Ikea so that people could easily get more if they developed an addiction for easy glass painting.
 I’m doing a mini-tour of with the company and will be doing my do with Posca and other Uni-ball pens at the following venues.
NEC, Birmingham: 3-6 November
ExCeL, London: 17-19 November
Join me if you can, if not just check out what you do with some pens and some glass. 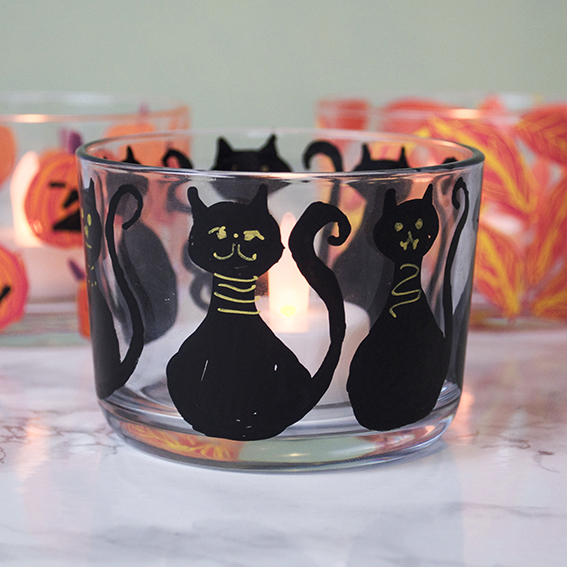
How to change a plain notebook into a personalised gift
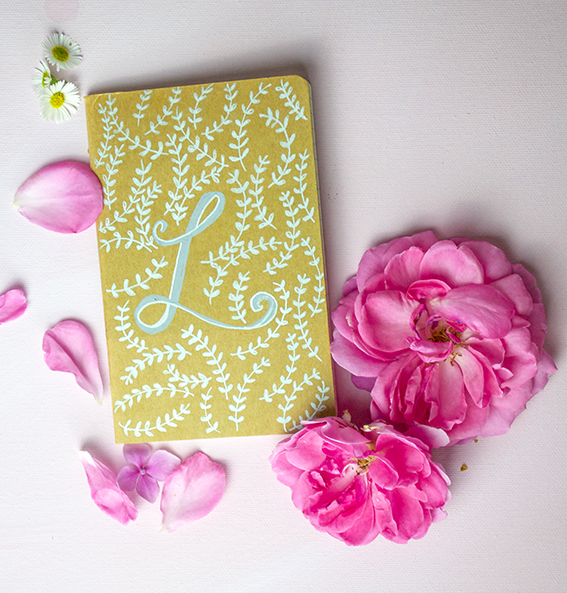 Transform a plain notebook into a personalised gift with my easy how-to.
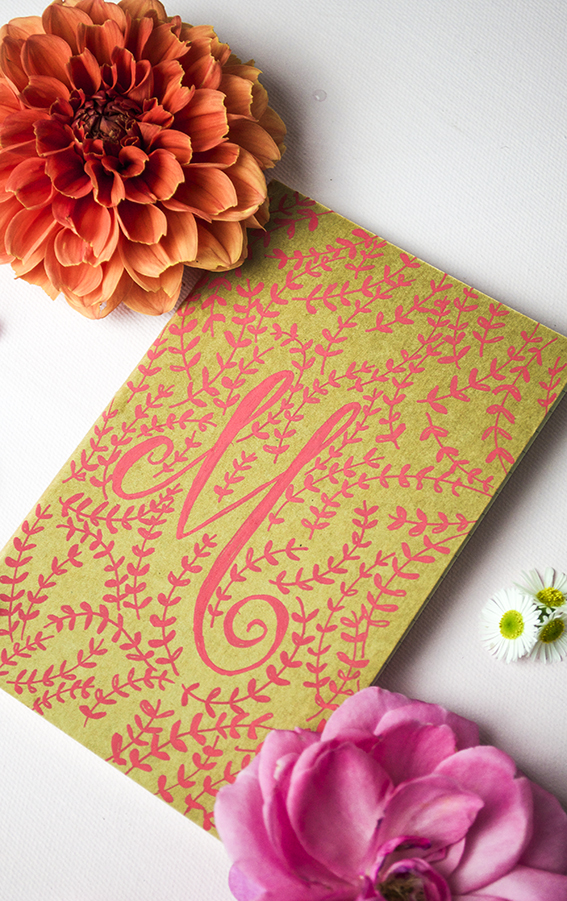 It’s more Posca pen stuff from me this week as I warm up for some workshops I’m doing for the company in September. I really want to get the workshops right.
 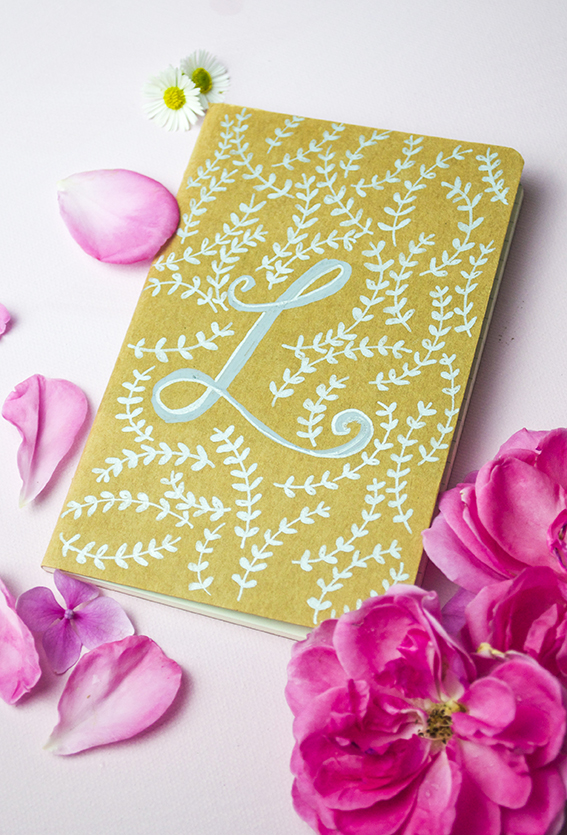 As you know I like to make personalised gifts and I currently know three people are doing some quite daunting things… Gearing to go back to work after maternity leave, going back to college (scary) and embarking on an exciting new creative project, I thought a personalised notebook would make a great little gift for these three special individuals.
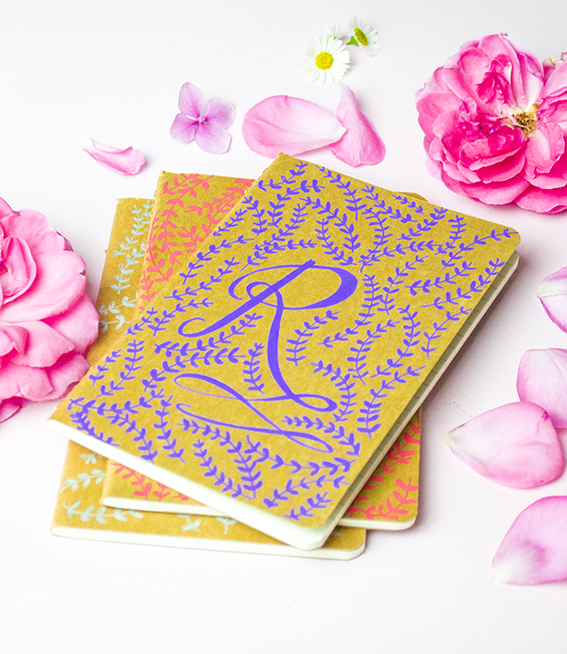
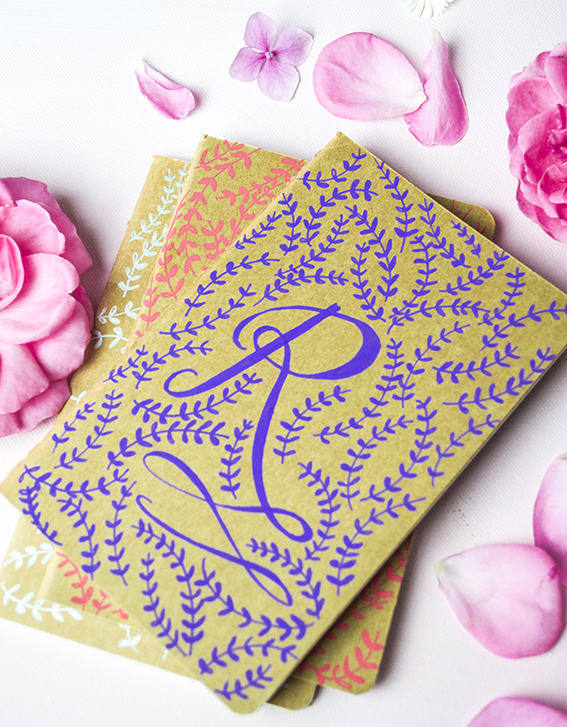
 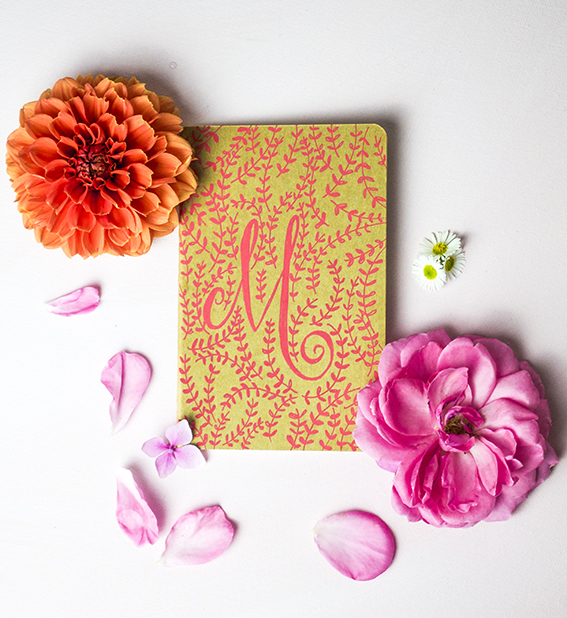 This is a really simple illustration project but makes for a very effective and professional looking present. All I did was take a three-pack of Moleskine mini cahiers, got out some sumptuously coloured Poscas and went for it.
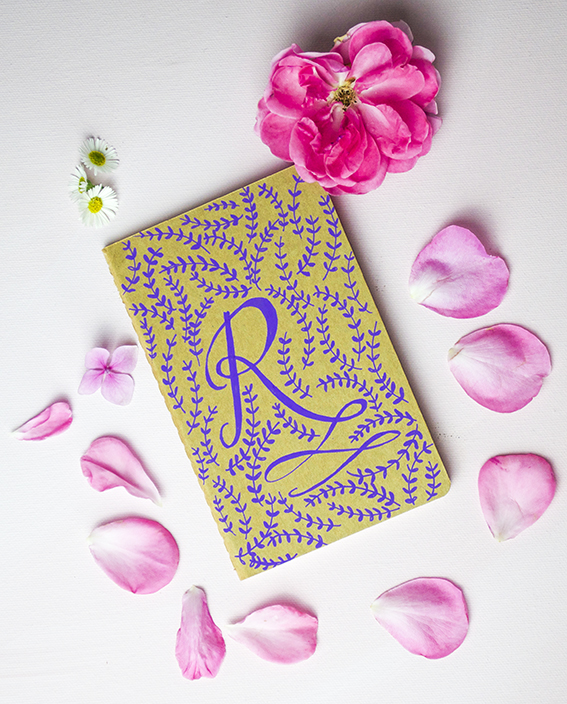 You can see how I created the laurel leaf motif by watching a tutorial I did for Posca pens earlier this year.
As you can see the drawing techniques are really easy and the pens are very nice to use. The initial on the books are quite ornate compared to the formal lettering illustrated on the wooden coasters. Depending on how confident you are, you can decided which style to go for.
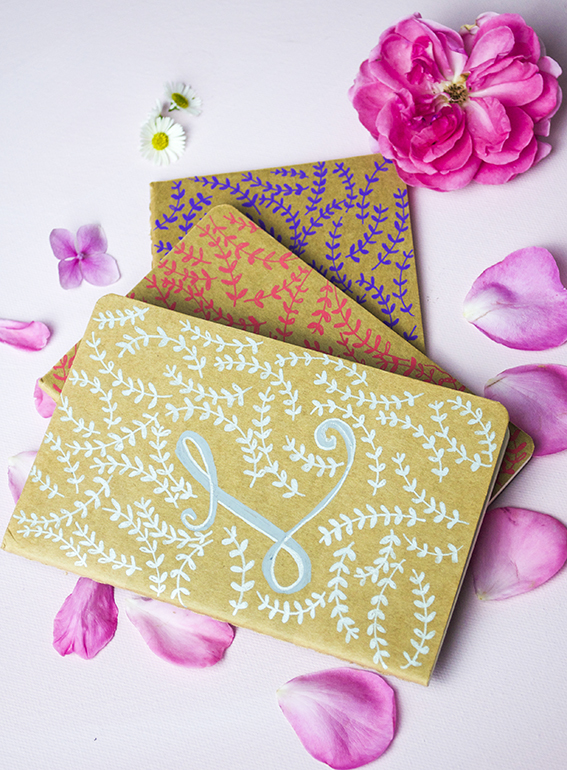 Because the pens produce a paint-like effect even light colours can look clear and vivid on the book’s brown craft card covers.
 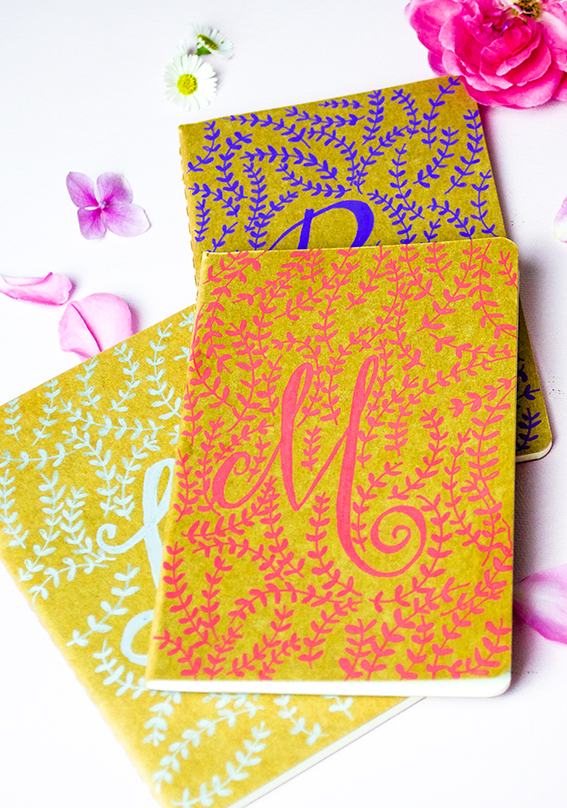 Just by using simple illustration techniques you can create an ornate, sophisticated looking gift, personalised for a special person.
DIY: Ornate cases
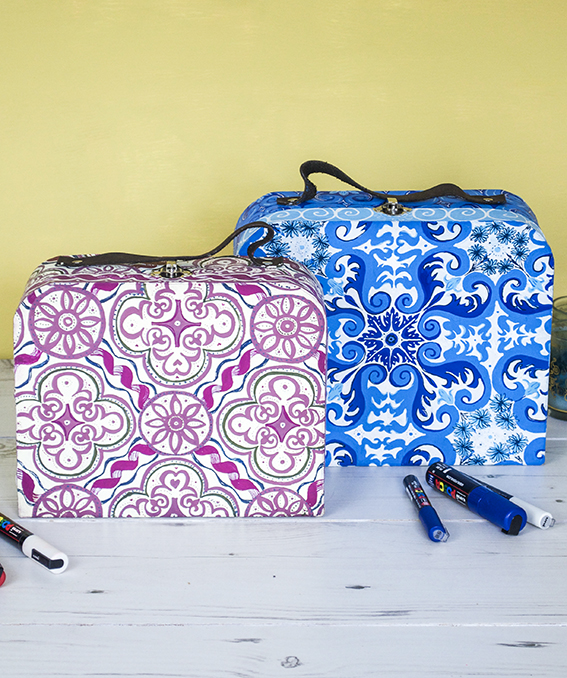
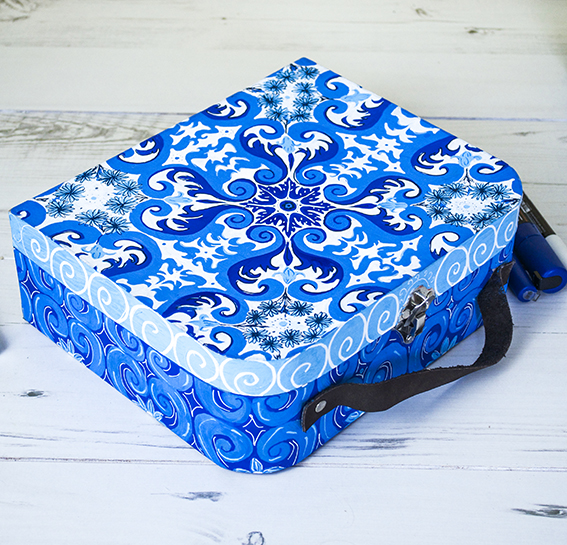
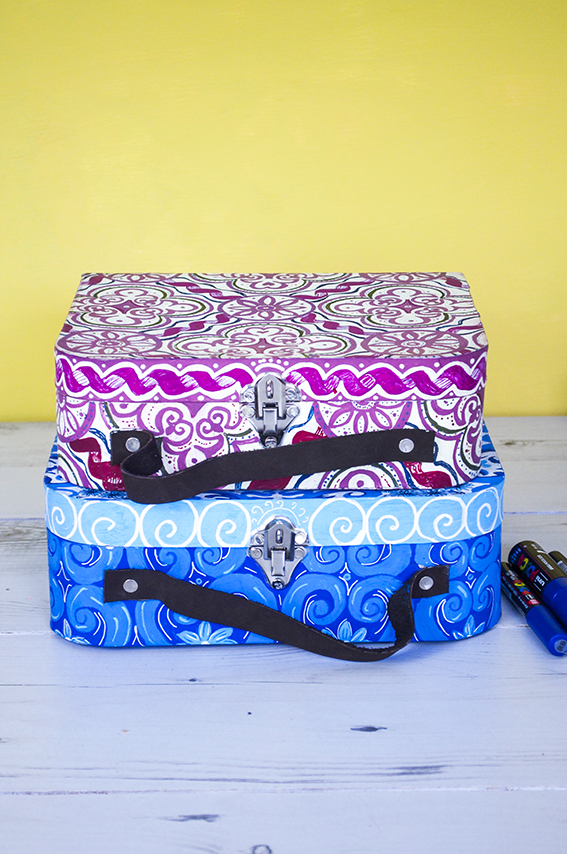
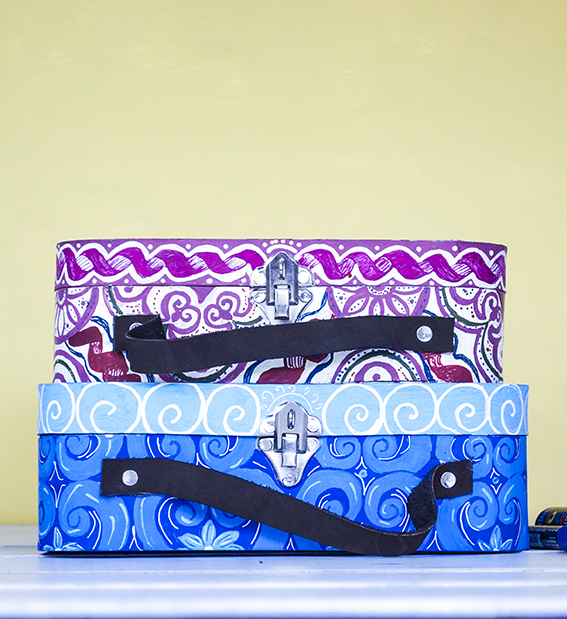 I’m not gonna lie, these ornate cases took ages to create but they are quite a cool DIY. I have had a brief from the guys at Uni-Ball to create a selection of products updated with the company’s pens. I wanted to make a number of items at various sizes and using the wide range of pens they had on offer.
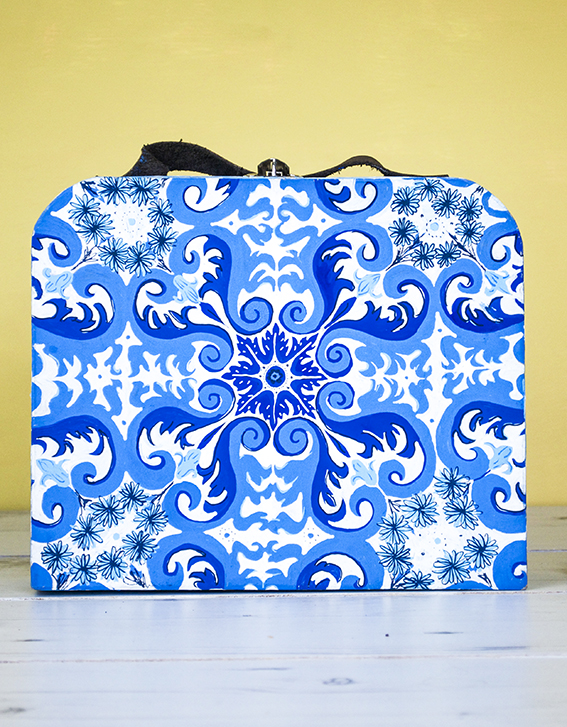 I also wanted an excuse to play with an ornate pattern idea I’ve had for a while. Because Uni-Ball’s Posca pens have a wide range of colours and shades I thought they would perfectly lend themselves to a pattern that utilised various shades of the same hue.
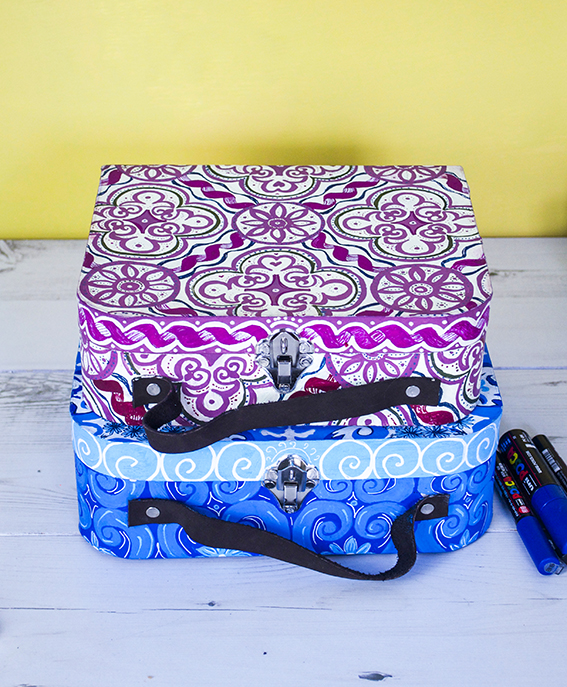 I have looked through loads of tile designs to come up with the ones I have worked out here.
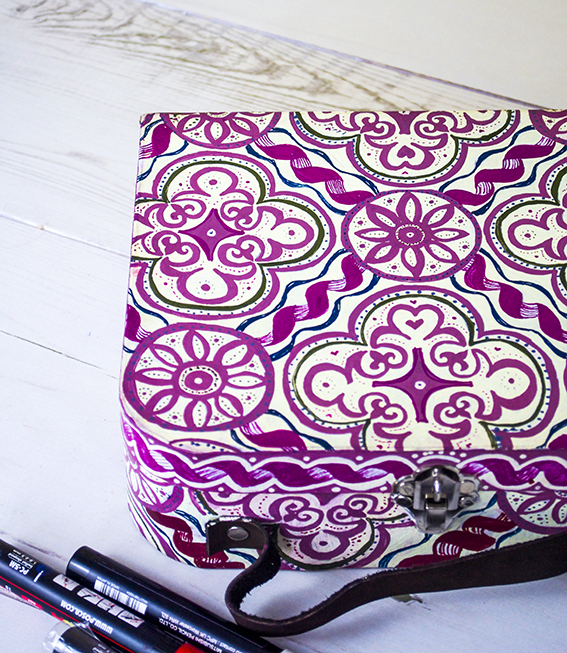 These cases were plain brown mdf boxes. I traced on my design before filling in the light colours then layering with darker shades.
DIY: Easy Fancy Votives
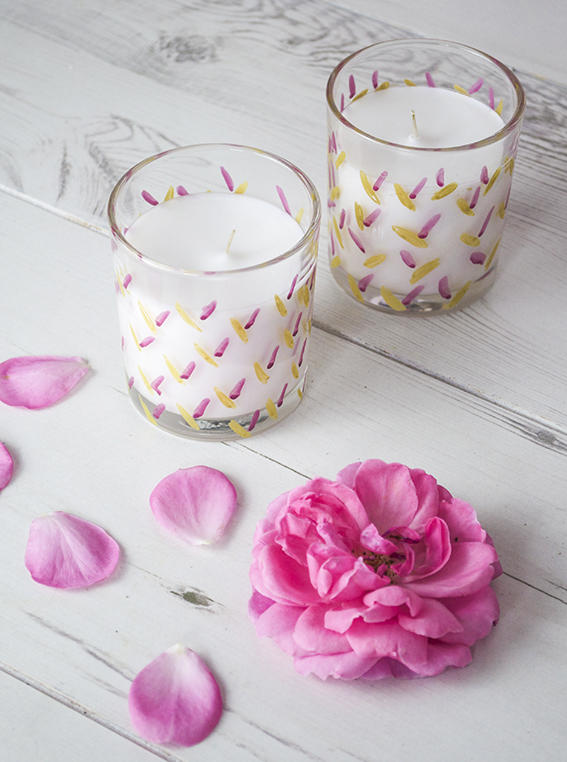
This is a really easy DIY – a pretty pen project to make fancy votives that give cheap filled candles a designer feel.
 As you know I love a scented candle and I do occasionally splash the cash on some expensive ones. However, because I go through quite a few of them, I do get some cheaper ones to light on a Friday and Sunday night when I’m relaxing with Dr B or when I have a cheeky Saturday afternoon bath.
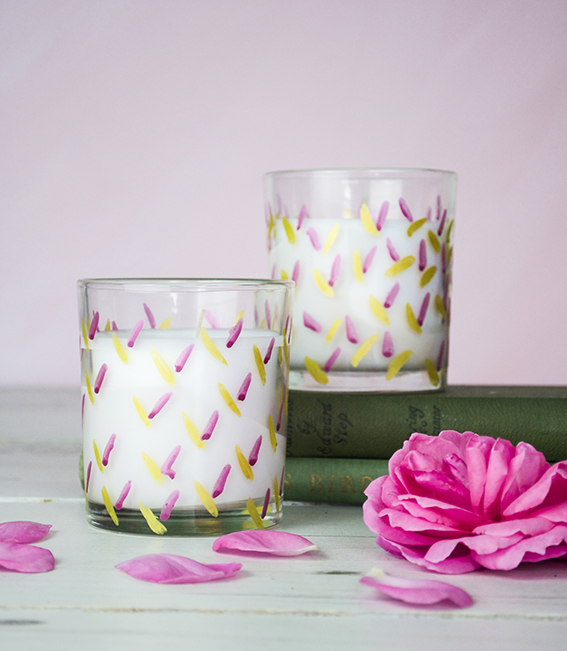
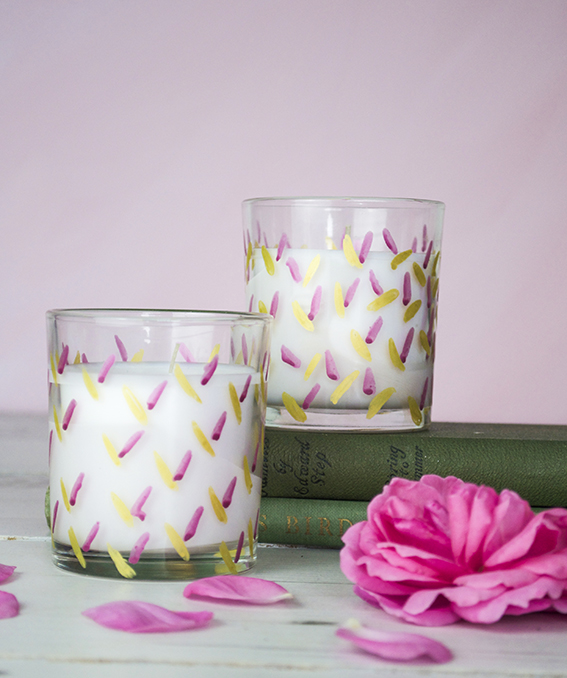
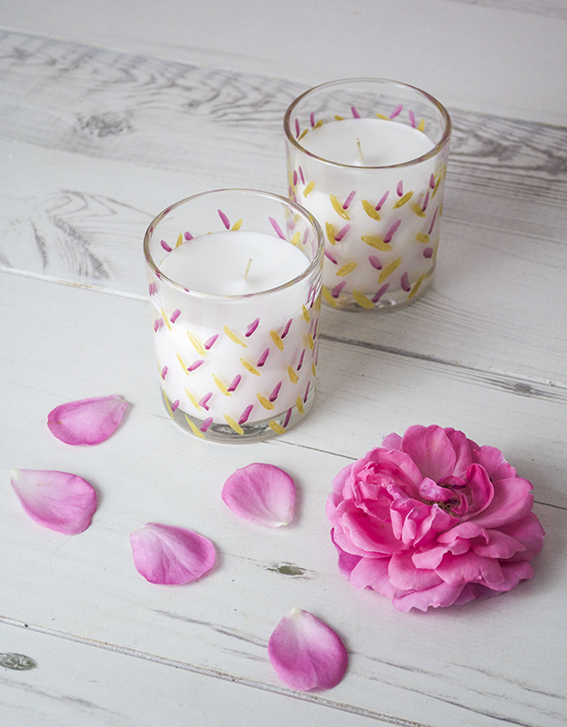 Plain filled candles can look a little drab and I like to give them a nice look. As I’m currently doing some work for Posca pens I’ve got loads of various colours lying around – I’ve chosen beautiful gold and berry coloured pens and gave them a simple leaf pattern.
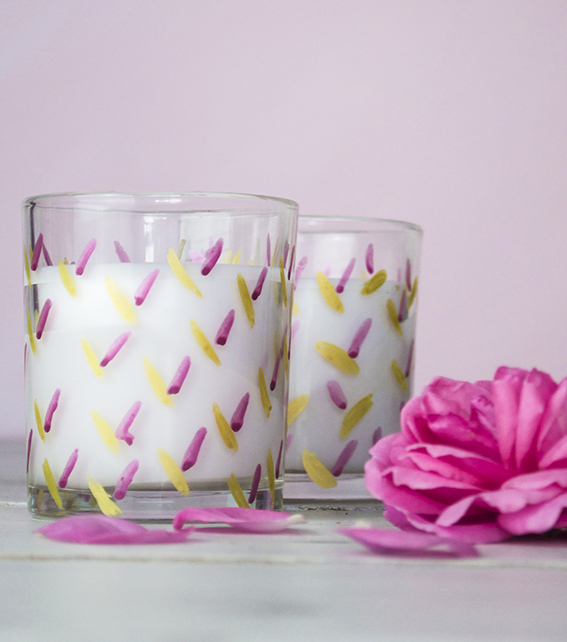 I wanted to create something really quick and easy as the last thing I wanted to do was spend ages doing an intricate pattern. So these are just scribbled little lozenges drawn on an angle.
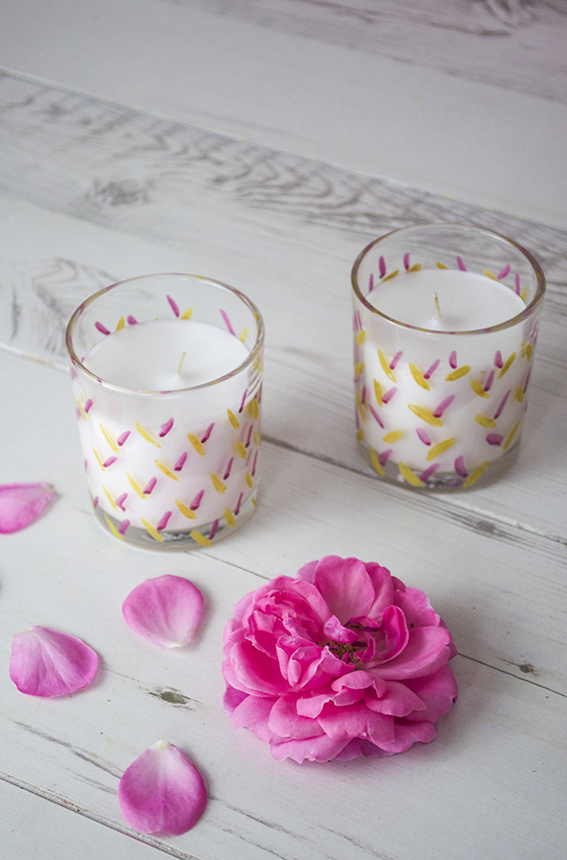 In the spirit of all things green I recycle my glasses once the candle has been burned. Once I finish with them I will use them as vases. The lovely thing about this project is I can pop these glasses in the oven at 145C to seal in the design and I have some lovely gold and berry containers.
Stash-busting How-to: Make Paper Banners
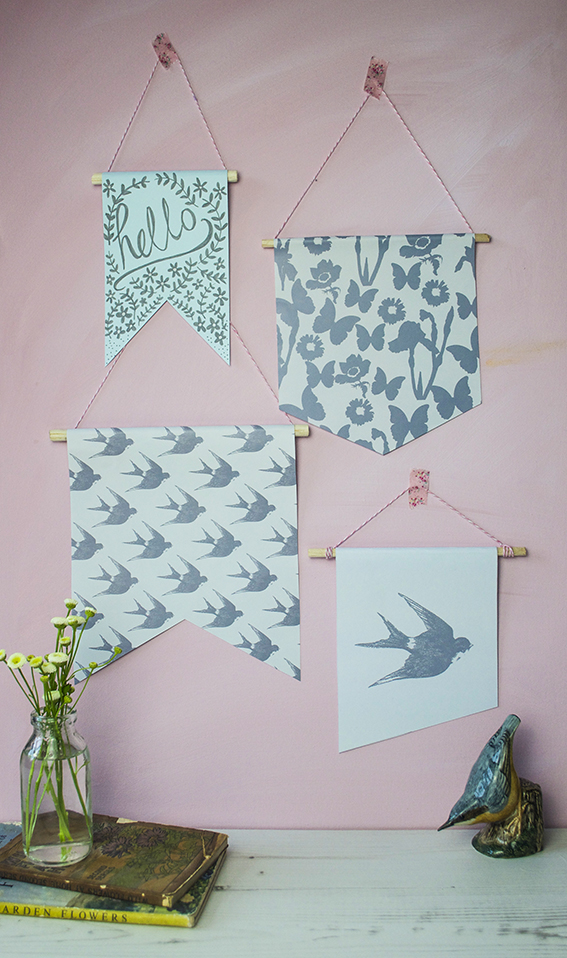 I don’t know about you but I’ve got a big stash of plain and patterned paper from previous projects and from when I’ve taken advantage of bulk offers in art shops. It seems like a waste to have them languishing in drawers and boxes so last week I took action and turned some of them into stash-busting banners to decorate our study with a simple wall display.
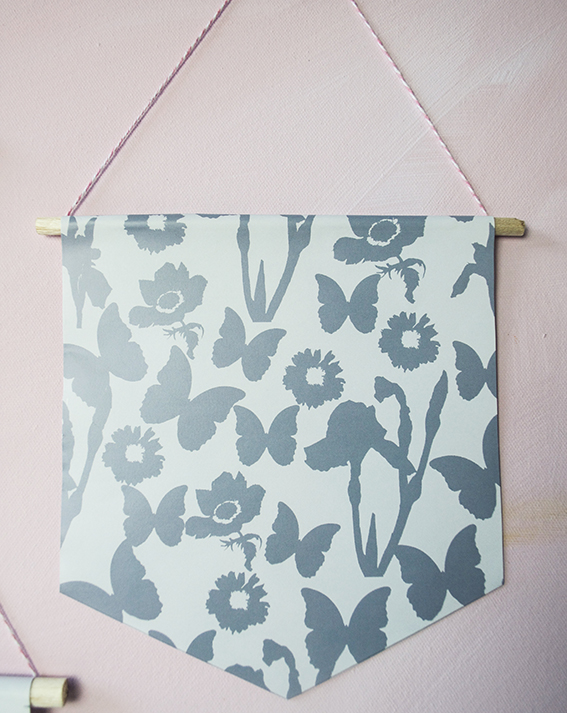
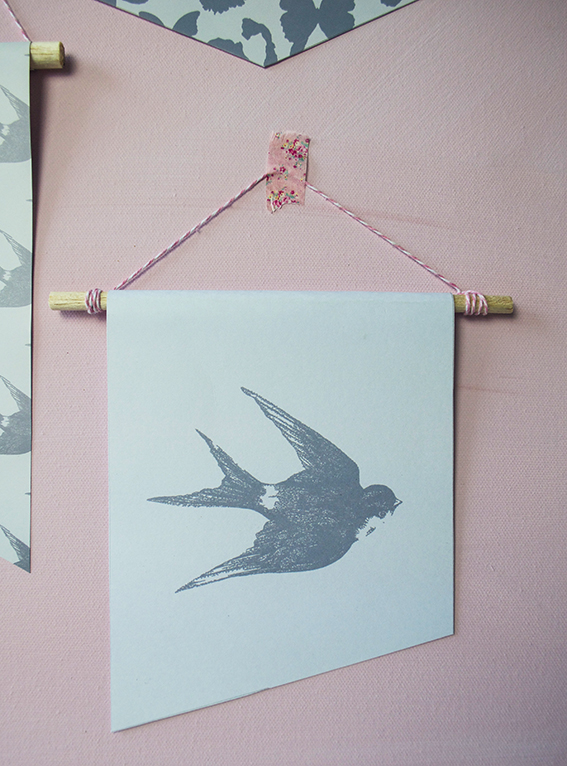 I had some lovely light blue card that I’d been waiting for something to do with and some left-over summer swallow and butterfly designs that I had created to decorate a friends wedding. I thought the colours all worked really well together and I had some Posca pens in a lovely slate grey that would lift the blue card and unify the whole scheme once I’d added some simple text and design.
 Making these banners is a synch. It just requires a ruler, a length of doweling, a craft knife, twine, double-sided-tape and the paper(s) of your choice. I measured my doweling at various lengths and cut to size (I could easily snip mine with a craft knife but you may need something more ‘robust’).
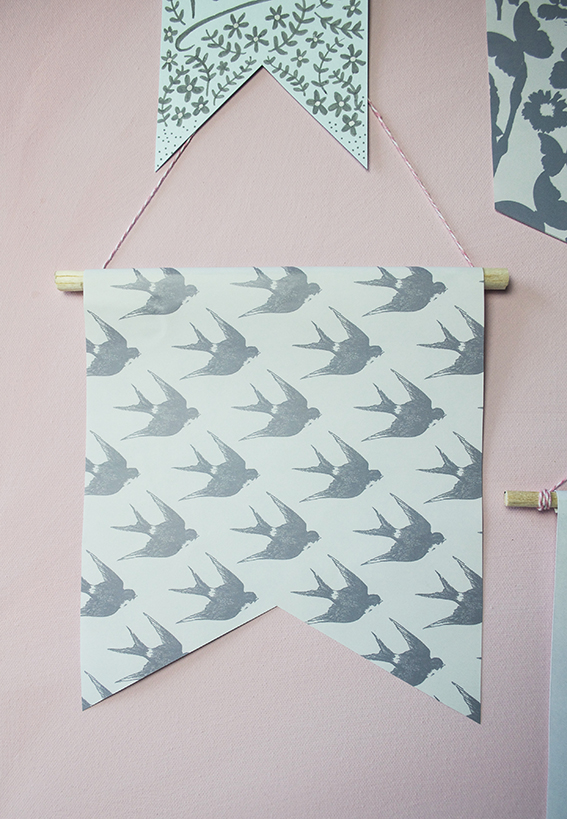 I then trimmed my papers into rectangles making sure I had about a 2cm allowance to wrap them over the doweling and leaving room at the bottom for cutting the bottom into a ‘v’ or inverted ‘v’ or at an angle while not compromising the main design.
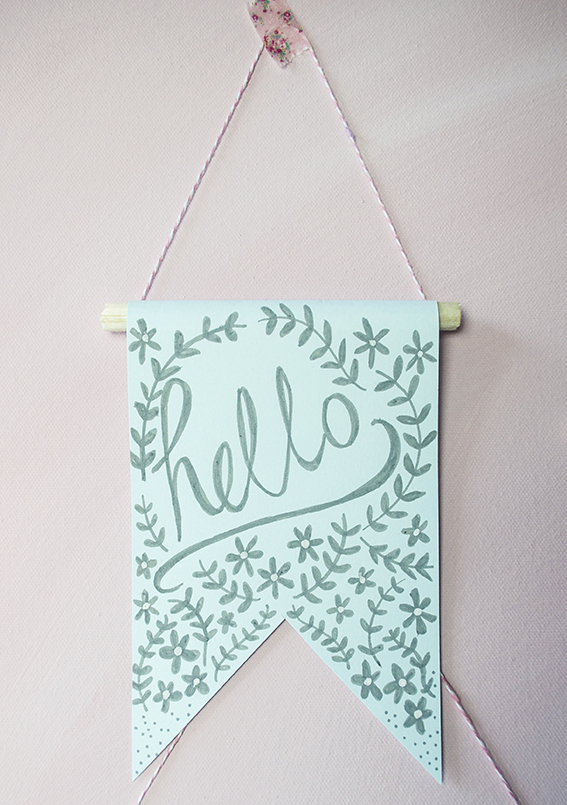 Once the blue card was cut, I could draw a bespoke illustration on it. I thought I’d keep it some with a hand-scripted ‘hello’ and some simple laurel leaf and flower motifs. Let me know if you’d like me to talk through hand scripting and drawing these leaves and flowers – they’re easy to master and you don’t have to be a great draftsman/woman, I promise .
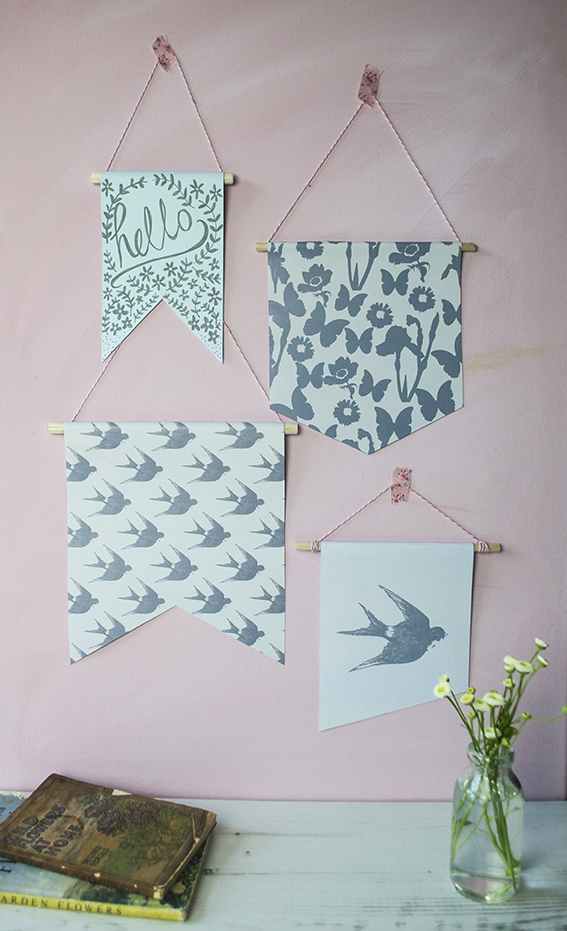 With everything cut to size I applied lengths of double-sided-tape to the doweling and, in the case three out of the four banners, I attached the ends of my twine before rolling the edges of the rectangles over the doweling to fix.
I’m pleased that I was able to give my old stash a new lease of life and I’m delighted to be able to add another bit of quirky handmade styles to a little corner of our study.
DIY: Update a wooden box
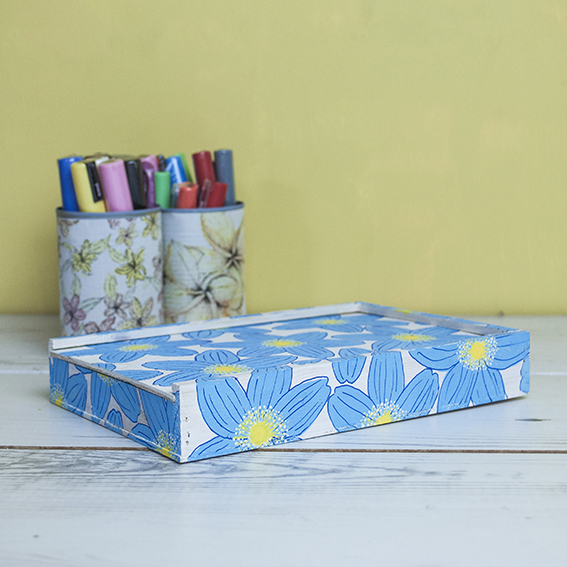
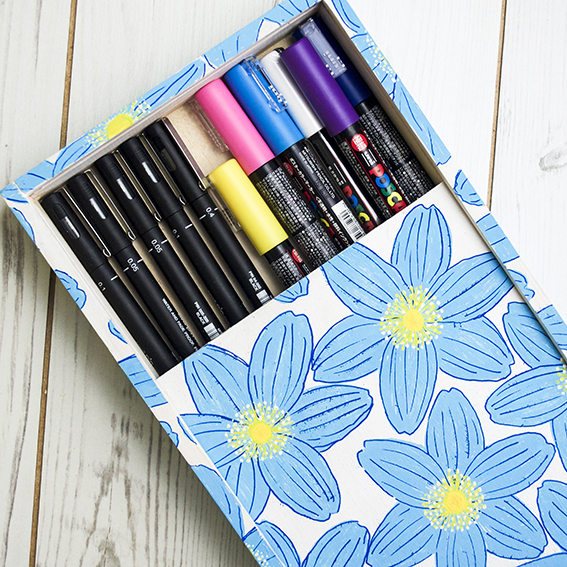
I’ve had this little wooden box for years. It was plain and unloved for ages. I kept pencils in it and every time I retrieved them I thought “I should really do something with this” and then I’d leave it.
Then a couple of weeks ago I was asked if I wanted to do some projects with Uni-ball the makers of Posca pens. Before I started on the projects I thought it best to re-familiarise myself with them and have a little practice. The pens work on a range of surfaces, so after I used them on a set of notebooks I thought I’d give them a try by drawing on that plain old wooden box.
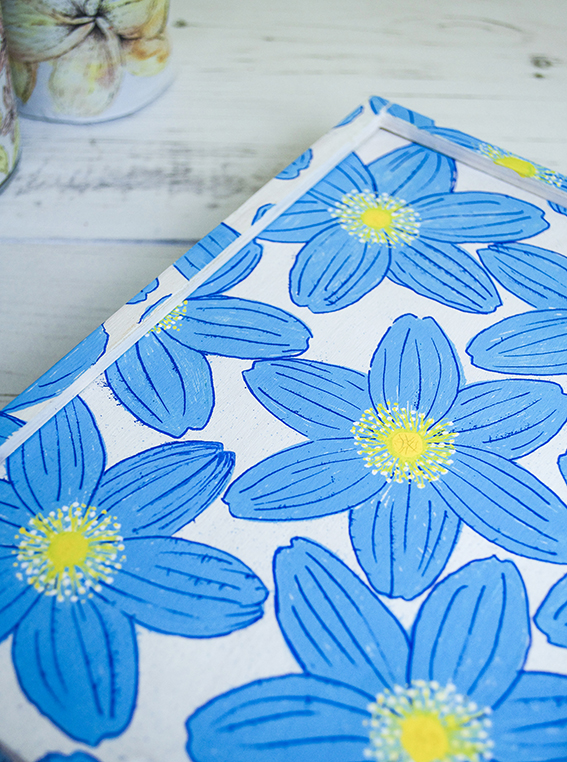
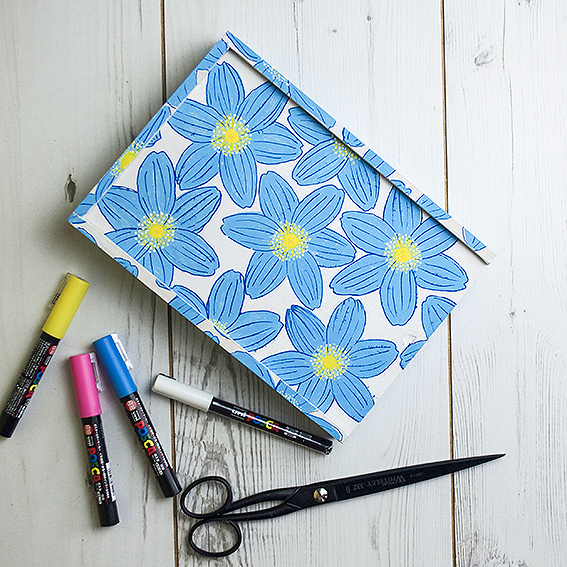
First I painted the box to give it an even white background. Then I used my wood anemone sketch as a basis for my hand-drawn box design. I wanted to make it look quite retro so influenced by sixties and seventies floral patterns I gave the flowers a bright blue colour.
What I like about these pens is that you can layer them without them bleeding and apply lighter shades over darker ones which means I could add depth to the flowers with lovely yellow centres and white pollen.You can set the design by simply spraying some varnish over it.
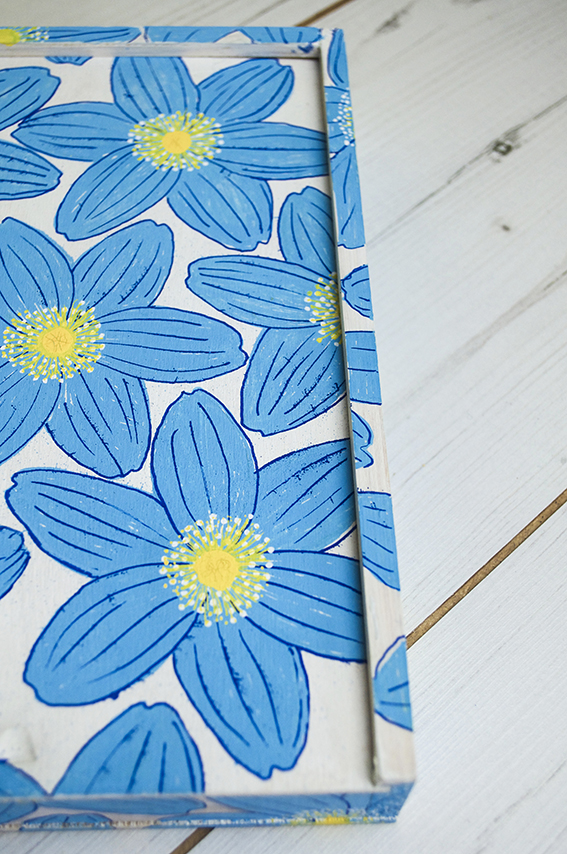
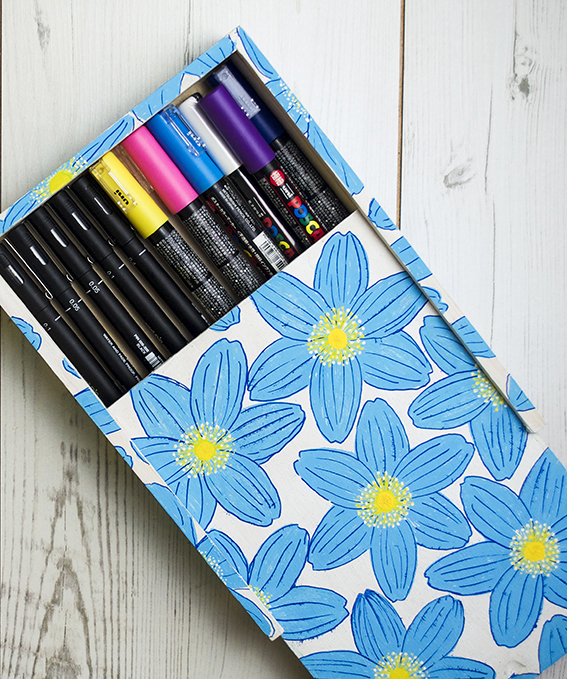
You can set the design on the box by
Hack: Pimp up a notebook with Posca pens
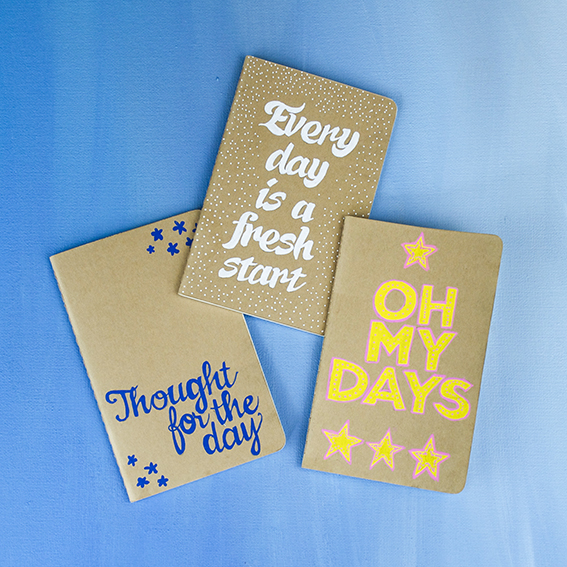
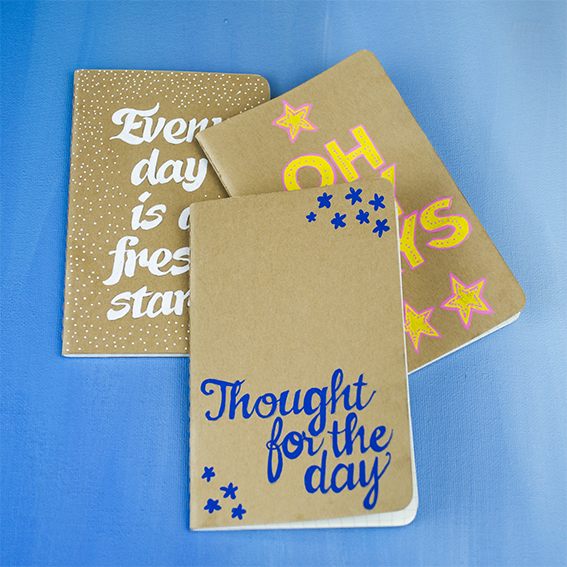
There are few things more majestical to me than a fresh new notebook and a journal where I can pimp up the front is even better.
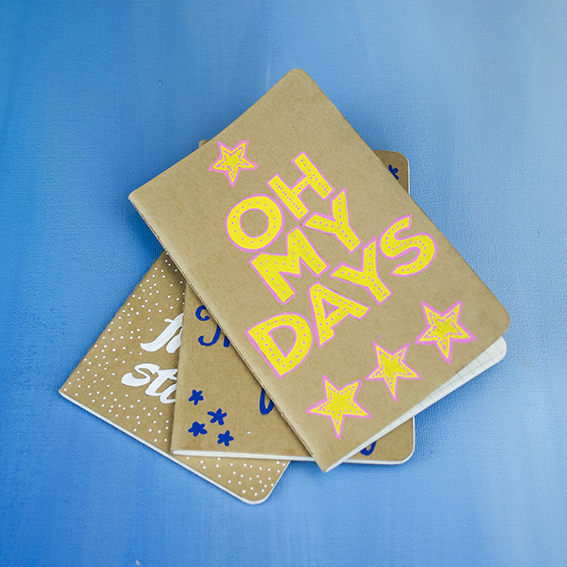
That’s why I love this little set of Moleskine mini cahiers – a trio of mini journals in kraft card all ready to be personalised and pimped up by yours truly.
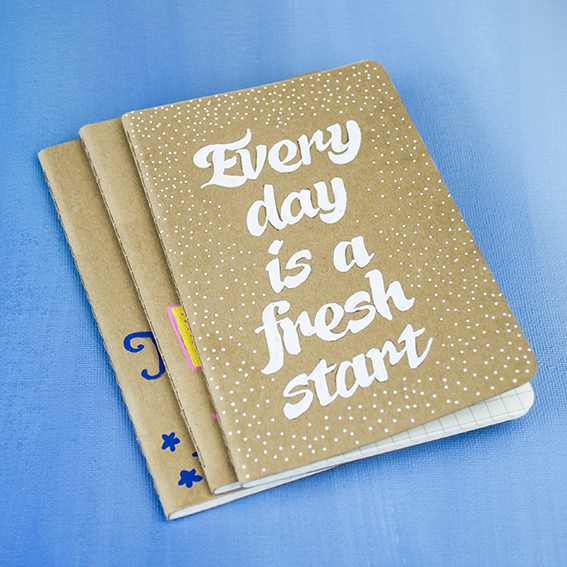
I updated these three with posca pens. I love these pens. They provide beautiful colour coverage and have a fab paint-like quality that you can control, meaning you get great detail without fussing with a brush. You can see that with the white in particular (I know a white pen that works!).
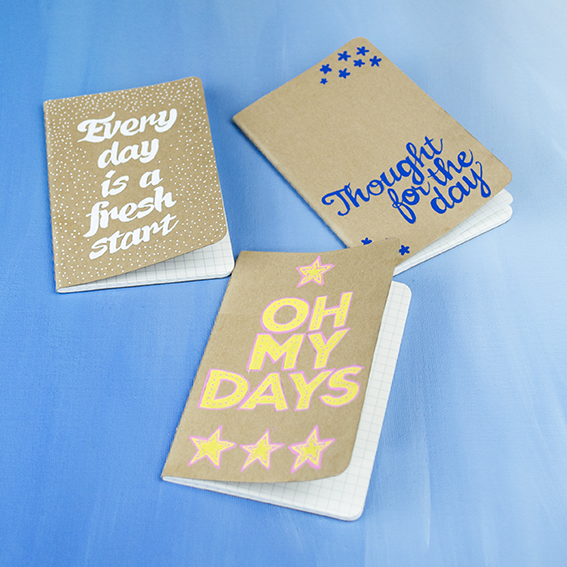
Hand-rendered type is very popular in at the mo – for a font-loving, handwriting addict like myself it’s always been cool, much more character and fun. A little slogan works well on notebook and I decorated this trio with phrases taking ‘days’ as my theme. I must admit my favourite is OH MY DAYS as I always think of my sister Lucy when I hear or see it. I might send her this notebook actually if I’m feeling nice.
If you’re not mega confident in free-hand rendering type then simply print off a slogan in your favourite font and trace it onto the book to colour over.
