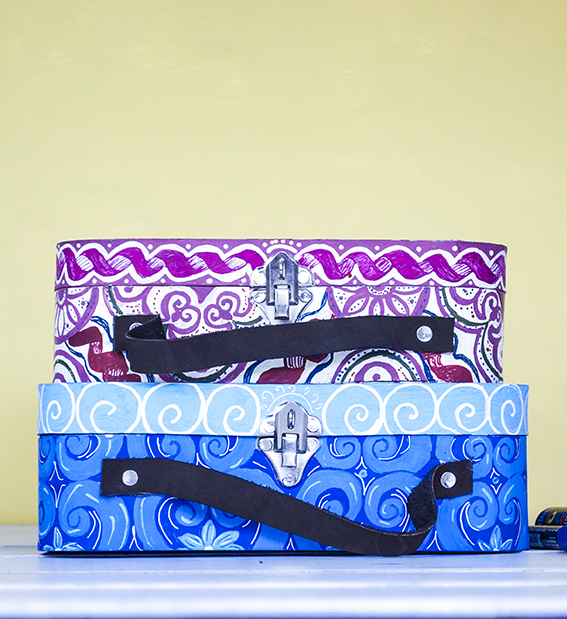
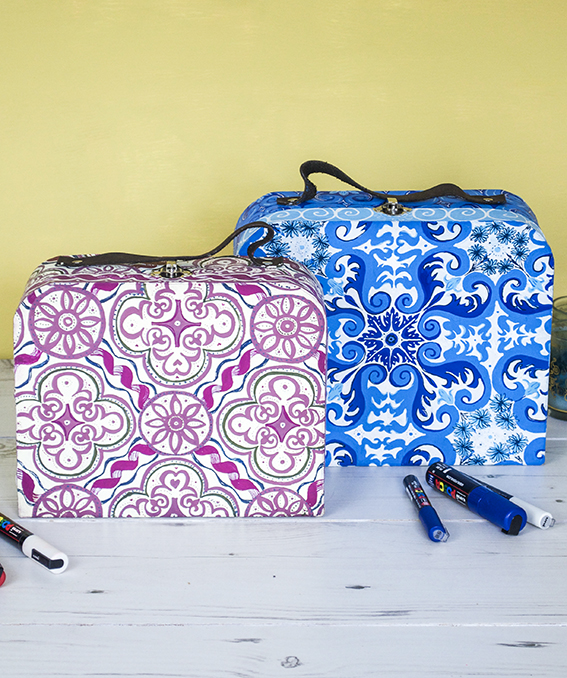
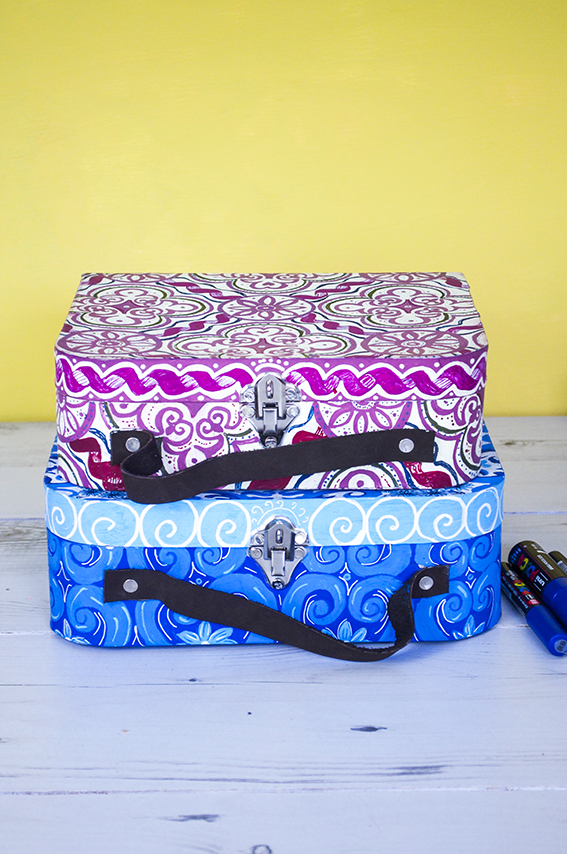
 I’m not gonna lie, these ornate cases took ages to create but they are quite a cool DIY. I have had a brief from the guys at Uni-Ball to create a selection of products updated with the company’s pens. I wanted to make a number of items at various sizes and using the wide range of pens they had on offer.
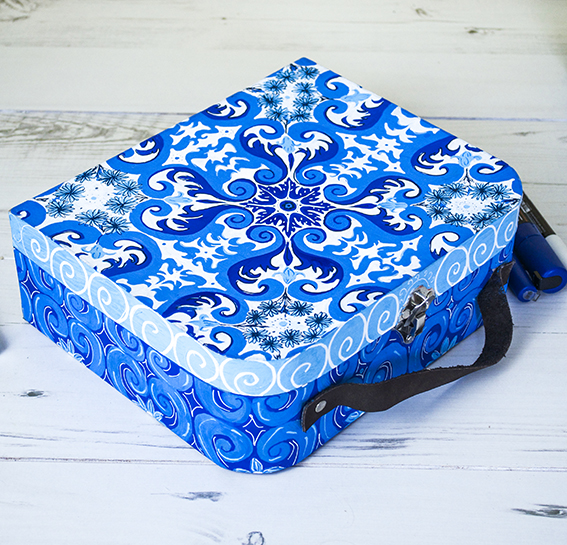
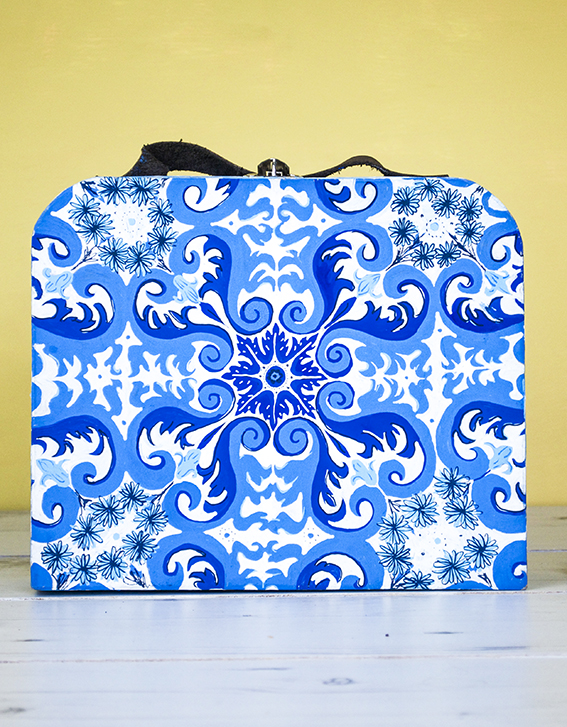 I also wanted an excuse to play with an ornate pattern idea I’ve had for a while. Because Uni-Ball’s Posca pens have a wide range of colours and shades I thought they would perfectly lend themselves to a pattern that utilised various shades of the same hue.
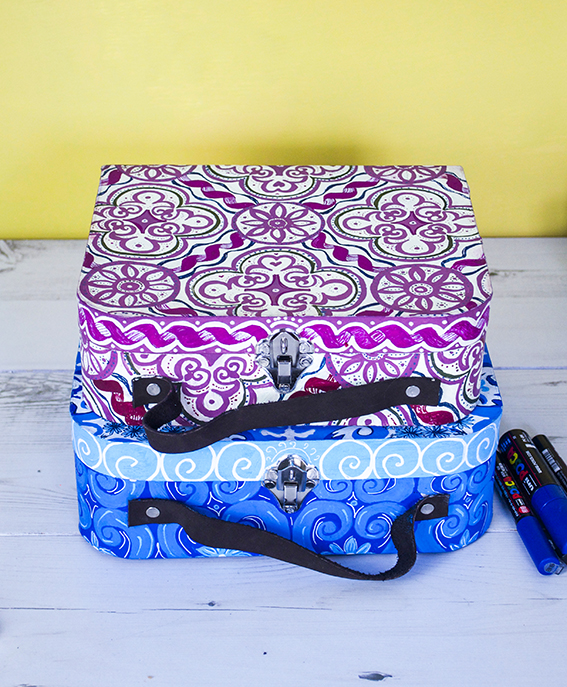 I have looked through loads of tile designs to come up with the ones I have worked out here.
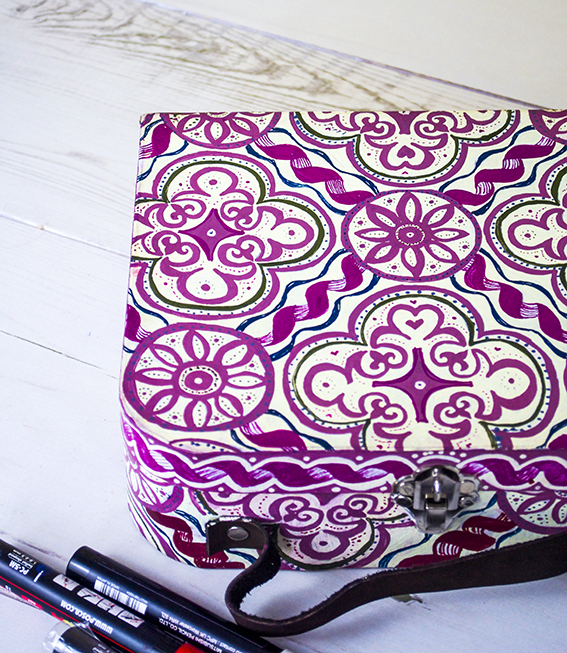 These cases were plain brown mdf boxes. I traced on my design before filling in the light colours then layering with darker shades.
Tag: DIY
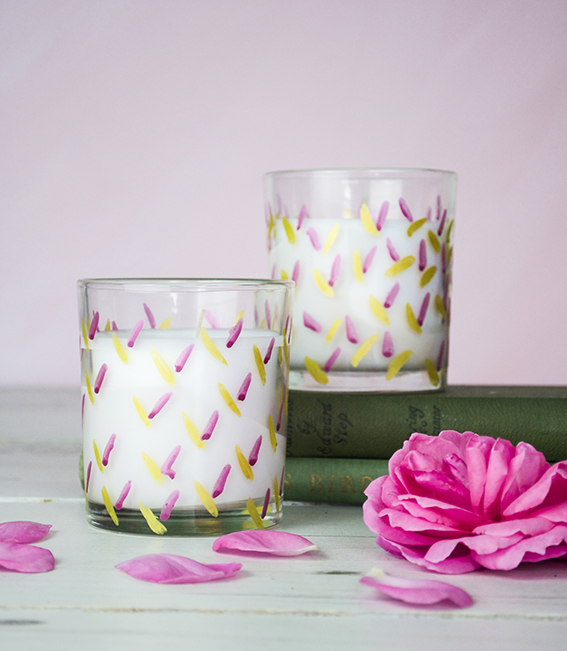
DIY: Easy Fancy Votives
This is a really easy DIY – a pretty pen project to make fancy votives that give cheap filled candles a designer feel.
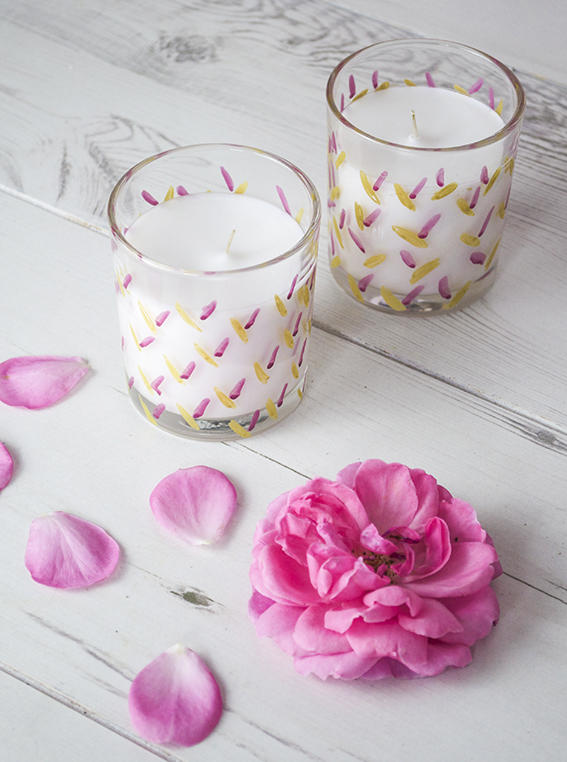 As you know I love a scented candle and I do occasionally splash the cash on some expensive ones. However, because I go through quite a few of them, I do get some cheaper ones to light on a Friday and Sunday night when I’m relaxing with Dr B or when I have a cheeky Saturday afternoon bath.
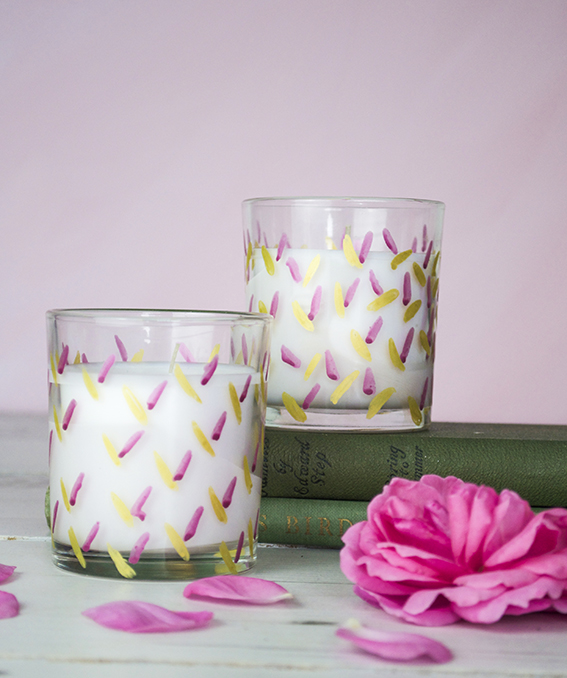
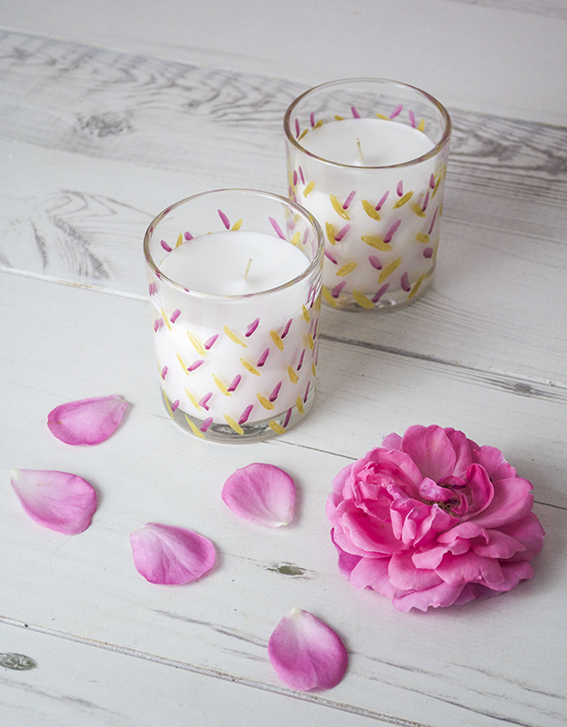 Plain filled candles can look a little drab and I like to give them a nice look. As I’m currently doing some work for Posca pens I’ve got loads of various colours lying around – I’ve chosen beautiful gold and berry coloured pens and gave them a simple leaf pattern.
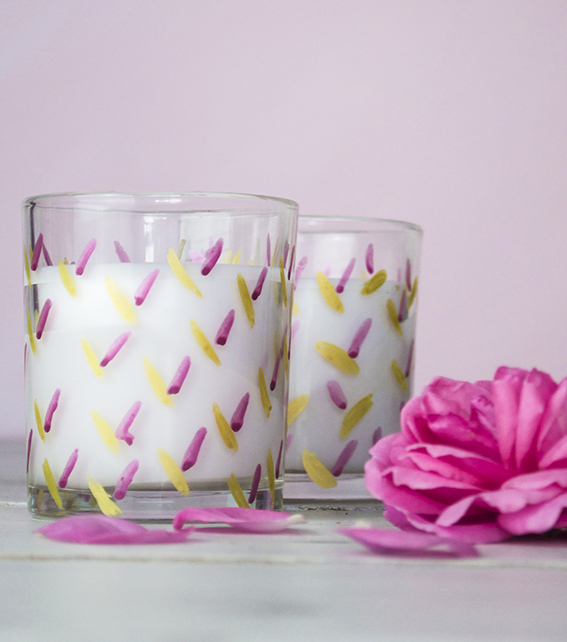 I wanted to create something really quick and easy as the last thing I wanted to do was spend ages doing an intricate pattern. So these are just scribbled little lozenges drawn on an angle.
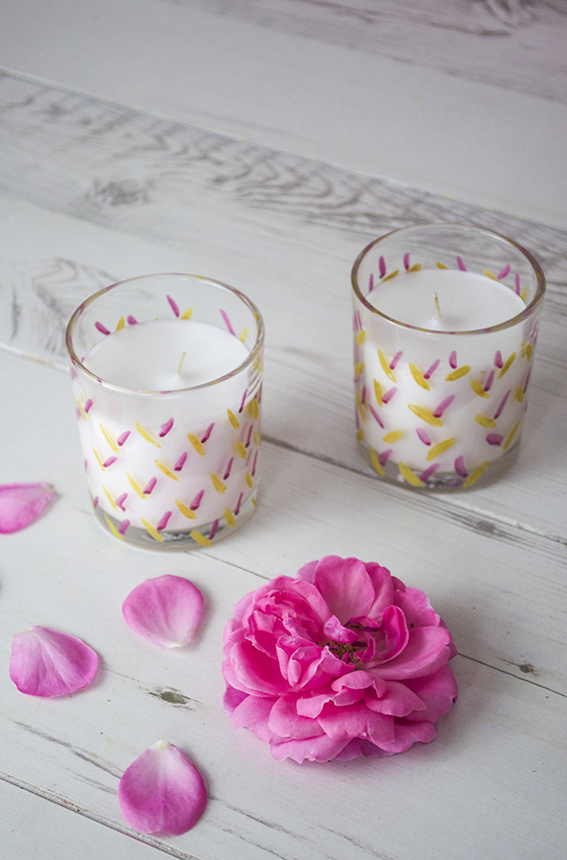 In the spirit of all things green I recycle my glasses once the candle has been burned. Once I finish with them I will use them as vases. The lovely thing about this project is I can pop these glasses in the oven at 145C to seal in the design and I have some lovely gold and berry containers.
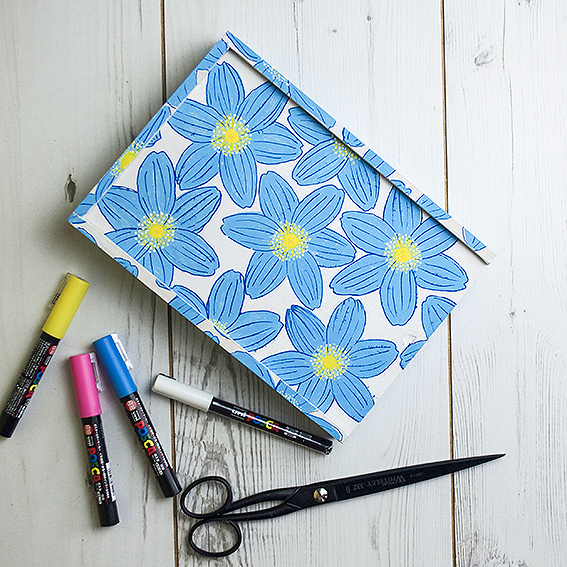
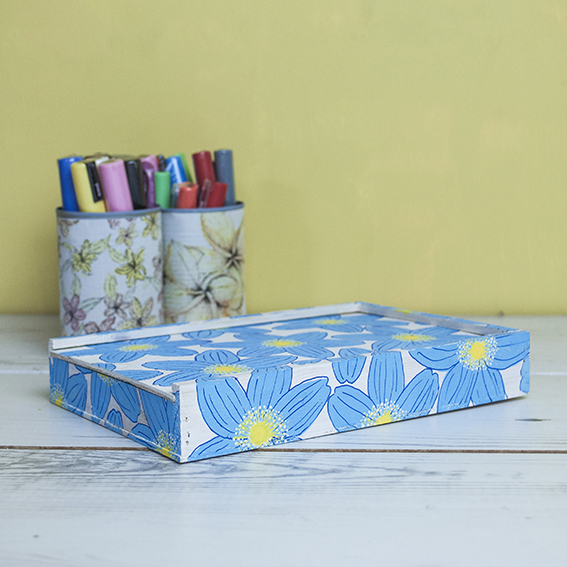
DIY: Update a wooden box
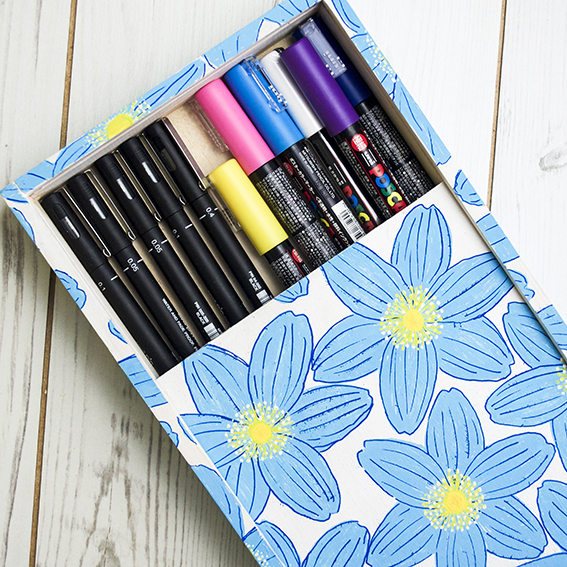
I’ve had this little wooden box for years. It was plain and unloved for ages. I kept pencils in it and every time I retrieved them I thought “I should really do something with this” and then I’d leave it.
Then a couple of weeks ago I was asked if I wanted to do some projects with Uni-ball the makers of Posca pens. Before I started on the projects I thought it best to re-familiarise myself with them and have a little practice. The pens work on a range of surfaces, so after I used them on a set of notebooks I thought I’d give them a try by drawing on that plain old wooden box.
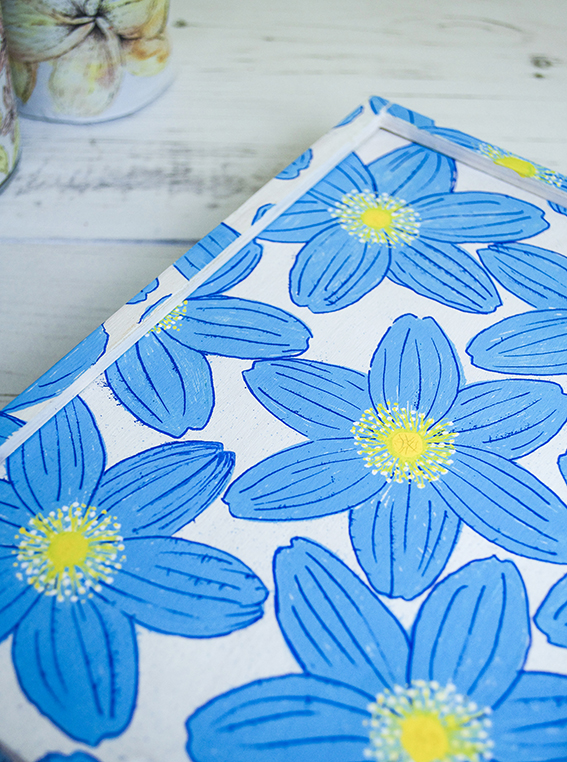
First I painted the box to give it an even white background. Then I used my wood anemone sketch as a basis for my hand-drawn box design. I wanted to make it look quite retro so influenced by sixties and seventies floral patterns I gave the flowers a bright blue colour.
What I like about these pens is that you can layer them without them bleeding and apply lighter shades over darker ones which means I could add depth to the flowers with lovely yellow centres and white pollen.You can set the design by simply spraying some varnish over it.
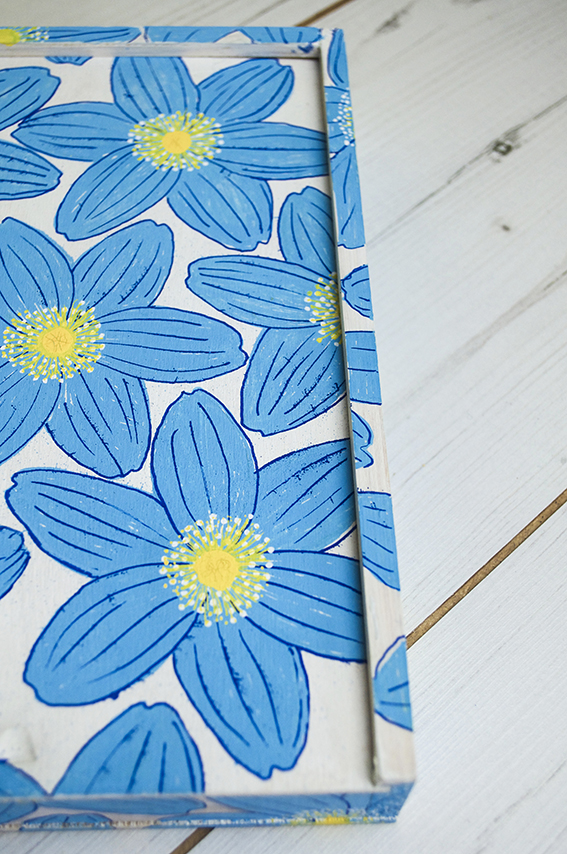
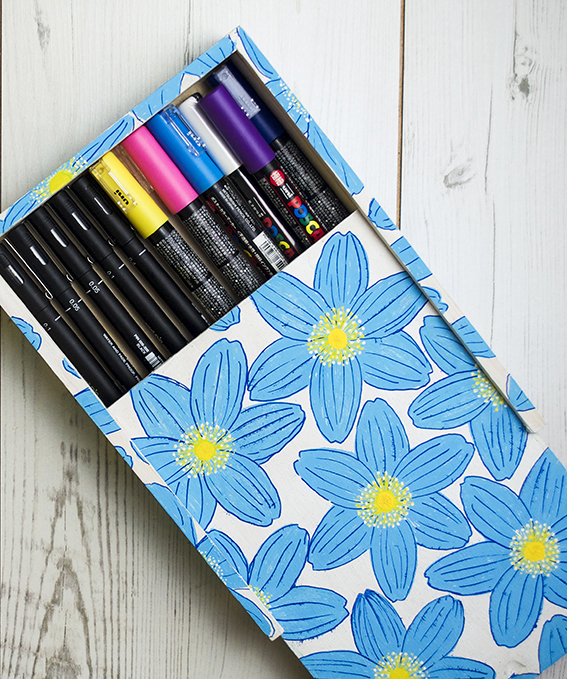
You can set the design on the box by
DIY: Scandi folk pattern boxes
I don’t know about you but I have been addicted to BBC Two’s Great Interior Design Challenge, I love the whole thing; the architectural history, updating spaces, adding special touches and answering client briefs, the reveal, everything. I’ve watched the show since it started and am always inspired by the ideas that the amateur designers come up with and the advice and insights the experts outline.
This series has seen loads of creative ideas and I was particularly struck by Lucy Tiffney’s Scandinavian Folk bedroom. I love the way that illustration, painting, craft and interior design have crossed over in this project and the sweet, rustic lines and simple motifs, executed in a muted colourway. I couldn’t wait to reconnect with some folky drawing myself.
Freshly inspired, I set about studying Scandinavian patterns. Some of my favourites are pinned on my Pinterest board. What’s lovely about these designs is they are so easy to recreate and then add your own twist to. From simple stem and leaf motifs, lovely lace edges and symmetrical composition, this folky style is great for when you want to achieve an effective looking, intricate decoration without feeling you have to be hugely technical or an amazing drawer.
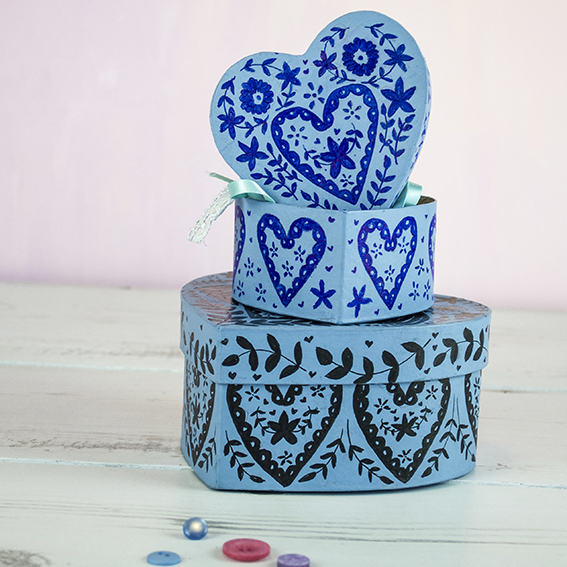
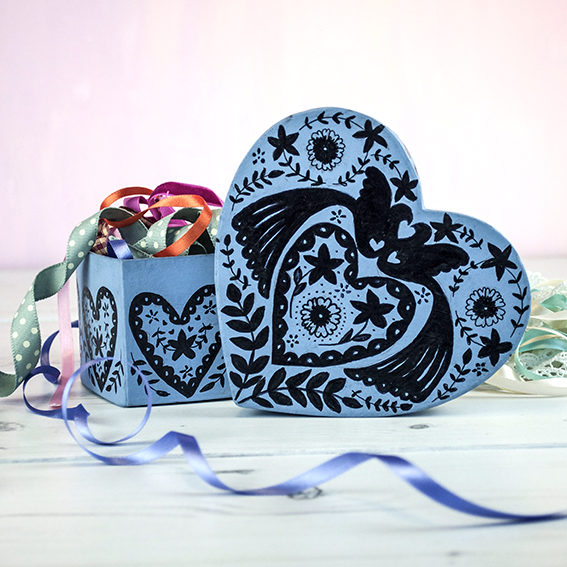
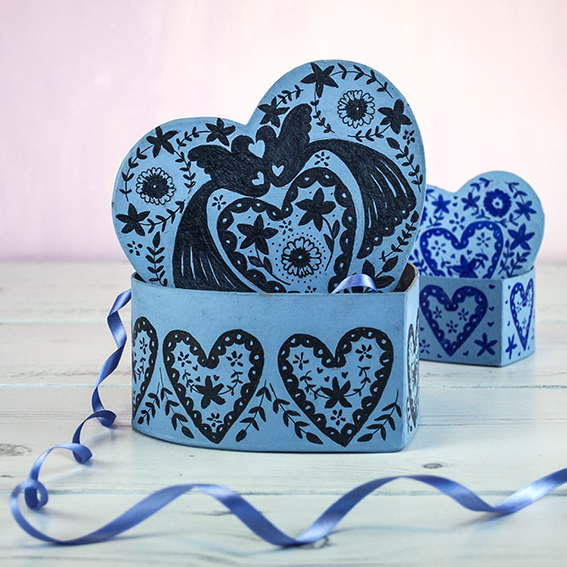
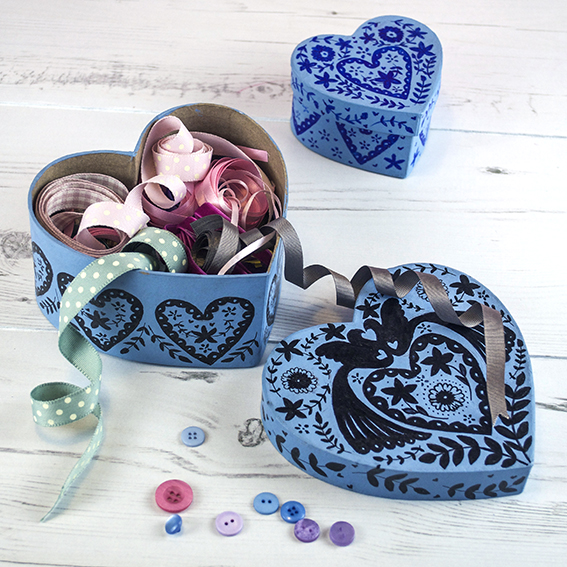
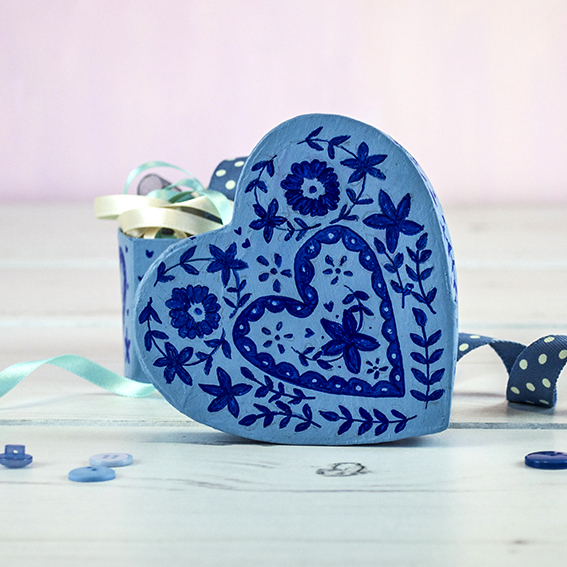
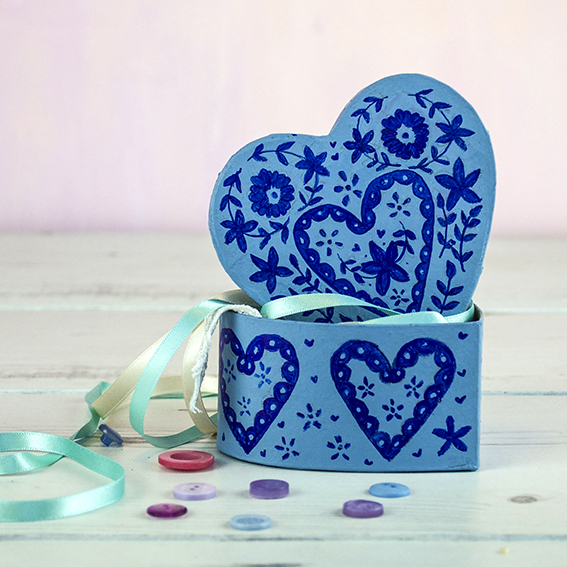
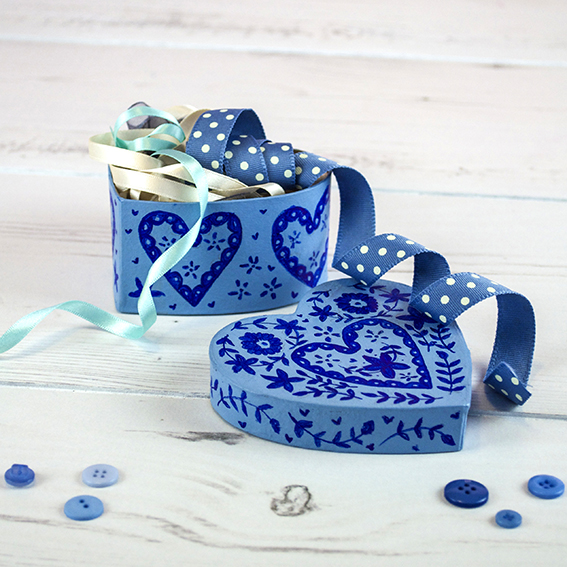
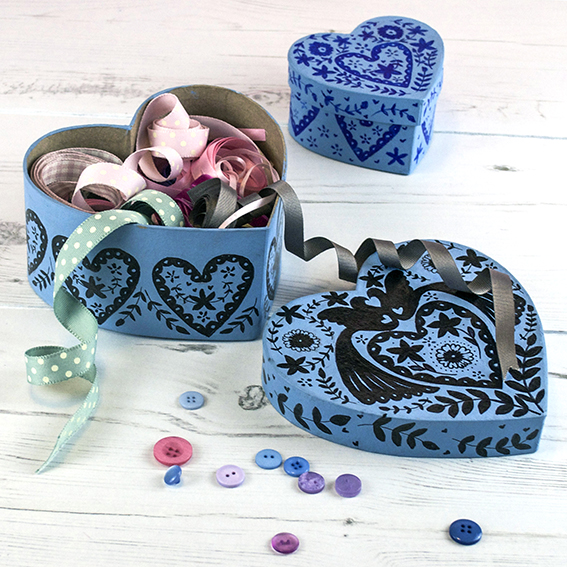
I had some plain cardboard heart-shaped boxes that were in need of updating. I gave them a lick of light blue paint that really suited traditional Scandinavian design. I then set about drawing my design onto tracing paper. I drew half the design then folded the paper to create a mirror image. Then I simply transferred the designs onto the painted boxes.
I finished the traced design with felt-tip pen. I chose to use black and blue pen for a strong contrasting look with the light blue but I reckon this would also look lovely in traditional red and cream.
Had my motifs been larger I would have painted them on – and I am considering doing something with a piece of furniture for a funky little upcycling project. This kind of thing would look really effective on a bedside cabinet or storage box.
I’m storing ribbons and buttons in these boxes (I have so many of both) but I’m sure you could fill these with pretty tissue paper and treats (chocolates or toiletries) for a thoughtful gift. 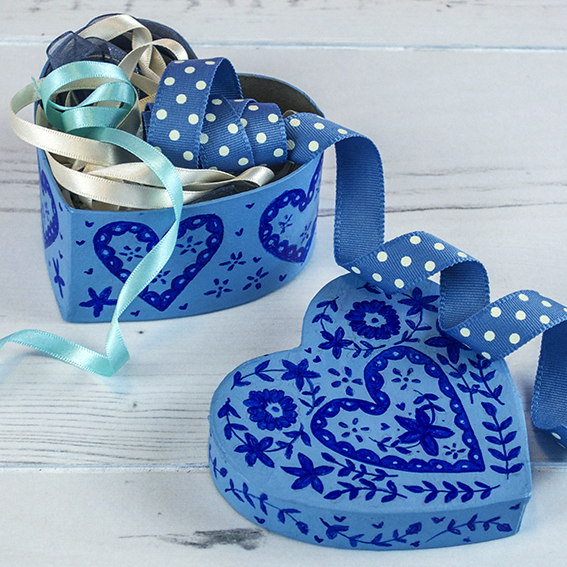
DIY: Embossed clay jewellery holders
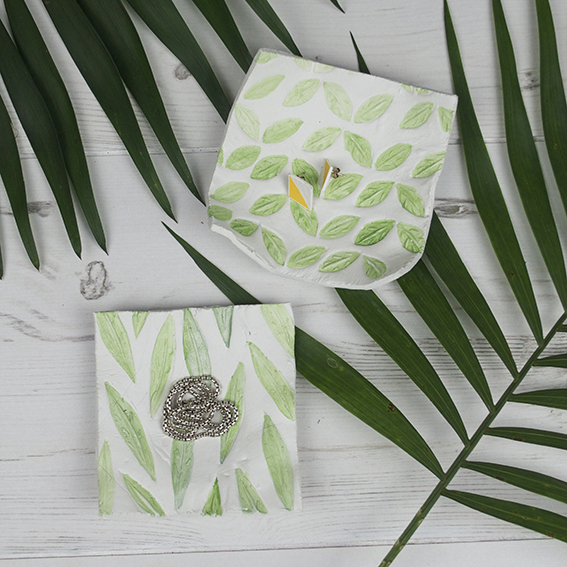
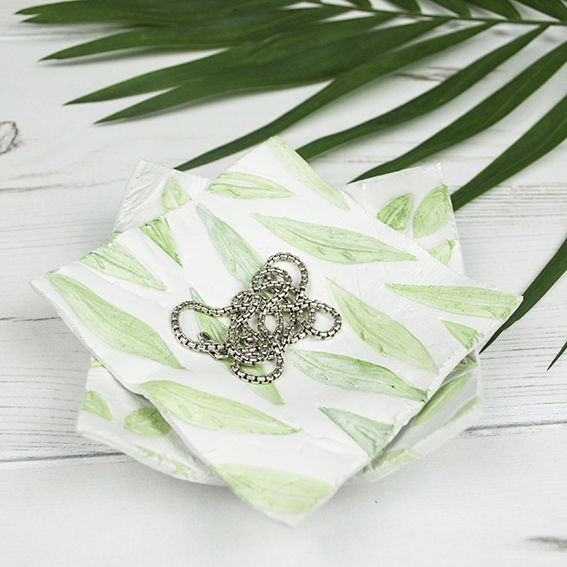
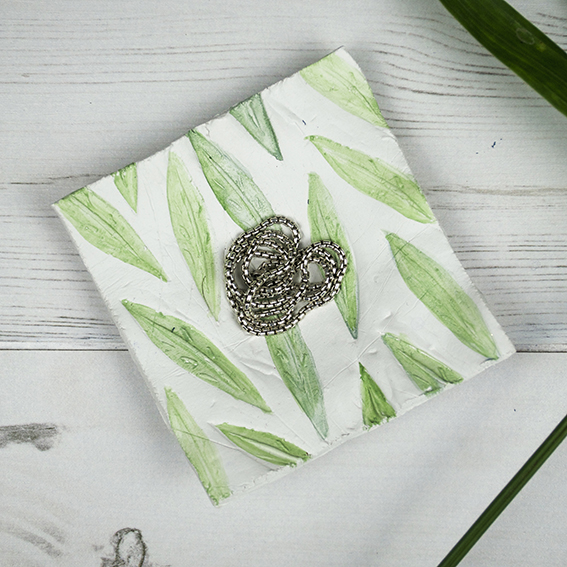
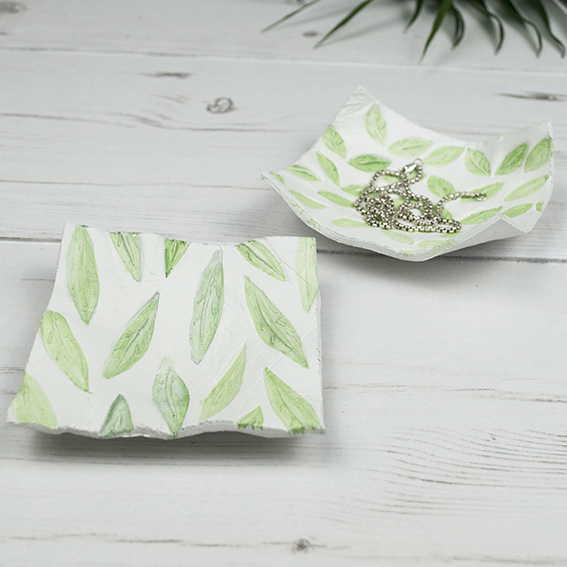
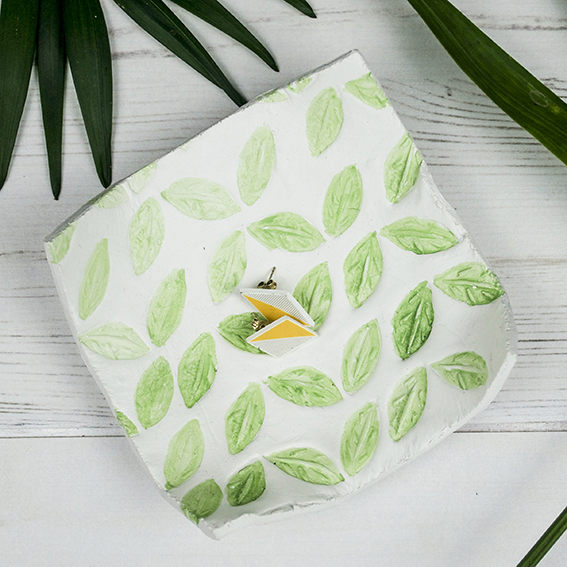
These embossed clay jewellery holders are really easy to make and take minutes to create. This simple DIY is great if you’re looking to make a handmade gift as they can be adapted to suit all design tastes.
It’s my new year’s resolution to revamp our bedroom – I’ve gathered a collection of inspiring looks to set the mood for the boudoir and I also want to have homemade elements to make it more personal. Although I do have a jewellery box I’m always dumping my earrings and necklaces at the side of my bed before I go to sleep so I wanted to make something that would at least keep them in one place when I did so.
Making these holders couldn’t be simpler, I rolled out some air-dry clay and then embossed it with my hand-carved rubber stamps. I cut the clay into squares and gently shaped them over some bowls to create wells. After the clay had dried, I coloured the leaves with a light washes of acrylic paint to give them a bit of colour. I’d imagine if you sealed them with a waterproof varnish the would make attractive soap dishes too.
