Posted on

DIY: Scandi folk pattern boxes

Scandinavian folky patterned boxes (c) ellasplace.co.uk

I don’t know about you but I have been addicted to BBC Two’s Great Interior Design Challenge, I love the whole thing; the architectural history, updating spaces, adding special touches and answering client briefs, the reveal, everything. I’ve watched the show since it started and am always inspired by the ideas that the amateur designers come up with and the advice and insights the experts outline.

This series has seen loads of creative ideas and I was particularly struck by Lucy Tiffney’s Scandinavian Folk bedroom. I love the way that illustration, painting, craft and interior design have crossed over in this project and the sweet, rustic lines and simple motifs, executed in a muted colourway. I couldn’t wait to reconnect with some folky drawing myself.

Scandinavian folky patterned boxes (c) ellasplace.co.uk

Freshly inspired, I set about studying Scandinavian patterns. Some of my favourites are pinned on my Pinterest board. What’s lovely about these designs is they are so easy to recreate and then add your own twist to. From simple stem and leaf motifs, lovely lace edges and symmetrical composition, this folky style is great for when you want to achieve an effective looking, intricate decoration without feeling you have to be hugely technical or an amazing drawer.

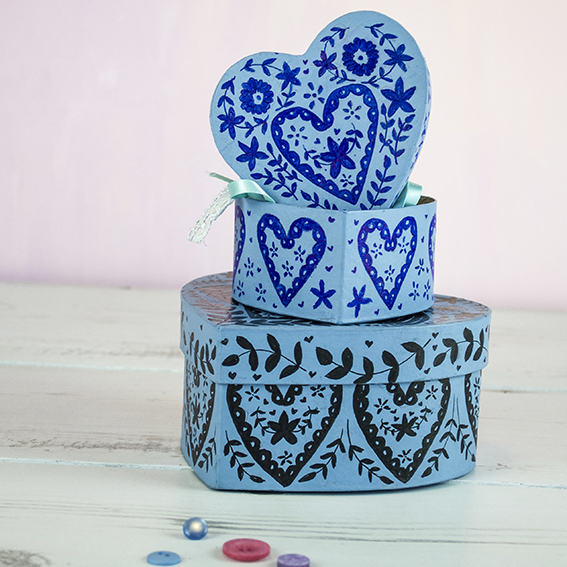
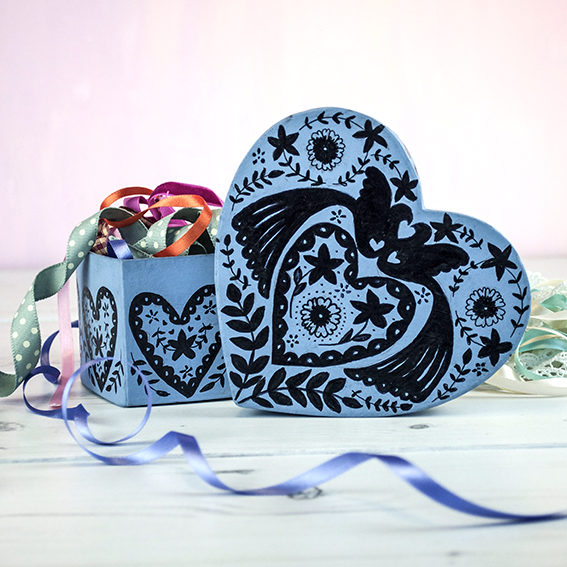
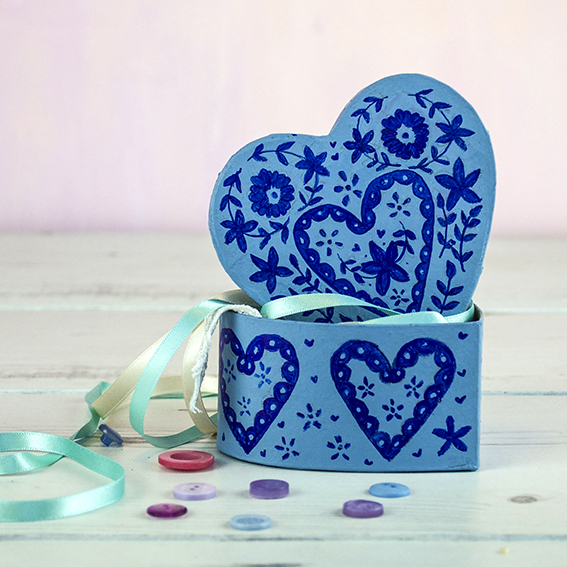
I had some plain cardboard heart-shaped boxes that were in need of updating. I gave them a lick of light blue paint that really suited traditional Scandinavian design. I then set about drawing my design onto tracing paper. I drew half the design then folded the paper to create a mirror image. Then I simply transferred the designs onto the painted boxes.

Scandinavian folky patterned boxes (c) ellasplace.co.uk

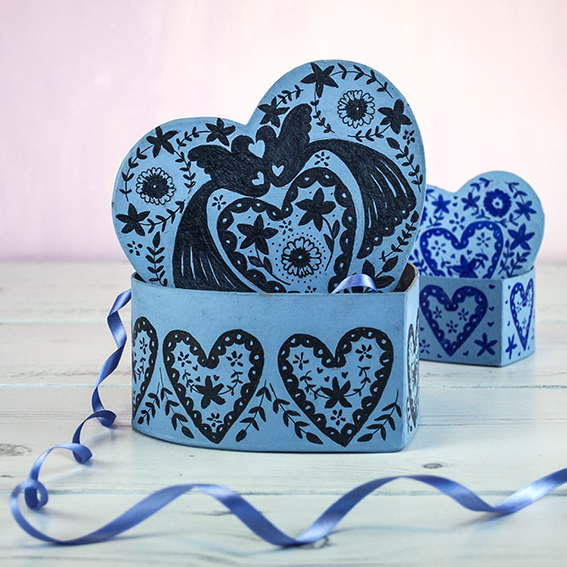
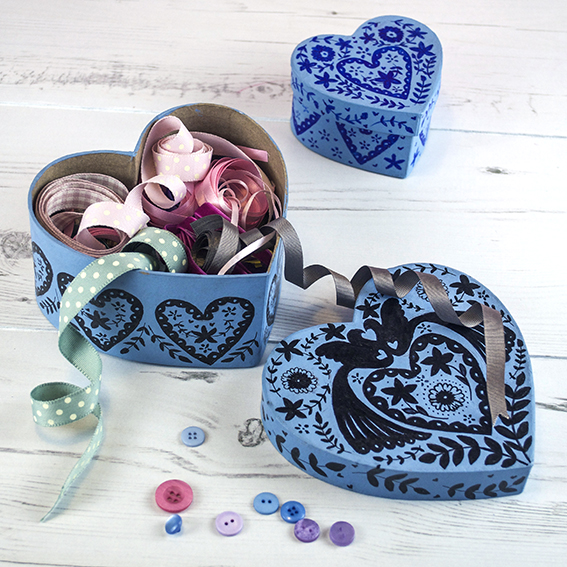
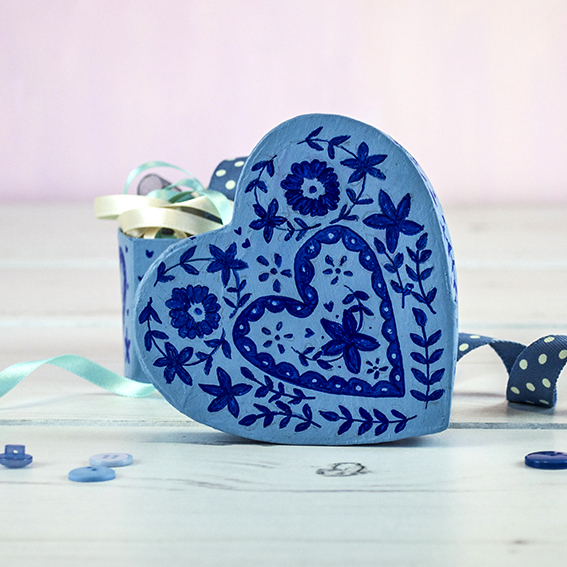
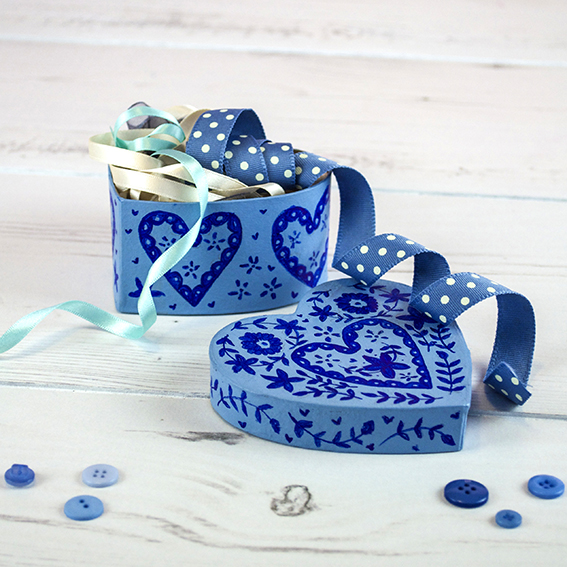
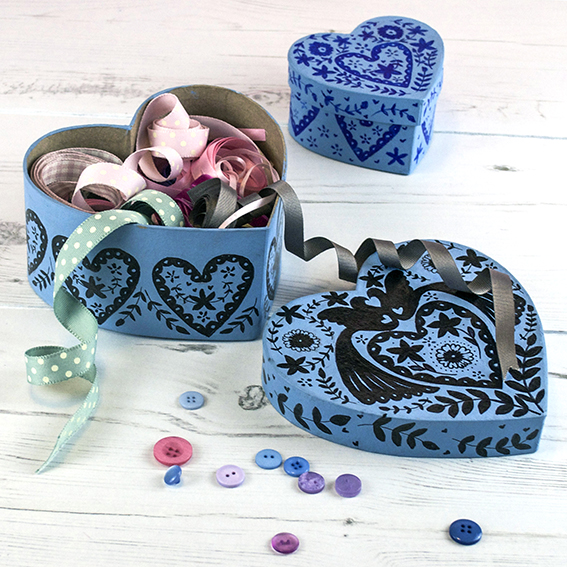
I finished the traced design with felt-tip pen. I chose to use black and blue pen for a strong contrasting look with the light blue but I reckon this would also look lovely in traditional red and cream.

Scandinavian folky patterned boxes (c) ellasplace.co.uk

Had my motifs been larger I would have painted them on – and I am considering doing something with a piece of furniture for a funky little upcycling project. This kind of thing would look really effective on a bedside cabinet or storage box.

Scandinavian folky patterned boxes (c) ellasplace.co.uk

I’m storing ribbons and buttons in these boxes (I have so many of both) but I’m sure you could fill these with pretty tissue paper and treats (chocolates or toiletries) for a thoughtful gift. Scandinavian folky patterned boxes (c) ellasplace.co.ukScandinavian folky patterned boxes (c) ellasplace.co.ukScandinavian folky patterned boxes (c) ellasplace.co.ukScandinavian folky patterned boxes (c) ellasplace.co.uk

Posted on

How to make a book in eight easy steps

If you are anything like me you’ll have loads of spare bits of patterned, or even plain, card and reams of paper lying around. I’ve got a great little Japanese stab-bound book project that uses up all your stash and is brilliant for when you want to make handmade gifts for people.

So here’s how to make a book in eight easy steps. I’ve screenprinted one of my bird illustrations onto a card cover of my book but you can make yours with anything you like.

Handmade book (c) Ella's Place


YOU WILL NEED
Awl
Ruler
Pencil
Two sheets of A6 card for your cover
15 sheets of 120gsm A6 paper
Book-binding thread and needle
Rough paper (same size as your book pages and card)

(c) Ella's Place1: Use rough paper to make a template. With a ruler, draw a line from top to bottom of the rough at 1cm from the spine. Starting 1cm from the top, mark off an even number of points spaced evenly on that line.

(c) Ella's place

2: Working on a hard, flat surface. Use the awl to make holes in the intersections as shown – I’m protecting my table (and my hands) by placing the paper on a cork board so the awl can ‘sink in’.

(c) Ellas place

(c) Ellas place

3: Place the front cover card underneath the template, holding or clipping the front edge to keep from moving. Protect your work surface as you punch a hole at each of the marked points using an awl. Repeat for the back cover.

(C) Ellas place(c) Ella's Place
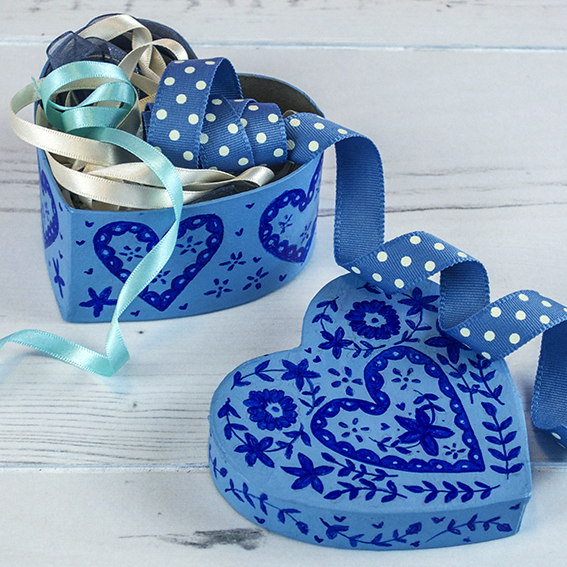
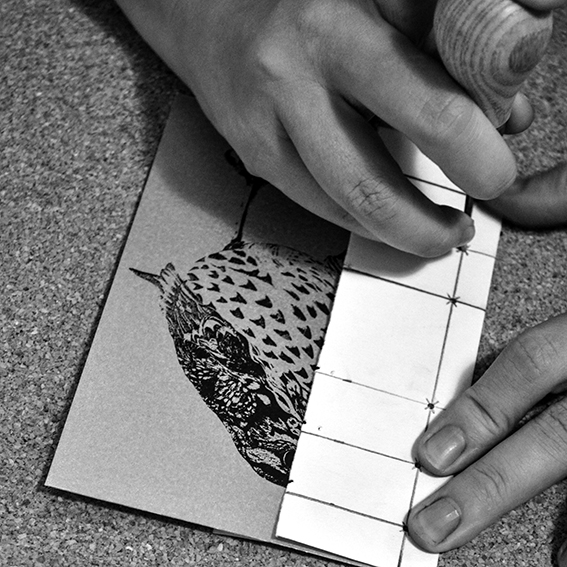
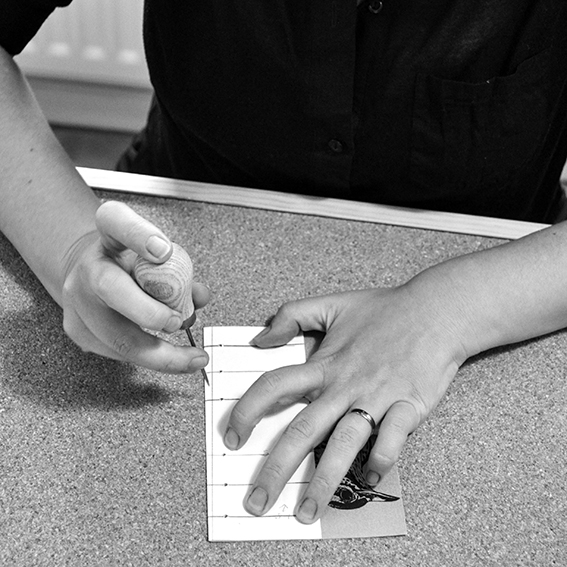
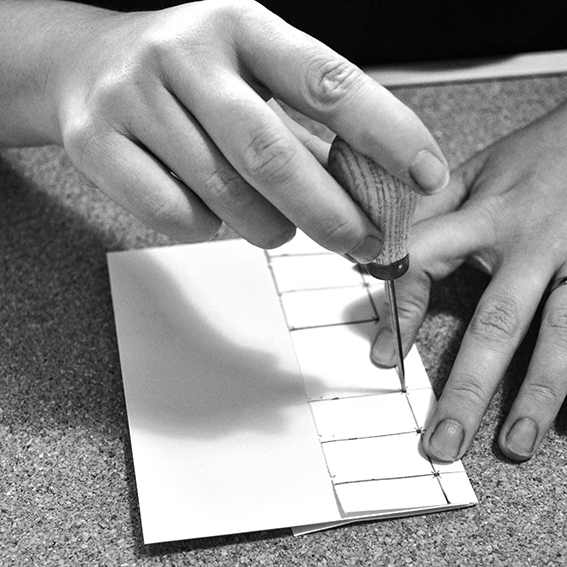
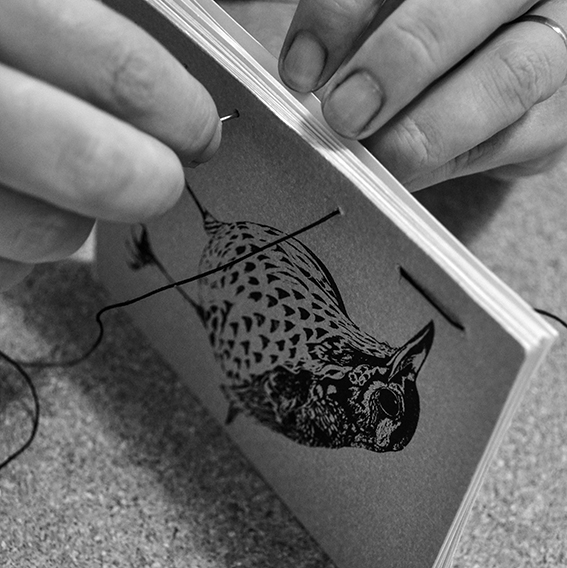
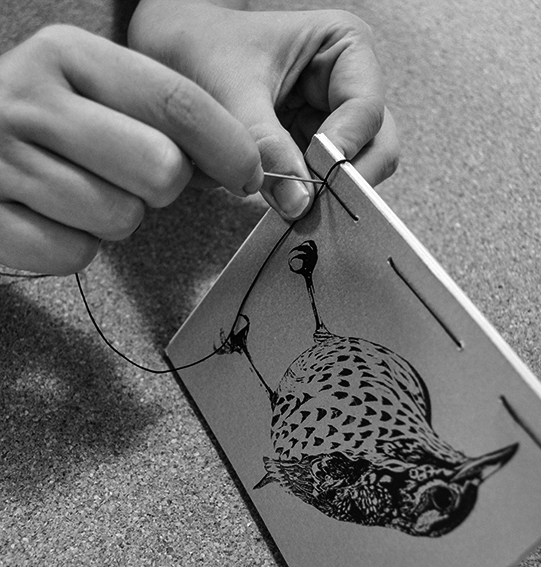
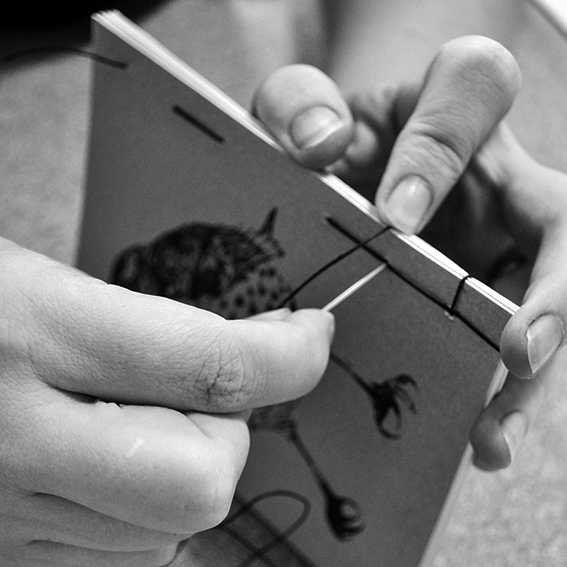
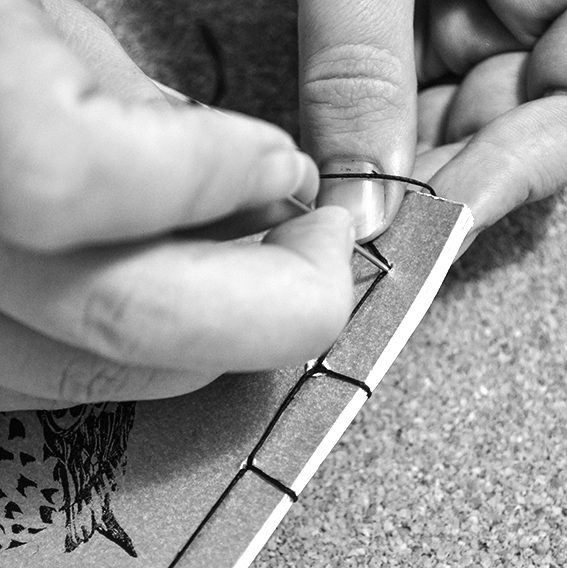
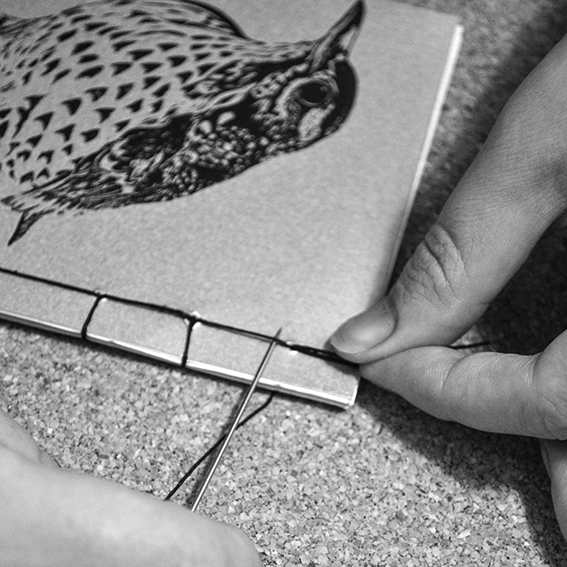
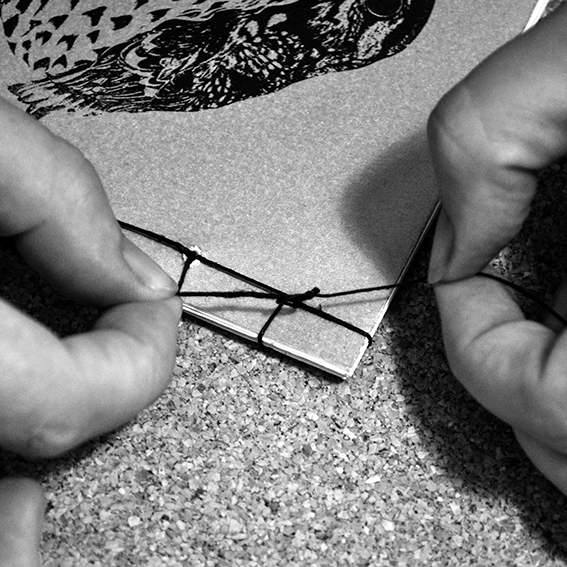
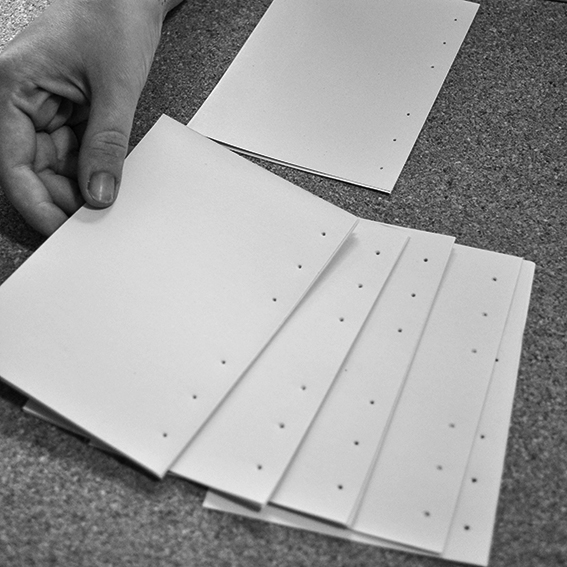
4: Place a quarter of the book pages underneath the template and make holes as shown. Continue with the remaining pages doing quarters at a time. The pages and cover should all look the same once punched.

(c) Ella's Place

(c) Ella's Place5: Put all the pages, including the front and back covers, together. Thread the needle through the top back hole of the book, leaving some thread loose. Make a running stitch along the holes in the book, pulling the thread tight each time through a hole while keeping your top thread loose.

(c) Ella's Place

6: Loop the thread at the bottom of the book’s spine and go through the bottom hole. Place the book on its side, loop around the top of the spine and go through the bottom hole again.

(c) Ella's Place

7: Do a running stitch into the next hole, loop around the top of the spine and go through that hole again on to the next hole. Repeat until you get to the top of the book.

(c) Ella's Place

(c) Ella's Place

(c) Ella's Place8: Make a loop at the top of the book and go through the top hole. Slip the needle under two of the top bindings coming out of starting hole. Tie a tight knot with the original loose thread.

(c) Ella's Place

Look – you’ve made a book!

Posted on

Learning the art of Shibori

DSC_1013

It’s always great to learn new craft techniques – especially when they can be put to good use on home and fashion makes. I recently got to grips with the art of Shibori, an ancient Japanese dying technique, during a workshop at White House Arts in Cambridge.

Japanese printing

I went to the one-day workshop with my mum and my sister and we had a go at two Shibori dying methods; Arashi and Itajime.

Arashi shibori is also known as pole-wrapping shibori. You wrap your cloth around a pole (which looks like a large section of plastic industrial piping), then tightly bind it by wrapping a thin cord up and down the pole. Once the cord is secured, you scrunch the cloth up the pole and sink it into the dye. Arashi is the Japanese word for storm – and that’s a pretty accurate description of the kind of effect you get from this particular type of printing. As you can see above in the first picture in this post and in the photograph here:

DSC_1015

Itajime shibori is what is known as a shaped-resist technique. This means that an object is placed over the folded fabric (for example, a piece of wood) which be used to form a ‘resist’ that stops the dye making contact with the material. Because the fabric is folded (this can be done in many ways) the end result is a gorgeous geometric design that would look great on bedding and other homewares.

DSC_1007
DSC_1009 DSC_1014DSC_1012