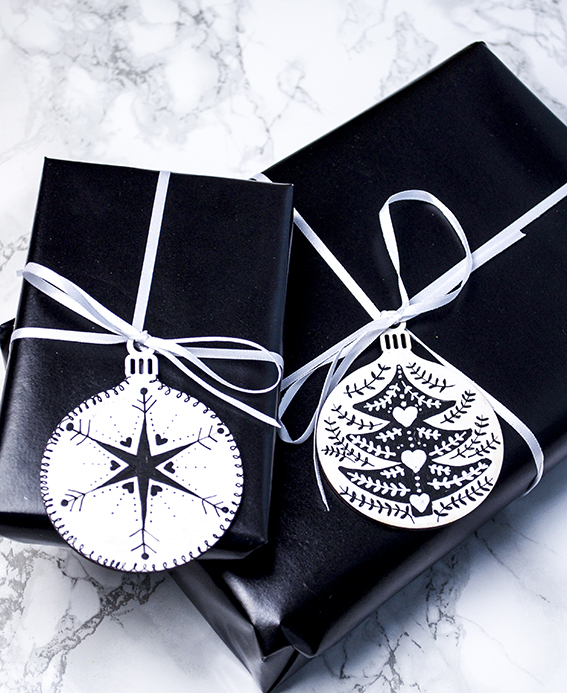
 It’s day two of my week of Christmas wrap ideas. This time I’ve gone for a stylish, yet playful Scandi-style as seen in my Scandi Lodge trend ideas with illustrated mdf bauble shaped tags.
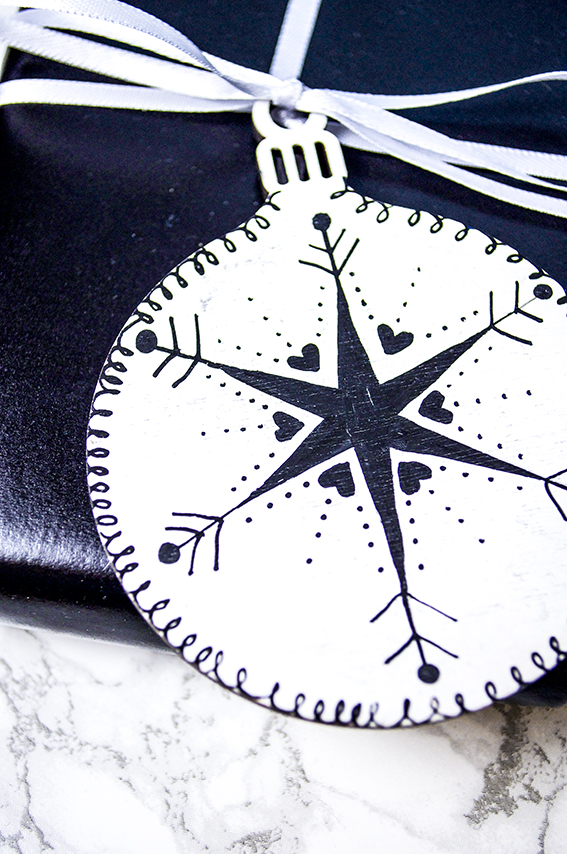
 Using my Scandi-style Christmas moodboard and my pinterest pins as inspiration I painted the shapes with white acrylic paint and used black Posca pens to apply the designs.
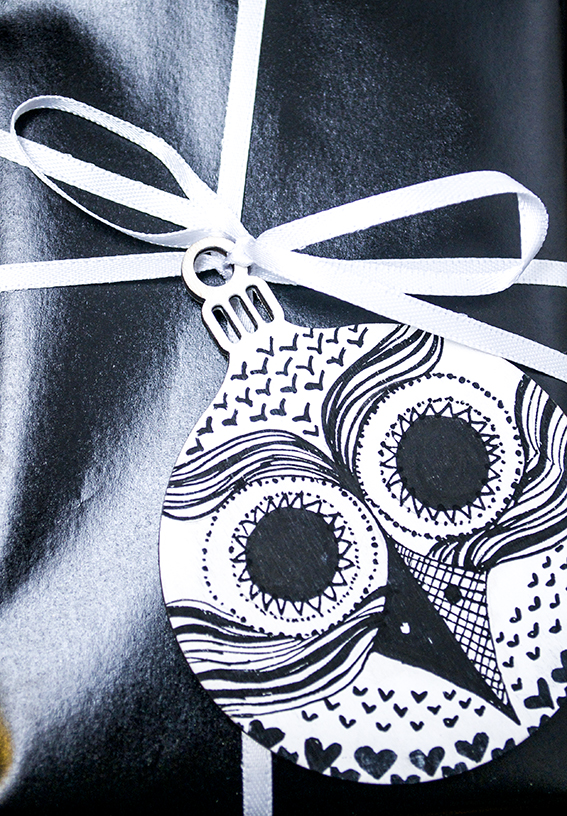
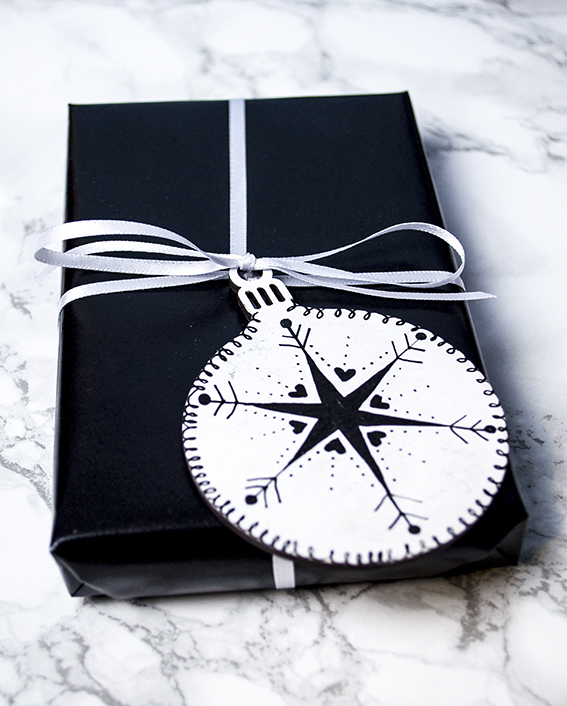 I kept the drawings fairly simple with basic star/snowflake shapes, squiggles, hearts, dots and scallops. Because the illustrated baubles create such an impact I kept the wrap itself very simple using shiny black paper with black or white 5mm and 10mm satin ribbon.
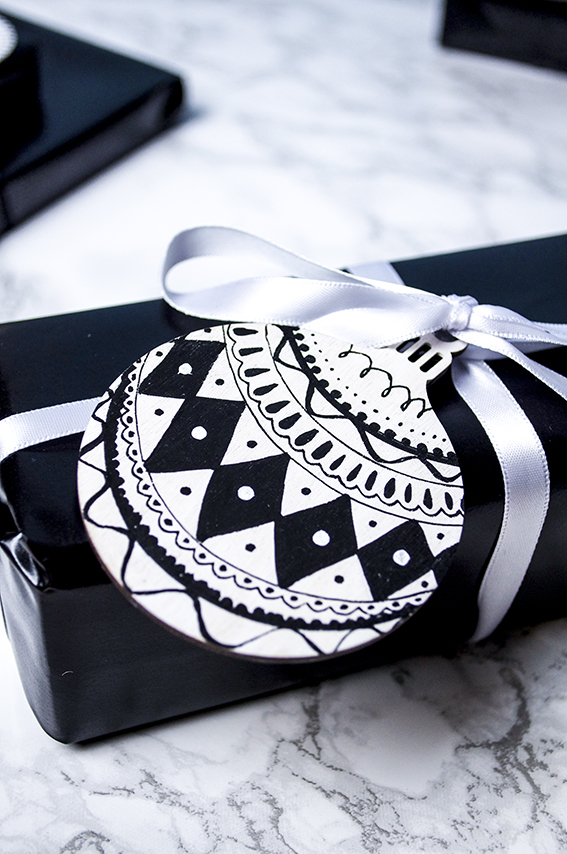
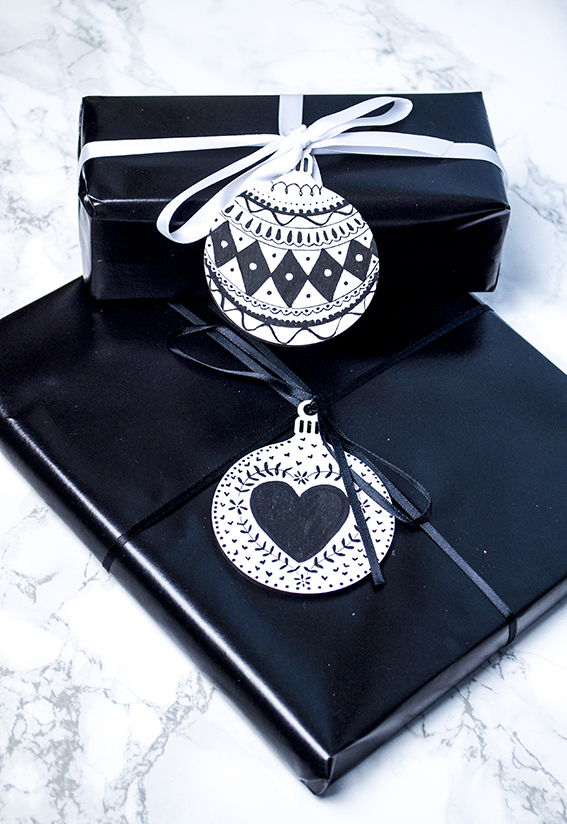 One of the easiest Scandi-style motifs I like to create is my simple laurel stem illustration that you can see above on the heart and the Christmas tree designs. It’s very, very easy to recreate as these step by steps show.
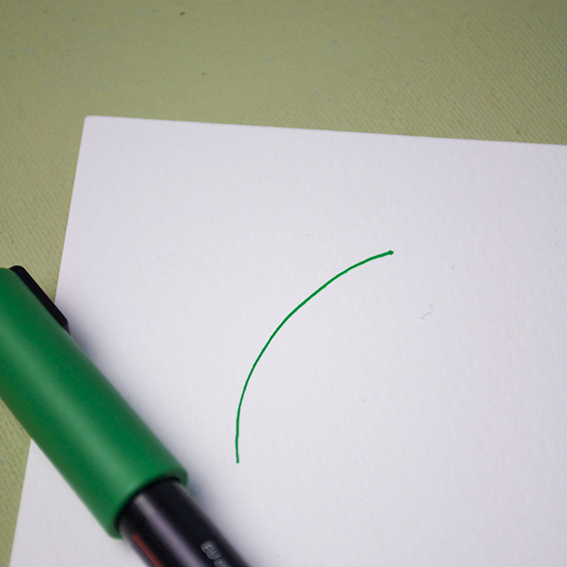 Step 1: Draw a simple line, it can be curved or straight, although I prefer mine to be a little jaunty.
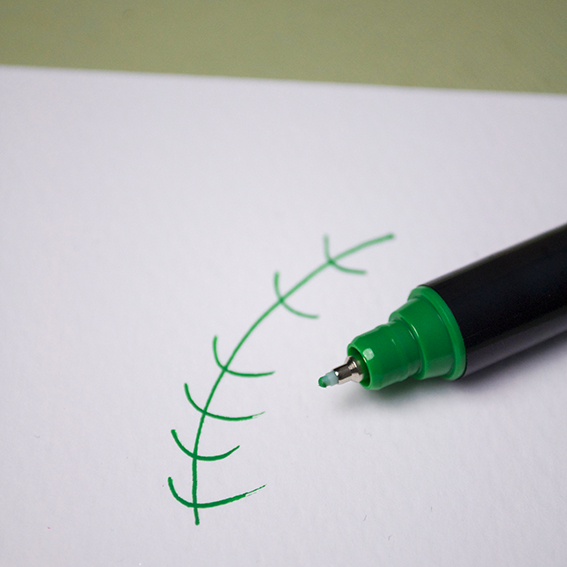 Step 2: Make little semi-circle shapes along the line as shown.
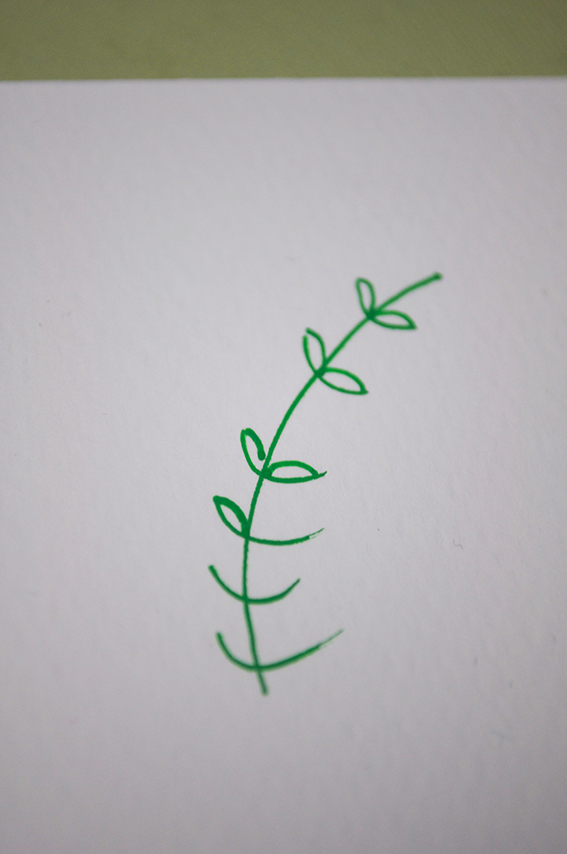 Step 3: Join the tops of the semi-circle to the central line to create leaves.
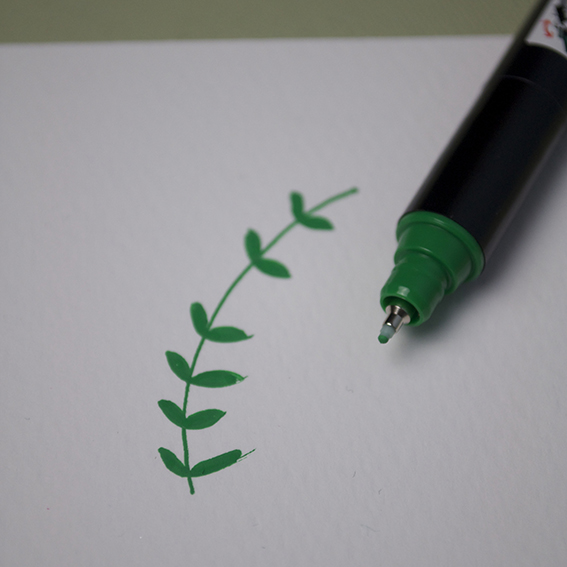 Step 4: Colour in the leaves.
Tag: gift
How to change a plain notebook into a personalised gift
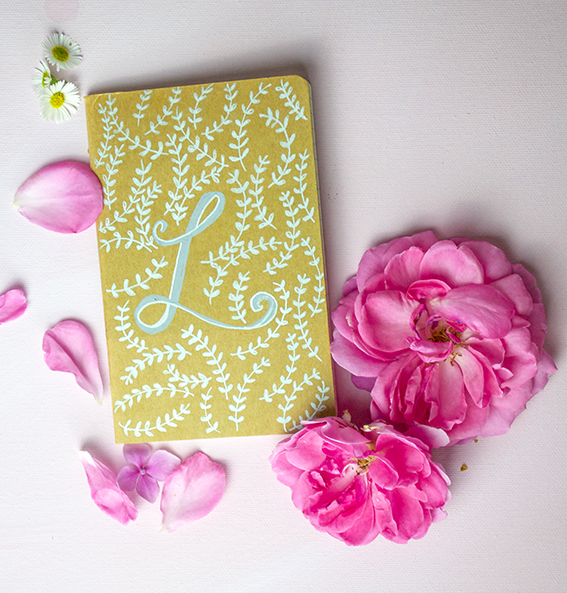 Transform a plain notebook into a personalised gift with my easy how-to.
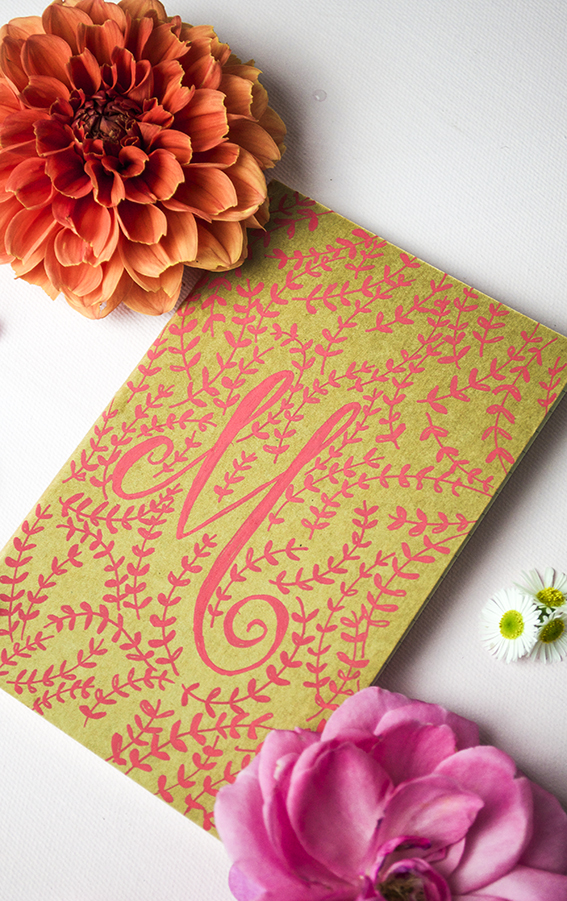 It’s more Posca pen stuff from me this week as I warm up for some workshops I’m doing for the company in September. I really want to get the workshops right.
 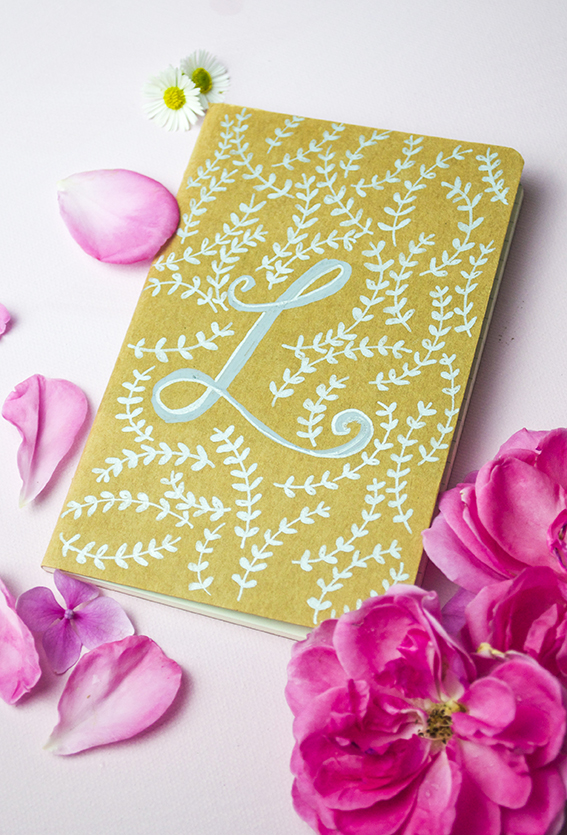 As you know I like to make personalised gifts and I currently know three people are doing some quite daunting things… Gearing to go back to work after maternity leave, going back to college (scary) and embarking on an exciting new creative project, I thought a personalised notebook would make a great little gift for these three special individuals.
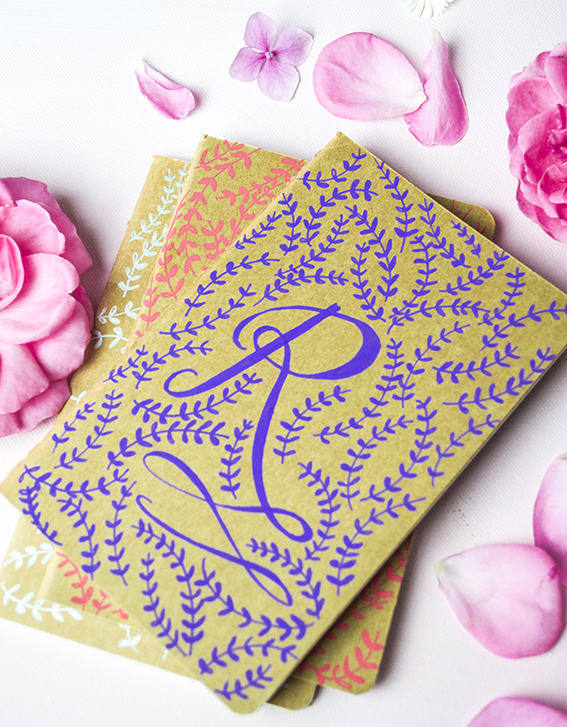
 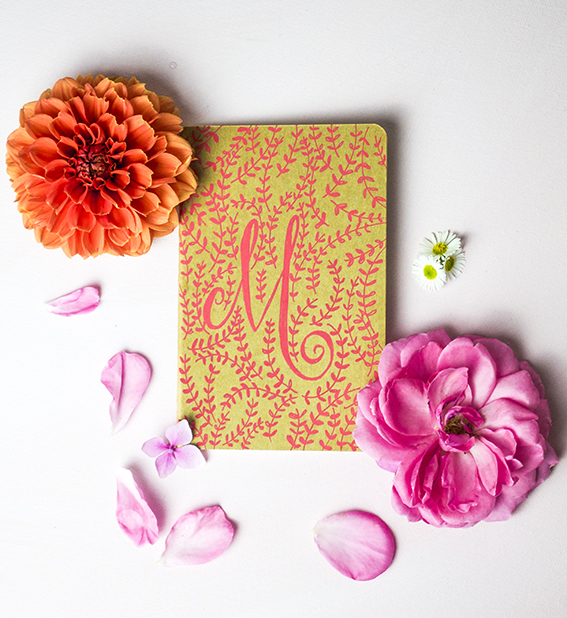 This is a really simple illustration project but makes for a very effective and professional looking present. All I did was take a three-pack of Moleskine mini cahiers, got out some sumptuously coloured Poscas and went for it.
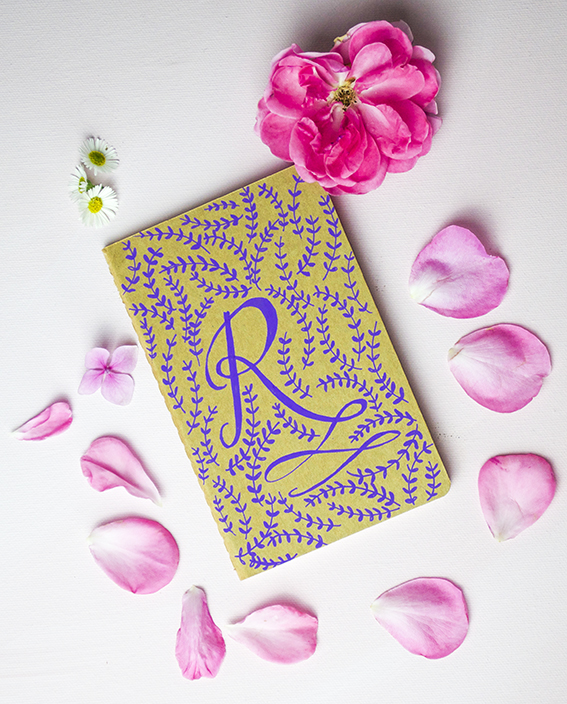 You can see how I created the laurel leaf motif by watching a tutorial I did for Posca pens earlier this year.
As you can see the drawing techniques are really easy and the pens are very nice to use. The initial on the books are quite ornate compared to the formal lettering illustrated on the wooden coasters. Depending on how confident you are, you can decided which style to go for.
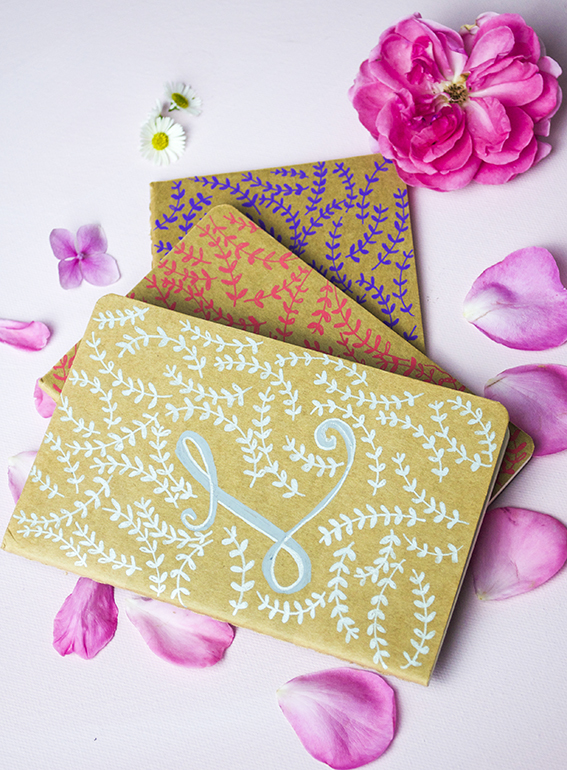 Because the pens produce a paint-like effect even light colours can look clear and vivid on the book’s brown craft card covers.
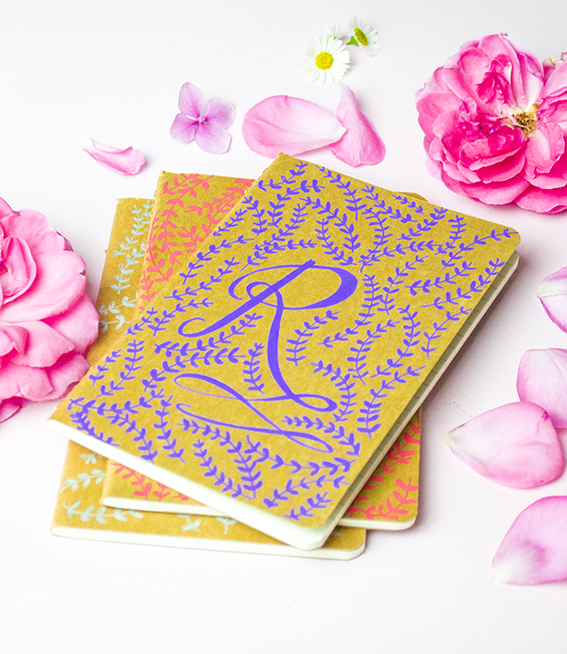
 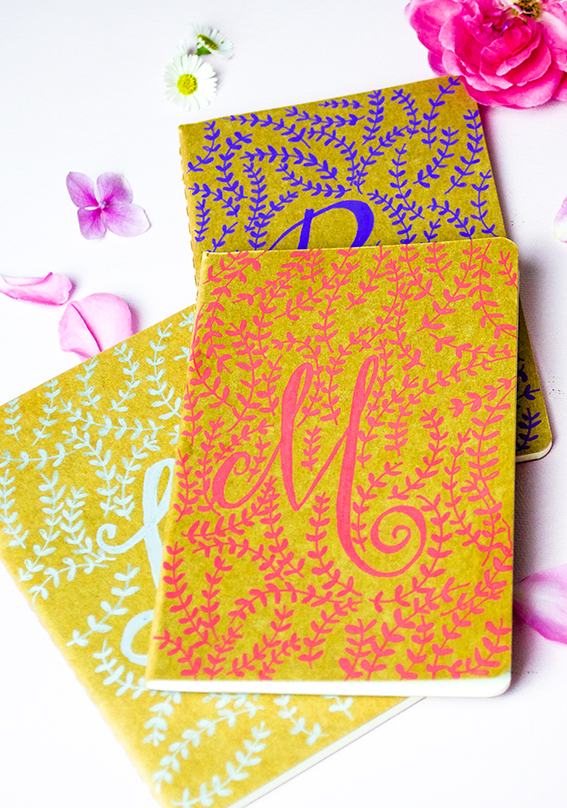 Just by using simple illustration techniques you can create an ornate, sophisticated looking gift, personalised for a special person.
Make a Mindfulness Gift Box
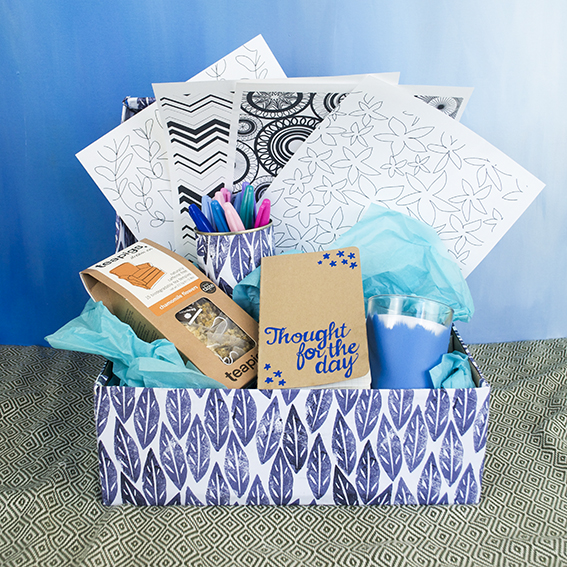
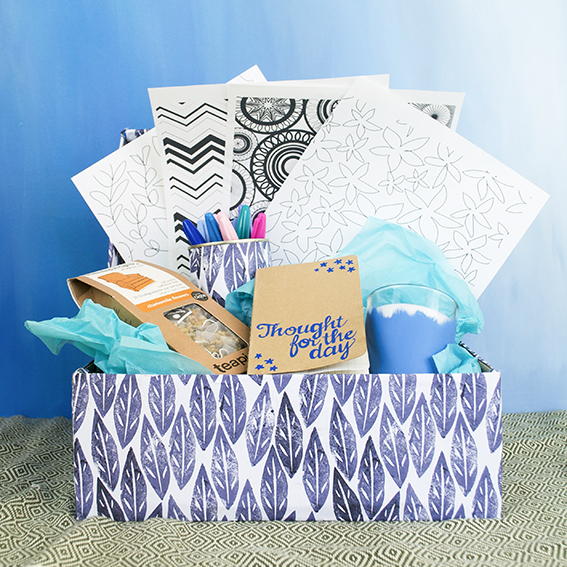
Is there someone in your life that would benefit from practicing a little mindfulness? This box of tricks could be the perfect gift for them.
The concept of ‘mindfulness’ is everywhere now and has been for a while. For anyone who’s feeling a bit cynical about the term, I can understand, but I think it’s worth exploring.
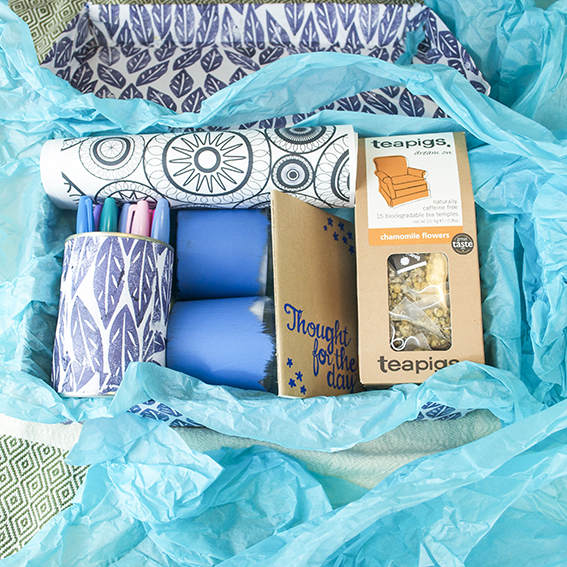
Being mindful works for me. After years and years of throwing myself into my work and very little else, stepping back and becoming more aware of being in the present moment and enjoying the here and now has transformed who I am and how I am. It’s also freed me up to be more creative and be better to myself and the people around me.
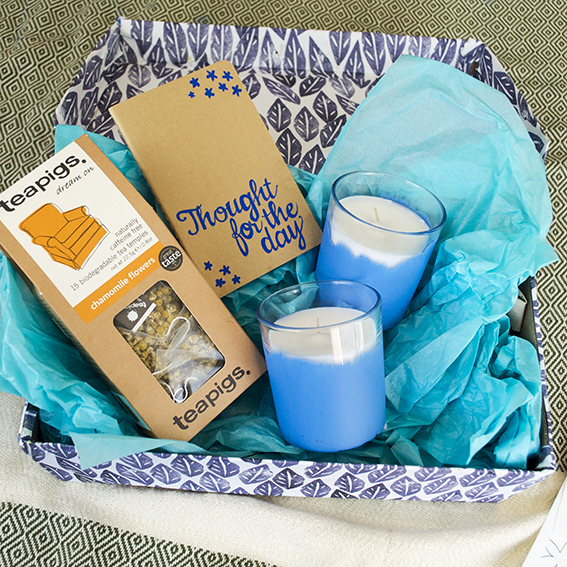
As someone who loves to work and thrives on being busy I really had to learn to be mindful. I mean really learn. At the start I needed it to be ‘project mindfulness’ (I know). So I made myself a mindfulness kit: candles to light in the evening or while I was having a bath to change the mood and unwind; a (personalised) notebook to write thoughts and observations in (and for doodles and sketches); soothing, properly nice hot beverages that I would enjoy sitting down to drink but wouldn’t be full of caffeine (I love tea pigs chamomile tea); colour therapy pages so I could absorb myself into making something pretty that wasn’t my work.
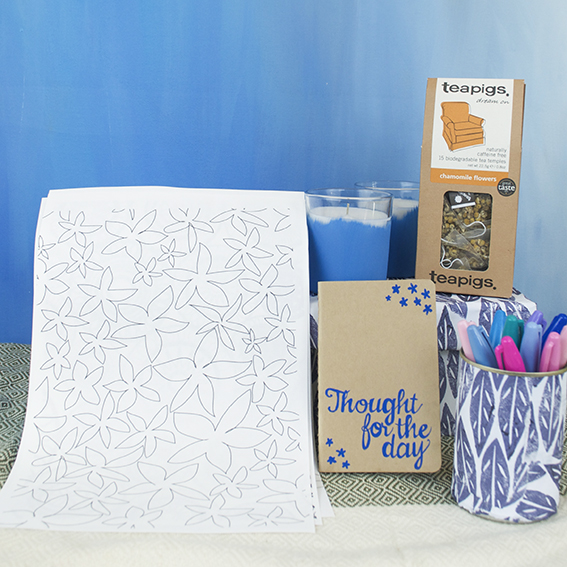
In those early days I really appreciated this ‘mindfulness kit’ but, regardless of whether you subscribe to the concept or not, it also makes a great gift in itself. I put together a personalised gift box for new mums, friends who are working hard with an all-consuming project or a busy period at work and mates who simply need someone to tell them “I’m rooting for you.” I’ll sometimes swap the tea for hot chocolate for sweet-toothed friends and change the message on the notebook for something a little more rude for certain mates of mine who share my love of curse words (have I not told you that yet?). I’ve also been known to slip in a favourite book to read, which may not totally embody the mindfulness thing but is nice to have nonetheless. The box itself is just a shoe box covered in my scandi leaf paper. I’ve designed the colour therapy/colouring in sheets myself which you can download next week so watch this space. You can find out how to pimp up your candle votives here…
DIY: Scandi folk pattern boxes
I don’t know about you but I have been addicted to BBC Two’s Great Interior Design Challenge, I love the whole thing; the architectural history, updating spaces, adding special touches and answering client briefs, the reveal, everything. I’ve watched the show since it started and am always inspired by the ideas that the amateur designers come up with and the advice and insights the experts outline.
This series has seen loads of creative ideas and I was particularly struck by Lucy Tiffney’s Scandinavian Folk bedroom. I love the way that illustration, painting, craft and interior design have crossed over in this project and the sweet, rustic lines and simple motifs, executed in a muted colourway. I couldn’t wait to reconnect with some folky drawing myself.
Freshly inspired, I set about studying Scandinavian patterns. Some of my favourites are pinned on my Pinterest board. What’s lovely about these designs is they are so easy to recreate and then add your own twist to. From simple stem and leaf motifs, lovely lace edges and symmetrical composition, this folky style is great for when you want to achieve an effective looking, intricate decoration without feeling you have to be hugely technical or an amazing drawer.
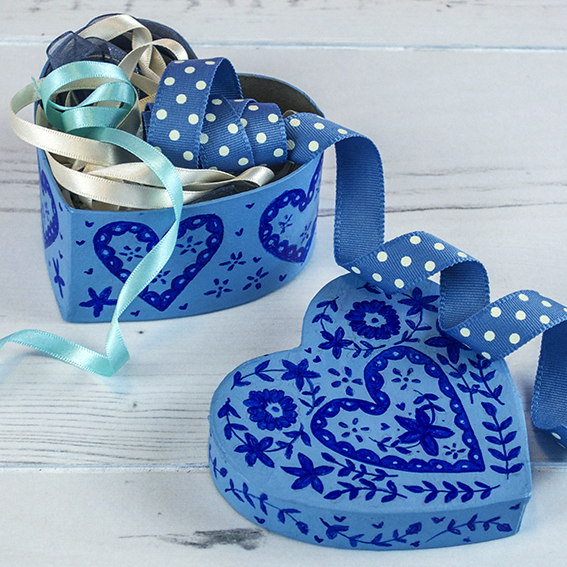
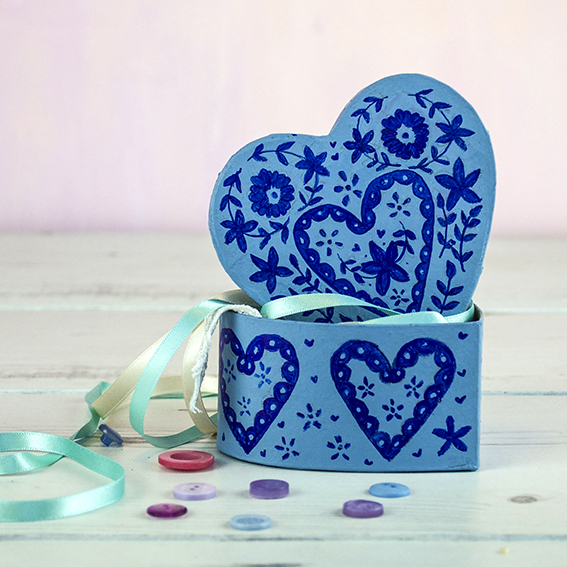
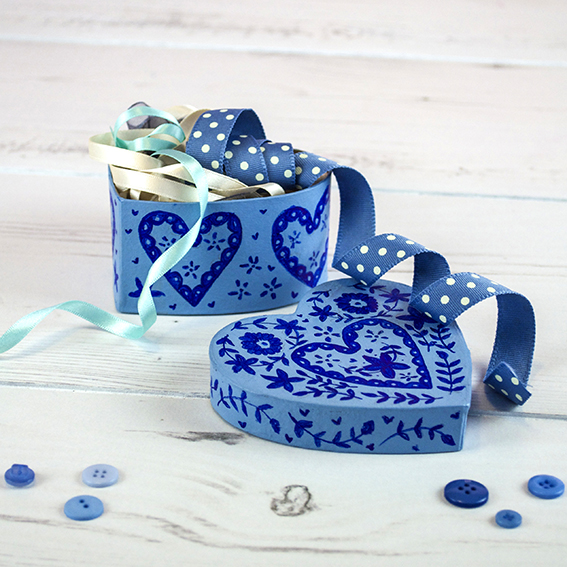
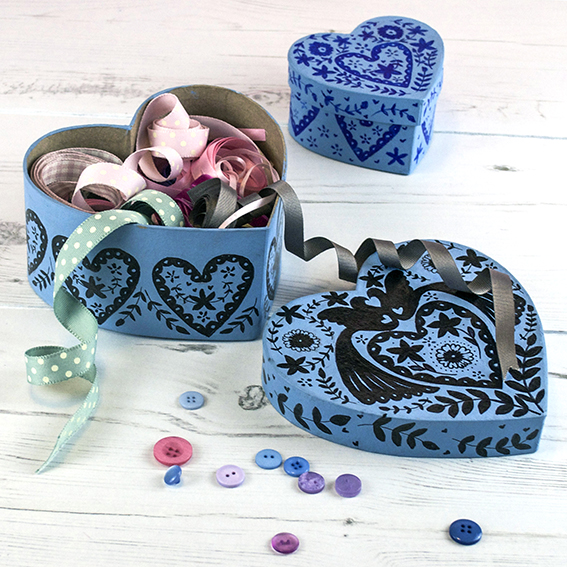
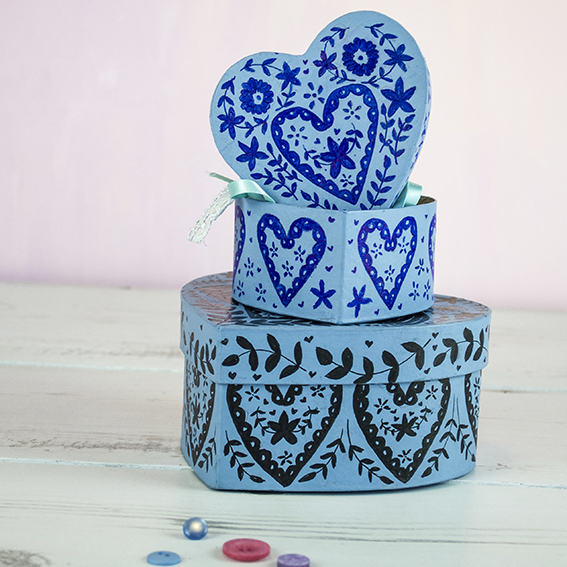
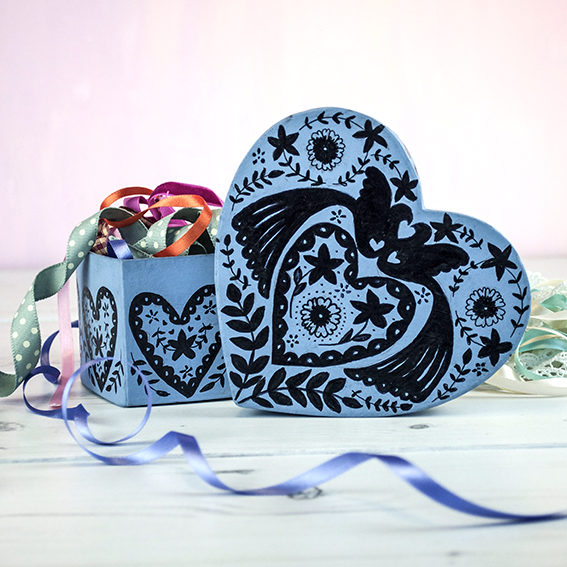
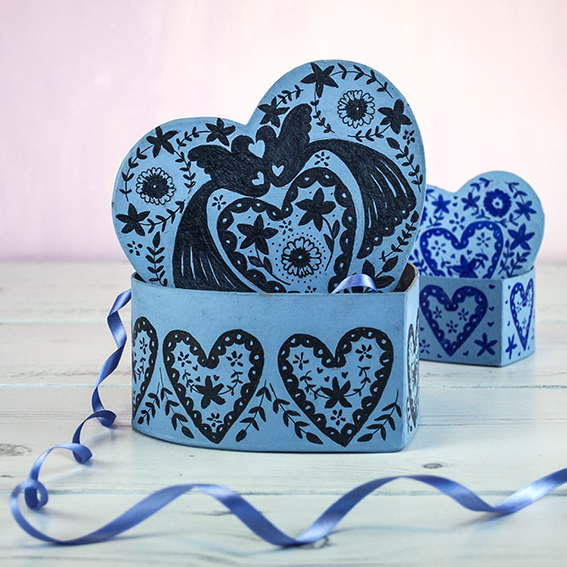
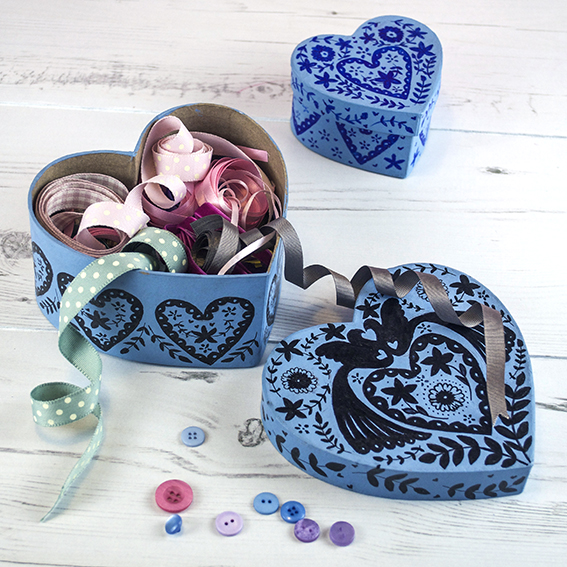
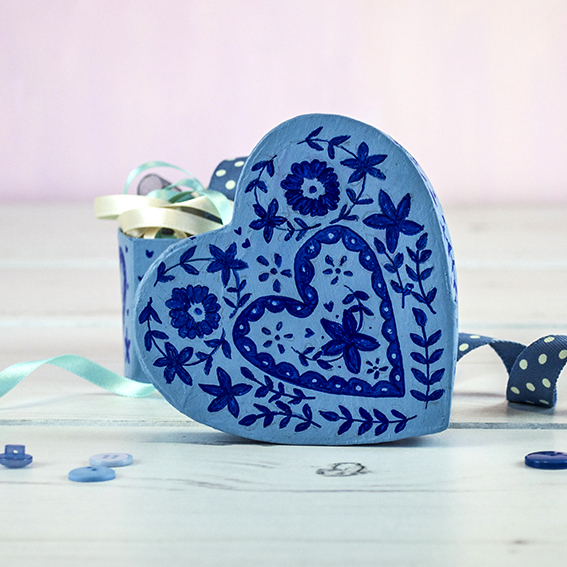
I had some plain cardboard heart-shaped boxes that were in need of updating. I gave them a lick of light blue paint that really suited traditional Scandinavian design. I then set about drawing my design onto tracing paper. I drew half the design then folded the paper to create a mirror image. Then I simply transferred the designs onto the painted boxes.
I finished the traced design with felt-tip pen. I chose to use black and blue pen for a strong contrasting look with the light blue but I reckon this would also look lovely in traditional red and cream.
Had my motifs been larger I would have painted them on – and I am considering doing something with a piece of furniture for a funky little upcycling project. This kind of thing would look really effective on a bedside cabinet or storage box.
I’m storing ribbons and buttons in these boxes (I have so many of both) but I’m sure you could fill these with pretty tissue paper and treats (chocolates or toiletries) for a thoughtful gift. 