Posted on

DIY: Scandi folk pattern boxes

Scandinavian folky patterned boxes (c) ellasplace.co.uk

I don’t know about you but I have been addicted to BBC Two’s Great Interior Design Challenge, I love the whole thing; the architectural history, updating spaces, adding special touches and answering client briefs, the reveal, everything. I’ve watched the show since it started and am always inspired by the ideas that the amateur designers come up with and the advice and insights the experts outline.

This series has seen loads of creative ideas and I was particularly struck by Lucy Tiffney’s Scandinavian Folk bedroom. I love the way that illustration, painting, craft and interior design have crossed over in this project and the sweet, rustic lines and simple motifs, executed in a muted colourway. I couldn’t wait to reconnect with some folky drawing myself.

Scandinavian folky patterned boxes (c) ellasplace.co.uk

Freshly inspired, I set about studying Scandinavian patterns. Some of my favourites are pinned on my Pinterest board. What’s lovely about these designs is they are so easy to recreate and then add your own twist to. From simple stem and leaf motifs, lovely lace edges and symmetrical composition, this folky style is great for when you want to achieve an effective looking, intricate decoration without feeling you have to be hugely technical or an amazing drawer.

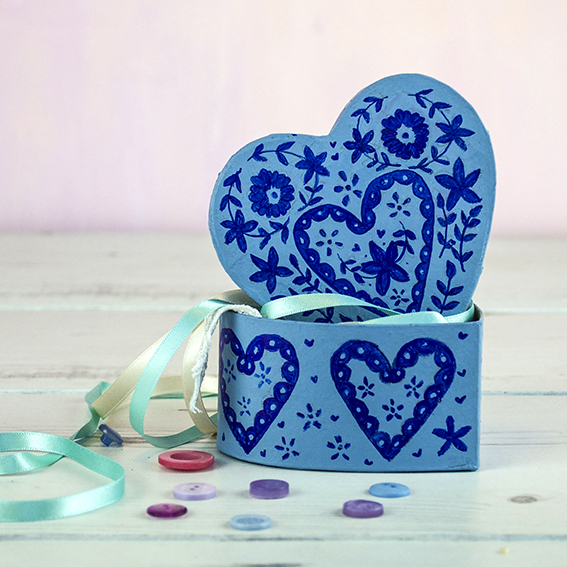
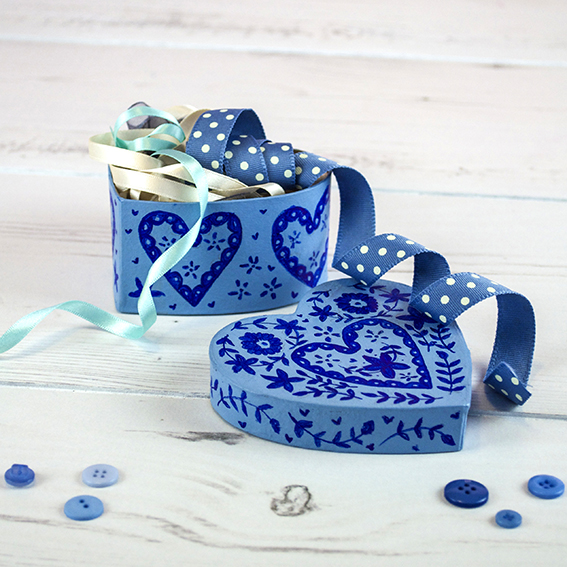
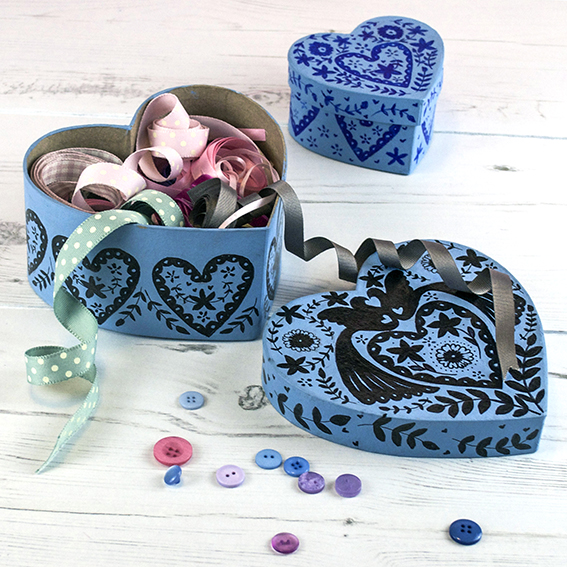
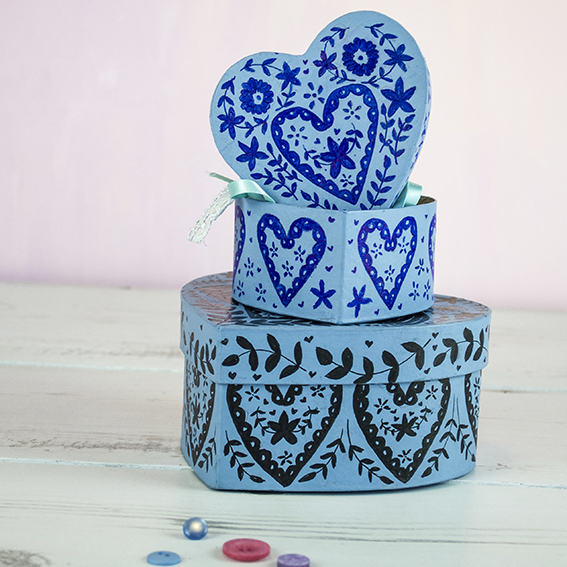
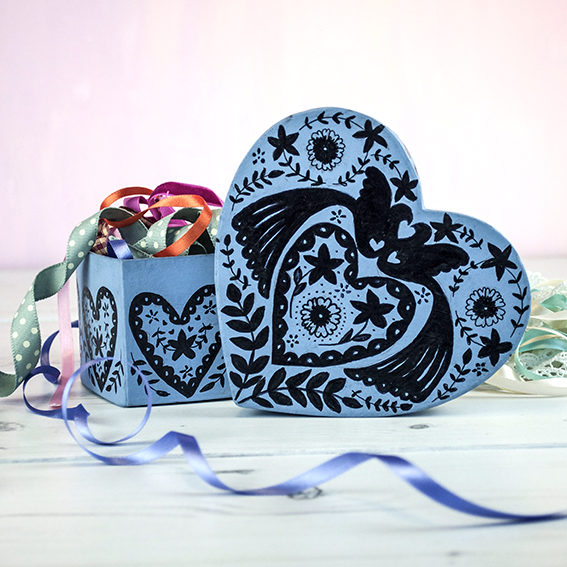
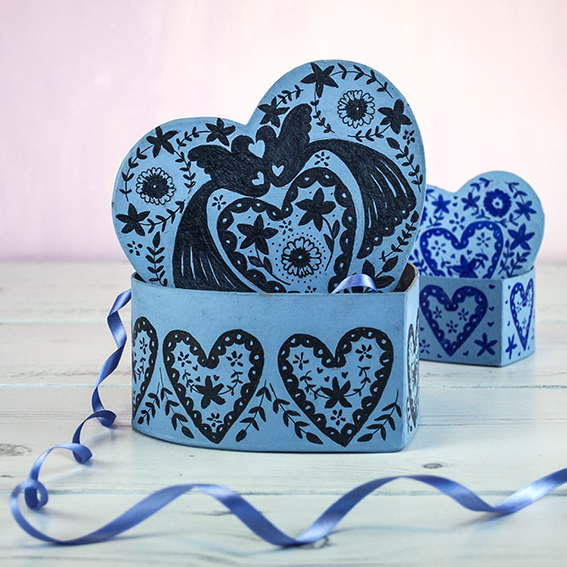
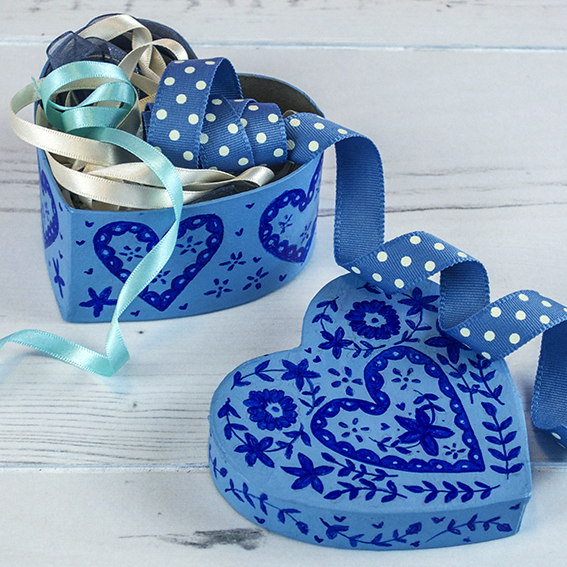
I had some plain cardboard heart-shaped boxes that were in need of updating. I gave them a lick of light blue paint that really suited traditional Scandinavian design. I then set about drawing my design onto tracing paper. I drew half the design then folded the paper to create a mirror image. Then I simply transferred the designs onto the painted boxes.

Scandinavian folky patterned boxes (c) ellasplace.co.uk

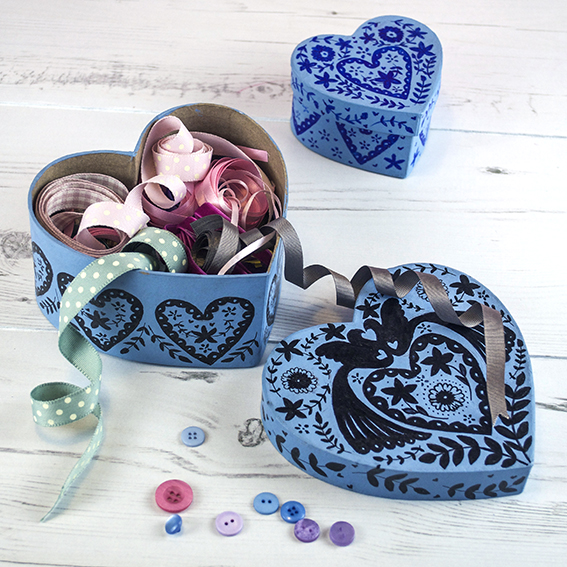
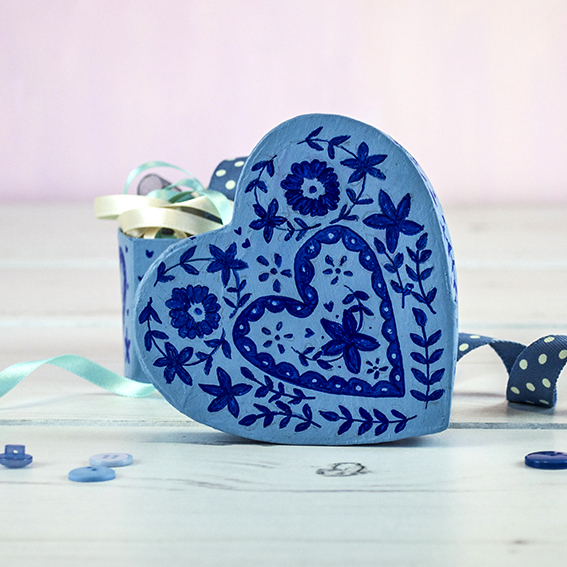
I finished the traced design with felt-tip pen. I chose to use black and blue pen for a strong contrasting look with the light blue but I reckon this would also look lovely in traditional red and cream.

Scandinavian folky patterned boxes (c) ellasplace.co.uk

Had my motifs been larger I would have painted them on – and I am considering doing something with a piece of furniture for a funky little upcycling project. This kind of thing would look really effective on a bedside cabinet or storage box.

Scandinavian folky patterned boxes (c) ellasplace.co.uk

I’m storing ribbons and buttons in these boxes (I have so many of both) but I’m sure you could fill these with pretty tissue paper and treats (chocolates or toiletries) for a thoughtful gift. Scandinavian folky patterned boxes (c) ellasplace.co.ukScandinavian folky patterned boxes (c) ellasplace.co.ukScandinavian folky patterned boxes (c) ellasplace.co.ukScandinavian folky patterned boxes (c) ellasplace.co.uk
Posted on

DIY: Embossed clay jewellery holders

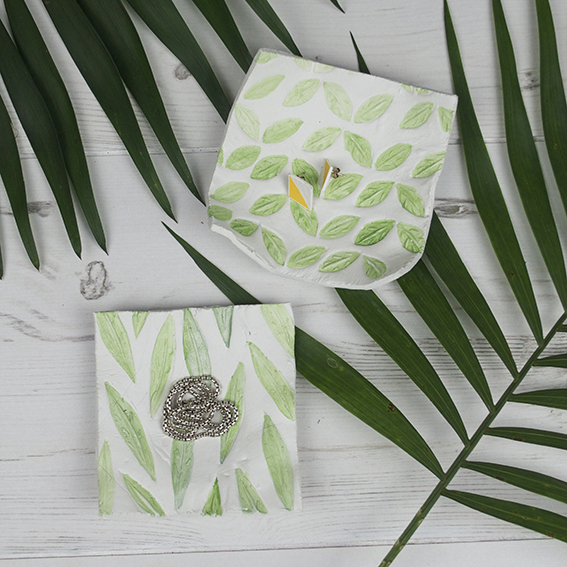
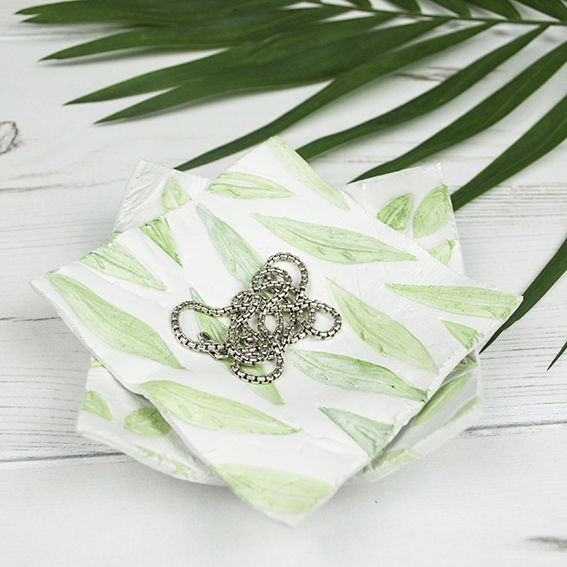
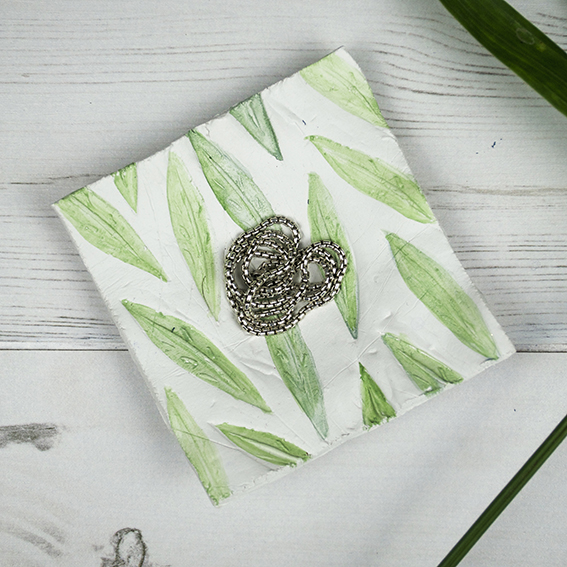
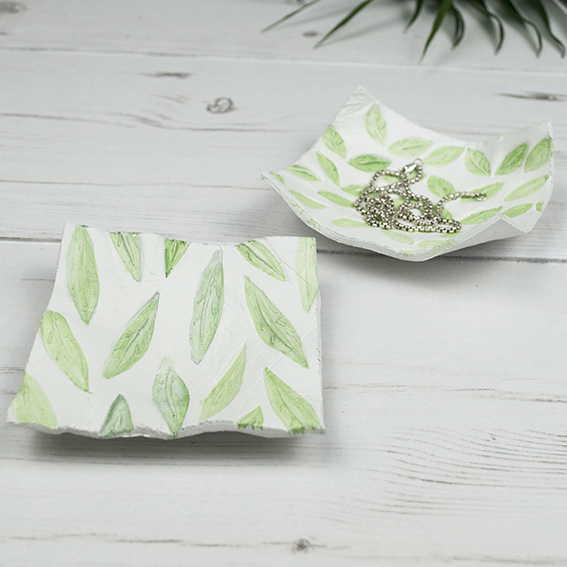
Clay jewellery holders (c) Ella Johnston ellasplace.co.uk

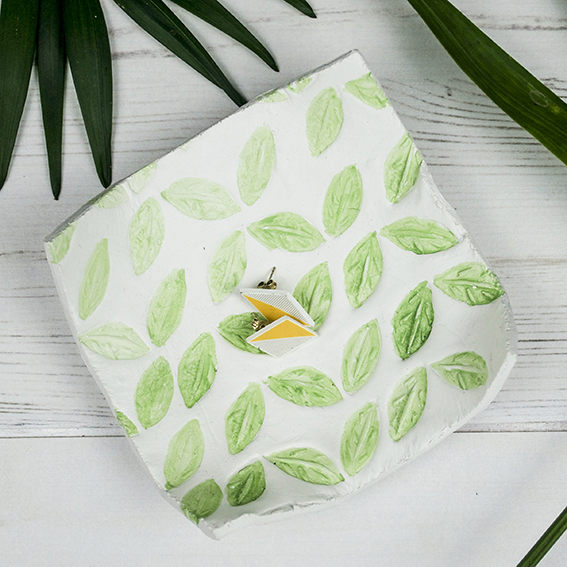
These embossed clay jewellery holders are really easy to make and take minutes to create. This simple DIY is great if you’re looking to make a handmade gift as they can be adapted to suit all design tastes.

It’s my new year’s resolution to revamp our bedroom – I’ve gathered a collection of inspiring looks to set the mood for the boudoir and I also want to have homemade elements to make it more personal. Although I do have a jewellery box I’m always dumping my earrings and necklaces at the side of my bed before I go to sleep so I wanted to make something that would at least keep them in one place when I did so.

Clay jewellery holders (c) Ella Johnston ellasplace.co.uk

Making these holders couldn’t be simpler, I rolled out some air-dry clay and then embossed it with my hand-carved rubber stamps. I cut the clay into squares and gently shaped them over some bowls to create wells. After the clay had dried, I coloured the leaves with a light washes of acrylic paint to give them a bit of colour. I’d imagine if you sealed them with a waterproof varnish the would make attractive soap dishes too.

Clay jewellery holders (c) Ella Johnston ellasplace.co.uk

Clay jewellery holders (c) Ella Johnston ellasplace.co.uk

Clay jewellery holders (c) Ella Johnston ellasplace.co.uk

Posted on

Hack: Simple ways to update your plates with ceramic pens

Update your plates (c) Ella Johnston ellasplace.co.uk

As my one of my previous post suggests I am really playing with pattern at the moment, trying to free myself up as an illustrator and exploring ways of drawing to see what ideas ‘land’.

Update your plates (c) Ella Johnston ellasplace.co.uk

I thought I’d try doing things beyond pencil and paper to really put my mind away from the subconscious self-imposed constraints that I may place on my illustration.

Update your plates (c) Ella Johnston ellasplace.co.uk

I had these spare plain plates that I’d bought originally for photography props when I was editing Homemaker Mag, I actually never used them because they were too plain and the rim wasn’t delicate enough for any of the shots (it’s amazing what you obsess about on a shoot and what works and what doesn’t).

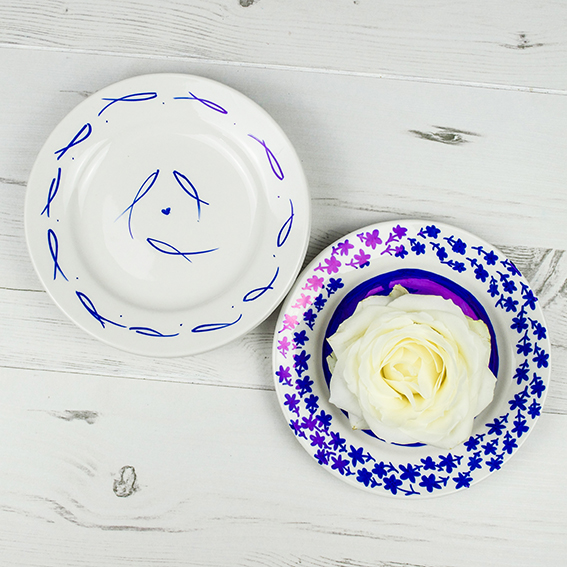
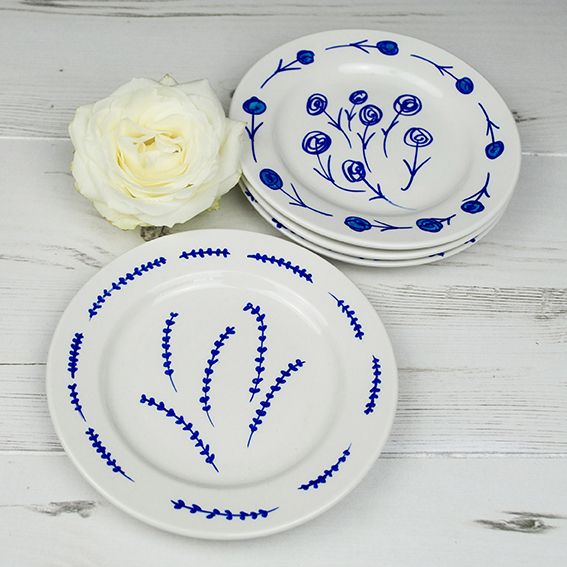
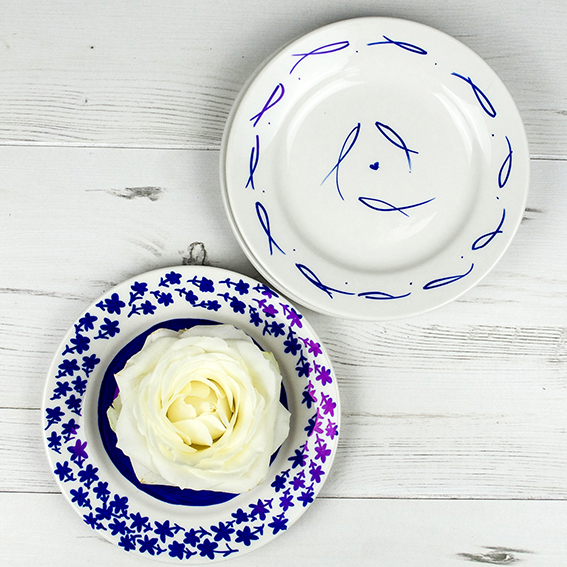
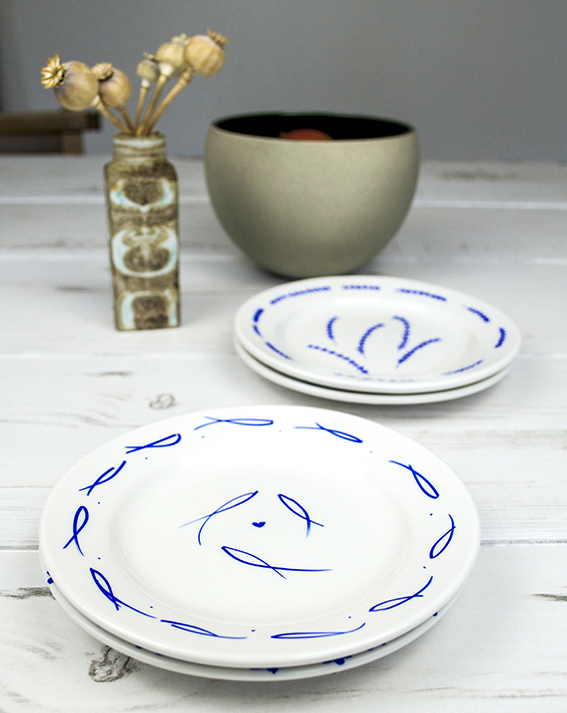
Any-hoo these thick plate rims really allowed themselves for drawing on and I thought at the very least I’d be updating some dull crockery. So out came my cobalt blue ceramic pen and had a little play, here are the results.

Update your plates (c) Ella Johnston ellasplace.co.uk

I gave myself a 20-minute time frame to do them so it was five mins per plate. I did this because I didn’t want to overthink it. I wanted the designs to be spontaneous and completely from the top of my head. So there’s fishes, some Charles Rennie Mackintoshesque roses, wheat germs and blue retro-style flowers.
Update your plates (c) Ella Johnston ellasplace.co.uk

I like the plates and am pleased with the designs. I think I’m going to looking to the wheat germ and fish shapes further. I’ll keep you updated!

Update your plates (c) Ella Johnston ellasplace.co.uk

Posted on

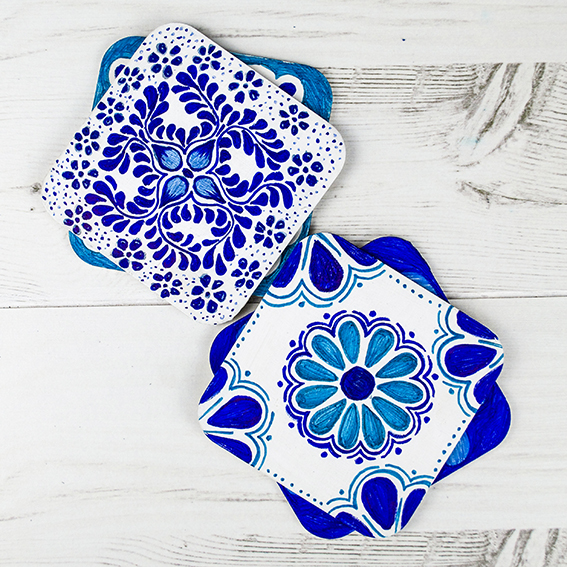
Getting smart with Sharpies: Mexican inspired coasters

Mexican Coasters (c) Ella Johnston ellasplace.co.uk

I’ve recently got obsessed with all things Mexican. There was a reason for this, myself and the good Dr B always cook something nice on New Year’s Eve and this year we fancied a feast of Mexican style veggie food.

As I was researching various tasty vegetarian recipes* to prepare for us, I kept coming across some beautiful Mexican tile designs. They were absolutely stunning. Not only did I want these tiles in my kitchen and bathroom (when we get round to doing them up) but I was so inspired that I needed these designs in my life straight away.

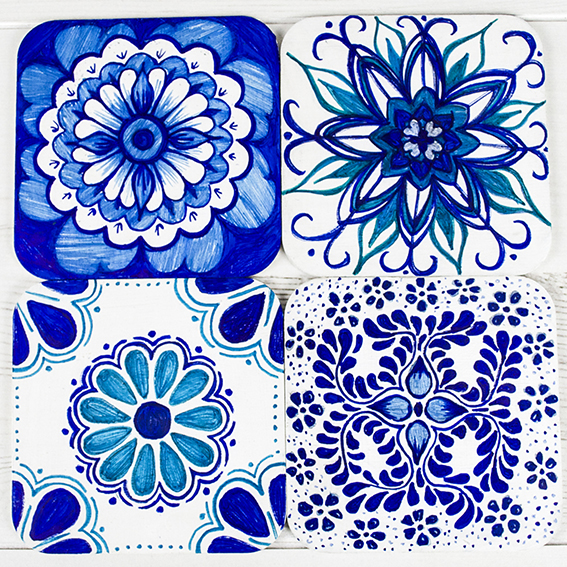
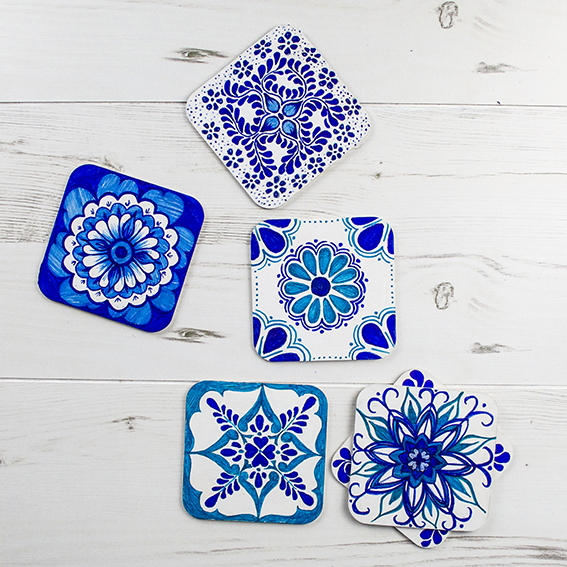
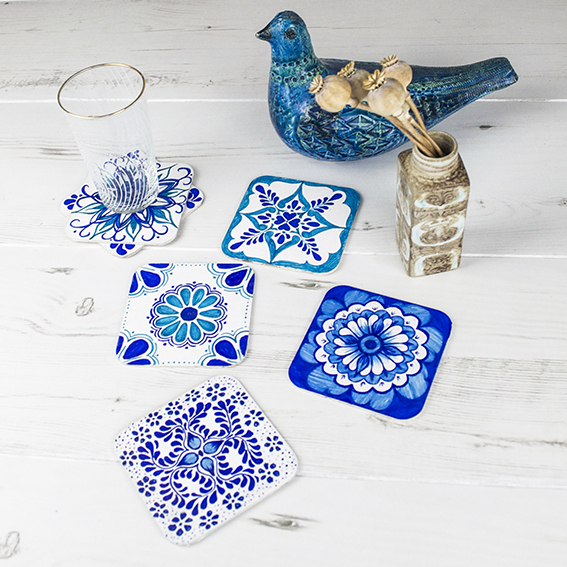
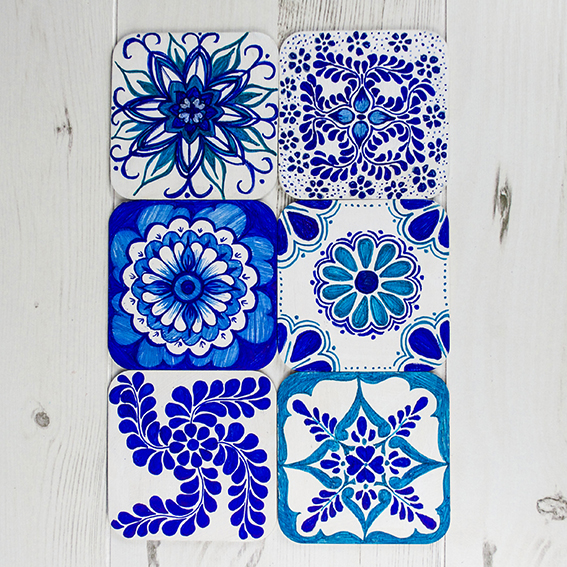
Although many of the tiles came in a gorgeous array of different colour combinations, I was really drawn to the blue and white ones (you know me, I love to keep designs simple when I can help it). So I got out my Sharpie pens, grabbed my spare mdf coasters from my old Shibori coaster project and set to work on whipping up these beauties.

Mexican Coasters (c) Ella Johnston ellasplace.co.uk

Mexican Coasters (c) Ella Johnston ellasplace.co.uk

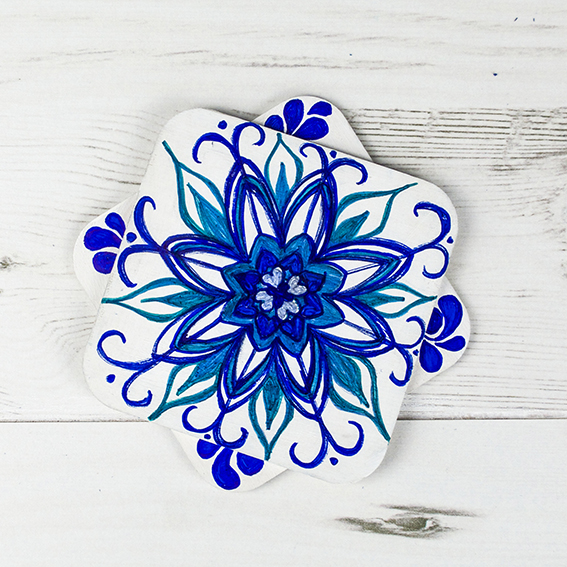
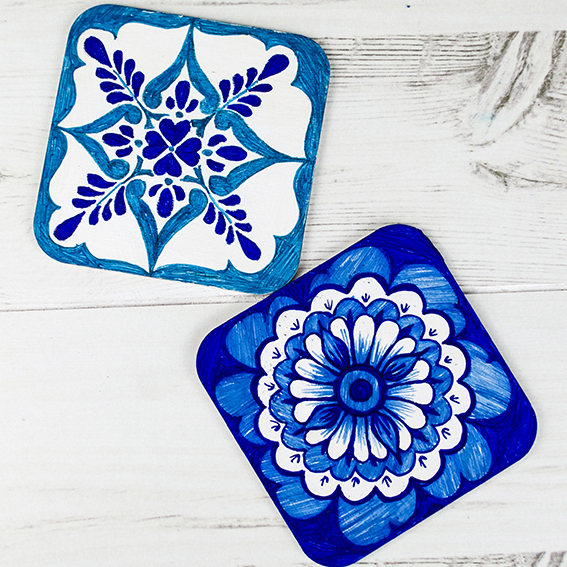
First I gave the mdf squares a lick of white acrylic paint. Once they were dry I drew out my designs freehand on the coasters in pencil. I didn’t want to trace the designs directly as I wanted to add my touches to them to make them my own. I also opted for freehand because, and I know some of my design friends won’t like this, I don’t like it when everything is straight on and symmetrical. I like to keep things wonky every now and again – for me it’s more fun that way.

Mexican Coasters (c) Ella Johnston ellasplace.co.uk

I’m going to give them a little varnish so I can actually use them (I was in such haste to draw the designs on and then get them shot that I clean forgot) but I thought I’d share them with you now as I’m chuffed with them. Can’t wait to get them out now.

The whole exercise has got me thinking of my own pattern designs, can I be more ornate? If I keep my colour scheme simple, can I go to town on the motifs? This project has inspired me to have a bit more of a play and to come up with some new work – watch this space for what I do with this.

Mexican Coasters (c) Ella Johnston ellasplace.co.uk


Mexican Coasters (c) Ella Johnston ellasplace.co.uk

*Spiced roast cauliflower and chickpea tacos with a yoghurt lime dressing and salsa plus nachos with black bean chilli and guacamole with a side order of red cabbage slaw and smoked paprika roast potatoes, if you’re asking. No, we couldn’t eat it all and it lasted through to the next day and beyond. I did take pictures but the light was rubbish and to be honest we were too intent on scoffing rather than blog stuff – sorry!

Posted on

My Illustrated Christmas Cards


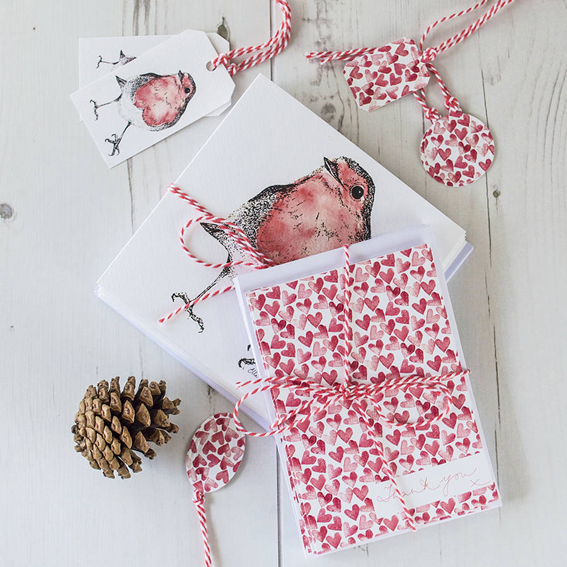
Christmas Stationery Ella Johnston Art and illustration. ellasplace.co.uk

While everyone was sunning themselves this summer I was busy putting together my illustrated Christmas card collections. I’ve got a number of designs available this year ranging from the traditional (we all love a wee robin) to playful (as a veggie I couldn’t help but showcase what most people will be eating at Christmas) to vintage (I’m a huge fan of retro illustration).
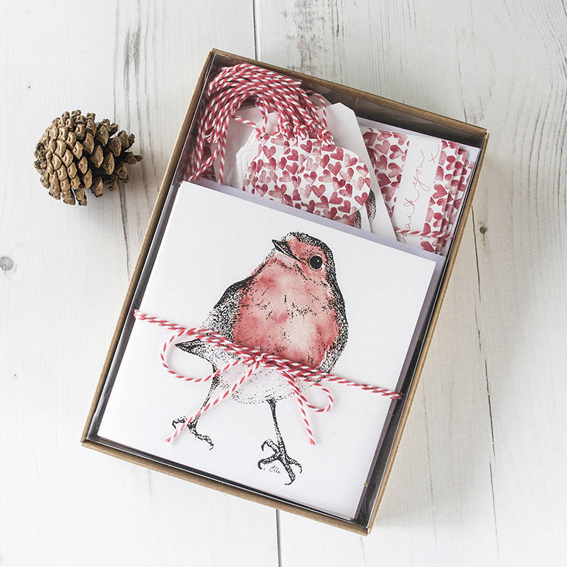
Christmas Stationery Ella Johnston Art and illustration. ellasplace.co.uk

I thought it would be nice to coordinate your Christmas greetings, gifting and thank you notes with my Festive Robin Stationery Box Set.

This year the robin was crowned the nation’s favourite bird in the National Bird Vote – so my festive motif featured on greetings and gift tags is sure to be a real favourite with friends and family and a time-honoured way of ‘tweeting’ your Christmas wishes.

In a Scandi-inspired theme of red and white, the pack also features a simple heart motif print, designed and printed by me. The pack features ten illustrated Robin Christmas greetings, ten thank you notecards and ten Robin gift tags. You can take a look at it here.
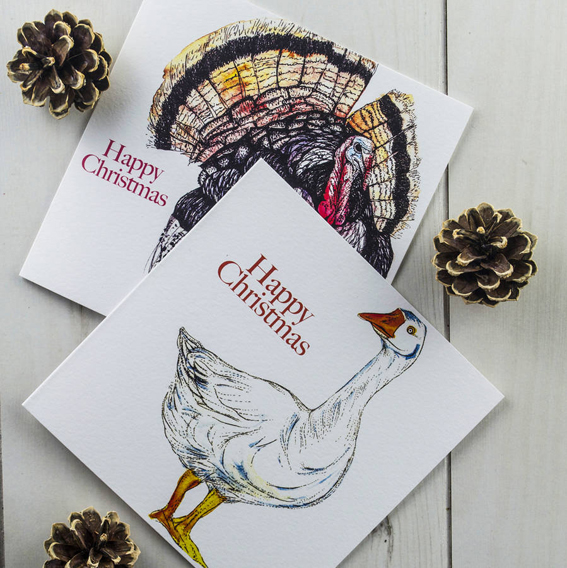
Christmas Stationery Ella Johnston Art and illustration. ellasplace.co.uk
I’ve got a pack of 10 illustrated Goose and Turkey Christmas cards (five of each) so you can send a season’s greeting with a cheeky twist. Get your set hereSo what better way to say ‘Season’s Greetings’ than with a lovingly drawn illustration of the creatures that are kindly sacrificing themselves to ensure your Christmas dinner is absolutely perfect; a fattened goose and succulent turkey?

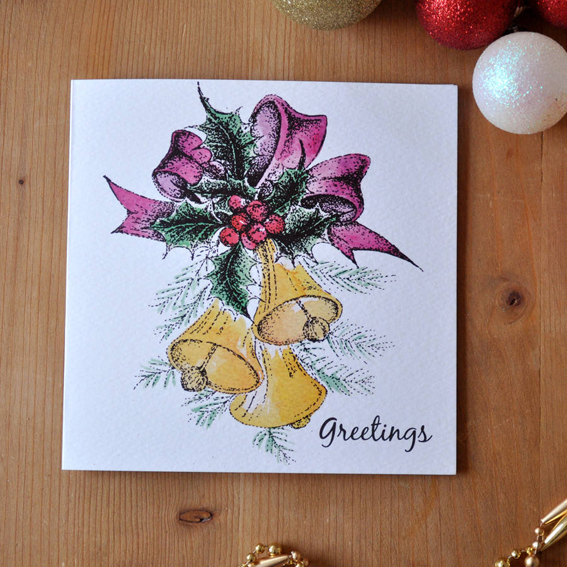
Christmas Stationery Ella Johnston Art and illustration. ellasplace.co.uk

My pack of 10 vintage inspired Christmas cards was inspired by old designs of the 1950s and 60s. There were lots of baubles, bells and kitsch motifs (which I adore). I wanted to see if I could do something similar so I went to the shed and pulled out all my old decorations and got drawing. Check out how you can get yours here

Christmas Stationery Ella Johnston Art and illustration. ellasplace.co.uk

Posted on

IKEA hack – revamp a step stool

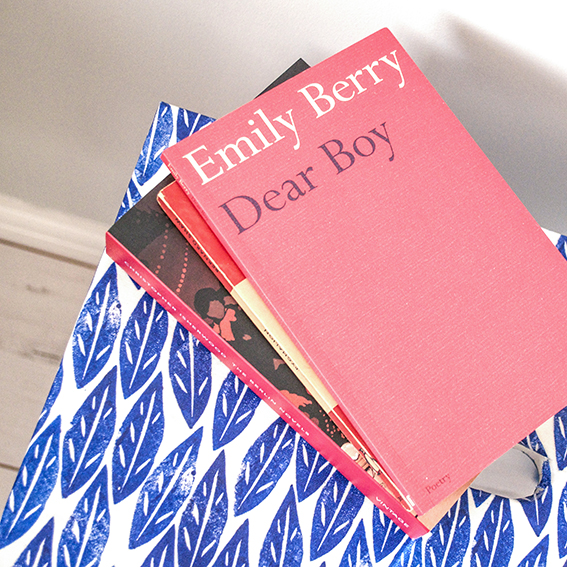
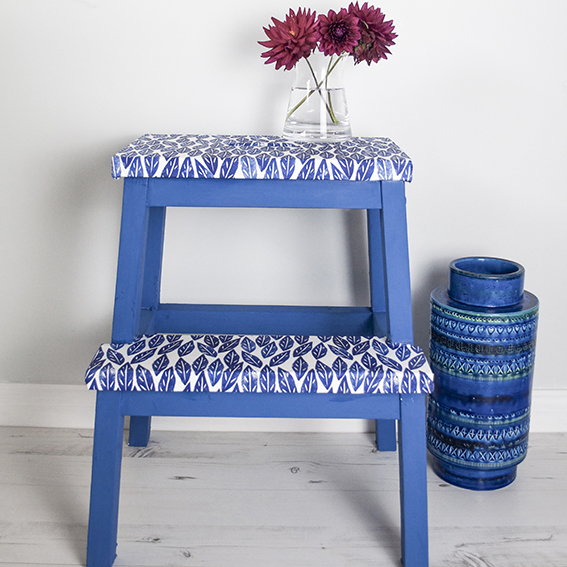
Revamped Ikea Steps photography (c) ellasplace.co.uk

Revamped Ikea Steps photography (c) ellasplace.co.uk

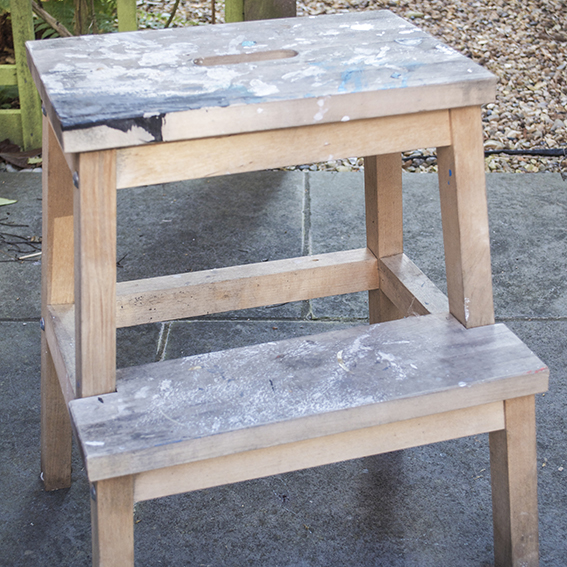
Being only 5ft 4in and a half (the half is very important), the IKEA step stool is my friend. The one above has been particularly well used – especially when we first got it 13 years ago. We lived in a tiny studio flat in London so storage had to be utilised in every space: it went right up to the ceiling. I’ve recently been using the steps in my art studio (another area that makes use of every single square metre of storage), so they’ve got a bit bashed up over the years and were in need of some TLC.

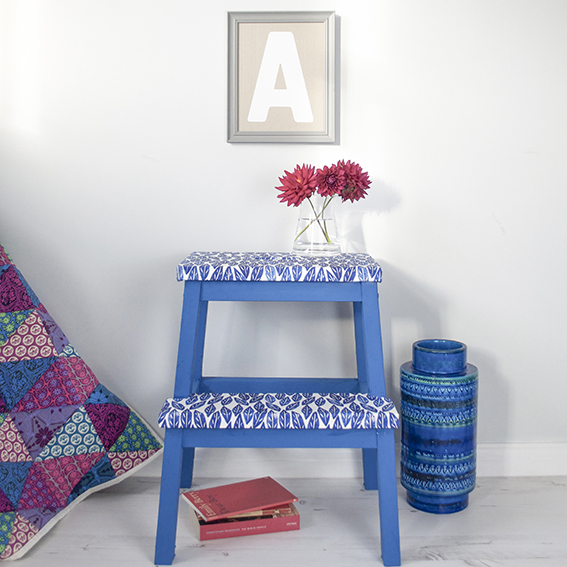
I came across a very sweet revamp project on This Little Street blog, who spruced up a new set of steps with paint and her peel-off wallpaper collection. I thought this idea would work with my Spoonflower fabrics and chalk paint.

Revamped Ikea Steps photography (c) ellasplace.co.uk

Revamped Ikea Steps photography (c) ellasplace.co.uk

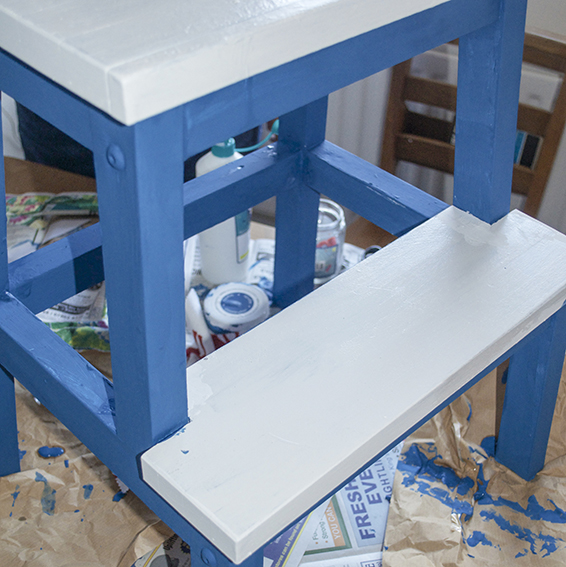
First I had to get these steps into some kind of workable condition. Unlike the Little Street’s upcycle, which used a new set of steps, mine were old, scuffed, split and covered in printing ink and paint. I had to scrape off the paint, sand the surfaces down and treat the steps to some wood primer and a lick of white emulsion.

Revamped Ikea Steps photography (c) ellasplace.co.uk

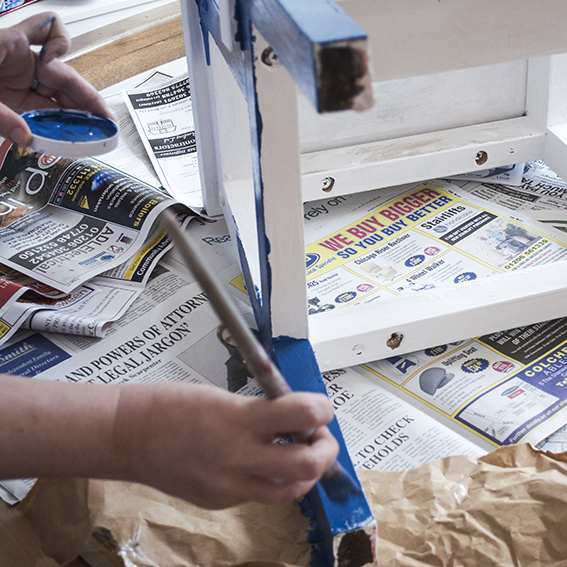
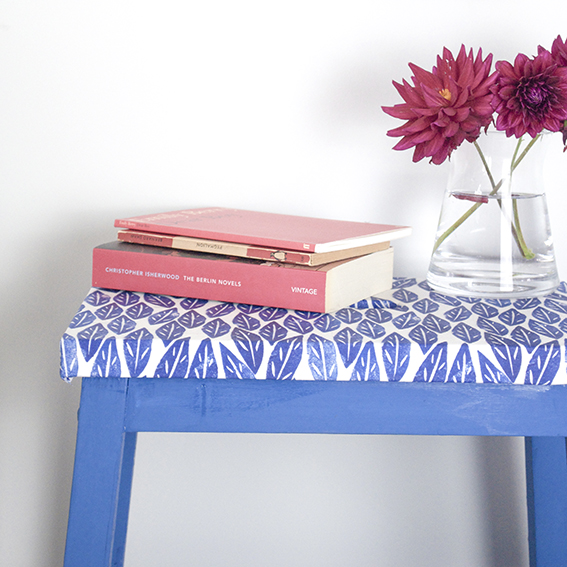
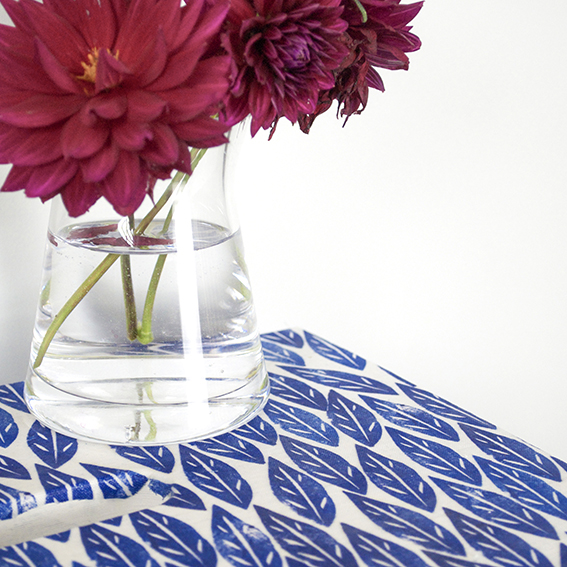
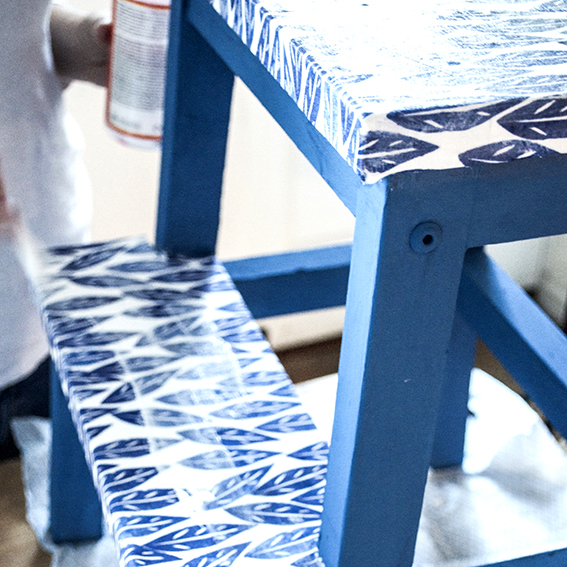
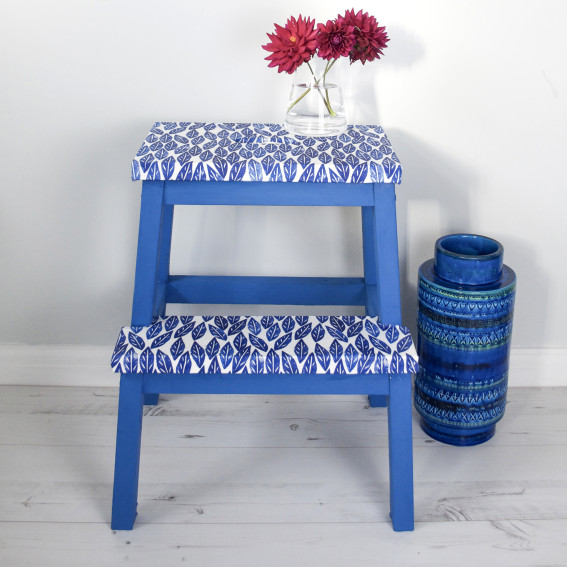
I then painted the frame with Americana Decor® Chalky Finish paint in Legacy, keeping the step and the top white. I then used PVA glue to adhere my blue Scandi leaves material to the white areas and then sealed them in varnish – it means any spills can be wiped off. I’m really pleased with the end result and this once hardworking bit of furniture is now pride of place in our study (where, yes, we have floor-to-ceiling shelves).

Revamped Ikea Steps photography (c) ellasplace.co.uk

Revamped Ikea Steps photography (c) ellasplace.co.uk

Revamped Ikea Steps photography (c) ellasplace.co.ukRevamped Ikea Steps photography (c) ellasplace.co.uk

Revamped Ikea Steps photography (c) ellasplace.co.uk


Posted on

How I made easy fabric coasters in 10 minutes

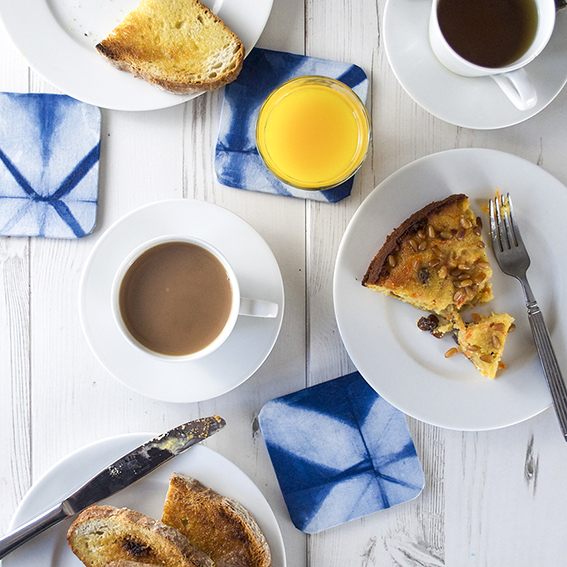
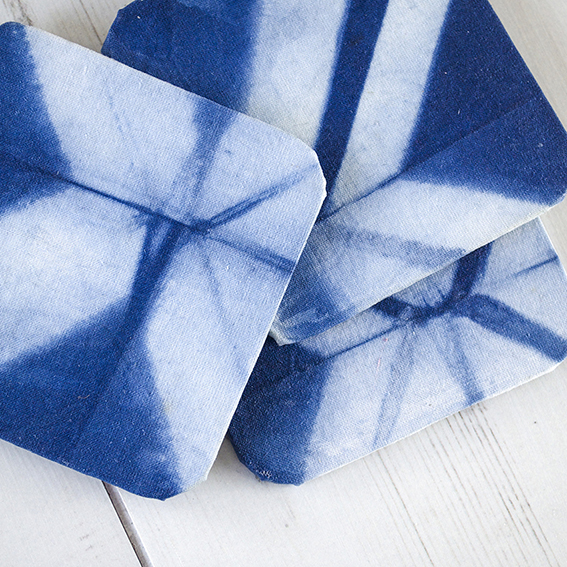
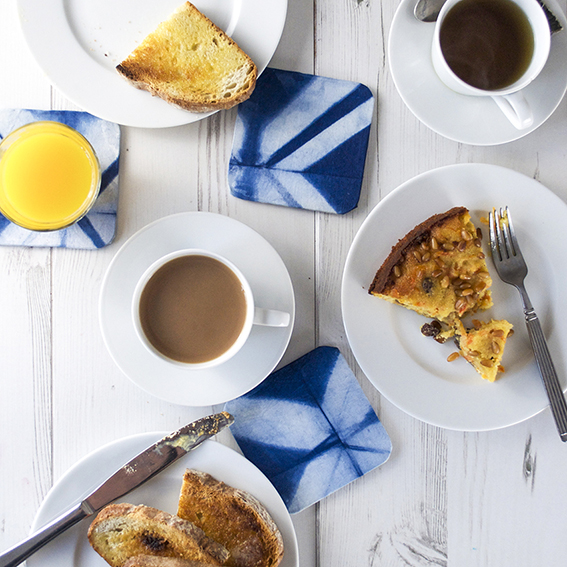
Shibori fabric coasters (c) Ella Johnston ellasplace.co.uk
This Shibori fabric coaster project is so easy I kind of feel bad posting it. It took me minutes to make and yet I think they look really stylish. And – seeing as I’m working on Christmas issues of my magazines at the moment – I reckon I may use the techniques employed here to whip up some handmade designer style pressies for my friends.

Shibori fabric coasters (c) Ella Johnston ellasplace.co.uk

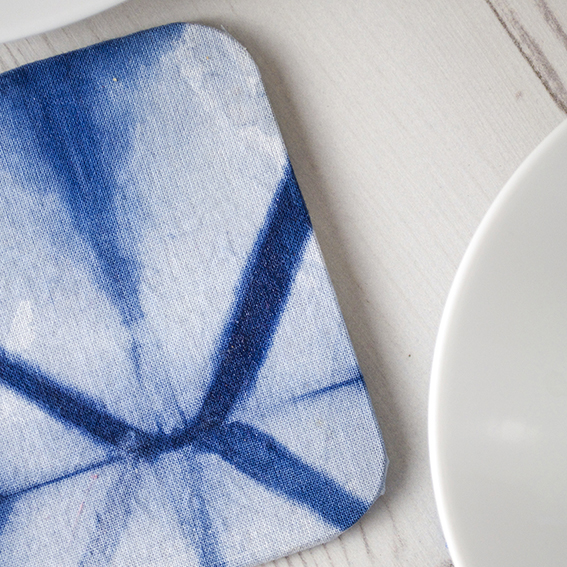
I had a surplus of Shibori-dyed fabric from a recent workshop I attended and I haven’t got round to making cushions with my larger pieces of fabric yet, but I loved my scrap tester pieces that I made and wanted to do something nice with them.

Shibori fabric coasters (c) Ella Johnston ellasplace.co.uk

So I bought a set of blank MDF coasters, cut these scraps to size leaving a 1cm allowance. I then covered the MDF pieces with PVA. I tucked the fabric under and coated the whole lot with a varnish to seal in the fabric and protect the surface. Then once it was all dry I used a strong adhesive to apply a square of felt to the bottom to get rid of any ugly finishes and to provide a good base for the coaster.

Shibori fabric coasters (c) Ella Johnston ellasplace.co.uk

Shibori fabric coasters (c) Ella Johnston ellasplace.co.uk

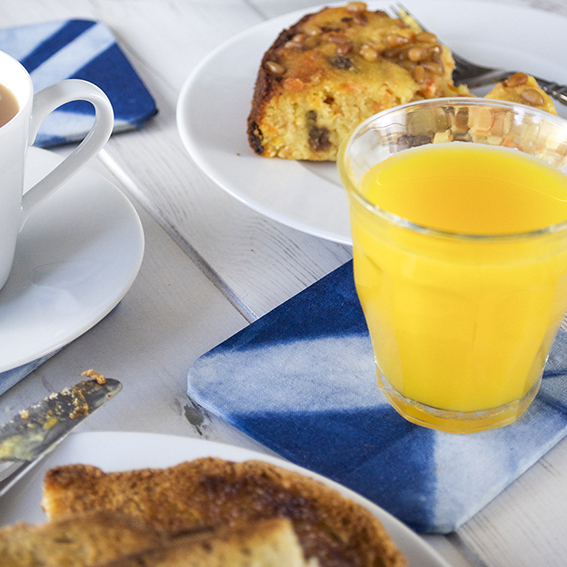
I’m really pleased with them and use them all the time. A final note: a special shout out has to go for the delicious gluten-free carrot and almond cake (in the pictures, above) from the Wivenhoe Deli and Tea Rooms – I’m a fan and I’m not even gluten intolerant!

Posted on

How to make a book in eight easy steps

If you are anything like me you’ll have loads of spare bits of patterned, or even plain, card and reams of paper lying around. I’ve got a great little Japanese stab-bound book project that uses up all your stash and is brilliant for when you want to make handmade gifts for people.

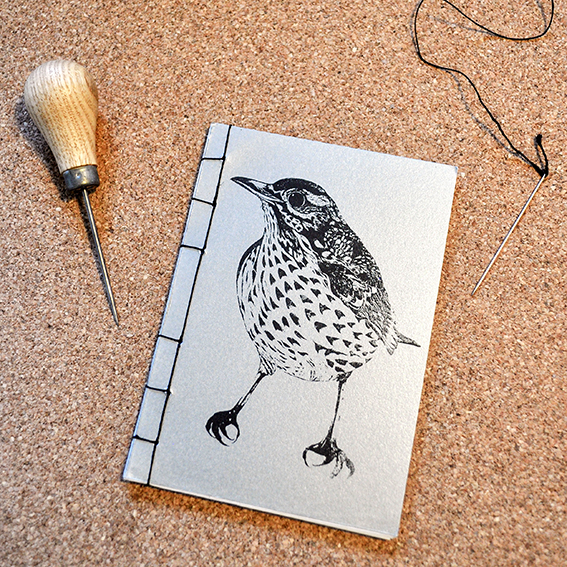
So here’s how to make a book in eight easy steps. I’ve screenprinted one of my bird illustrations onto a card cover of my book but you can make yours with anything you like.

Handmade book (c) Ella's Place


YOU WILL NEED
Awl
Ruler
Pencil
Two sheets of A6 card for your cover
15 sheets of 120gsm A6 paper
Book-binding thread and needle
Rough paper (same size as your book pages and card)

(c) Ella's Place1: Use rough paper to make a template. With a ruler, draw a line from top to bottom of the rough at 1cm from the spine. Starting 1cm from the top, mark off an even number of points spaced evenly on that line.

(c) Ella's place

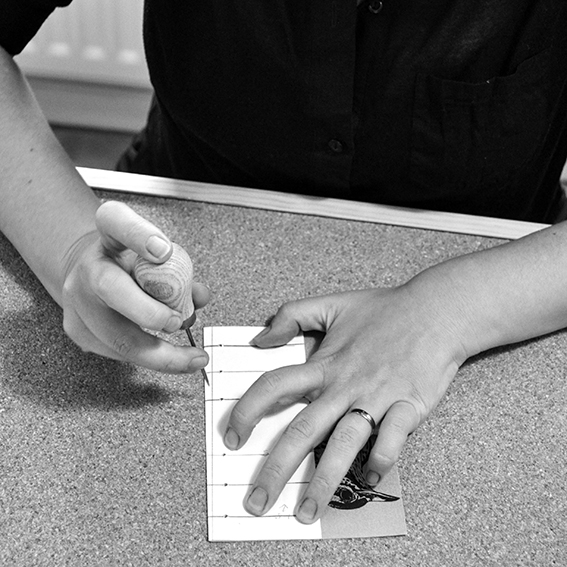
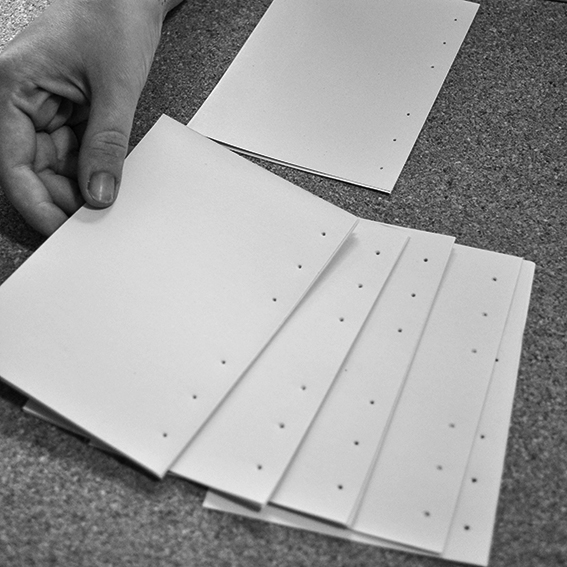
2: Working on a hard, flat surface. Use the awl to make holes in the intersections as shown – I’m protecting my table (and my hands) by placing the paper on a cork board so the awl can ‘sink in’.

(c) Ellas place

(c) Ellas place

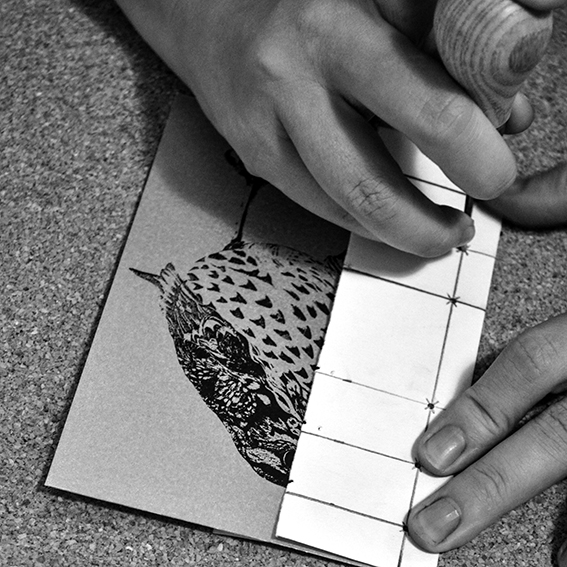
3: Place the front cover card underneath the template, holding or clipping the front edge to keep from moving. Protect your work surface as you punch a hole at each of the marked points using an awl. Repeat for the back cover.

(C) Ellas place(c) Ella's Place4: Place a quarter of the book pages underneath the template and make holes as shown. Continue with the remaining pages doing quarters at a time. The pages and cover should all look the same once punched.

(c) Ella's Place

(c) Ella's Place5: Put all the pages, including the front and back covers, together. Thread the needle through the top back hole of the book, leaving some thread loose. Make a running stitch along the holes in the book, pulling the thread tight each time through a hole while keeping your top thread loose.

(c) Ella's Place

6: Loop the thread at the bottom of the book’s spine and go through the bottom hole. Place the book on its side, loop around the top of the spine and go through the bottom hole again.

(c) Ella's Place

7: Do a running stitch into the next hole, loop around the top of the spine and go through that hole again on to the next hole. Repeat until you get to the top of the book.

(c) Ella's Place

(c) Ella's Place

(c) Ella's Place8: Make a loop at the top of the book and go through the top hole. Slip the needle under two of the top bindings coming out of starting hole. Tie a tight knot with the original loose thread.

(c) Ella's Place

Look – you’ve made a book!

Posted on

What to do with spare fabric

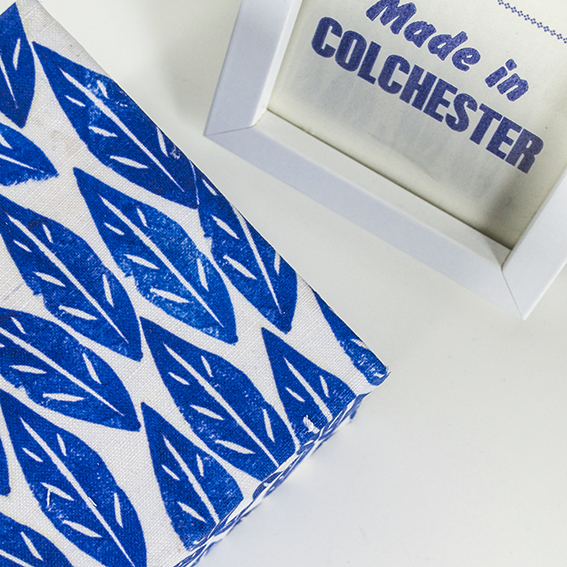
Fabric covered box (c) Ella Johnston ellasplace.co.uk

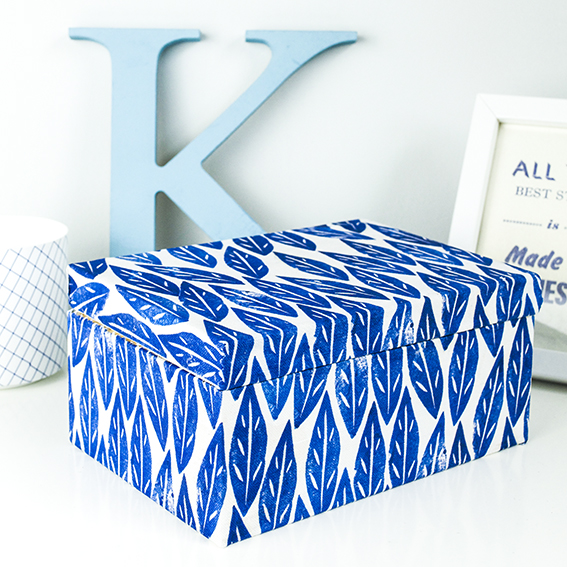
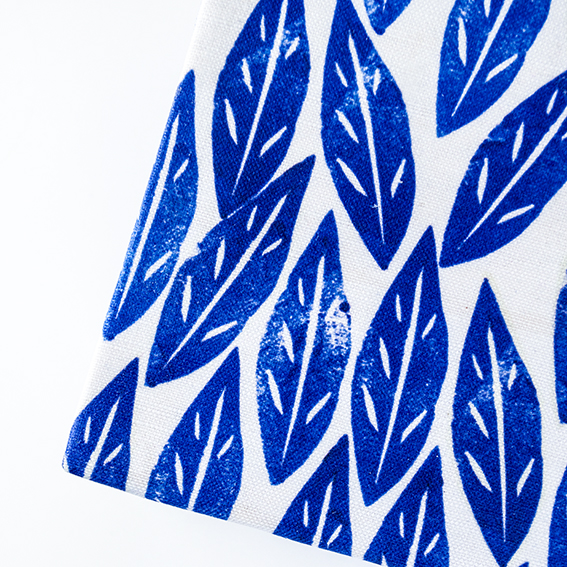
I’ve been designing fabric patterns and have ordered lots of my handprinted leaf design in blue from my Spoonflower shop to craft with. So, after making cushions, lampshades and using it to revamp some little steps I have (more about that later), I’ve got an excess of little bits and pieces.

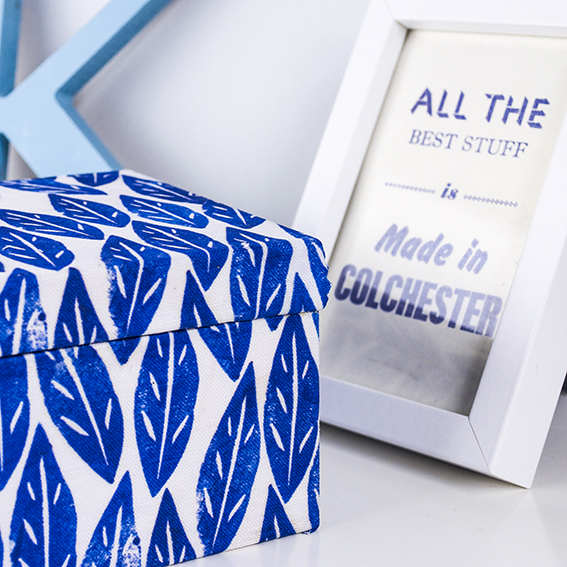
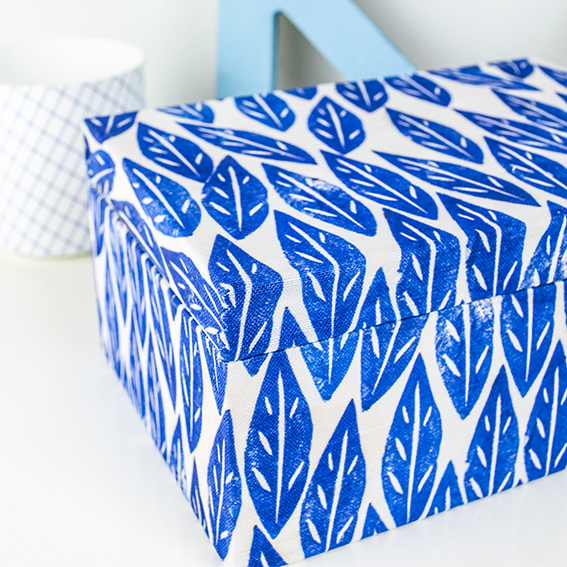
So what to do? Well I’ve got a lovely set of wooden boxes from BoxyLady.co.uk and I’ve used my blue and white material to cover these little numbers with. They are really easy to do – simply measure your fabric to fit the box, brush the boxes with PVA and place the fabric so it bonds with the glue, mitring the folds and snipping away any spare bits of fabric as you go.

Here’s the result. These containers are great for those little fiddly household items. I use this box to keep my tea-lights in when I’m not using them and it sits pride of place on my sideboard in the dining room.

Fabric covered box (c) Ella Johnston ellasplace.co.uk

Fabric covered box (c) Ella Johnston ellasplace.co.uk

Fabric covered box (c) Ella Johnston ellasplace.co.uk

Fabric covered box (c) Ella Johnston ellasplace.co.uk


Posted on

How to organise your craft materials – Part 1

Organise your craft materials part one ellasplace.co.ukI’m not a woman who spends loads of money on handbags and shoes. I’m not even that much of a voracious clothes buyer. No, I spend pretty much all my disposable income on art and craft materials. Here’s how I organise mine.

As I have so much equipment, I need to organise it in two ways. One, as general put it away and keep things neat and tidy when I’m not using it (more of that later). Two, the things for ‘live work’ – stuff I need as I’m working.

Organise your art and craft equipment ellasplace.co.uk

As I mentioned beforeI have an abundance of black Faber Castell India ink PITT artist pens in various nib sizes, plus a load of drawing pencils and probably more scalpels than a woman needs. All of which as an illustrator I need to hand – and all of which I have a habit of mislaying if I don’t have a home for them!

As I’m currently working on my stamped designs as well as my ongoing drawing practice, I have a lot of little fiddly items that I really can’t misplace. There are messy ink pads (in specific colours), scalpel blades and my collection of hand-carved stamps (true one-offs that I really, really don’t want to lose).

These tricky-to-store bits and pieces need a home, and in true crafty fashion I’ve done a bit of upcycling and personalising when it comes to go-to craft room storage.

Organise your craft materials ellasplace.co.uk

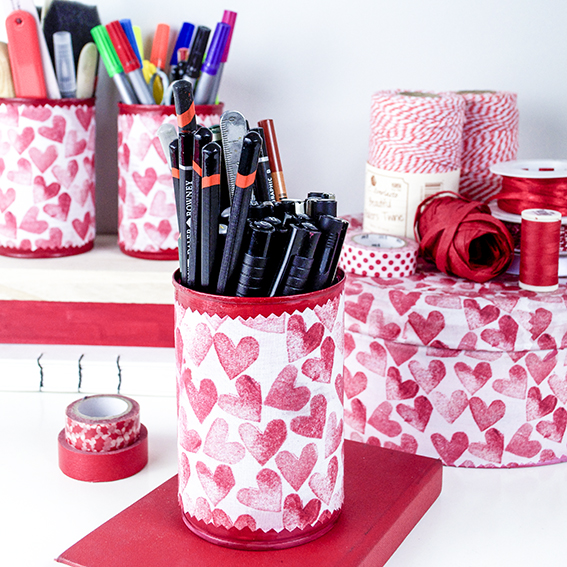
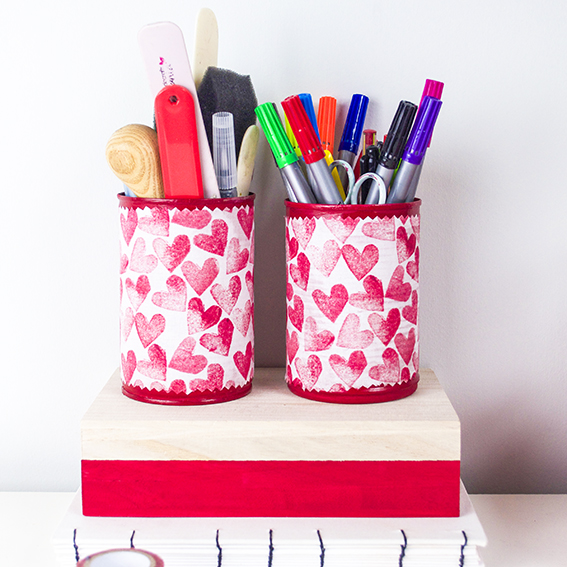
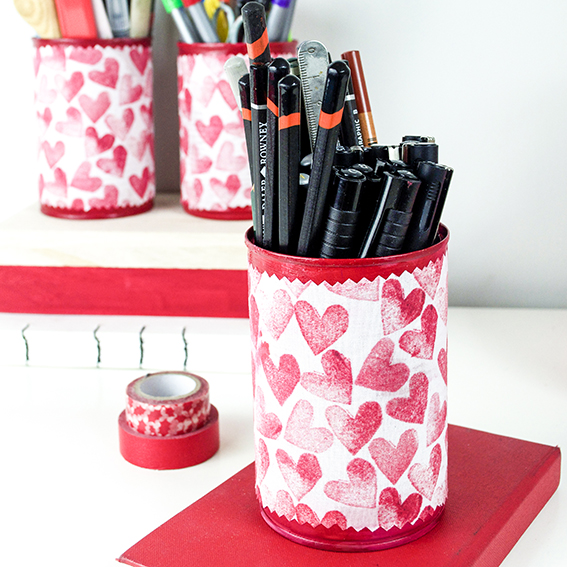
All the pens and brushes I’ve got on the go, plus my bookbinding tools, are all stored easily to hand in little tins covered with my red heart fabric. Tins make for great storage – they hold so much, I can see what’s in them and access them easily, plus you can line them up in row to look uniform.

Organise your craft equipment ellasplace.co.uk

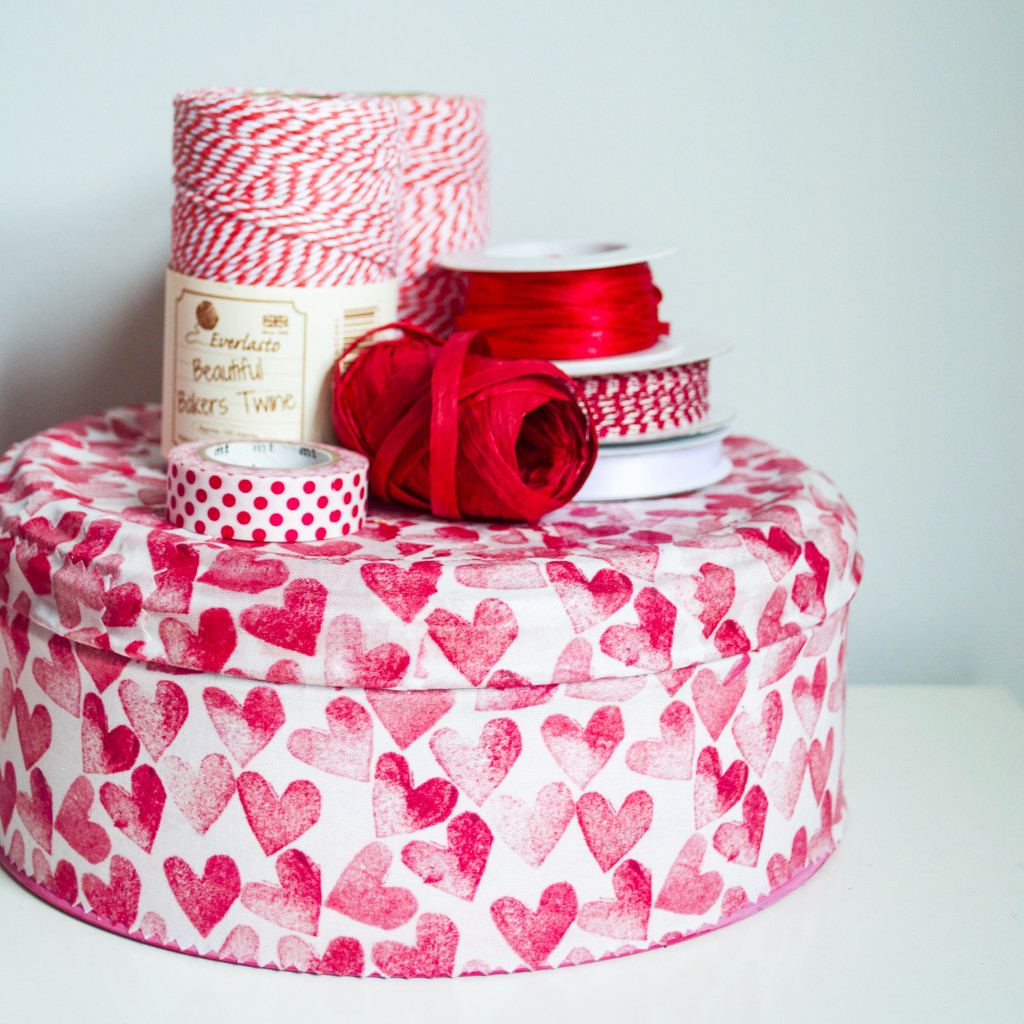
My little inky items live in an old chocolate treats tin that is also covered in my red and white fabric. I love using these round containers: you can stack them up for easy organising and you can pop a lid on them to keep everything concealed. I have lots of these in my craft room, either painted or covered in paper and fabric (I’ve been known to colour code these for stamps, floristry stuff, threads and fabric scraps etc).

Organise your craft materials ellasplace.co.ukIt’s easy to cover both types of tin too. I love a bit of decoupage. You simply use a tape measure to work out the circumference and the height, then cut your fabric to these dimensions (I’ve used pinking sheers for this). Then simply cover the tin with strong PVA glue and wrap around to cover the side. For the lidded tin I’ve cut out sections of fabric and layered these over the lid. I’ve then covered all the containers with PVA to seal the fabric and act as a varnish.