PORT PIECES: Abstract ink works

Ella Johnston Ink Landscape Images

I’ve been recently working on a series of abstract ink works for a new book from Dunlin Press.

Ella Johnston Ink Landscape Images

The book, PORT, is an anthology looking at the subject of ports. The publication essentially explores places where ‘here’ contacts ‘there’; where known and unknown meet; where perceptions of possible experience are expanded. It features essays, interviews, stories and poetry – I’m very excited to be working on it.
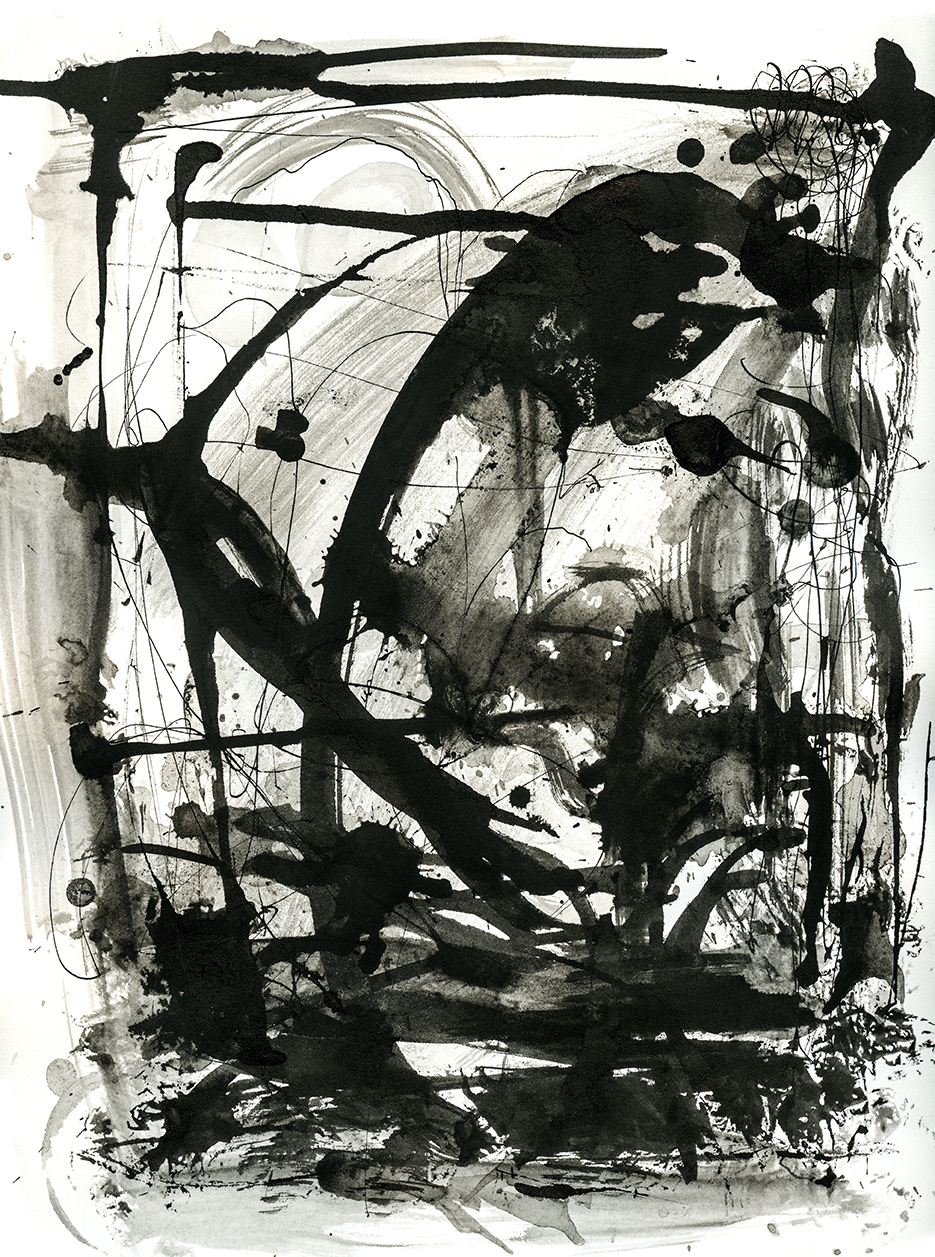
PORT PIECES: Abstract Ink landscape, Indian ink on Arches watercolour paper, Ella Johnston

I thought long and hard about this project. I wanted something that reflected the character of such places. Because these locations by their nature are scenes of transition, movement and trade, I needed to convey their shape-shifting essence.

I pondered the medium and colours I was going to use for the pieces. I needed movement, flow and immediacy so I stuck with inks, my current tool of choice.
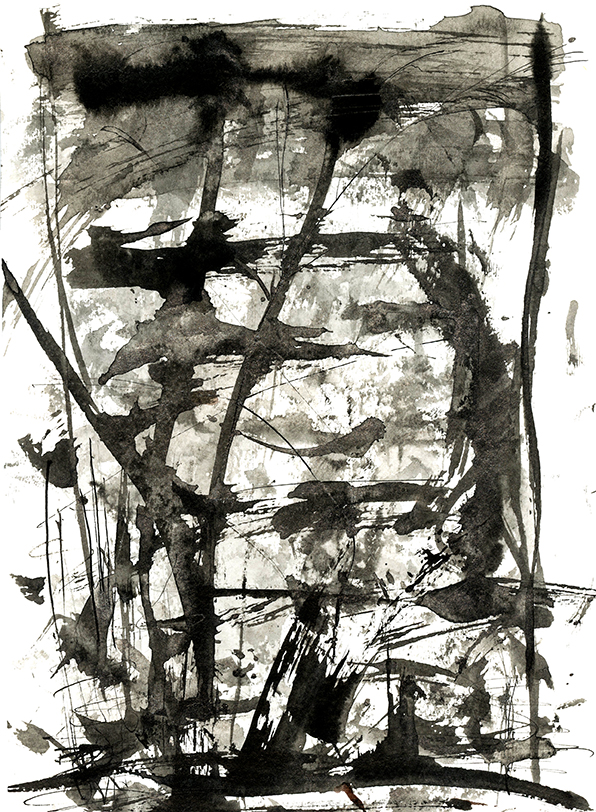
PORT PIECES: Abstract Ink landscape, Indian ink on Arches watercolour paper, Ella Johnston
So I approached these compositions as palimpsests; each quick application of ink acting as layers of stories, activities and histories coming together. I played with colour initially but settled on black and white arrangements as I felt they were starker and more visceral.
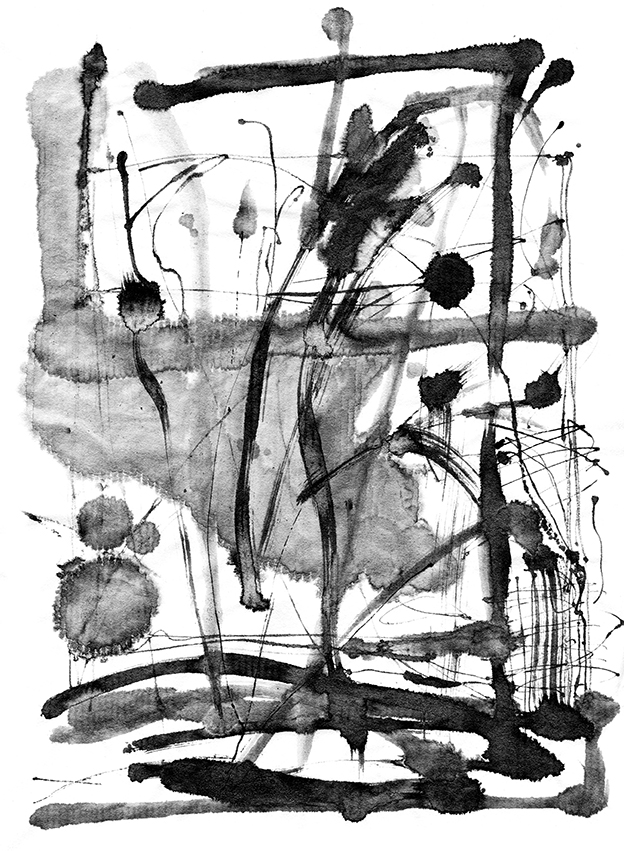
PORT PIECES: Abstract Ink landscape, Indian ink on sumi rice paper, Ella Johnston
I also experimented with the surfaces I applied my abstract ink works on. My paper selection is an integral part of every original piece. So I mixed it up a bit, using sumi rice paper, Arches smooth hot-pressed and textured cold pressed Arches watercolour paper. Every surface produced very different results as each paper type absorbs the ink washes, marks and strokes completely differently.

PORT PIECES: Abstract Ink landscape, Indian ink on Arches watercolour paper, Ella Johnston

The abstract ink works will be featured as book illustrations, with a selection being printed as limited edition fine art prints and postcards as a companion to the publication. The book is being launched in the autumn and I’ll be sure you keep you updated on its progress here.

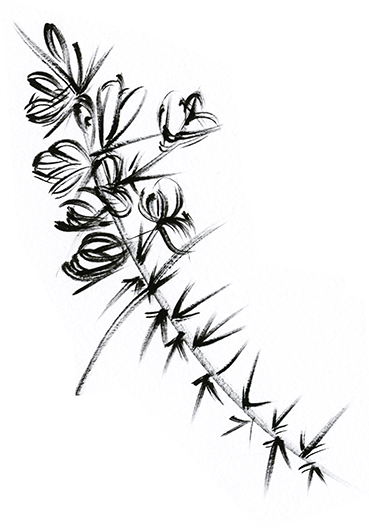
New illustration project: The Waste Ground

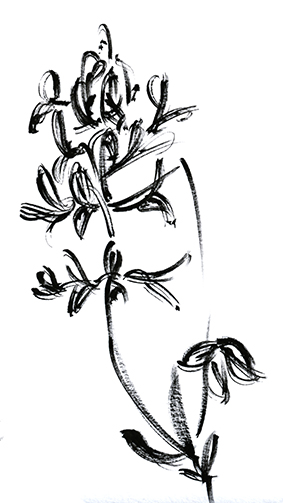
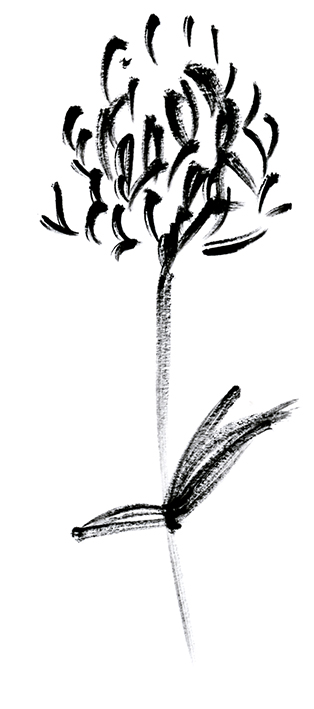
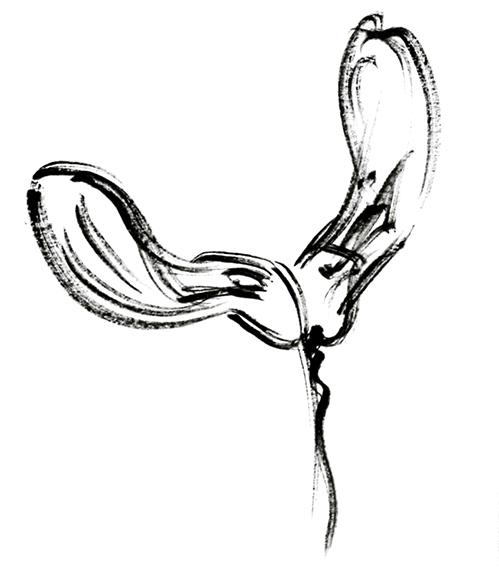
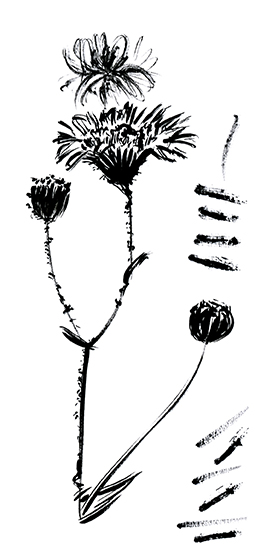
Black and white wild flower sketches (c) Ella Johnston
Here’s a preview of some sketches I’ve been working on for an up-coming Dunlin Press project to be published next month.

Black and white wild flower sketches (c) Ella Johnston

The Waste Ground Project is the culmination of a multimedia collaboration. The project is centred on a rumination on life through the prism of liminal spaces – derelict land, brownfield sites – caught between moments of dilapidation and regeneration. The project takes the form a paperback book, a highly limited edition box set, featuring hand-stitched booklets, archival prints and a reliquary, as well as art prints and more.

Black and white wild flower sketches (c) Ella Johnston
These sketches are for the text element of the piece. They accompany beautiful prose written by MW Bewick.
Black and white wild flower sketches (c) Ella Johnston
These black and white wild flower and plant sketches have been created with a brush paint pen. They accompany more detailed fine-liner drawings elsewhere in the piece. I wanted these illustrations to be loose, gestural and quick so they feel like they’ve been captured on the fly.
Black and white wild flower sketches (c) Ella Johnston
Watch this space for more updates.
Black and white wild flower sketches (c) Ella Johnston

How to make a book in eight easy steps

If you are anything like me you’ll have loads of spare bits of patterned, or even plain, card and reams of paper lying around. I’ve got a great little Japanese stab-bound book project that uses up all your stash and is brilliant for when you want to make handmade gifts for people.

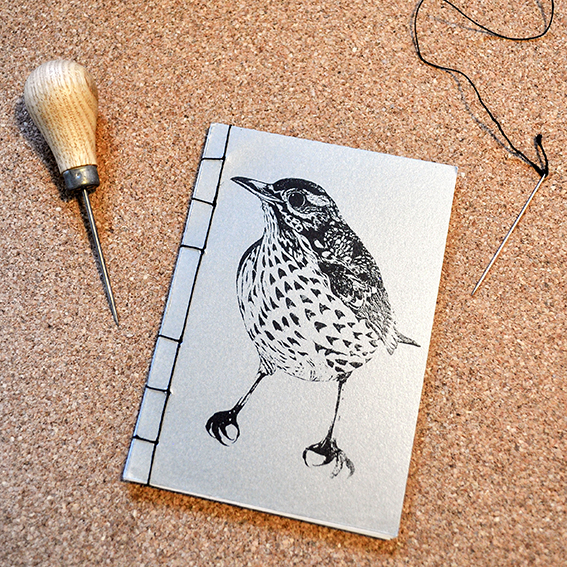
So here’s how to make a book in eight easy steps. I’ve screenprinted one of my bird illustrations onto a card cover of my book but you can make yours with anything you like.

Handmade book (c) Ella's Place


YOU WILL NEED
Awl
Ruler
Pencil
Two sheets of A6 card for your cover
15 sheets of 120gsm A6 paper
Book-binding thread and needle
Rough paper (same size as your book pages and card)

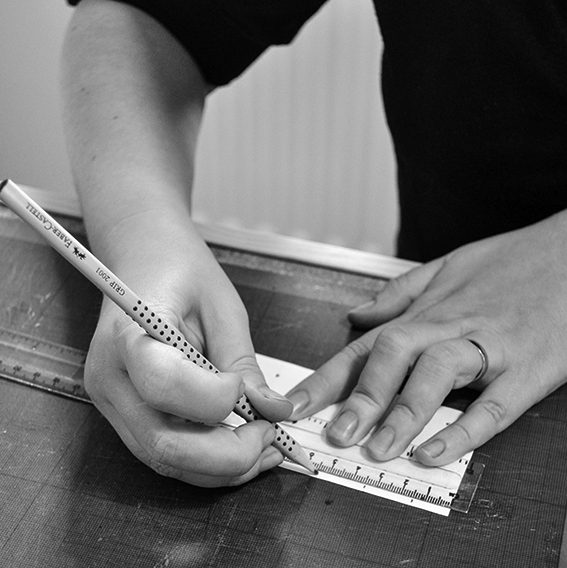
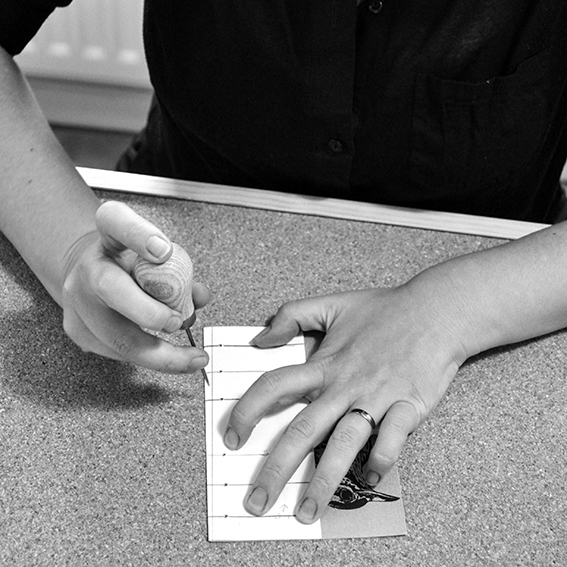
(c) Ella's Place1: Use rough paper to make a template. With a ruler, draw a line from top to bottom of the rough at 1cm from the spine. Starting 1cm from the top, mark off an even number of points spaced evenly on that line.

(c) Ella's place

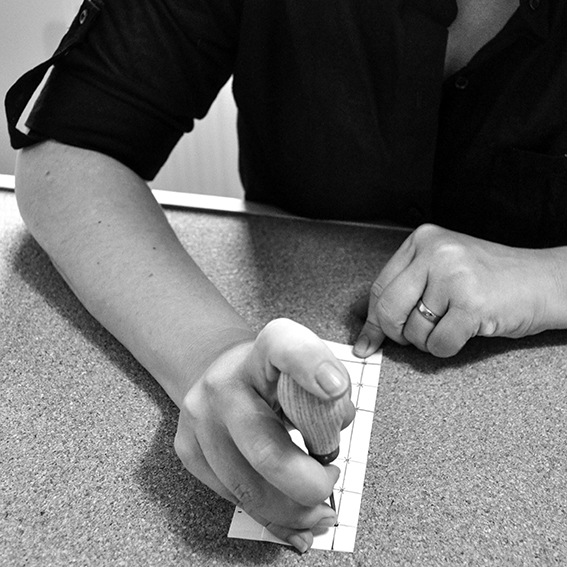
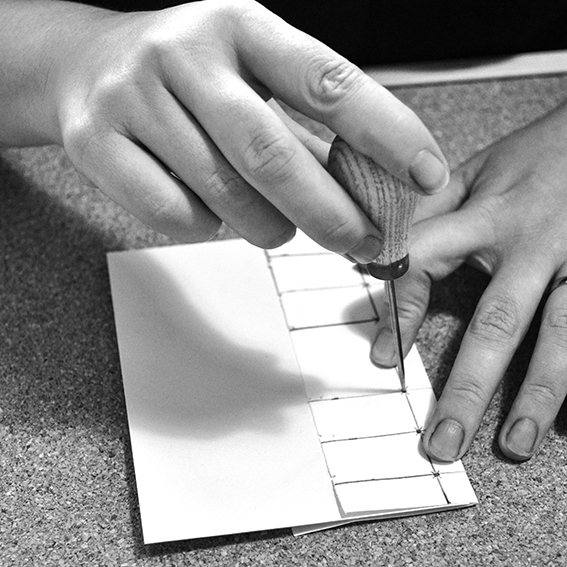
2: Working on a hard, flat surface. Use the awl to make holes in the intersections as shown – I’m protecting my table (and my hands) by placing the paper on a cork board so the awl can ‘sink in’.

(c) Ellas place

(c) Ellas place

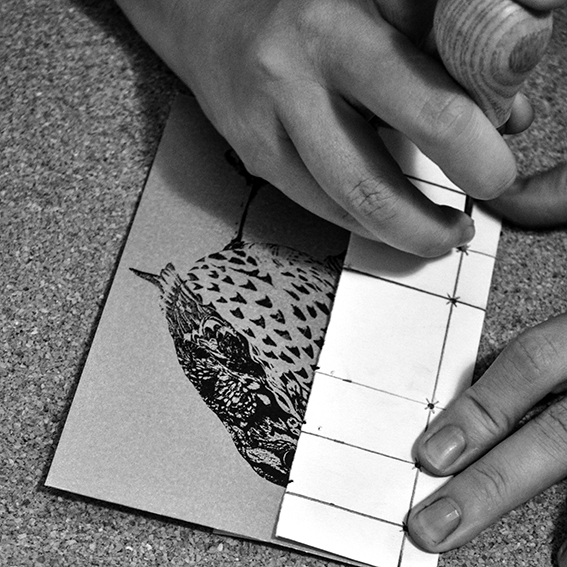
3: Place the front cover card underneath the template, holding or clipping the front edge to keep from moving. Protect your work surface as you punch a hole at each of the marked points using an awl. Repeat for the back cover.

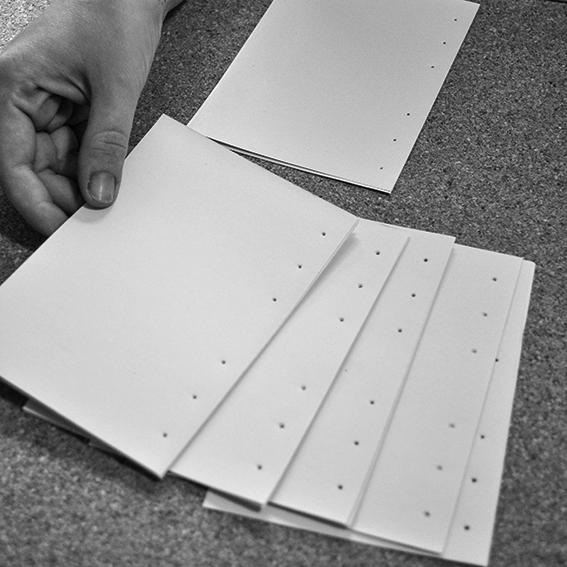
(C) Ellas place(c) Ella's Place4: Place a quarter of the book pages underneath the template and make holes as shown. Continue with the remaining pages doing quarters at a time. The pages and cover should all look the same once punched.
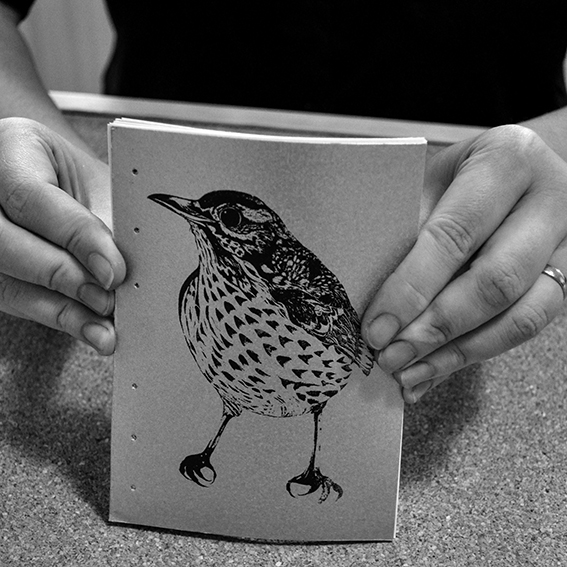
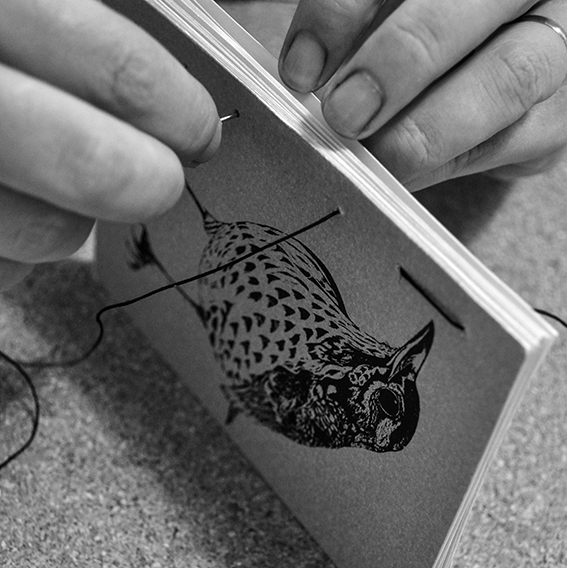
(c) Ella's Place

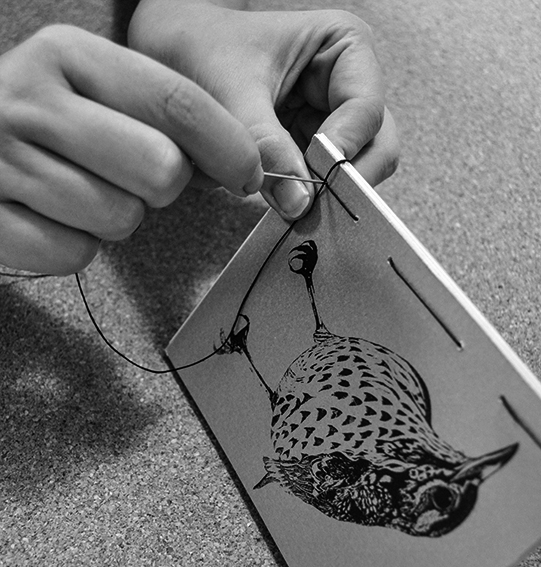
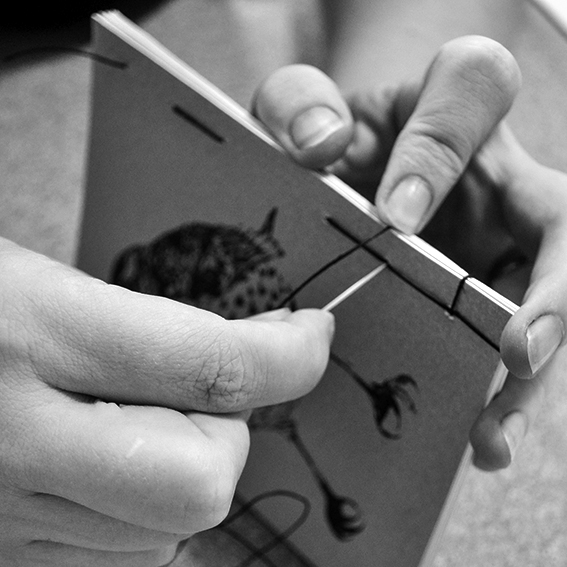
(c) Ella's Place5: Put all the pages, including the front and back covers, together. Thread the needle through the top back hole of the book, leaving some thread loose. Make a running stitch along the holes in the book, pulling the thread tight each time through a hole while keeping your top thread loose.

(c) Ella's Place

6: Loop the thread at the bottom of the book’s spine and go through the bottom hole. Place the book on its side, loop around the top of the spine and go through the bottom hole again.

(c) Ella's Place

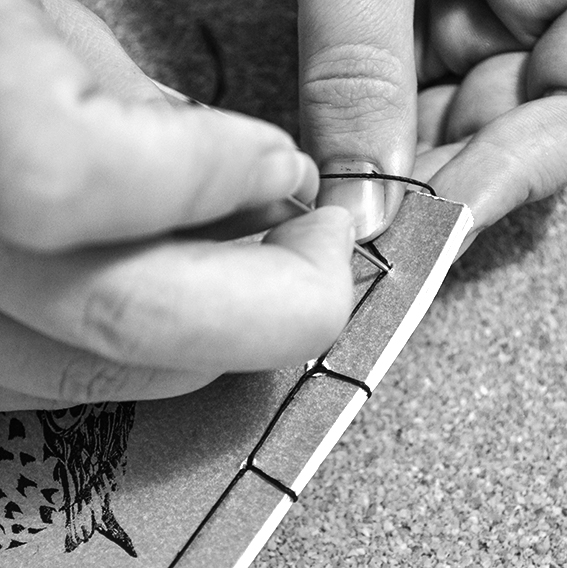
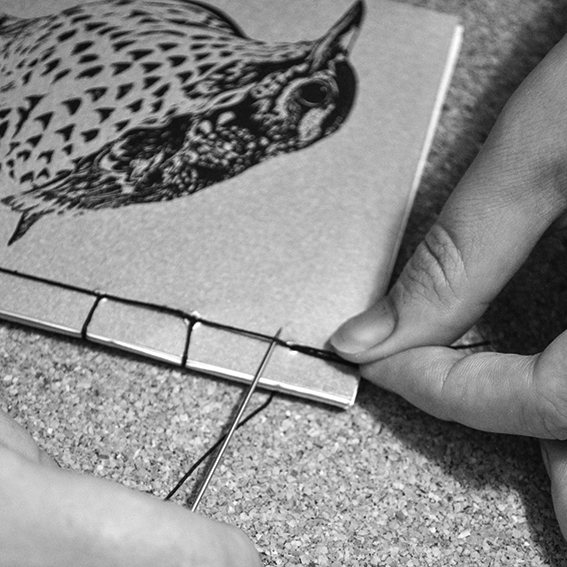
7: Do a running stitch into the next hole, loop around the top of the spine and go through that hole again on to the next hole. Repeat until you get to the top of the book.

(c) Ella's Place

(c) Ella's Place

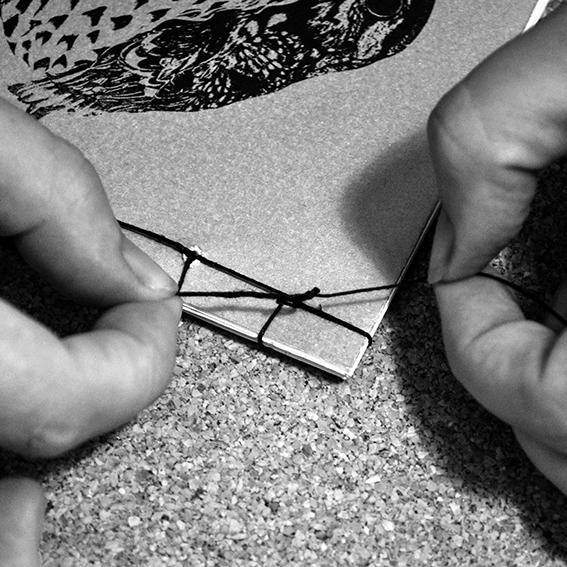
(c) Ella's Place8: Make a loop at the top of the book and go through the top hole. Slip the needle under two of the top bindings coming out of starting hole. Tie a tight knot with the original loose thread.

(c) Ella's Place

Look – you’ve made a book!